How to Paint Veneer Furniture: Prep, Primer and Paint That Holds
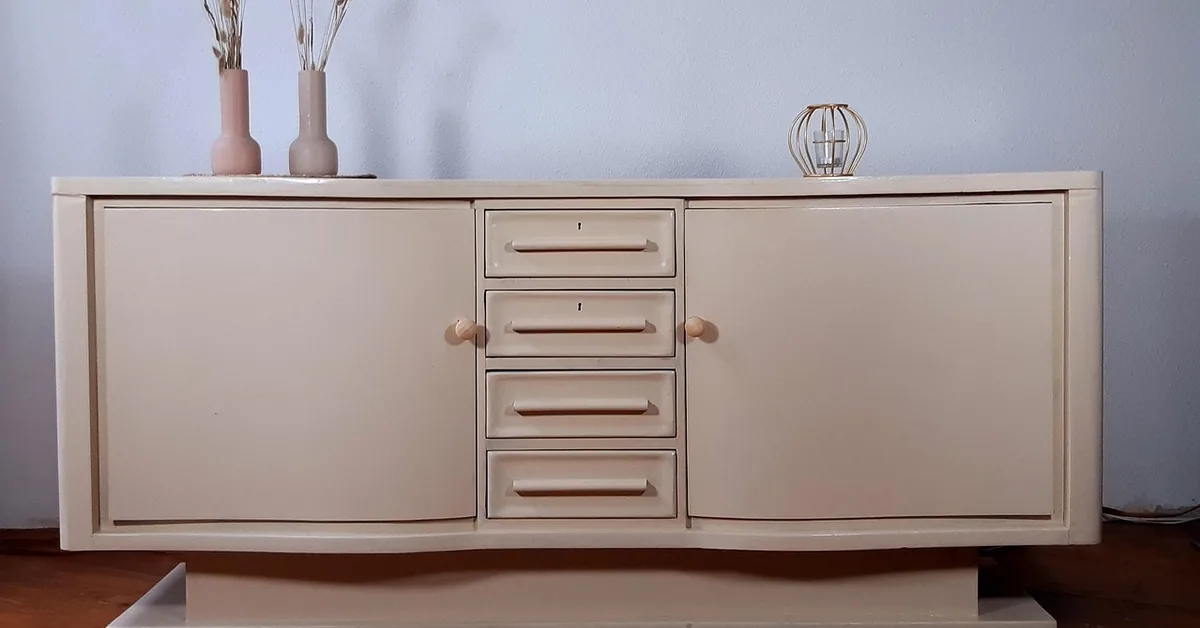
To paint veneer furniture without peeling, clean it, scuff it lightly by hand, prime with a bonding or shellac primer, and brush on two thin coats of paint. The step people skip is the primer, and on glossy factory veneer that one skipped step is why paint lifts in sheets. This guide covers how to identify your surface, how little sanding veneer can take, which primer to pick, and a fix chart for when paint already failed.
The Short Answer: Prime First, Then Paint
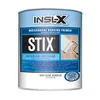 |
Best Bonding Primer for Veneer INSL-X Stix Waterborne Bonding Primer, 1 Quart: $26.99 A water-based primer made to grip slick, glossy surfaces, which is exactly the factory finish on most veneer furniture. It cleans up with soap and water, so you skip the shellac fumes covered below.
|
As an Amazon Associate we earn from qualifying purchases.
Veneer is a thin layer of real wood glued to a core of particleboard, MDF, or plywood, and most pieces leave the factory with a hard, glossy topcoat over it. Paint has nothing to grip on that surface. A bonding primer gives it something to grip, and everything else (paint choice, brush, topcoat) matters less than that layer.
- Clean: wash off polish, hand oils, and grease with dish soap and warm water, rinse, and dry fully.
- Repair: glue down lifted veneer and fill chips before any paint goes on.
- Scuff: hand-sand lightly with fine paper, 180 to 220 grit, only until the shine is gone.
- Prime: one thin coat of bonding or shellac primer, allowed to dry for the time on the can.
- Paint: two thin coats of latex enamel or oil-based paint, with full recoat time between them.
- Seal and cure: a clear water-based topcoat on surfaces people touch, then a gentle first few weeks.
Is It Really Veneer? Check Before You Buy Primer
Many pieces sold as wood furniture are not wood veneer at all, and the surface decides the method. Look at an edge, a drawer side, or the underside, where the surface material and grain pattern are easiest to read.
| Surface | How to tell | How to paint it |
|---|---|---|
| Real wood veneer | Grain stops or changes at the edge, and the same pattern does not repeat across the piece | Scuff, prime, paint. This is the method in this guide. |
| Printed paper or foil finish | Grain repeats exactly, edges show a white or tan paper line, texture feels flat | Do not sand at all. Clean, then use a bonding primer, because sanding tears the printed layer. |
| Laminate or melamine | Hard plastic-like surface, a visible seam where the edge band meets the face | Light scuff, bonding primer built for slick surfaces, then paint. |
| Thermofoil | Soft vinyl skin that wraps around edges, often on kitchen cabinet doors | Heat and moisture can lift it; paint adheres poorly, so test a hidden spot first. |
The paper and foil case catches people out. The surface looks like wood veneer, but it has no wood layer to scuff, so the standard “sand until dull” advice damages it. If you are unsure, test a hidden area with fine paper: wood veneer dulls and shows pale wood dust, while a printed finish shows color streaks or tears.
Prep Without Sanding Through the Veneer
Most guides say to sand the finish off. On veneer that is the wrong instinct. Modern furniture veneer is commonly about 0.4 to 0.8 mm thick (roughly 1/64 to 1/32 inch), per refinishing guides. A power sander or a coarse sheet can cut straight through it to the particleboard, and that damage is hard to repair.
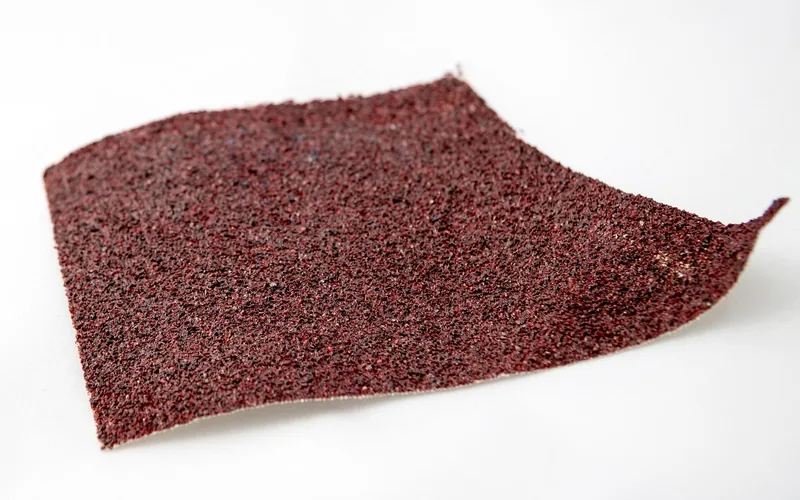
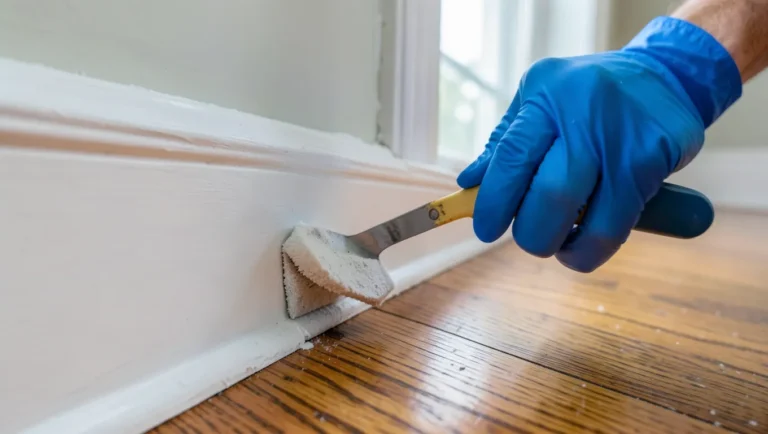
So the goal of sanding here is only to dull the gloss. Sand by hand with the grain, use a sanding block or a fine abrasive pad, and stop the moment the surface looks uniformly matte. Wipe the dust with a tack cloth, then a barely damp rag. Dust left behind shows up as gritty specks under the primer.
Fix damage before priming. Lifted corners need glue and clamping; our guides on gluing veneer edges without lifting and patching damaged veneer cover that, and gluing veneer to wood covers the adhesive choice. Fill chips with wood filler and sand flush with the same fine paper.
Safety note: if the piece could date from before 1978, treat the old finish as possibly lead-based and read the EPA’s lead safety guidance before sanding or scraping. Wear a respirator rated for fine dust whenever you sand a finish you have not identified.
Which Primer: Shellac, Bonding, or None
Primer is the real decision. Two types work well on veneer, and they trade off differently:
| Primer type | Touch dry / recoat | Strength | Drawback |
|---|---|---|---|
| Shellac-based (Zinsser B-I-N) | About 20 min / 45 min, per the manufacturer data sheet | Seals tannin and stains, bonds to slick surfaces | Strong alcohol fumes and flammable; clean up with denatured alcohol |
| Waterborne bonding (INSL-X Stix) | About 30 min to touch, a few hours to topcoat, per published data | Grips glossy surfaces, low odor, soap-and-water cleanup | Not a dedicated stain blocker |
| No primer (mineral or chalk paint) | Per the paint can | Convenient on lightly used pieces | Chips more easily on slick veneer, especially at edges |
Check the numbers on the can for your temperature, because cool or humid air slows every one of them. Zinsser’s own data sheet for B-I-N shellac-base primer notes that full hardness takes one to three days even though it recoats in under an hour.
Here is a trap most guides miss: oak, mahogany, and cherry veneers can release tannin that bleeds yellow-brown through light paint. A water-based primer alone may not stop it, and the stain appears after the topcoat, when it is hardest to fix. On those woods, use shellac primer, or test one hidden panel and wait a day before committing. For a deeper comparison of brands, see Zinsser vs Kilz primer, how to use Kilz paint, and our roundup of the best shellac-based primers.
Painting Veneer Furniture Without Sanding
You can skip the sanding if you accept a tradeoff. A liquid deglosser wiped on and off dulls the factory finish chemically, and a bonding primer then does the gripping. Mineral and chalk paints are marketed as no-prep, and they do stick better than ordinary latex, but on very smooth veneer a thumbnail or belt buckle will still scratch them off unless a bonding primer sits underneath.
The honest rule: no-sanding methods work well on low-wear pieces like a bookcase or a picture shelf, and poorly on drawer fronts and tabletops. For a focused look at that shortcut and its limits, read can you paint veneer without sanding.
Best Paint and How to Apply It
Latex or acrylic enamel is the easiest choice for most furniture: it dries fast, resists yellowing, and washes out of brushes with soap and water. Oil-based enamel levels smoother and hardens harder, but it dries slowly and smells strong. Do not skip the recoat time to save a day; paint that feels dry can still be soft underneath.
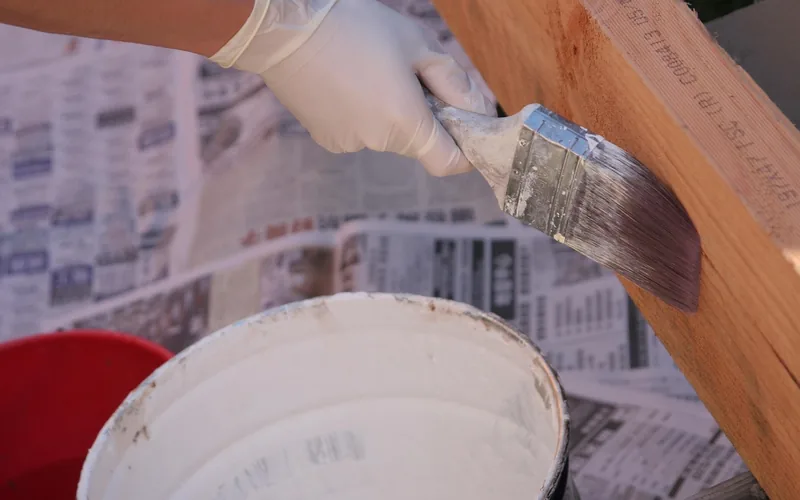
- Remove hardware and number the drawers so they go back where they came from.
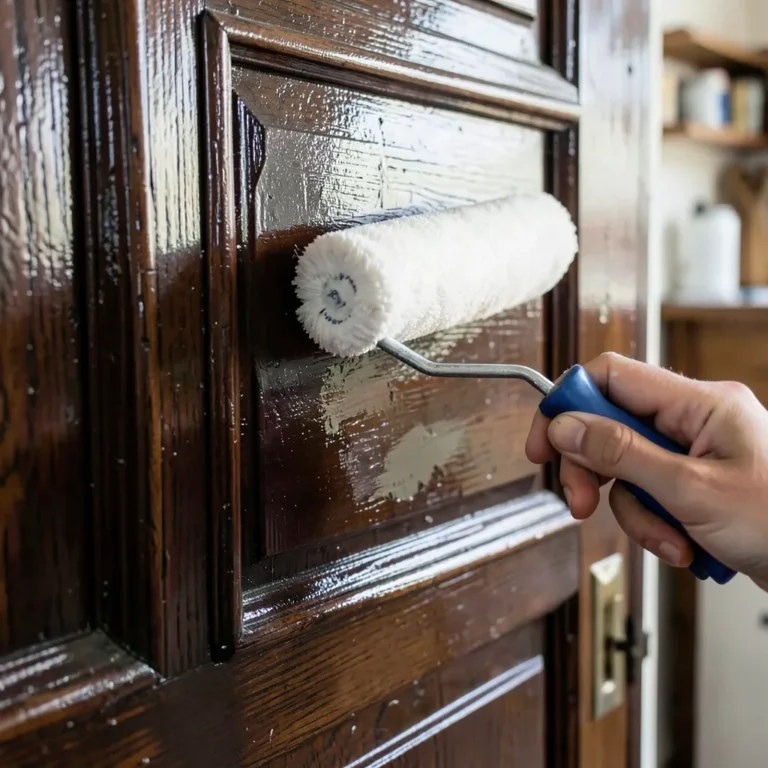
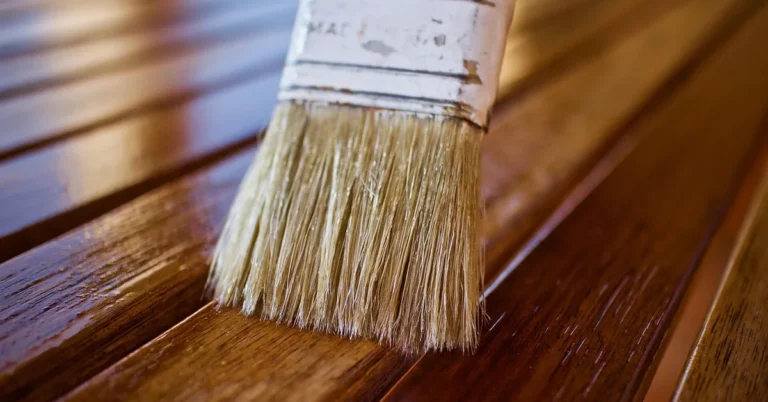
- Use a quality angled brush for edges and a small foam roller for flat faces; a roller on a tabletop avoids brush ridges.
- Keep coats thin: two or three light coats beat one thick coat that sags and stays soft.
- Sand lightly between coats with very fine paper (320 grit) only if you feel dust nibs, then wipe clean.
- Sprayers: good for cabinet doors and flat panels, but mask everything nearby and build coverage in thin passes.
Seal It and Give It Time to Cure
A clear water-based topcoat such as polycrylic protects surfaces that get daily contact, like tabletops and drawer fronts. Apply two to three thin coats and follow the recoat time on that can. Oil-based polyurethane is tougher but ambers over time, which is a problem over white and pale paint. Our guide on applying polyurethane over paint goes deeper on compatibility.
| Stage | What it means | What you can do |
|---|---|---|
| Touch dry | Surface no longer feels wet, usually under an hour for primer | Do not recoat yet, and do not stack anything on it |
| Recoat ready | Time stated on the can, often 1 to 4 hours for primer and paint | Apply the next thin coat |
| Handling dry | Overnight to a day | Reattach hardware carefully and put drawers back |
| Fully cured | Days to weeks, depending on product, temperature, and humidity | Set objects down, wipe with a damp cloth, return to normal use |
The practical lesson is that “dry” and “cured” are different. Most painted furniture that chips at the edges within a month was put back into use while the paint was still hardening. Use felt pads under lamps and coasters under cups for the first few weeks.
Why Painted Veneer Peels: Symptom and Fix
| What you see | Likely cause | Fix |
|---|---|---|
| Paint lifts off in sheets | No primer, or primer applied over polish or oil | Strip loose paint, degrease, scuff, prime, repaint |
| Chips at drawer edges and corners | Slick edge never scuffed, or used before cure | Scuff the edge, spot prime, repaint, and wait longer |
| Bubbles or blisters | Thick coat, or painting in heat or direct sun | Let dry, sand flat, thin recoat in shade |
| Brown or yellow stain through white paint | Tannin bleed from oak, mahogany, or cherry | Seal the spot with shellac primer, then repaint |
| Surface stays tacky | Coat too thick, cold or humid room, or recoated too soon | Give it several days in a warm, dry room before topcoat |
| Wood grain texture shows through | Open-grain veneer such as oak | Fill the grain with filler or sand primer smooth between coats |
| Bare patch with crumbly brown material | Sanded through the veneer to the particleboard | Fill, prime, and paint the spot; accept a slight edge |
None of these problems are a sign that veneer cannot be painted. Each one traces back to the surface, the primer, or the clock.
Frequently Asked Questions
Why does paint peel off veneer furniture?
Paint usually peels off veneer because it was applied to a glossy or dirty surface without a bonding primer. The slick factory finish gives paint nothing to grip, and polish or hand oils make the bond weaker still. Chalk paint applied straight onto smooth veneer can also scratch off at the edges.
Can you paint over veneer furniture?
Yes. Real wood veneer takes primer and paint like any other wood surface once the gloss is dulled and a bonding primer is applied. The exceptions are printed paper or foil finishes and thermofoil, which are not wood and need gentler prep and a test spot.
How do you paint veneer furniture without sanding?
Wipe on a liquid deglosser to dull the finish, then use a bonding primer and paint. Mineral and chalk paints are sold as no-prep, but on smooth veneer they hold up best over a bonding primer. This route suits low-wear pieces better than drawer fronts or tabletops.
How can you tell furniture is veneer and not solid wood?
Check an edge or the underside. On solid wood the grain runs continuously around the corner, while on veneer the pattern stops at the edge and a different strip or core shows. Repeating, identical grain across the piece suggests a printed finish instead.
What is the best primer for painting over veneer?
A waterborne bonding primer like INSL-X Stix is the easiest choice for most indoor pieces because it grips gloss and cleans up with water. Use a shellac-based primer such as Zinsser B-I-N when the veneer is oak, mahogany, or cherry and tannin bleed is a risk.
Bottom Line
Veneer paints well when you respect its two weak points: the surface is slick, and the wood layer is thin. Identify what you actually have, scuff by hand, prime with a bonding or shellac primer, paint in thin coats, and let the finish cure before heavy use. For paneled walls rather than furniture, see how to paint wood paneling.
Sponsored / affiliate links. As an Amazon Associate I earn from qualifying purchases. I may earn additional commission from eligible campaigns.