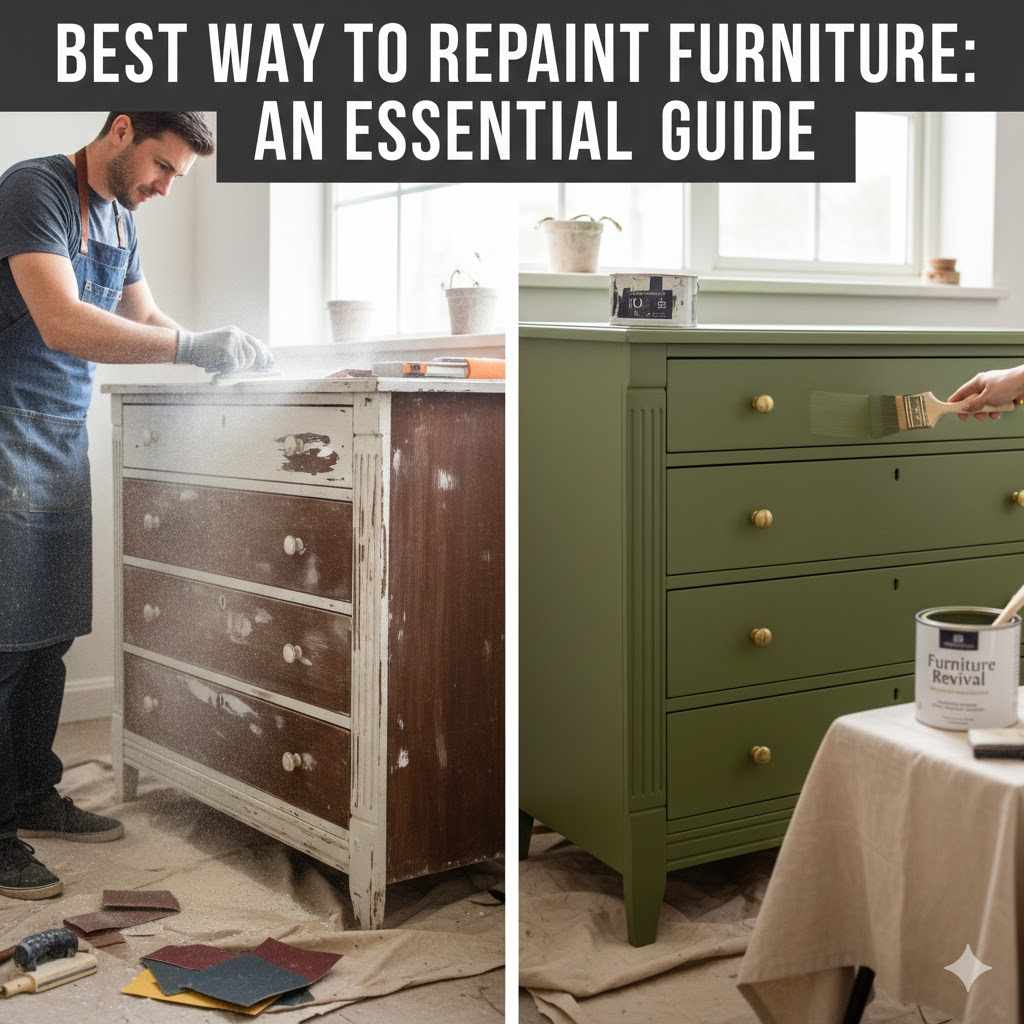
Best Way To Repaint Furniture: An Essential Guide
The best way to repaint furniture is to clean it thoroughly, scuff sand the surface to create grip, apply a quality bonding primer, and finish with two thin coats of durable paint. Proper preparation is the most critical step for a professional, long-lasting finish that won’t chip or peel, ensuring your hard work pays off.
Have you ever looked at an old dresser or a dated side table and wished you could give it a fresh, new look? You’re not alone. Many of us have solid, well-built furniture that just doesn’t fit our style anymore. Tossing it seems wasteful, but you might feel unsure where to even start with a makeover. It can feel like a huge, complicated project.
But I’m here to tell you that repainting furniture is one of the most rewarding and budget-friendly DIY projects you can tackle. With the right steps and a little patience, you can transform any piece from tired to treasured. In this guide, I’ll walk you through everything you need to know, from picking the right paint to getting that perfect, smooth finish. Let’s get started!
Why You Should Consider Repainting Your Furniture
Before we grab our paintbrushes, let’s talk about why this is such a great idea. Giving your furniture a new coat of paint is more than just a cosmetic fix. It’s a smart choice for several reasons:
- Save Money: A can of paint costs far less than a new piece of furniture. You get a brand-new look without the brand-new price tag.
- Customize Your Style: You have total creative control! Choose any color, any finish, and any hardware to perfectly match your home’s decor.
- Improve Durability: A fresh coat of paint and a protective top coat can add years of life to a worn-out piece, protecting it from scratches and scuffs.
- It’s Eco-Friendly: Repainting keeps old furniture out of landfills. It’s a wonderful way to recycle and upcycle what you already own.

Gathering Your Tools and Materials
Having everything ready before you start makes the whole process smoother. You don’t need a professional workshop, just a few key items. Think of this as your recipe for success!
Essential Supplies:
- Cleaner: A degreasing cleaner like TSP (Trisodium Phosphate) substitute or simple soap and water.
- Sandpaper: Medium-grit (120-150) for initial scuffing and fine-grit (220) for smoothing between coats.
- Tack Cloth or Microfiber Cloths: For wiping away all the dust after sanding.
- Painter’s Tape: To protect areas you don’t want to paint, like hardware bases or glass.
- Drop Cloths: To protect your floor and workspace.
- Primer: A good quality bonding primer is your best friend for a lasting finish.
- Paint: Your chosen color and finish. We’ll cover options in the next section.
- Paint Brushes and/or Rollers: A high-quality angled brush for corners and a small foam roller for flat surfaces.
- Top Coat: A clear protective finish like Polycrylic or wax.
- Safety Gear: Gloves, dust mask, and safety glasses.
Optional but Helpful Tools:
- Wood Filler: To fix any gouges or deep scratches.
- Putty Knife: For applying wood filler.
- Sanding Block or Orbital Sander: Makes sanding larger, flat surfaces much faster and more even.
- Screwdriver: To remove handles, knobs, and hinges.
Choosing the Right Paint and Primer
The paint aisle can be overwhelming, but choosing the right products is simple once you know what to look for. The key is to match the paint and primer to your project’s needs.
Understanding Different Paint Types
Not all paints are created equal. For furniture, you want something durable that can stand up to daily use. Here are the most common choices:
| Paint Type | Best For | Pros | Cons |
|---|---|---|---|
| Latex (Water-Based) | Most furniture, especially pieces that get light to moderate use. | Easy to clean up with soap and water, low odor, dries quickly. | Can be less durable than oil-based paint without a good top coat. |
| Alkyd/Oil-Based Enamel | High-traffic pieces like kitchen tables, chairs, and cabinets. | Extremely durable, self-leveling for a super smooth finish. | Strong fumes, requires mineral spirits for cleanup, longer drying time. |
| Chalk Paint | Creating a rustic, shabby-chic, or matte finish. | Often requires minimal to no sanding, sticks to almost anything, easy to distress. | Requires a wax or poly top coat to be durable, can be expensive. |
| Milk Paint | Achieving an authentic, antique, or chippy look on raw wood. | Non-toxic, environmentally friendly, creates a unique, aged look. | Can be unpredictable; may chip intentionally. Needs a top coat. |
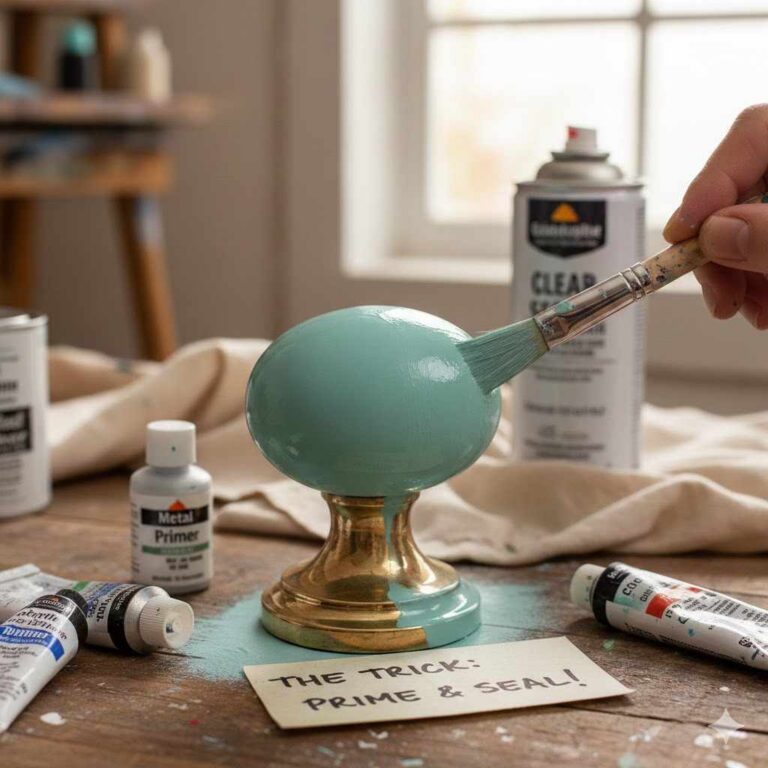
Why Primer is Non-Negotiable
Think of primer as the double-sided tape that holds your paint to the furniture. It’s the secret to a professional-looking and long-lasting paint job. Skipping it is the most common mistake beginners make!
Primer does three important things:
- Adhesion: It helps the paint stick, preventing peeling and chipping.
- Stain Blocking: It stops old stains or wood tannins from bleeding through your new paint color. This is especially important when painting light colors over dark wood.
- Coverage: It creates a uniform base, so you’ll need fewer coats of your expensive color paint.
For most projects, a good quality stain-blocking bonding primer is all you need. If you’re painting a glossy or slick surface like laminate, look specifically for a “bonding” or “adhesion” primer.
The Step-by-Step Guide to a Flawless Finish
Ready to transform your furniture? Let’s break it down into simple, manageable steps. Don’t rush—patience is the key to a beautiful result.
Step 1: Prep Your Workspace
Find a well-ventilated area where you can work without interruption, like a garage with the door open or a shaded spot outside. Lay down drop cloths to protect the floor from dust and paint splatters. If you’re working indoors, open windows to ensure good air circulation.
Step 2: Clean the Furniture Thoroughly
Paint will not stick to dirt, grease, or grime. This step is absolutely essential. Use a degreasing cleaner and a cloth or sponge to wipe down the entire piece. Pay extra attention to high-touch areas like drawer fronts and tabletops. After cleaning, wipe it down again with a cloth dampened with plain water to remove any cleaning residue. Let the furniture dry completely.
Step 3: Remove Hardware and Make Repairs
Using a screwdriver, remove all knobs, handles, and hinges. Place them in a labeled bag so you don’t lose any screws. Now is the time to fix any wobbly legs with wood glue or fill in deep scratches and dings with wood filler. Apply the filler with a putty knife, slightly overfilling the spot. Once it’s dry, sand it smooth so it’s flush with the surrounding surface.
Step 4: Sand It Down (Just a Little!)
Sanding might sound like a lot of work, but for most projects, you don’t need to strip the furniture down to bare wood. The goal is to “scuff sand,” which means lightly roughing up the existing finish. This creates thousands of tiny scratches that give the primer something to grab onto.
Using 120- or 150-grit sandpaper, lightly sand every surface you plan to paint. Always sand in the direction of the wood grain. The surface should feel slightly rough and look dull or matte when you’re done. For previously painted furniture, especially in older homes, it’s wise to test for lead. You can learn more about lead paint safety from the Environmental Protection Agency (EPA). After sanding, use a vacuum with a brush attachment and then a tack cloth to remove every last bit of dust.
Step 5: Apply Your Primer
Now the fun begins! Stir your primer well. Using a quality brush or foam roller, apply a thin, even coat of primer. Don’t try to get full coverage in one coat. It’s better to have a thin, slightly transparent coat than a thick, drippy one. A thin coat will dry harder and stick better. Let the primer dry completely according to the can’s instructions, usually a few hours. Once dry, lightly sand it with 220-grit sandpaper to knock down any bumps, and wipe away the dust.
Step 6: Paint Your Furniture
It’s time for color! Just like with the primer, thin coats are your best friend. A good paint job is built with two or three thin coats, not one thick one.
| Application Method | Best For | Tips for Success |
|---|---|---|
| Brush | Details, corners, and carved areas. | Use a high-quality angled brush. Apply paint with long, even strokes in the direction of the wood grain. Avoid going back and forth over the same spot too much. |
| Foam Roller | Large, flat surfaces like tabletops and doors. | Use a mini foam roller for a super smooth, spray-like finish. Lightly overlap each pass to avoid roller marks. |
| Paint Sprayer | Complex pieces with lots of spindles or details (like chairs). | Requires more prep (masking) and some practice, but gives the most professional finish. Keep the sprayer moving at a consistent speed and distance. |
Apply your first thin coat and let it dry completely. Drying times vary, so check the instructions on the can. Don’t rush this part! Once the first coat is fully dry, lightly sand the entire piece with 220-grit sandpaper. This smooths out any imperfections and helps the next coat adhere even better. Wipe away the dust and apply your second coat. Most projects will look great after two coats, but you can add a third if needed for full coverage.
Step 7: Apply a Protective Top Coat
You’re almost there! A top coat is a clear finish that protects your paint job from scratches, chipping, and daily wear and tear. For furniture that will be used often, like a dining table or dresser, this step is crucial.
- Water-Based Polycrylic: This is a popular choice because it’s easy to apply, dries clear, and cleans up with water. It’s great for almost any project. Apply 2-3 thin coats with a brush, lightly sanding with very fine sandpaper (320-grit) between coats. Check out resources like this guide from Minwax on applying it correctly.
- Furniture Wax: Often used over chalk paint, wax gives a soft, subtle sheen. It’s applied with a cloth or special brush, allowed to haze over, and then buffed to a shine. Wax offers moderate protection and may need to be reapplied periodically.
Let your final top coat cure completely before reattaching your hardware and putting the piece into regular use. “Cure time” is different from “dry time” and can take anywhere from a few days to a few weeks. During this time, the finish is still hardening, so be gentle with it.

Frequently Asked Questions (FAQ)
1. Do I really have to sand furniture before painting?
For the best, most durable results, yes. Sanding creates a “tooth” for the primer to grip onto, preventing chips and peeling. Even if you’re using a “no-prep” paint like chalk paint, a quick scuff sanding will dramatically improve how well the paint adheres and lasts.
2. What’s the best paint for furniture without sanding?
While some chalk paints and bonding primers market themselves as “no-sand,” the most reliable way to paint without extensive sanding is to use a high-adhesion or “bonding” primer first. After cleaning the piece well, you can apply this type of primer directly to a glossy surface, and it will create a bond for your paint to stick to.
3. How long should I let paint dry between coats?
Always follow the directions on your paint can. Most latex paints will be dry to the touch in an hour or two but require at least 4-6 hours before you can apply another coat. Oil-based paints take much longer, often 12-24 hours. Waiting the recommended time is critical for a strong, durable finish.
4. Can I paint laminate or IKEA furniture?
Absolutely! The process is very similar, but the preparation is even more important. Clean the piece thoroughly, then scuff sand the slick surface with 150-grit sandpaper. The most important step is to use a shellac-based or adhesion-promoting primer designed to stick to glossy surfaces. Once primed, you can paint it like any other piece of furniture.
5. What is the difference between latex and oil-based paint for furniture?
Latex (water-based) paint is easy to use, dries quickly, has low odor, and cleans up with soap and water. It’s a great choice for most DIY projects. Oil-based paint offers a harder, more durable finish that levels out beautifully but has strong fumes, takes longer to dry, and requires mineral spirits for cleanup.
6. How do I avoid brush strokes when painting furniture?
To avoid brush strokes, use a high-quality paintbrush, don’t overload it with paint, and apply the paint in long, even strokes in one direction. For large flat areas, a foam roller is excellent for a smooth finish. Also, adding a paint extender or conditioner (like Floetrol for latex paint) can help the paint level out better, minimizing brush marks.
Conclusion: Enjoy Your “New” Furniture!
And there you have it! By following these steps, you’ve turned an old, forgotten piece of furniture into a beautiful, custom creation for your home. Remember, the key to success isn’t being a professional—it’s all about patience and preparation. Cleaning, sanding, and priming are the foundational steps that guarantee a finish you can be proud of.
Don’t be afraid to start small with a side table or a picture frame. With each project, your confidence will grow, and you’ll soon be looking for your next piece to transform. You’ve just learned a skill that will save you money, unlock your creativity, and help you build a home that truly reflects your personal style. Now, step back, admire your hard work, and enjoy your beautifully repainted furniture!