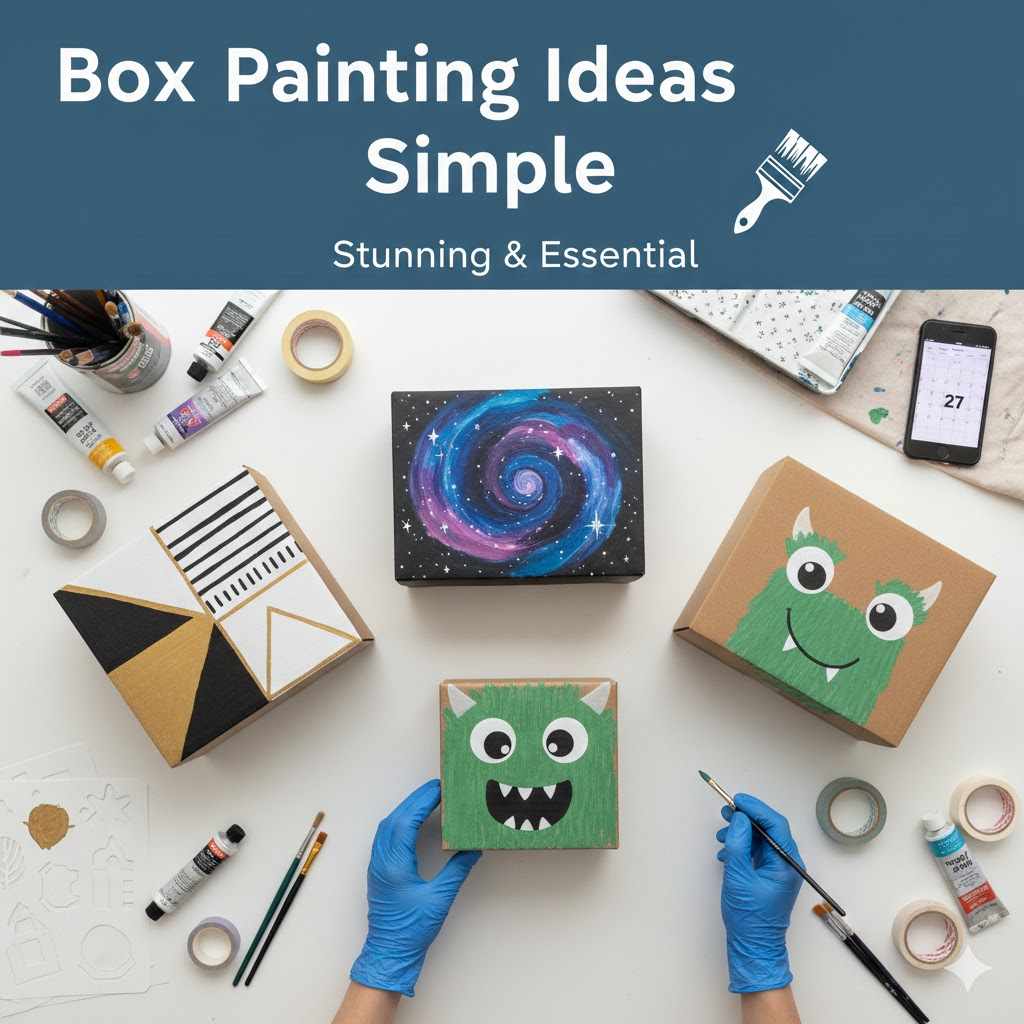
Box Painting Ideas Simple: Stunning & Essential
Simple box painting ideas transform basic wood or cardboard containers into stunning decor. For beginners, the best approach is to start with a smooth, primed surface. Use painter’s tape for clean geometric designs, stencils for easy patterns, or a simple two-tone color block for a modern look. Acrylic or chalk paint works wonderfully for these projects.
Hello there! I’m Md Meraj. In my workshop, I’ve seen countless plain wooden boxes waiting for a new life. It’s a common sight: a simple, boring box that could be so much more. You might feel a little stuck on how to start. Maybe you worry about making mistakes or think you need to be a professional artist.
I’m here to tell you that’s just not true. Transforming a box with paint is one of the easiest and most rewarding DIY projects you can tackle. You don’t need special skills, just a little guidance and a splash of creativity. We are going to walk through everything together, step by step. Let’s turn that plain box into a beautiful piece you’ll be proud of.
Painting a box is more than just a craft; it’s a way to add a personal touch to your space. You can create custom storage, unique gift boxes, or beautiful decor pieces. The best part? It’s incredibly budget-friendly and a perfect project for a quiet afternoon. We’ll cover everything from picking the right paint to creating designs that look professionally done, even if it’s your very first time.
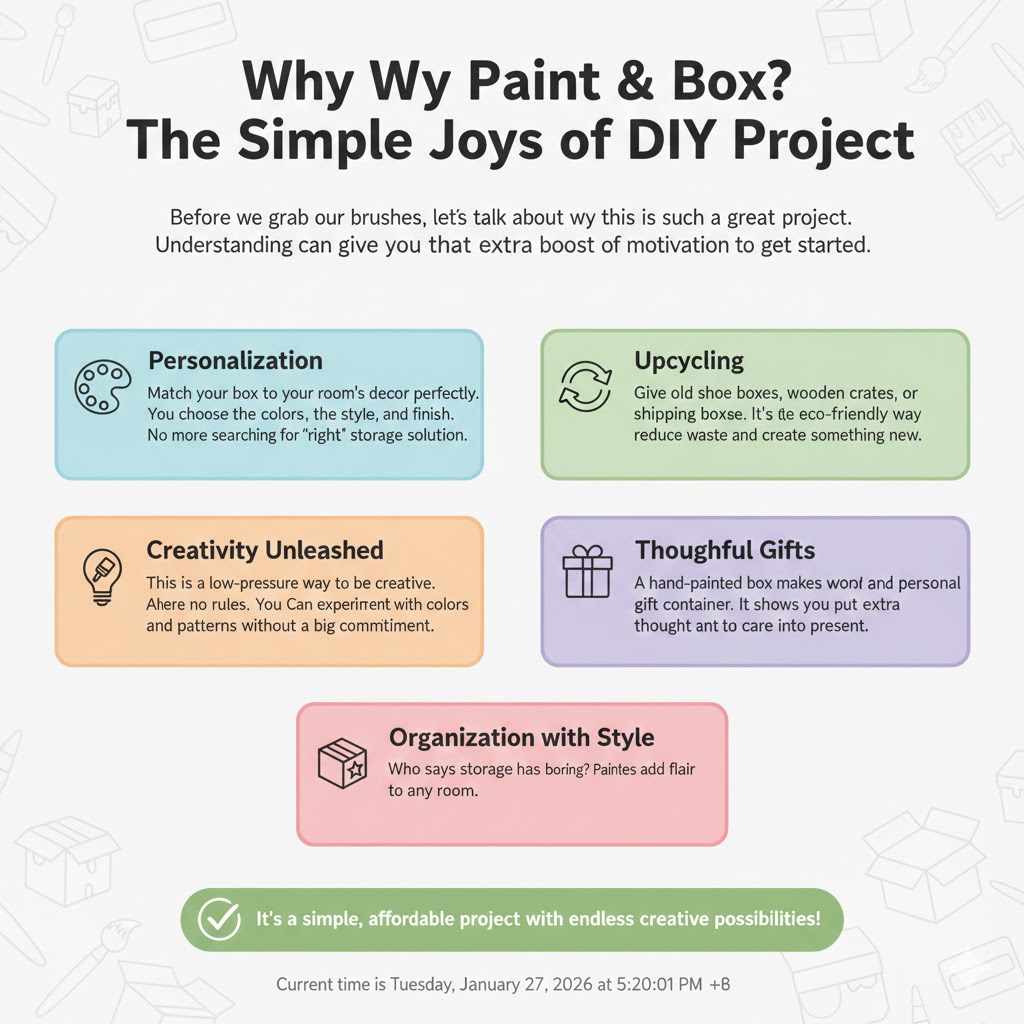
Why Paint a Box? The Simple Joys of a DIY Project
Before we grab our brushes, let’s talk about why this is such a great project. Understanding the benefits can give you that extra boost of motivation to get started.
- Personalization: Match your box to your room’s decor perfectly. You choose the colors, the style, and the finish. No more searching for the “right” storage solution.
- Upcycling: Give old shoe boxes, wooden crates, or shipping boxes a second chance. It’s an eco-friendly way to reduce waste and create something new.
- Creativity Unleashed: This is a low-pressure way to be creative. There are no rules. You can experiment with colors and patterns without a big commitment.
- Thoughtful Gifts: A hand-painted box makes a wonderful and personal gift container. It shows you put extra thought and care into your present.
- Organization with Style: Who says storage has to be boring? Painted boxes can help you organize shelves, desks, and closets while adding a decorative flair.
Gathering Your Supplies: What You’ll Need
Getting your materials ready before you start makes the whole process smoother and more enjoyable. Think of it as setting up your workshop for success. You likely have some of these items at home already.
Essential Materials:
- A Box: This can be a simple unfinished wooden box from a craft store, a sturdy cardboard box, or even an old tin. The techniques we discuss will work on most surfaces.
- Sandpaper (for wood): A fine-grit sandpaper (around 180-220 grit) is perfect for smoothing a wooden surface before painting.
- Primer: This is a game-changer! Primer helps the paint stick better and gives you a more vibrant, even color. Use a spray primer for ease or a brush-on water-based primer.
- Paint: The star of the show! We’ll discuss paint types in detail next.
- Paint Brushes: A small set with a few different sizes is ideal. A flat brush is great for large areas, and a smaller, pointed brush is good for details.
- Sealer/Varnish: To protect your beautiful work from scuffs and moisture. A clear acrylic sealer in a spray can or a brush-on water-based polyurethane works well.
- Painter’s Tape: For creating crisp, clean lines and geometric patterns.
- Old Cloths or Paper Towels: For cleanup and techniques like dry brushing.
- Newspaper or a Drop Cloth: To protect your workspace from paint spills.
Choosing the Right Paint: A Simple Breakdown
The paint aisle can feel overwhelming, but for box painting, a few types stand out. Your choice depends on the look you want and the material of your box. Let’s make this simple.
| Paint Type | Best For | Pros | Cons |
|---|---|---|---|
| Acrylic Craft Paint | Wood, cardboard, tin | Inexpensive, huge color selection, dries fast, easy water cleanup. | Can show brush strokes; may require a sealer for durability. |
| Chalk Paint | Creating a matte, rustic, or shabby-chic look on wood. | Excellent adhesion (often no primer needed), ultra-matte finish, easy to distress. | More expensive, requires a wax or polycrylic sealer to protect it. |
| Spray Paint | Large boxes, achieving a super-smooth, flawless finish. | Extremely fast coverage, no brush marks, durable finish. | Needs a well-ventilated area (ideally outdoors), can be messy. |
| Milk Paint | An authentic, aged, or antique look on wood. | Non-toxic, eco-friendly (often sold as a powder), creates a unique chippy look. | Can be unpredictable; requires mixing and a top coat. |
For a true beginner, I almost always recommend acrylic craft paint. It’s forgiving, affordable, and gives you endless creative options. It’s the perfect place to start your journey with box painting ideas simple enough for anyone.
The 5-Step Painting Process: A Foundation for Success
Before we jump into the fun design ideas, let’s master the basic painting process. Following these steps will ensure your finished box looks clean, professional, and lasts a long time.
Step 1: Prepare Your Box
This is the most important step! A good foundation makes all the difference. If your box is wooden, lightly sand it with fine-grit sandpaper. Go with the grain of the wood. This removes any rough spots and helps the primer stick. For any surface (wood, cardboard, or metal), wipe it down with a clean, damp cloth to remove all dust and dirt. Let it dry completely.
Step 2: Prime the Surface
Apply a thin, even coat of primer to the entire outside of your box. If you’re painting the inside, do that too. Primer covers imperfections and creates a neutral base, making your paint colors pop. A spray primer is very fast, but a brush-on primer gives you more control. Let the primer dry completely according to the manufacturer’s instructions. Don’t rush this part!
Step 3: Apply Your Base Coat
Now for the fun part! Choose your main color and apply a thin, even coat of paint with your flat brush. Use long, smooth strokes. Don’t try to cover it all in one thick coat—that can lead to drips and a long drying time. It’s much better to apply two thin coats than one thick one. Let the first coat dry to the touch before applying the second.
Step 4: Add Your Design
This is where your creativity comes to life! We’ll explore many simple ideas in the next section. Whether you’re using tape, stencils, or just a different color, this is the step where you add the personality. Take your time and enjoy the process.
Step 5: Seal and Protect
Once your design is completely dry (give it a good 24 hours to be safe), it’s time to protect it. A clear sealer will prevent your paint from chipping or getting damaged by moisture. A spray-on sealer is very easy to use. Apply 2-3 light coats, letting each coat dry in between. This final step gives your box a finished, professional look and ensures your hard work lasts.
Stunning & Simple Box Painting Ideas
Ready for the inspiration? Here are some simple yet stunning ideas that any beginner can master. Remember, the goal is to have fun and create something you love.
Idea 1: The Classic Two-Tone
This design is modern, clean, and incredibly easy. It’s a perfect first project.
- How to do it: Paint your entire box with a base color (a light gray or white works well). Let it dry completely. Then, use painter’s tape to tape off a section—either the lid, the bottom third, or a diagonal line across the side. Press the tape down firmly to prevent paint from bleeding underneath. Paint the taped-off section with a bold accent color. Let it dry, then carefully peel the tape off while the paint is still slightly soft for the cleanest line.
- Best for: Jewelry boxes, recipe boxes, desk organizers.
Idea 2: Simple Geometric Patterns
Using painter’s tape, you can create all sorts of cool geometric designs like stripes, triangles, or chevrons.
- How to do it: After your base coat is dry, use painter’s tape to create your pattern. For stripes, just lay down straight lines of tape. For a chevron, create zig-zag patterns. For triangles, crisscross the tape in different directions. Paint over the tape with one or more accent colors. Once dry, peel the tape away to reveal your sharp, professional-looking design. For more tips on getting crisp lines, check out this guide from Sherwin-Williams.
- Best for: Storage boxes, gift boxes, children’s toy boxes.
Idea 3: The Power of Stencils
Stencils are a beginner’s best friend. They do all the hard work for you, allowing you to create intricate designs with ease.
- How to do it: You can buy pre-made stencils from any craft store in countless designs—florals, letters, mandala patterns, and more. Secure your stencil to the box with a bit of painter’s tape. Dip a stencil brush or a foam pouncer into a small amount of paint, then dab off the excess on a paper towel. This “dry brush” technique is key to preventing paint bleed. Gently pounce the paint over the stencil. Lift the stencil carefully to reveal your design.
- Best for: Keepsake boxes, decorative accents on shelves.
Idea 4: The Rustic Dry-Brush Effect
This technique is perfect for achieving a weathered, rustic, or farmhouse look. It’s also very forgiving of mistakes.
- How to do it: First, paint your box with a dark base color (like brown or dark gray) and let it dry. Then, dip the very tips of a dry paintbrush into a lighter color (like white, cream, or light blue). Wipe most of the paint off onto a paper towel until the brush is almost dry. Lightly drag the brush over the surface of your box. The paint will only catch on the high points and texture, creating a beautiful aged look.
- Best for: Wooden crates, recipe boxes, planters.
Idea 5: Elegant Sponge Painting
For a soft, textured, or marbled effect, look no further than a simple kitchen sponge. It’s a wonderful way to blend colors seamlessly.
- How to do it: Start with a dry base coat. Pour a small amount of a second color onto a paper plate. Dampen a sea sponge or a regular sponge and wring it out. Lightly dab the sponge into the paint, then blot it onto your box. Rotate the sponge as you go to create a random, organic pattern. You can layer multiple colors for more depth.
- Best for: Jewelry boxes, decorative storage, bathroom organizers.
Idea Planner Table: Match the Idea to Your Project
Feeling inspired? This table can help you choose the right technique for your box.
| Painting Idea | Difficulty Level | Best For Box Type | Creative Tip |
|---|---|---|---|
| Classic Two-Tone | Very Easy | Wooden jewelry box, cardboard gift box | Use complementary colors like navy and gold, or pink and white. |
| Geometric Patterns | Easy | Large storage boxes, desk organizers | Create a repeating pattern of triangles in three different shades of the same color. |
| Stencil Art | Easy | Keepsake boxes, recipe boxes | Use a metallic paint for your stencil to add a touch of elegance. |
| Rustic Dry-Brush | Easy | Wooden crates, planter boxes | Sand the edges lightly after painting to enhance the weathered look. |
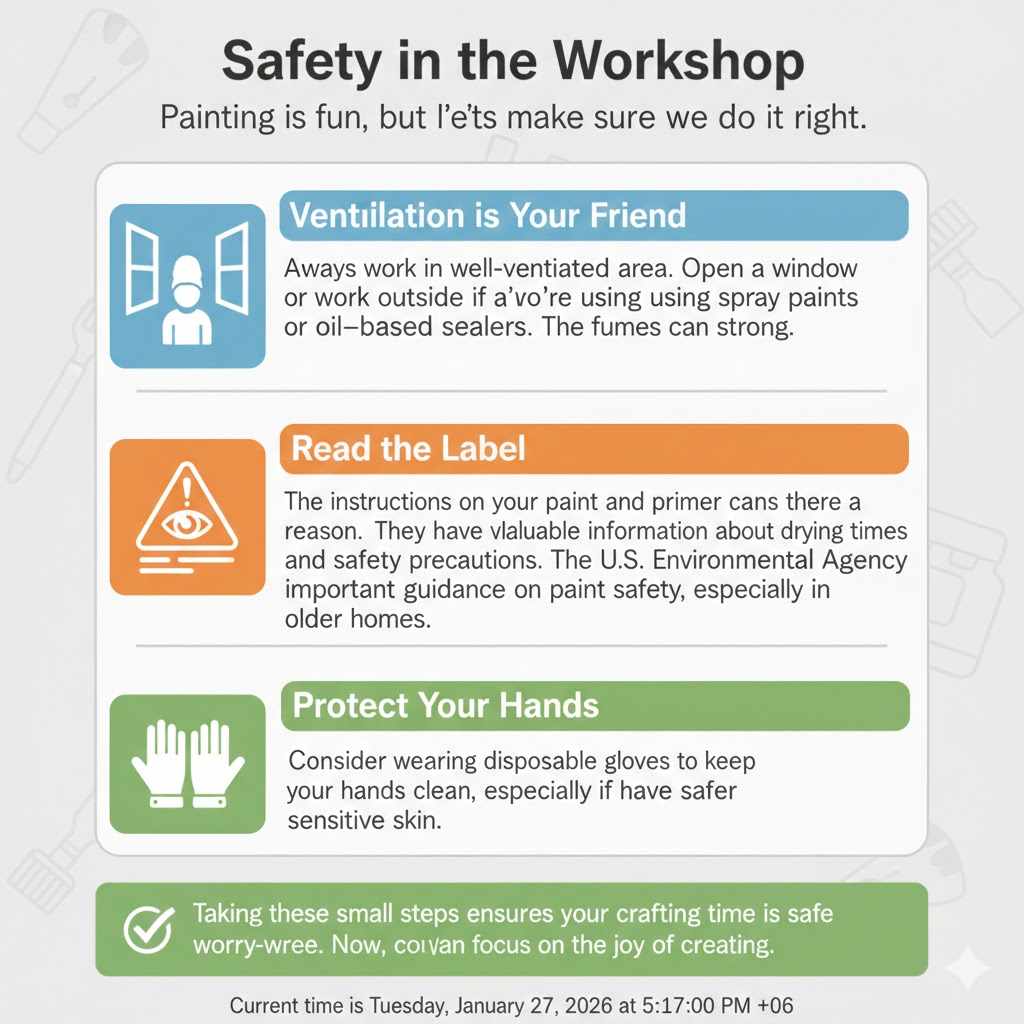
Safety in the Workshop
Even with simple projects, safety is key. Painting is fun, but let’s make sure we do it right.
- Ventilation is Your Friend: Always work in a well-ventilated area. Open a window or work outside if you’re using spray paints or oil-based sealers. The fumes can be strong.
- Read the Label: The instructions on your paint and primer cans are there for a reason. They have valuable information about drying times and safety precautions. The U.S. Environmental Protection Agency provides important guidance on paint safety, especially in older homes.
- Protect Your Hands: Consider wearing disposable gloves to keep your hands clean, especially if you have sensitive skin.
Taking these small steps ensures your crafting time is safe and worry-free. Now, you can focus on the joy of creating.
Frequently Asked Questions (FAQ)
1. Do I absolutely need to sand a wooden box before painting?
For the best results, yes. A quick, light sanding takes only a few minutes but creates a much smoother surface for the paint to grip. It removes splinters and imperfections, leading to a professional-looking finish. If your box is already very smooth, you can sometimes skip it, but it’s a good habit to get into.
2. What’s the best paint for a cardboard box?
Acrylic craft paint is excellent for cardboard. However, you must use a primer first. Cardboard is very absorbent and can warp if it gets too wet. A spray-on primer will seal the surface and prevent it from getting soggy. Apply thin coats of both primer and paint.
3. How do I get super clean, sharp lines with painter’s tape?
The secret is to seal the edge of the tape. After applying your tape, paint over the edge of the tape with your original base color. This creates a seal. Let that dry, then paint your new color over it. When you peel the tape off, any bleed-under will be the same as the base color, leaving a perfect line.
4. Can I paint over a box that is already painted or finished?
Yes, you can! You just need to prep it properly. First, clean the surface well to remove any grease or grime. Then, give it a light sanding to “scuff up” the old finish. This helps the new primer and paint to stick. After sanding and wiping it clean, you can prime and paint as you would a new box.
5. How long should I wait before using my painted box?
Patience is key! While paint might feel dry to the touch in an hour, it takes much longer to fully “cure” or harden. For acrylics, it’s best to wait at least 24 hours before applying a sealer. After the final coat of sealer, I recommend waiting 3-5 days before putting items in the box or stacking things on it to prevent sticking or scuffs.
6. What if I make a mistake while painting?
Don’t worry! That’s the beauty of paint. If the paint is still wet, you can usually wipe it away with a damp cloth. If it has dried, you can lightly sand the area and paint over it. DIY is about learning and enjoying the process, not about being perfect.
Your Next Step: Start Creating!
We’ve walked through the entire process, from gathering your supplies to adding those final, protective touches. You now have a toolbox full of box painting ideas simple enough for a weekend project but stunning enough to look like they came from a boutique store.
The most important thing to remember is that there is no right or wrong way to be creative. Pick an idea that excites you, choose colors that make you happy, and just start. That plain box sitting in the corner is a blank canvas. It’s an opportunity to create something that is uniquely yours.
So go ahead, grab a brush, and give it a try. I know you’ll be amazed at what you can create. Happy painting!