How to Antique Paint Furniture: 5 Techniques and Layer Order
Antique painting comes down to two moves: sand color away where real wear happens, or add dark glaze or wax where grime would collect. Done in the wrong order, the finish turns muddy or washes off. This guide covers five antique paint techniques, the layer order that keeps each one from failing, how to check old paint for lead before you sand, and which sealer to use.
Why Antique Paint? Adds Character and Depth
Best Dark Wax Pick
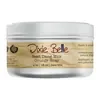 |
Dixie Belle Best Dang Wax, Grunge Gray (4 oz), $22.45 A water-based dark wax for the clear-wax-first, dark-wax-second step in Technique 4 below. The listing calls for a very thin layer over dry paint, 15 to 20 minutes to set, then buffing with a clean lint-free cloth.
|
As an Amazon Associate we earn from qualifying purchases.
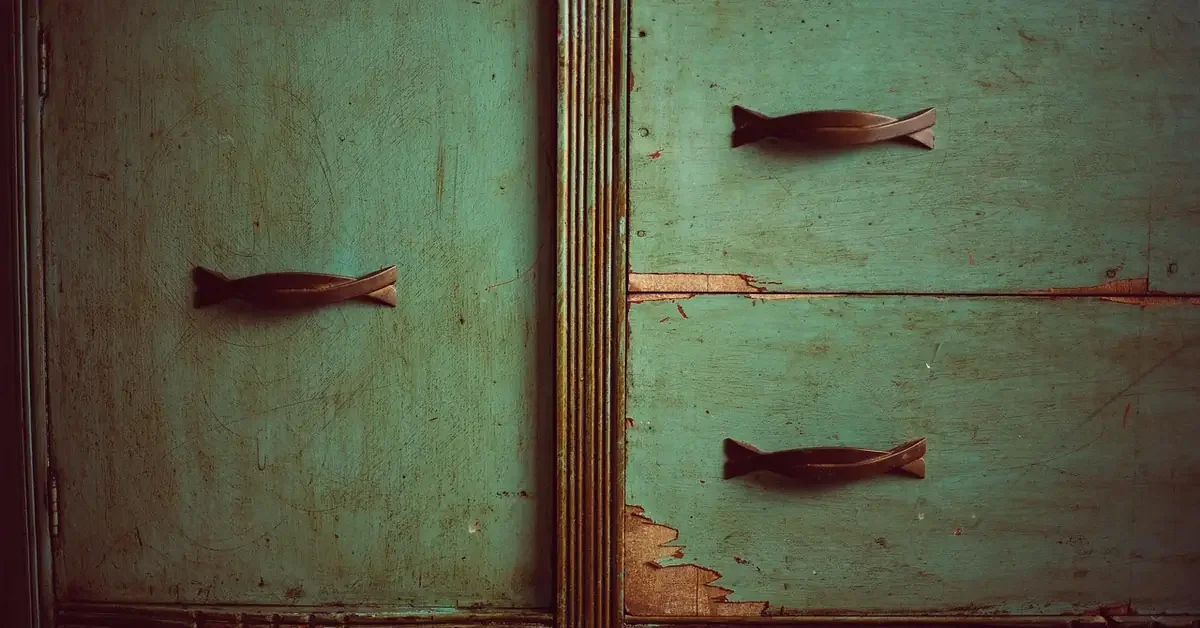
Antique paint techniques add depth, texture, and warmth that a flat, factory-new finish cannot. Every convincing antique finish is built from the same two moves. Subtract color with sandpaper or a damp sponge, so the base coat or bare wood shows at edges. Add color with glaze or dark wax, so darker tones settle into carvings, corners, and grain. Most beginner mistakes come from doing both everywhere at once. Pick one move to lead with and use the other only as an accent.
- Give new furniture a vintage feel without hunting for a real antique.
- Revive a tired piece without stripping it back to bare wood.
- Hide minor dents and scratches inside the distressing.
- Match a mismatched set by giving every piece the same aged finish.
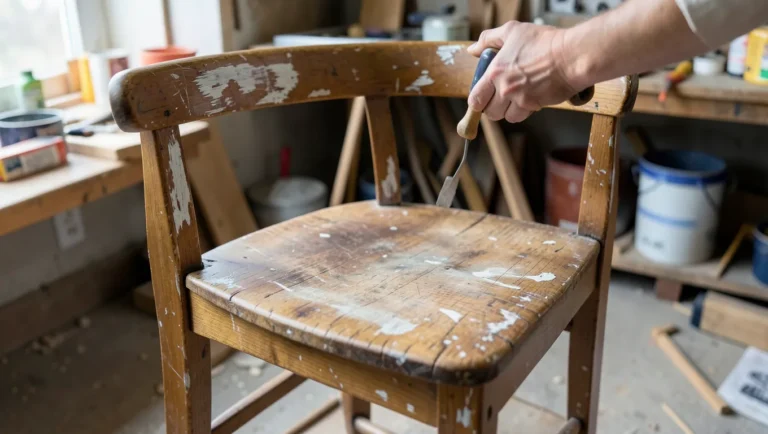
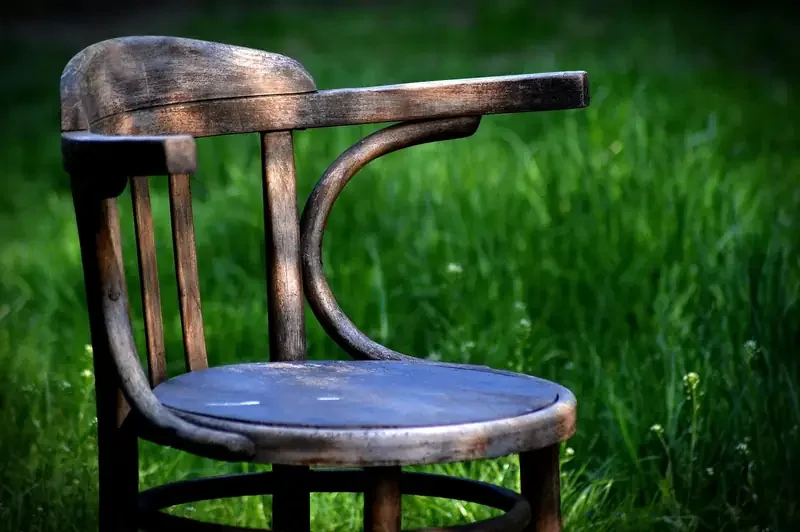
Imperfection is the point. Real furniture wears where hands, feet, and cleaning cloths touch it: front edges, drawer pulls, chair arms, and lower rails. Copy those spots and the piece reads as old. Scatter random sanding marks across flat panels and it reads as damaged.
Essential Materials for Your Antique Painting Project
Gather everything before you start so wet glaze or wax never sits while you hunt for a rag. Most items are at any paint or craft store.
Basic Supplies
- The piece: a wooden table, chair, picture frame, cabinet door, or craft item.
- Sandpaper: medium grit (120 to 150) for scuffing and fine grit (220) for smoothing between coats.
- Primer: a bonding primer made for wood, needed over stained or glossy surfaces.
- Paint: a base color and a top color. Latex or acrylic paints work for most techniques.
- Top coat: water-based polycrylic, polyurethane, or furniture wax.
- Brushes and rags: a quality brush for paint, a stiff brush for distressing, and clean lint-free cloths for wiping.
- Gloves and drop cloths.
For Specific Techniques (Optional but Recommended)
- Chalk paint: matte and porous, so it sands easily and takes wax well. Our guide to chalk painting and waxing furniture covers the full application.
- Glaze medium: a translucent, slow-drying medium that gives you time to wipe color back.
- Clear and dark wax: clear wax goes on first as a buffer, dark wax second for the aged patina.
Getting Started: Preparation is Key
Rushed prep is the most common reason an antique finish peels. A clean, scuffed surface is the foundation, and one safety check comes before any sanding.
Step 1: Check Old Paint for Lead
Lead-based paint was banned for residential use in 1978, so a painted piece made or refinished before then may carry it. Sanding or scraping that paint creates lead dust. The EPA lists lead test kits that give a quick answer before you disturb a surface. If a swab test is positive, do not dry-sand: paint over intact, clean paint without sanding, or hire a lead-safe professional.
Pre-1978 paint on the piece? Test before you sand. Source: EPA, Lead Test Kits
Step 2: Clean Your Surface
Wipe the piece with a damp cloth and mild soap, then dry it with a clean rag. Grease and dust stop paint from bonding, and this step is not optional.
Step 3: Light Sanding
Scuff glossy finishes with 120 to 150 grit paper so the primer has something to grip, then remove all dust with a tack cloth. Chalk paint over a sound, dull finish often needs only a light scuff.
Step 4: Apply Primer
Apply one or two thin coats of primer and let each dry fully. Sand lightly with 220 grit and wipe away the dust. Primer matters most over stained or dark wood, where tannins can bleed through pale paint. Our primer coats guide covers how many you need.
How to Antique Paint: 5 Techniques for Furniture and Wood
Each technique below gives a different aged look: rustic and chippy, soft and elegant, or deeply grimy. Choose one to lead with, then add a second only as an accent.
Technique 1: The Two-Tone Distress Method
Paint two colors, then sand through the top layer to show the base. It suits farmhouse and shabby chic styles and works best with chalk paint, which sands without gouging. Our guide to distressing wood goes deeper on sandpaper grits and tools, while this page covers the full antiqued finish.
- Apply the base coat: the color that will peek through. Let it dry completely.
- Add a resist (optional): rub furniture wax or petroleum jelly on edges and corners where natural wear occurs, so the top coat lifts easily there.
- Apply the top coat: one or two coats of your main color, dried fully.
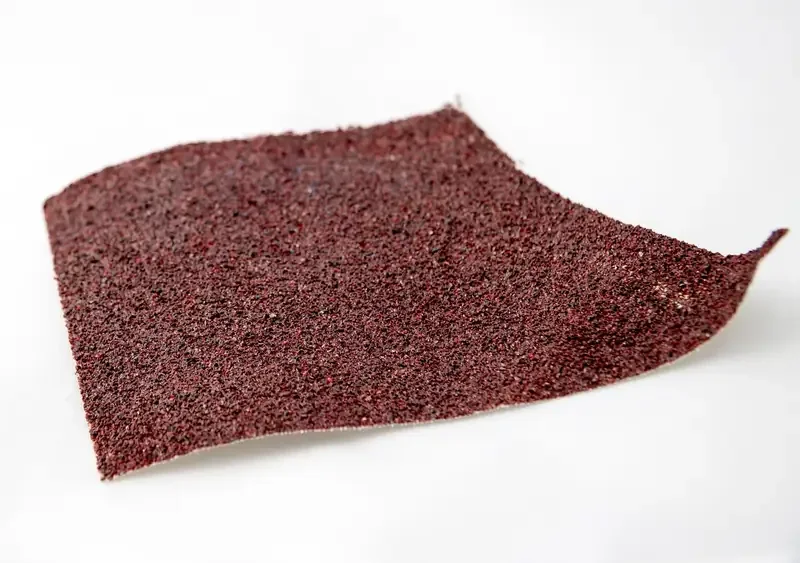
- Distress: rub through the top coat with fine-grit sandpaper at edges, corners, raised details, and around hardware. Start light, because you can always remove more.
- Clean up and seal: wipe away dust, then seal.
Technique 2: The Glaze Method
Glaze adds a translucent layer that settles into crevices and grain for a subtle aged effect. It is more elegant than heavy distressing and suits traditional or French country styles. The base coat must be sealed first. Glaze brushed over bare chalk paint soaks in unevenly and leaves stains you cannot wipe back.
- Seal the base coat: brush one thin coat of clear water-based polycrylic over the dry base color. This barrier lets you wipe the glaze off.
- Mix the glaze: blend dark brown, gray, or black paint into glaze medium. Follow the ratio on the product label, and test on the underside of the piece first. More medium means more transparency.
- Apply: brush or rag the glaze over one small section at a time.
- Wipe back: wipe off the excess with a lint-free rag before it tacks up. The glaze stays in crevices and along the wood grain.
- Repeat if needed: let the first coat dry fully before adding a deeper second coat.
- Seal: apply a protective top coat once everything is completely dry.
Technique 3: Chalk Paint Distressing
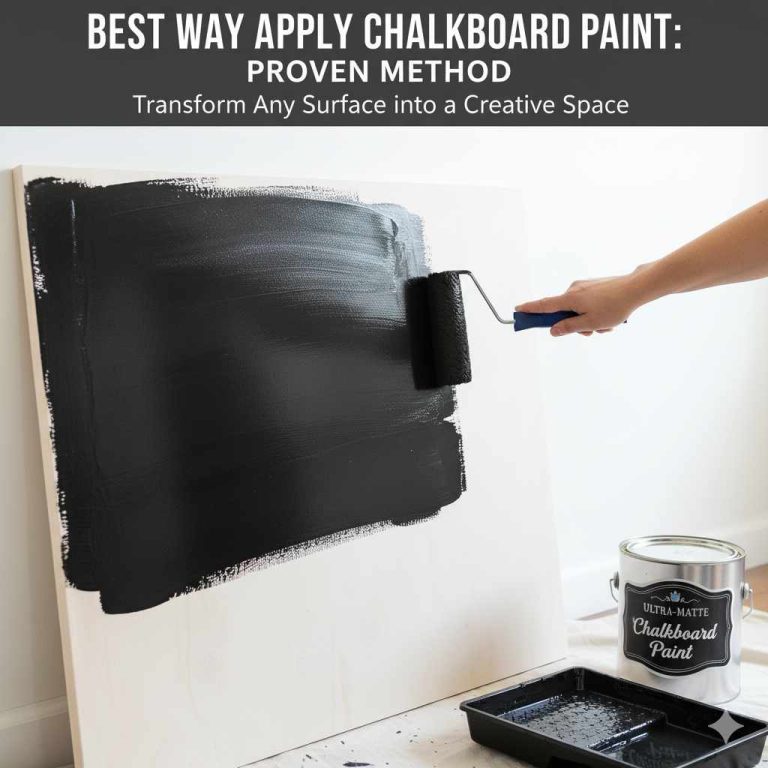
Chalk paint is built for antique finishes. Its matte, porous surface sands easily and bonds to most surfaces with little prep. Apply two coats, let them dry, then sand at edges and corners with 220-grit paper. The matte surface already reads as aged, and the sanding deepens the effect. Always finish chalk paint with wax or polycrylic. Our guide to whether chalk paint is waterproof explains why.
Technique 4: Dark Wax for Deep Aging
Dark wax is the fastest way to add depth. Brush clear wax over the whole piece first, then work dark wax into carvings, corners, and distressed edges one small section at a time, and buff the raised areas with a clean cloth. The clear wax acts as a buffer, so the dark wax can be wiped back instead of staining the paint. You need very little. The Dixie Belle wax in the box above lists 15 to 20 minutes of set time before buffing. If the wax goes on blotchy, our blotchy wax fixes cover it, and our dark wax guide has the full application steps.
Technique 5: Wet Distressing
Wet distressing removes paint without sandpaper or sanding dust. Paint the piece normally and wait until the paint is almost dry. Then rub the edges and raised spots with a damp paper towel or sponge so the color lifts and the base shows through. It is a good fit for pieces you cannot sand safely, and it leaves a softer, more worn look than sandpaper. Work quickly, because the window closes once the paint cures.
Which Antique Finish Fits Your Piece
Match the finish to how the piece is built and used. Detail and daily wear should drive the choice more than the color you like.
| Your piece | Lead with | Why it works | Watch out for |
|---|---|---|---|
| Carved mirror frame or ornate drawer fronts | Glaze or dark wax | Both settle into recesses and leave raised areas lighter | Wipe back highlights so the whole piece does not go dark |
| Flat tabletop or cabinet panels | Two-tone distress at the edges only | Real tables wear at edges and where hands rest | Heavy glaze on a flat top shows streaks |
| Dining table or desk with daily use | Distress, then clear water-based polycrylic | Polycrylic is more durable than wax for high-use tops | Seal over dry paint and glaze only |
| First antiquing project | Chalk paint with clear and dark wax | Forgiving, matte, and wax can be wiped back | Skip the clear wax and dark wax can stain |
| Piece you cannot sand safely | Wet distressing | No sanding dust, and nothing to scrape | Only works while paint is almost dry |
Sealing and Protecting Your Antique Finish
Sealing is not optional. Without it the finish scratches, chips where you did not plan, and wears away with use. Choose a sealer based on the look and the traffic the piece will see.
Choosing Your Sealer
- Water-based polycrylic: best for light colors because it does not yellow. Durable and fast drying. Apply thin coats.
- Furniture wax: the traditional finish over chalk paint. Soft sheen and velvety feel, but less durable than polycrylic and easy to reapply. Clear wax first, then dark wax for depth.
- Spray lacquer: very smooth, but it needs ventilation and a steady hand. More durable for high-use tops.
The Layer Order That Works
- Clean and scuff the piece (and test old paint for lead first).
- Prime if the wood is stained, dark, or glossy.
- Base coat, then optional wax resist at edges.
- Top coat, then distress by sanding or wet wiping.
- Clear seal coat (or clear wax) over everything you want to protect.
- Glaze or dark wax, wiped back in small sections.
- Final top coat over dry glaze, or buff the wax.
The order matters because each layer protects the one under it. Glaze or dark wax applied straight onto bare paint cannot be removed cleanly, and a top coat applied over wet glaze will smear it.
Application Tips
Let every paint and glaze layer dry completely before sealing. Apply thin coats, let each dry, and sand lightly with 320-grit paper between polycrylic coats. Two or three thin coats protect most pieces.
Comparing Antique Painting Techniques
| Technique | Best style | Difficulty | Look achieved | Key materials |
|---|---|---|---|---|
| Two-tone distress | Farmhouse, rustic, shabby chic | Beginner | Worn paint exposing the base color or wood | Two paint colors, sandpaper, wax (optional) |
| Glaze method | Elegant, traditional | Beginner to intermediate | Deeper color, highlighted details, subtle wear | Base paint, glaze medium, dark paint, rags |
| Chalk paint distressing | Farmhouse, coastal, boho | Beginner | Matte, soft, naturally aged surface | Chalk paint, 220-grit sandpaper, wax |
| Dark wax | Rustic, industrial, French country | Beginner | Deep patina in crevices | Clear wax, dark wax, soft cloth |
| Wet distressing | Soft, lightly worn looks | Beginner | Softly lifted paint at edges | Paint, damp sponge or paper towel |
Safety First in Your Workshop
- Lead: test paint on pre-1978 pieces before sanding, as covered in Step 1.
- Ventilation: work outdoors or with open windows when using primers, glazes, or sealers that give off fumes.
- Dust protection: wear an N95 mask when sanding. An N95 does not stop solvent vapors, so follow the product label for any respirator it calls for.
- Eye protection: safety glasses when sanding.
- Gloves: disposable gloves keep paint and chemicals off your skin.
- Rags: rags soaked in oil-based glaze or stain can heat up as they dry. Lay them flat outdoors to dry, or follow the label disposal directions.
Frequently Asked Questions About Antique Painting
Can I antique paint over existing varnish?
Yes. Sand the varnished surface lightly with 120-grit paper to create adhesion, then apply a bonding primer before your base coat. The sanding step makes the difference. Skip it and the paint will peel.
What is the difference between antique paint, chalk paint, and milk paint?
Antique paint is a broad term for any finish that looks aged. Chalk paint and milk paint are specific paint types with matte, porous surfaces that suit distressing. Both need minimal prep, which is why they are the usual starting materials for antique finishes.
How do I distress furniture for a really authentic look?
Focus on the spots where real wear occurs: edges, corners, around handles and hardware, and where hands and feet make contact. Use a light touch, because you can remove more paint but you cannot put it back. A wax resist between paint layers gives a more pronounced chippy effect.
How do you make painted furniture look old without sanding?
Use wet distressing: rub almost dry paint with a damp sponge or paper towel to lift color at the edges. You can also skip paint removal and add age with glaze or dark wax, which settle into details and need no sanding.
What is the difference between antiquing glaze and dark wax?
Glaze is a translucent paint medium that you brush on and wipe back, and it needs a sealed base. Dark wax is rubbed over clear wax and buffed, and it gives a softer, deeper patina. Glaze suits flat or lightly detailed areas, while dark wax suits carvings and crevices.
Conclusion
Antique painting is forgiving because imperfection is part of the style. Pick one lead move, subtract color with distressing or add it with glaze or dark wax, keep the layer order straight, and seal the result. Start on a small piece to build confidence, and test any pre-1978 paint for lead before you sand.
Sponsored / affiliate links. As an Amazon Associate I earn from qualifying purchases. I may earn additional commission from eligible campaigns.