Building a Table for a Table Saw: Real Dimensions & Materials
A table saw table has to hold the saw at a fixed height, stay flat across the seam, and give long boards somewhere to go after the blade. The number that matters most is outfeed depth: support should reach at least half the longest workpiece’s length past the blade, with its top level to 1/16 inch below the saw top, never above. This guide gives that math, a worked 36 x 36 inch outfeed build with a cut list, and notes for portable saws.
What a Table Saw Table Actually Has to Do
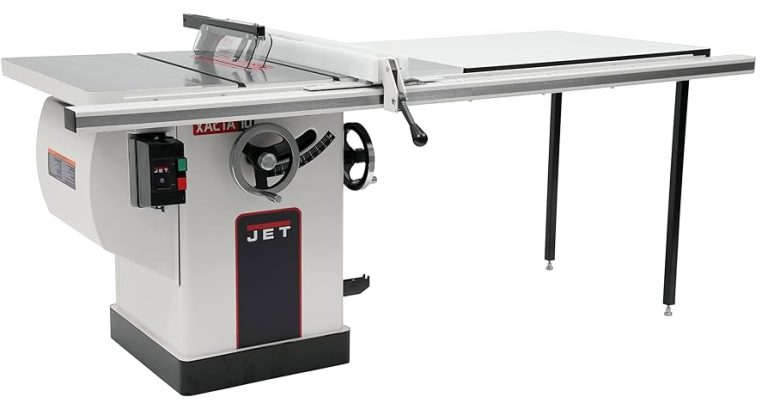
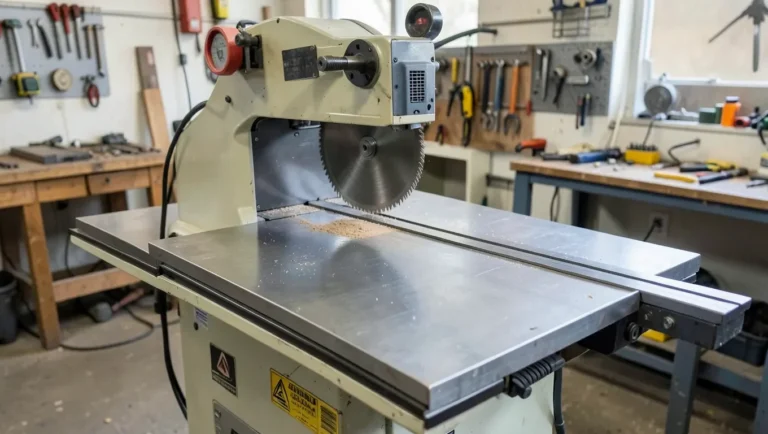
Whether you call it a stand, a workstation or an outfeed table, the build has three jobs: carry your table saw at a comfortable working height, extend the flat surface in front of and behind the blade, and stay put when you push a heavy sheet through. Everything below follows from those three jobs.
Best Mobile Base Pick | |
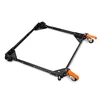 |
WEN Mobile Base, Universal Heavy Duty, 500-Pound Capacity (MB500): $54.53 A bolt-together adjustable frame that lets a finished stand or the saw itself roll to the wall. Its height counts toward the leg-length math in this guide, so measure it before you cut.
|
As an Amazon Associate we earn from qualifying purchases. | |
One honest note on the numbers. The dimensions here are our own design arithmetic, worked out step by step so you can check them against your saw. They are not measurements from a build we tested, so treat them as a starting layout and verify every figure against your own saw before you cut lumber.
Stationary, Mobile or Folding: Pick the Design First
The design choice decides your leg length, your footprint and how much the table can flex, so settle it before you buy anything.
| Design | Best for | Trade-off |
|---|---|---|
| Stationary stand | Small shops where the saw never moves | Heavy and permanent, so plan the layout around it |
| Mobile stand on locking casters or a mobile base | Shared garages and shops that double as parking | Casters add height and can creep, so lock all four before a cut |
| Folding outfeed leaf | Tight shops that only need long support occasionally | Hinges add flex, so it suits light stock more than full sheets |
| Freestanding outfeed table | Anyone ripping sheet goods regularly | Needs floor space behind the saw and its own leveling feet |
If you have not chosen a saw yet, our guide to the best table saws lists rip capacity for each, and that number sets how much outfeed you need. If you already own a saw with an aftermarket fence, check rail clearance with our notes on a Delta table saw fence upgrade before you size the top, because fence rails often stick out past the saw table’s edge.
Outfeed Depth: The Half-Length Rule
Most plans say to add 24 to 48 inches of outfeed and stop there. The range is right, but you can calculate your own number instead of guessing. A board or panel stays stable as long as its center of gravity is over supported surface. At the end of a cut, the trailing end of the piece is at the blade and the center of gravity sits half the piece length past it. So the support behind the blade, saw table plus outfeed, must reach at least half the longest piece you plan to cut.
Subtract the part of the saw table that already sits behind the blade. On many saws that is roughly 13 inches, but it varies, so measure from the blade’s rear teeth to the saw table’s rear edge. Using 13 inches as the example:
| Longest workpiece | Support needed past blade (half length) | Outfeed table depth (minus 13 in) |
|---|---|---|
| 24 in | 12 in | 0 in, the saw table covers it |
| 36 in | 18 in | 5 in |
| 48 in (half sheet crosscut) | 24 in | 11 in |
| 72 in | 36 in | 23 in |
| 96 in (full sheet rip) | 48 in | 35 in, so build 36 in |
That is why a 36 inch deep outfeed table handles an 8 foot rip on a saw like the one in the example, and why the common advice of 24 to 48 inches is a range rather than a rule. Make the outfeed at least as wide as the saw table. If you rip wide panels to the right of the fence, extra width on that side helps more than extra depth.
Match the Height, and Err Low
Set the outfeed top level with the saw top or up to 1/16 inch below it. A surface even slightly above the saw top will catch the leading edge of the work and can stall or kick the piece. One a hair low simply lets the board glide on. Lay a straightedge from the saw top across the seam and look for a gap of light under it on the outfeed side, never a step up.
Table Height and Leg Length: Worked Example
Leg length is simple subtraction, but it is where homemade tables go wrong, because plywood is thinner than its label and every layer adds up. Plywood sold as 3/4 inch typically measures 23/32 inch (0.719 in), and a glued-on laminate skin adds roughly 0.05 inch. A 2×4 actually measures 1-1/2 by 3-1/2 inches.
- Measure your saw’s table height from the floor. Example: 35 inches.
- Subtract the drop below the saw top you want: 1/16 inch (0.0625), giving a target top height of 34.9375 inches.
- Subtract the top: 0.719 plywood plus 0.05 laminate is 0.769 inch, leaving 34.17 inches.
- If the legs run full height inside the frame corners, cut them 34 3/16 inches (34.1875). That puts the top at 34.956 inches, about 3/64 inch below the saw, inside the 1/16 limit.
- If you add a mobile base or casters, subtract their stated height from the leg length too, then adjust with leveling feet.
Run the same lines with your own saw height. Measure at the table’s edge nearest the outfeed, since that is where the seam will be.
Materials and Cut List for a 36 x 36 Inch Outfeed Table
Here is the cut list that goes with the arithmetic above. It uses a 2×4 frame with the legs inside the corners, a lower ring of stretchers, and a plywood top. A 4 x 8 foot sheet of plywood is 48 x 96 inches, so one sheet yields the 36 x 36 top with plenty left over for a shelf or jig panels.
| Part | Material | Size | Qty |
|---|---|---|---|
| Top | 3/4 in plywood (23/32 in actual) | 36 x 36 in | 1 |
| Top skin (optional) | Plastic laminate or hardboard | 36 x 36 in | 1 |
| Upper and lower long rails | 2×4 | 36 in | 4 |
| Short rails and cross braces | 2×4 | 33 in | 6 |
| Legs | 2×4 | 34 3/16 in | 4 |
| Leveling feet | Threaded adjustable feet | Per leg | 4 |
The short pieces are 33 inches because they fit between two 36 inch rails (36 minus 1-1/2 on each end). On 8 foot boards, no board yields three pieces once you count saw kerf, since three 33 inch pieces already total 99 inches. Buy seven 8 foot 2x4s and cut two pieces from each. Use glue plus 2-1/2 inch screws at the frame joints and 2 inch screws up through the rails into the top.
On top material: plywood stays flatter than solid lumber across seasons, which matters for a reference surface. MDF is flatter still but heavy, and it swells if its edges get wet, so seal all edges. If you plan a furniture-style build with a front rail, our explainer on a table apron covers what the apron does.
Step-by-Step: Building the Table
- Cut the parts. Cut every piece from the cut list square and to length, and label them. Square ends matter more than a perfect length, because the frame must sit flat.
- Build the upper frame. Join the two 36 inch rails and two of the 33 inch rails into a rectangle with glue and screws, then add the two cross braces at thirds so the top is supported every 12 inches.
- Attach the legs. Fasten each leg inside a frame corner with its top flush with the rail tops, checking square with a framing square on both faces.
- Add the lower stretchers. Fit the lower ring of rails about 8 inches off the floor to stop the legs racking, then install leveling feet.
- Fit the top. Screw the plywood down from underneath through the rails, sinking screws below the surface, and glue the optional laminate on with the edges trimmed flush.
- Set height and check flatness. Position the table behind the saw, adjust the feet until the top sits level to 1/16 inch below the saw top, and lock any casters.
Building Around a Portable or Jobsite Saw
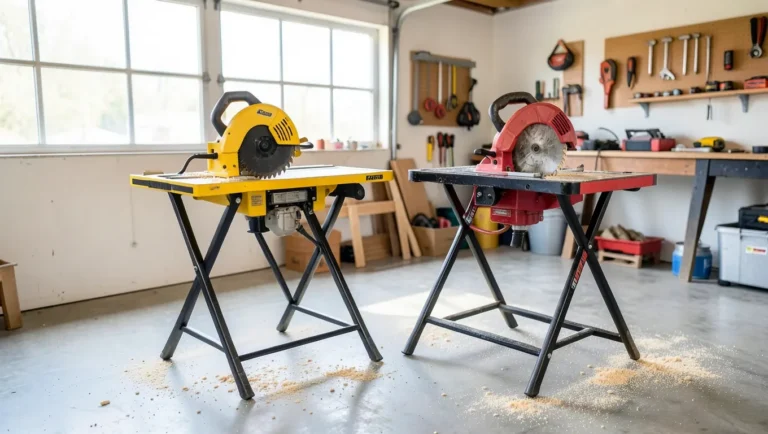
Portable saws such as the DeWalt, Skil and Ryobi jobsite models do not have a heavy cast-iron base like a contractor or cabinet saw. They sit on a baseplate with brand-specific mounting holes, and their footprints differ enough that one saw’s cutout rarely fits another. Do not copy a cutout size from a plan. Trace your own saw’s base on paper and transfer it.
- Recess the saw so its own table sits flush with the surrounding top. The recess depth is the saw body’s height below its table, so measure that and subtract it from the top height before you cut legs.
- Leave the motor, dust port and switch reachable from the front, and never box the motor in without ventilation.
- Use the saw’s own mounting holes with bolts, washers and locknuts, not screws into plywood that can loosen.
- Keep the saw’s rear edge flush with the top so there is no lip behind the blade, and still measure your own depth behind the blade for the outfeed rule above.
Checks Before the First Cut
A table that looks right can still be off by enough to matter. Run these checks with the saw unplugged:
- Flatness: lay a 4 foot straightedge across the saw top and outfeed top in three places, with gaps under 1/32 inch on the outfeed side.
- Height: the outfeed is level or up to 1/16 inch below the saw top along the whole seam, never above.
- Miter slots and fence rails: the new top does not block either slot or hit the fence rails at full travel.
- Stability: push on each corner. Nothing rocks, and locked casters do not creep.
- Blade clearance: the riving knife and guard move freely and nothing on the outfeed touches the blade or its throat insert.
Safety: What a Table Does and Does Not Fix
An outfeed table supports the work after the cut, but it does not replace the guarding on the saw. Keep a riving knife on for through cuts; our guide to the riving knife explains how it stops the kerf closing on the blade. If you are choosing a saw, read about flesh-detection systems in how table saws detect fingers.
- Do not wear gloves when working near the blade, because loose fabric can be pulled in. Eye and hearing protection is the safe default.
- Never stand directly behind a long workpiece in line with the blade, because a kickback sends the board straight back along that line.
- Rip full sheets with a helper or with extra support on both sides. Dragging a heavy sheet alone is how outfeed tables get blamed for accidents.
- Do not use the outfeed as a bench while the saw runs. Clutter near the blade throat gets caught by the work.
- Unplug the saw before adjusting the blade, the throat insert or the table height.
These are general precautions, not a replacement for your saw’s manual. Follow the manufacturer’s instructions for your model.
Common Mistakes That Ruin a Table Saw Table
- Setting the outfeed above the saw top, which catches the work on the seam.
- Forgetting that mobile bases and casters add height before cutting legs.
- Using a single large sheet of MDF with no sealed edges, which swells and goes out of flat.
- Screwing the outfeed rigidly to the saw so vibration and height changes travel between them.
- Copying another saw’s cutout instead of tracing your own base.
Take the numbers above, check them against your own saw, and the build comes down to square cuts and patient leveling. Start with the outfeed depth and height, since those are the two figures that decide whether long cuts stay controlled. If you also run a miter saw, the same stand-height thinking applies, and our guide to using a miter saw safely covers the support side of that tool.
FAQs
How long should a table saw outfeed table be?
Long enough to reach half the length of your longest workpiece past the blade. If the saw table extends 13 inches behind the blade, an 8-foot board needs about 35 inches of outfeed, so a 36-inch table covers full sheets. Short crosscut work needs far less.
How high should the outfeed table be compared to the saw?
Level with the saw top or up to 1/16 inch below it, never above. A surface that sits higher catches the leading edge of the work, while one a hair lower lets the board slide on without a lip.
What is the best material for a table saw table top?
Three-quarter inch plywood over a 2×4 frame is the practical default because it stays flatter than solid lumber and takes screws well. MDF is flatter still but heavy and swells if its edges get wet, so seal them. Laminate on top reduces friction.
Can I build a table for a jobsite table saw?
Yes. Measure the saw’s baseplate and mounting holes, cut a recess so the saw’s own top sits flush with your new top, and keep the motor and dust port open. Jobsite footprints differ between brands, so never reuse another saw’s cutout dimensions.
Should the outfeed table be attached to the saw?
Usually not. Keep it freestanding on its own leveling feet so saw vibration does not travel into it and you can reset its height independently. Tie it to the saw only with a clamp or bracket you can release, and keep the gap small and consistent.
Sponsored / affiliate links. As an Amazon Associate I earn from qualifying purchases. I may earn additional commission from eligible campaigns.