How to Screen and Recoat Hardwood Floors (No Sanding Required)
To screen and recoat hardwood floors, clean the floor, buff the existing finish with a fine (120-150 grit) sanding screen to scuff it, then apply a fresh coat of polyurethane — no sanding down to bare wood required. A screen and recoat costs a fraction of a full refinish and works on engineered hardwood floors too, since it only abrades the finish layer, not the wood veneer underneath. This guide covers assessing whether your floor qualifies, the exact screening and recoating steps, and how to avoid the bubbles and streaks that ruin most DIY attempts.
Introduction To Hardwood Floor Maintenance
Hardwood floors are a timeless choice for homes. They add warmth and elegance to any space. The beauty of hardwood floors enhances the overall look of your home. Regular maintenance is essential to keep them stunning.
Importance of regular upkeep cannot be overstated. Without proper care, floors can lose their shine. Dust and dirt can scratch the surface over time. Regular cleaning and recoating protect the wood from wear and tear. A well-maintained floor lasts longer and looks better.
Screening and recoating is a simple process. It helps restore the floor’s original beauty. This process removes the old finish and applies a new one. It is less expensive than a full refinishing. Regular upkeep saves money and keeps your floors looking fresh.
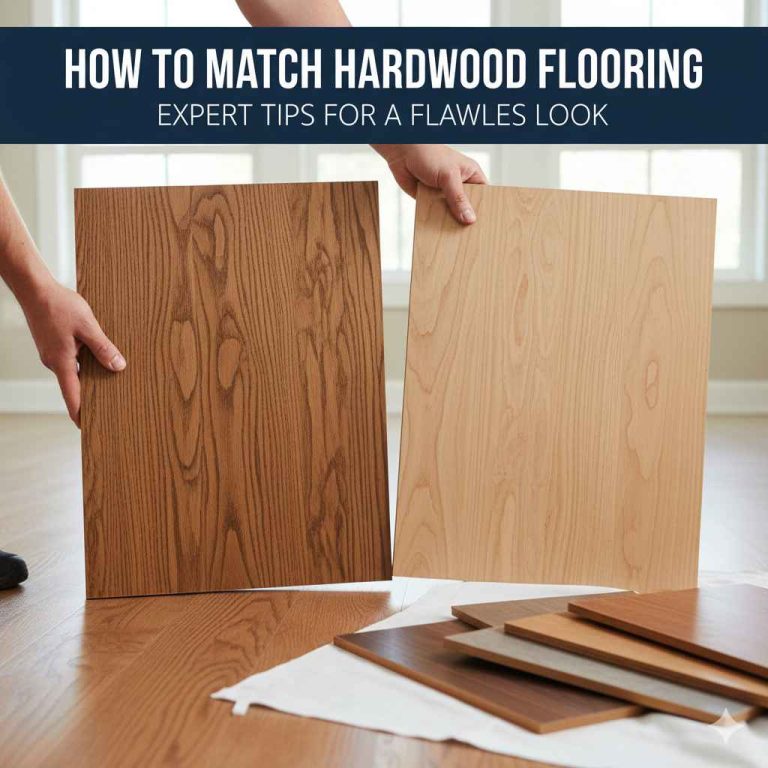
Assessing Your Hardwood Floors
Hardwood floors can show signs of wear over time. Look for scratches, dull spots, and discoloration. These indicate that your floors may need attention.
Consider the traffic in your home. High-traffic areas wear faster. If you notice faded areas or rough textures, it’s time to act.
Regular maintenance helps your floors last longer. A good rule is to screen and recoat every 3 to 5 years. This process refreshes the finish without a complete refinish.
Check for water damage or deep scratches. These issues may need more than just recoating. Address serious problems before refinishing your floors.
Can You Screen And Recoat Engineered Hardwood Floors?
Yes. Engineered floors have a thin wood veneer (often 2-6mm) over a plywood core, but screening only abrades the finish — it never touches the wood underneath, so there’s no risk of sanding through the veneer. The one requirement is that the existing finish is still sound; if the veneer itself is already worn through or gouged, screening won’t fix that and a professional refinish (or replacement) is the only option.
Tools And Materials Needed
To screen and recoat hardwood floors, gather the right tools and materials. Essential equipment includes:
- Sander for smoothing the floor.
- Floor buffer for even coating.
- Vacuum to remove dust and debris.
- Microfiber mop for cleaning.
- Sealer to protect the wood.
- Finish for a glossy look.
Selecting the right finish is crucial. Options include:
| Type | Features |
|---|---|
| Polyurethane | Durable and water-resistant. |
| Oil-based | Rich color and deep shine. |
| Water-based | Quick drying and low odor. |
Best Screen & Recoat Kit Pick
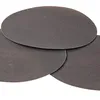
Mercer 120 Grit Floor Sanding Screens (10-Pack)
The exact grit range recommended in this guide for scuffing an existing finish before recoating — fine enough not to gouge the wood.
- Best for: most screen-and-recoat jobs on floors in decent condition
- Why we picked it: 120 grit matches the scuff-not-strip goal — won’t cut through finish to bare wood
- Main drawback: requires a rented or owned floor buffer to use effectively
Compare more screening & recoating supplies
 Option 1 80 Grit Sanding Discs (coarser)
|
 Option 2 13″ Mesh Screens for Low-Speed Buffer
|
 Option 3 Varathane Water-Based Poly, 1 Gal
|
As an Amazon Associate we earn from qualifying purchases.

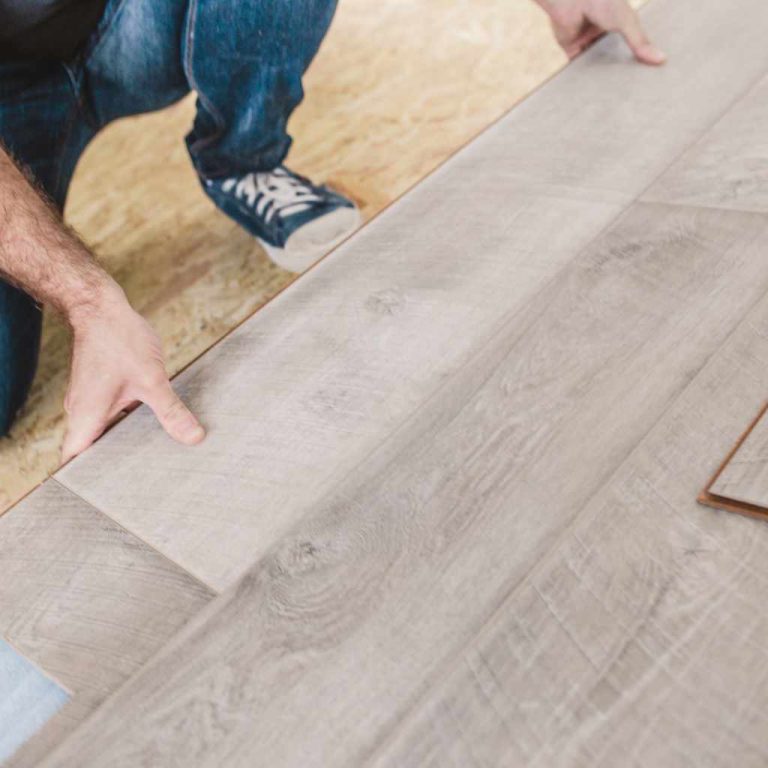
Preparing The Room
To start, clear the space of all furniture and items. Move everything out of the room. This makes it easier to access the floor.
Next, clean the floor surface thoroughly. Use a vacuum to remove dirt and dust. After that, damp mop the area to lift any remaining grime.
Make sure the floor dries completely before proceeding. This helps the finish adhere properly. A clean and clear area is essential for the best results.
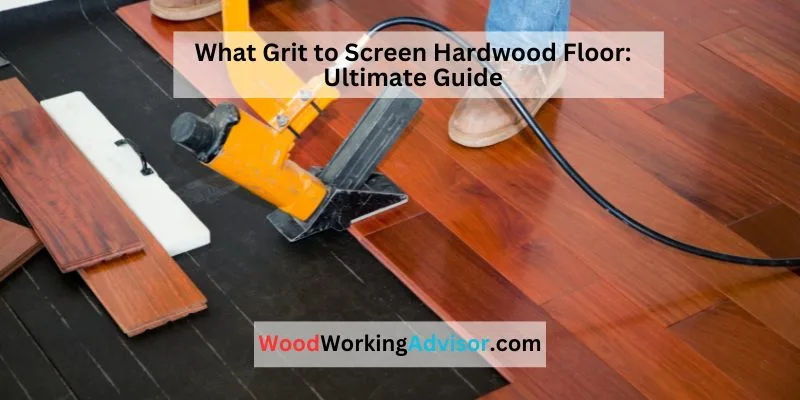
Sanding: The Screening Process
Using a floor buffer is essential for the screening process. It helps to remove the old finish. Choose a buffer that fits your floor type well. Use a fine-grit screen for best results. This helps to smooth the surface before recoating.
Follow these sanding tips for an effective job:
- Start in a corner and work your way out.
- Keep the buffer moving to avoid gouges.
- Use even pressure across the floor.
- Check for missed spots after sanding.
- Vacuum the dust thoroughly before recoating.
Cleaning After Sanding
After sanding, it’s crucial to remove dust and debris. Dust can ruin the final finish. Start by using a vacuum with a soft brush attachment. This helps pick up fine dust particles.
Next, use a damp cloth or mop to wipe the floors. Make sure the cloth is not too wet. Excess water can damage the wood. Allow the floor to dry completely before proceeding.
Check for any missed spots. A clean surface ensures a better bond for the new finish. Taking these steps creates a smooth base for recoating your hardwood floors.
Applying The New Finish
Choosing between oil and water-based polyurethane is important for your hardwood floors. Oil-based finishes last longer but take longer to dry. They also have a stronger smell. Water-based finishes dry quickly and have less odor. They are easier to clean up too.
For an even coating, use a high-quality applicator. A mop or a brush works well. Start at one corner of the room and move towards the exit. This way, you won’t step on the wet finish. Apply thin layers for best results. Thick layers can lead to bubbles and uneven spots.
Always follow the manufacturer’s instructions on drying times. Wait until the finish is fully dry before applying another coat. This ensures a smooth, strong surface.
Drying And Curing Time
Drying times vary based on the type of finish used. Most water-based finishes dry in 2 to 4 hours. Oil-based finishes take longer, usually around 8 to 12 hours.
Proper curing is key for a strong finish. Ensure good ventilation in the area. Keep the temperature between 60°F and 80°F for best results.
Avoid heavy foot traffic for at least 24 to 48 hours. This helps the finish set well. Wait at least 7 days before placing rugs or furniture back.
| Finish Type | Drying Time | Curing Time |
|---|---|---|
| Water-Based | 2-4 hours | 7 days |
| Oil-Based | 8-12 hours | 30 days |
Post-recoat Care
To keep your refreshed hardwood floors looking great, follow simple care tips. Regular cleaning helps remove dirt and dust. Use a soft broom or a vacuum with a hardwood attachment.
Avoid water on your floors. Too much water can damage the wood. Instead, use a damp mop with a gentle cleaner.
Place mats at entryways to catch dirt and moisture. This prevents scratches and keeps your floors cleaner. Felt pads under furniture can also protect against scratches.
Sunlight can fade wood. Use curtains or blinds to limit direct sunlight exposure. This helps maintain the color of your floors for longer.
| Preventive Measures | Benefits |
|---|---|
| Regular Cleaning | Removes dirt and dust |
| Avoid Water | Prevents wood damage |
| Use Mats | Catches dirt and moisture |
| Felt Pads | Protects against scratches |
| Limit Sunlight | Prevents fading |
Troubleshooting Common Issues
Bubbles and streaks can appear after recoating hardwood floors. They often result from improper application or humidity. If bubbles form, allow the floor to dry. Then, gently sand the area and apply another coat. Streaks usually happen from uneven application. Use a high-quality applicator for better results.
Sometimes, these issues persist. Calling a professional can be wise. They have the right tools and experience. A pro can fix bubbles and streaks quickly. They also know how to avoid future problems. Investing in a professional saves time and effort.
Conclusion: Enjoying Your Revitalized Hardwood Floors
Revitalizing your hardwood floors can bring new life to your home. A screen and recoat process helps to remove scratches and restore the shine. Regular maintenance is key to keeping floors beautiful.
After screening, a fresh layer of finish is applied. This protects the wood and enhances its natural beauty. Be sure to choose the right finish for your floor type. Follow the manufacturer’s instructions for best results.
Enjoy the transformed look of your hardwood floors. They will feel smooth and look stunning. Regular upkeep will extend their life and keep them looking brand new.

Frequently Asked Questions
How Often Should I Screen And Recoat Hardwood Floors?
Screening and recoating hardwood floors is recommended every 3 to 5 years. This process revitalizes your floor’s finish and protects it from wear. Regular maintenance helps to maintain the beauty of your hardwood. It can also extend the lifespan of your flooring investment significantly.
What Materials Are Needed For Screening Hardwood Floors?
To screen hardwood floors, you will need a floor buffer, sanding screens, a vacuum, and a finishing product. Additionally, gather protective gear like goggles and masks for safety. Having the right tools ensures a smooth process. It also results in a professional-looking finish.
Can I Screen And Recoat My Floors Myself?
Yes, you can screen and recoat your floors yourself. However, it requires some DIY skills and proper tools. Ensure you follow the manufacturer’s guidelines for the best results. If unsure, hiring a professional can save you time and ensure quality work.
What Is The Difference Between Screening And Refinishing?
Screening involves lightly sanding the surface to remove imperfections. Refinishing, on the other hand, involves sanding down to the bare wood. Screening is less invasive and quicker, while refinishing takes more time and effort. Choose based on the condition of your floors and desired results.
Conclusion
Screening and recoating hardwood floors can breathe new life into your space. This process enhances beauty and protects your investment. Regular maintenance keeps your floors looking fresh and extends their lifespan. With the right tools and techniques, anyone can achieve professional results.
Enjoy your revitalized hardwood floors for years to come!