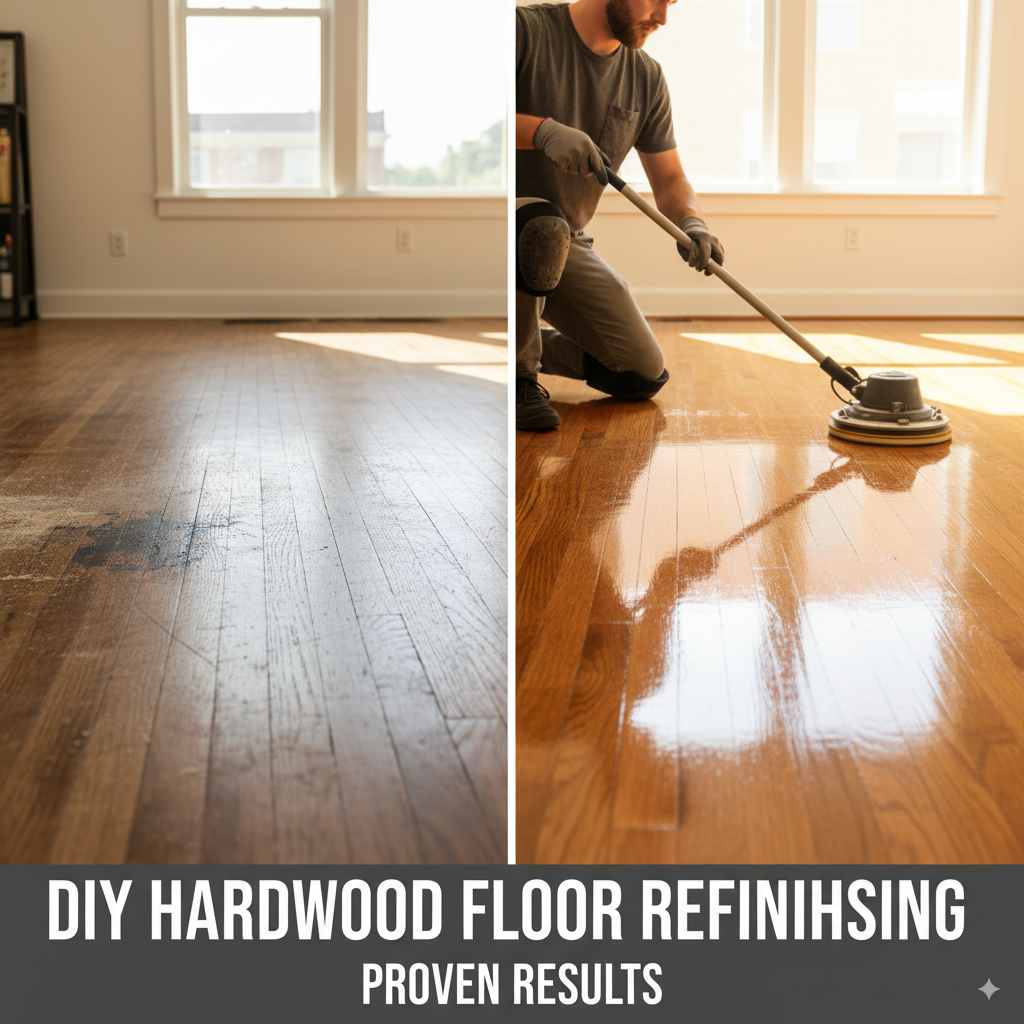
DIY Hardwood Floor Refinishing: Cost, Steps and Sanding Tips
Hardwood floor refinishing removes the old finish, sands the surface back to bare wood, and applies fresh stain and polyurethane — but DIY only makes sense if your floors are solid hardwood at least 9/16-inch thick with no structural damage. A drum sander in the wrong hands can gouge a floor permanently in under three seconds. This guide covers the full sanding sequence, finish options, realistic cost breakdown, and when hiring a pro is the smarter call.
Disclosure: This post may contain affiliate links. As an Amazon Associate we earn from qualifying purchases.
Quick Answer
DIY hardwood floor refinishing costs $500–$1,000 in materials and rental equipment vs $3–$8/sq ft for a professional. The process takes 3–5 days and requires solid hardwood at least 9/16-inch thick. The drum sanding step carries the highest risk for first-timers — one wrong pass can permanently gouge the floor.
Why Refinish Your Hardwood Floors?
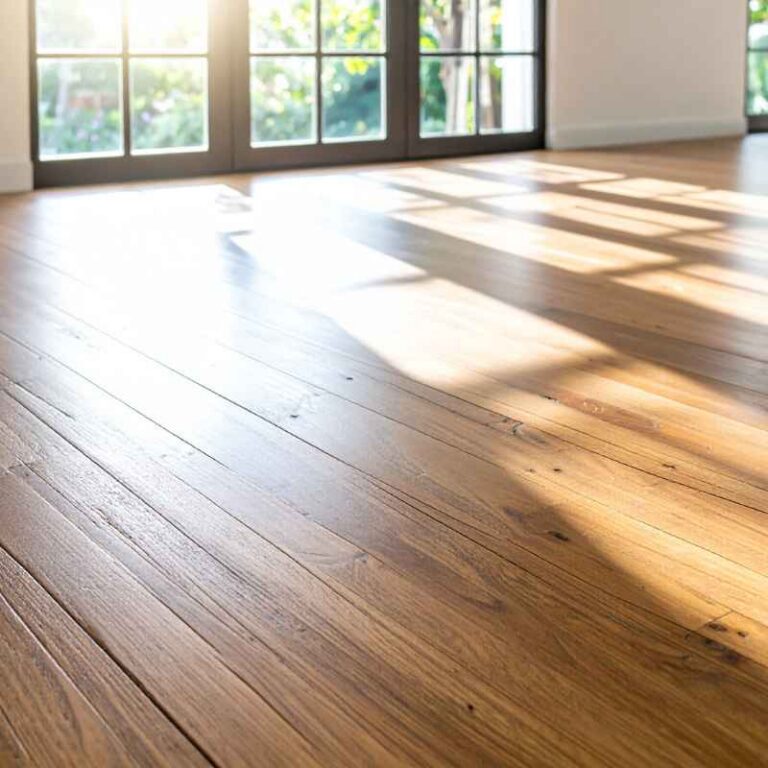
Old hardwood floors have a certain warmth and character, but over time they inevitably show wear and tear. Daily foot traffic, moving furniture, pet claws, and sunlight can all take their toll, leaving floors scratched, dented, faded, and dull. Hardwood floor refinishing restores their original beauty at a fraction of the cost of installing new flooring.
- Restore original beauty and luster
- Hide and repair scratches, gouges, and sun fading
- Update the look of your home without full replacement
- Increase your home’s value
- Create a durable, long-lasting protective finish
Hardwood Floor Refinishing Cost: DIY vs Professional
DIY hardwood floor refinishing costs $500–$1,000 in materials and equipment rental. Hiring a professional costs $3–$8 per square foot — roughly $1,500–$4,000 for a 500 sq ft room. The savings are real, but the risk of an expensive mistake is also real, particularly during the drum sanding step. For a full regional price breakdown, see our complete cost guide to refinishing wood floors.
| Approach | Cost (500 sq ft) | Time | Risk |
|---|---|---|---|
| Full DIY (sand + finish) | $500–$1,000 | 4–7 days | High — drum sander skill required |
| DIY finish only (hire sand-out) | $750–$1,500 | 2–4 days | Low |
| Full professional | $1,500–$4,000 | 3–5 days | None |
| Recoat only (no sanding) | $500–$1,000 pro | 1–2 days | None |
A practical middle ground: hire a professional for the sanding at $1.50–$3.00 per square foot, then apply the stain and finish yourself. This eliminates the highest-risk step while still cutting the total cost significantly. Dustless refinishing — where commercial vacuums capture nearly all sanding dust — costs $5–$8 per square foot but is worth considering for occupied homes or finished basements where dust migration is a serious problem.
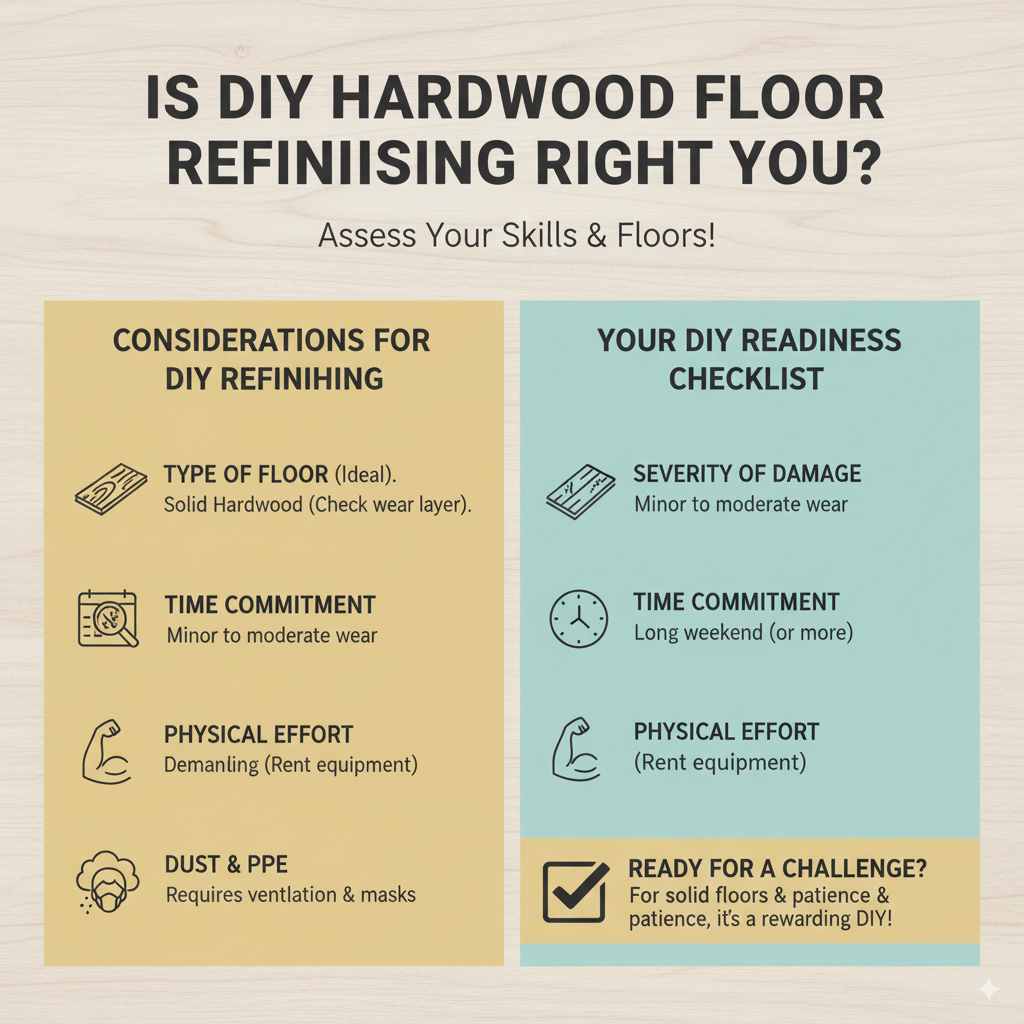
Is DIY Hardwood Floor Refinishing Right For You?
Before starting, confirm your floors can actually be refinished and that the project is within your skill level.
Considerations for DIY Refinishing:
- Type of Floor: This guide is for solid hardwood floors. Engineered hardwood can sometimes be refinished, but it depends on the thickness of the wear layer. Always check the manufacturer’s specifications before sanding.
- Floor Thickness: Your hardwood must have at least 1/8-inch of wood above the tongue and groove. Total board thickness below 9/16-inch is too thin to safely refinish.
- Severity of Damage: Minor to moderate scratches and wear are ideal for DIY refinishing. Deep gouges or structurally damaged boards may require replacement first.
- Time Commitment: Plan for at least a long weekend — 3–5 days for a standard room including drying time between coats.
- Dust: Even with dust containment systems, sanding creates significant fine dust. Seal all HVAC vents and doorways with plastic sheeting before starting.
How Many Times Can You Refinish Hardwood Floors?
Solid hardwood floors can typically be refinished 4–10 times over their lifespan, depending on wood thickness and how much material is removed with each sanding. Standard solid hardwood is 3/4-inch thick — each refinish removes approximately 1/32 to 1/16 inch of wood.
“Most solid wood floors can be sanded six to eight times during their overall service life… the primary determinant is the thickness of the wear layer, along with the skill of the contractor, the equipment used, and the condition of the floor.”
The minimum safe thickness is 9/16-inch total board thickness, with at least 1/8 inch of wood above the tongue and groove. Floors thinner than this cannot be sanded safely without risking the structural integrity of the board.
Engineered hardwood is a different story — it can typically be refinished only 1–2 times because the hardwood veneer layer is thin (usually 2–6mm). Once the veneer is sanded through, the floor cannot be refinished. If you have engineered floors, check our guide on whether engineered hardwood can be refinished before renting any equipment.
Gathering Your Tools and Materials
Having the right tools makes all the difference. For refinishing hardwood floors, you’ll need a combination of rental equipment and supplies you can purchase.
Essential Rental Equipment:
- Drum Sander: The workhorse for removing the old finish and smoothing the wood. Rented by the day. Keep the drum moving at all times — stopping with the drum touching the floor creates visible gouges instantly.
- Edge Sander (or Edger): This smaller disc-shaped sander gets into corners and edges that the drum sander can’t reach.
- Random Orbital Sander (optional but recommended): Lower risk than a drum sander and good for final smoothing. Recommended for beginners as a safer alternative for medium-wear floors.
- Vacuum Cleaner (with HEPA filter): Crucial for thorough dust cleanup between sanding grits and before applying finish.
Essential Supplies to Purchase:
- Sandpaper: Multiple grits — 36 or 40 (coarse), 60 (medium), 80, 100, and 120 (fine). Buy more than you think you’ll need; worn belts waste time and cut poorly.
- Wood Filler: To fill small holes and gaps. Choose a color that matches your wood or can be stained.
- Tack Cloths: For removing fine dust particles before applying finish.
- Painter’s Tape: To protect baseboards and adjoining surfaces.
- Drop Cloths/Plastic Sheeting: To cover furniture and seal off rooms from dust migration.
- Stain (optional): If you want to change the floor color.
- Polyurethane Finish: Water-based or oil-based. Water-based dries in 2–4 hours between coats and has lower odor. Oil-based adds amber warmth and needs 24–48 hours between coats.
- Applicators: Synthetic brush for edges, lambswool applicator or foam roller for the topcoat.
- Safety Gear: N95 dust mask, safety glasses, gloves, and knee pads.
Best Floor Refinishing Supplies Pick
8×19" Floor Sanding Belt Set (Assorted Grits)
Covers the full grit sequence for a rented drum sander — buy extra; worn belts create uneven sanding and take longer than changing the paper.
- Best for: A full room refinish needing multiple grit passes
- Why we picked it: Assorted grits match the 36-through-120 sequence this guide’s steps use
- Main drawback: Sized for standard rental drum sanders — check your rental unit’s belt size first
Compare more refinishing supplies
 Option 1 Varathane Water-Based Floor Polyurethane
|
 Option 2 5" Edger Sanding Disc Assortment
|
As an Amazon Associate we earn from qualifying purchases.
Renting Equipment:
Most tool rental centers offer drum sanders and edge sanders. Ask for operating instructions before leaving the rental shop — drum sanders are powerful machines that require a specific technique to avoid floor damage. Request fresh sandpaper belts; rental shops sometimes supply worn belts that cut poorly and leave scratches.
Step-by-Step Guide: DIY Hardwood Floor Refinishing
Step 1: Preparation is Key
Preparation determines whether the finish bonds correctly and the final result looks professional. Do not skip any part of this step.
- Clear the Room: Remove all furniture, rugs, and decorations. Every item must be out of the room.
- Protect the Space: Use plastic sheeting and painter’s tape to seal off doorways and HVAC vents. This contains dust and protects adjacent rooms.
- Remove All Hardware: Take out switch plates, vent covers, and any fixtures attached to the floor or baseboards.
- Check for Nails: Walk the floor and hammer down any protruding nails flush with the surface. An exposed nail head will tear a sanding belt instantly.
- Clean Thoroughly: Sweep and vacuum the entire floor to remove all grit and debris before sanding begins.
Step 2: Sanding — The Heart of Refinishing
Sanding is the most critical and highest-risk step. The drum sander must always be in motion when the drum is in contact with the floor — stopping while the drum is down creates deep, permanent gouges that are extremely difficult to repair.
- Start with coarse grit (36–40): Sand in the direction of the grain across the main floor area. This removes the old finish and levels the surface.
- Edge sand with the edger: Use the edge sander along walls and in corners the drum sander cannot reach. Work in the same direction as the grain where possible.
- Progress through grits: Move to 60, then 80, then 100 grit. Each pass removes the scratch marks left by the previous grit. Vacuum thoroughly between each grit change.
- Final pass at 120 grit: The final sanding pass smooths the surface and prepares it for stain or finish. Vacuum, then wipe with a tack cloth before proceeding.
Step 3: Filling Gaps and Imperfections
After the first round of sanding (60–80 grit), fill any gaps, cracks, or nail holes with wood filler. Apply it slightly overfilled, let it dry fully, then sand flush with the next grit pass. Do not fill gaps before sanding — the coarse grit will tear filler out.
Step 4: Staining (Optional)
If you want to change the color of your floors, apply stain after the final 120-grit sanding pass and before the polyurethane topcoat. Work in small sections, applying stain with the grain and wiping off the excess before it dries. Allow full drying time per the stain label — typically 8–12 hours — before applying polyurethane.
Step 5: Applying the Protective Finish (Polyurethane)
Apply polyurethane in thin, even coats with the grain. Thin coats dry more evenly and adhere better than thick coats. The first coat raises the grain slightly — after it dries, lightly sand with 120-grit or a fine sanding screen, wipe clean with a tack cloth, and apply the second coat. Most floors need 2–3 coats for full protection.
We used the same water-based floor polyurethane recommended earlier for this step — low odor and clear drying, with a 2–4 hour recoat window between thin coats.
Key Differences: Water-Based vs. Oil-Based Polyurethane
Choosing the right finish matters for both the look and the timeline of your project. Water-based polyurethane dries in 2–4 hours between coats, has lower odor, and stays optically clear — better for light-colored floors or maple. Oil-based polyurethane adds a warm amber tone, needs 24–48 hours between coats, and builds a thicker film per coat. For a detailed comparison, see our guide on water-based vs oil-based polyurethane.
| Feature | Water-Based | Oil-Based |
|---|---|---|
| Dry time between coats | 2–4 hours | 24–48 hours |
| Color | Clear — no amber | Warm amber tone |
| Odor | Low | Strong — good ventilation required |
| Coats needed (floor) | 3–4 | 2–3 |
| Full cure | 21 days | 30–60 days |
Maintaining Your Newly Finished Floors
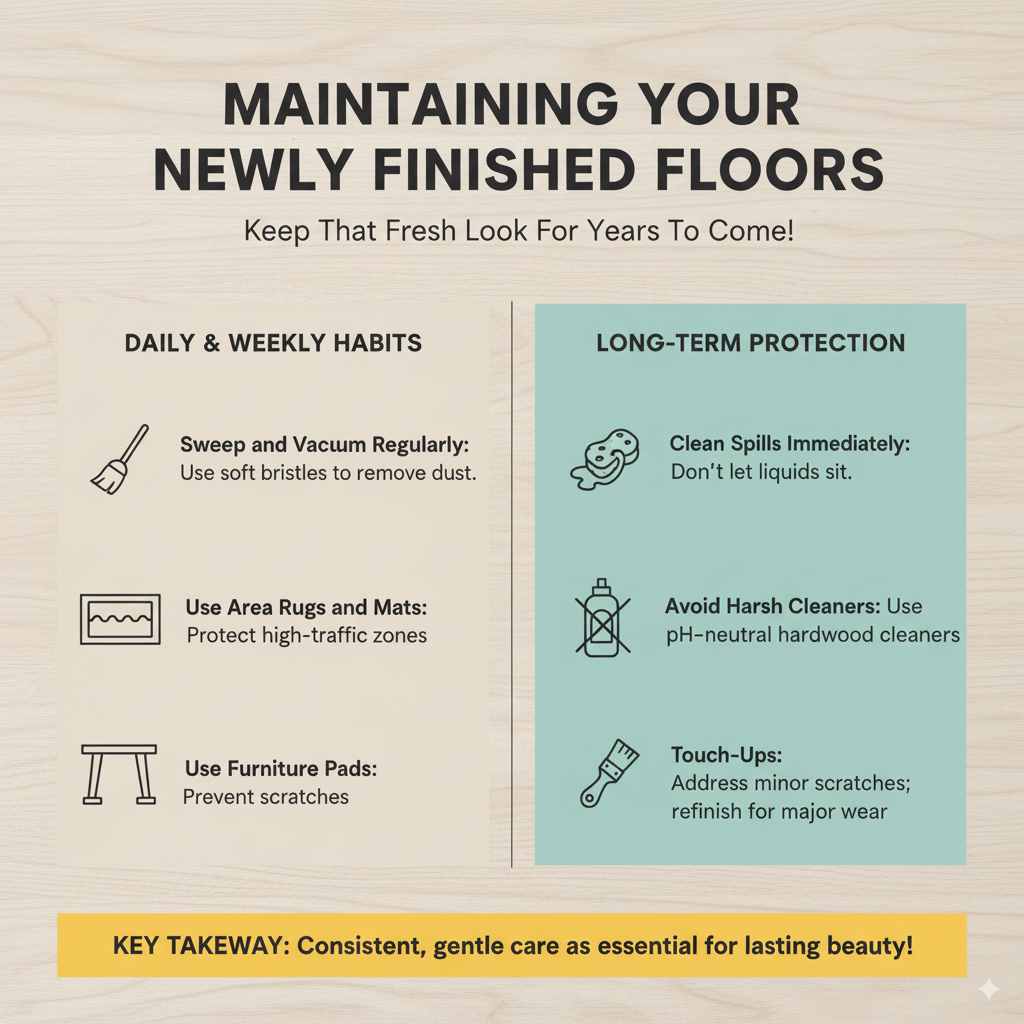
After refinishing, wait at least 24–48 hours before walking on the floor with shoes and at least 72 hours before replacing furniture. The finish needs 21–30 days to reach full hardness — avoid dragging furniture or placing heavy rugs during this period. For ongoing care:
- Use felt pads under all furniture legs to prevent scratches
- Sweep or vacuum with a soft-bristle attachment regularly
- Clean with a wood-safe floor cleaner — avoid steam mops and wet mops
- Place doormats at all entries to reduce grit tracking
- Add area rugs in high-traffic zones after the full cure period
- Use mineral spirits to spot-clean dried finish drips before they fully cure
A screen-and-recoat every 3–5 years in high-traffic areas extends the life of the finish significantly and delays the need for full sanding. This costs $1–$2 per square foot professionally and can also be done DIY with a floor buffer and sanding screen.
Frequently Asked Questions
How long does it take to refinish hardwood floors?
Refinishing hardwood floors takes 3–5 days for a typical room. The timeline breaks down as: sanding 1–2 days, stain drying 8–12 hours (if staining), and polyurethane 2–4 hours between coats with 24–72 hours before light foot traffic. The floor reaches full hardness in 21–30 days.
Is it cheaper to refinish floors yourself or hire a pro?
DIY refinishing costs $500–$1,000 in materials and equipment rental for a 500 sq ft room. Professional refinishing costs $1,500–$4,000 for the same area ($3–$8 per square foot). The DIY savings are significant, but sanding mistakes are costly to fix. If you have no drum sander experience, consider hiring out the sanding ($1.50–$3.00/sq ft) and doing the finish work yourself.
Do I need to remove my baseboards?
You do not need to remove baseboards to refinish hardwood floors. The edge sander and hand sander get within 1–2 inches of the wall, which is sufficient. Removing baseboards is optional but reduces the amount of hand sanding needed in corners. If you leave them in place, cover them with painter’s tape to protect from polyurethane splatter.
How much dust does floor sanding create?
A drum sander creates significant fine dust even with a collection bag attached. Seal all doors and HVAC vents with plastic sheeting before sanding. A dustless refinishing system (available from professional services at $5–$8/sq ft) captures up to 99% of dust — worth considering for homes with allergy sufferers or finished living spaces below the work area.
How many times can you refinish hardwood floors?
Solid hardwood floors can typically be refinished 4–10 times over their lifespan. Each sanding pass removes approximately 1/32 to 1/16 inch of wood. The floor is no longer safely refinishable once it reaches 9/16-inch total thickness or has less than 1/8 inch of wood above the tongue and groove. Engineered hardwood can usually only be refinished 1–2 times.
Can you refinish hardwood floors without sanding?
Yes, in some cases. A screen-and-recoat adds a fresh top coat without full sanding and costs $1–$2 per square foot. It only works if the existing finish is still well-bonded to the wood. If the finish is peeling, worn through, or the wood itself is damaged, full sanding is required.
Can you refinish engineered hardwood floors?
Engineered hardwood can be refinished if the veneer layer is at least 3/32-inch thick. Most engineered floors can only be refinished 1–2 times total. Thin engineered flooring with a 2mm or less veneer should not be sanded. Check the veneer thickness before renting any equipment — once sanded through, the floor cannot be repaired by refinishing.