DIY Corn Hole Boards: Build Your Backyard Fun Today
Corn hole boards are a popular game for gatherings. Creating your own DIY corn hole boards adds a personal touch.
Building your own corn hole boards can be a fun and rewarding project. It allows you to customize the design, making it unique. Plus, it’s a great way to spend time with friends or family. With just a few materials and tools, you can create a set that will last for years.
This project is perfect for beginners and experienced DIY enthusiasts alike. Ready to learn how to make your own corn hole boards? Let’s get started on this exciting journey!
Introduction To Corn Hole
Best Sealant for DIY Cornhole Boards
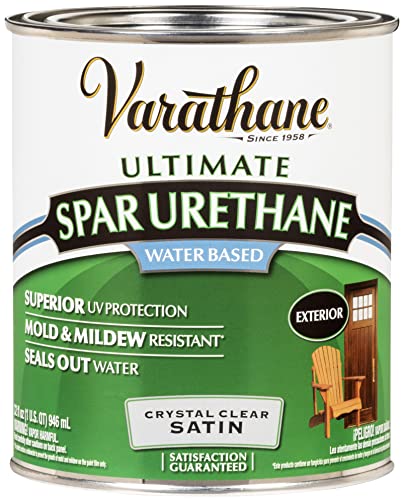 |
Varathane Outdoor Spar Satin Urethane | Water-Based,Varathane | Our pick | $29.98
Price as of 20 Oct 2026
|
View |
Cornhole traces back to Midwest farm country, though its exact origin is disputed among a handful of competing town legends, and it’s grown enough since to have its own governing body (the American Cornhole Association) with standardized regulation dimensions — the same measurements this guide uses. A finished set of boards from a hardware store or big-box retailer typically runs $60-150 depending on quality; building the same regulation-size set from a single sheet of plywood and a couple of 2x4s usually costs $30-50 in materials, with the difference going toward whatever finish and paint job you choose instead.
The real advantage of building your own isn’t just the savings, though — it’s control over the two things that most affect how the boards actually play: the smoothness of the surface (which determines how well bags slide instead of sticking) and the thickness/bracing of the frame (which determines whether the boards stay flat and square after a summer of use, rather than racking or warping).
Credit: www.fouroakscrafts.com
Materials Needed
A single 4×8 sheet of 1/2″ BC-grade sanded plywood makes both playing surfaces with minimal waste, since two 24×48″ boards fit almost exactly on one sheet with only a narrow offcut left over. Half-inch thickness is the standard for a reason — thinner plywood flexes noticeably underfoot and under a landing bag’s impact, while going thicker just adds unnecessary weight to boards that already need to be portable. For the frame, standard construction-grade 2x4s are plenty; there’s no need for a premium grade since the frame is hidden under the playing surface and just needs to be straight and free of large knots that could split when screwed.
A circular saw with a straightedge guide gets straighter, more consistent cuts on the long plywood edges than a jigsaw does, which matters because a wavy edge is one of the more common reasons a finished board doesn’t sit flush against its frame. Reserve the jigsaw specifically for the round hole, where a circular saw obviously can’t follow the curve. A countersink bit is worth adding to the tool list even though it’s easy to skip — screws left proud of the plywood surface catch bags and interrupt their slide, which matters more on a game surface than on most woodworking projects.
Deck screws hold better than standard wood screws in the softer, more brittle edge grain of plywood, and a bead of wood glue at the frame joints adds real rigidity that screws alone don’t fully provide, since screws can loosen slightly over repeated impact from thrown bags while a glued joint doesn’t rely on that friction alone.
Design And Dimensions
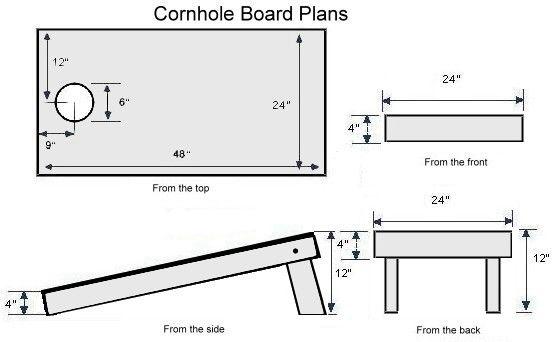
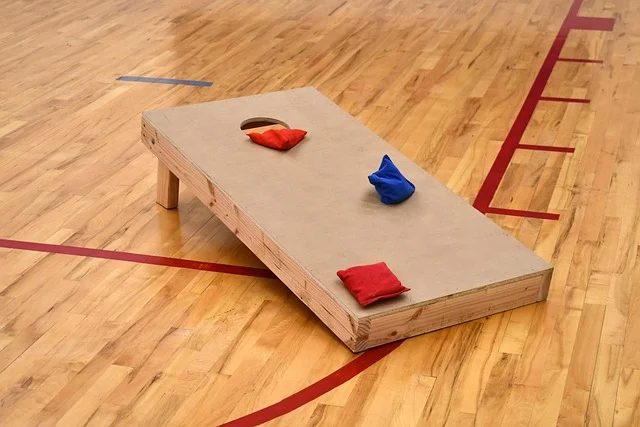
These dimensions aren’t arbitrary — they’re the American Cornhole Association’s official tournament regulation size, which is why sticking to them matters if there’s any chance these boards end up used for anything beyond casual backyard play: 24×48 inches for the playing surface, a 6-inch diameter hole centered left-to-right and with its center 9 inches down from the top edge, a 12-inch back height, and a 3-4 inch front height that creates the board’s characteristic slight incline. Regulation play also specifies 27 feet between the front edges of the two boards, which is worth knowing before committing to a permanent installation spot in a yard.
Beyond the numbers, surface smoothness is the single detail that separates boards that play well from ones that don’t. A rough or under-sanded surface grabs at a bag’s fabric on landing instead of letting it glide, which throws off the natural slide-into-the-hole shots that are half the appeal of the game — worth keeping in mind heading into the finishing stage, regardless of what colors or designs go on top.
Cutting The Wood
A framing square rather than a straightedge alone catches an off-angle cut before it happens — on a piece this size, even a small deviation from square at the start compounds by the time it reaches the far end of a 48-inch cut. Mark cut lines on the “good” face that will end up as the bottom or hidden side where possible, since a saw blade can leave slight tear-out along its exit path, and it’s better hidden on a face no one sees during play.
For the hole cutout specifically, drill a starter hole inside the marked circle large enough to insert the jigsaw blade, rather than trying to plunge-cut the jigsaw directly into the panel — a plunge cut on a jigsaw is harder to start cleanly and more likely to wander off the line right where accuracy matters most.
Assembling The Boards
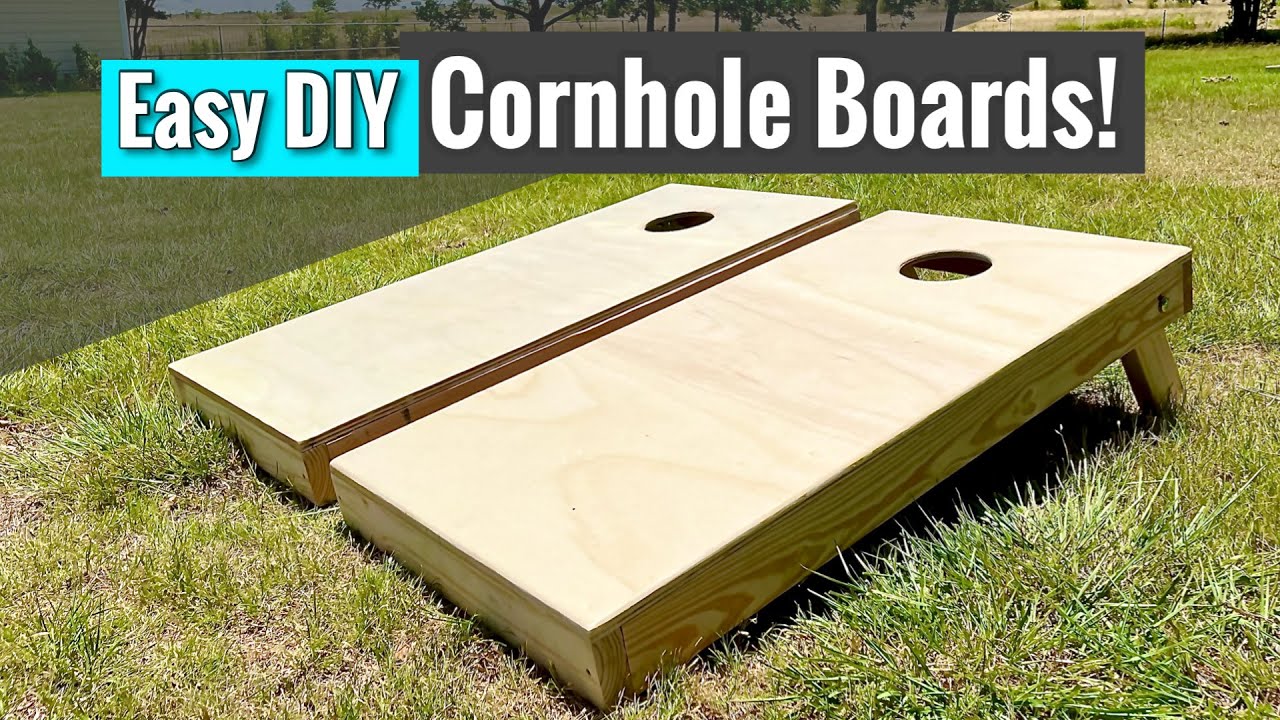
Cut the 2×4 frame pieces so the two long sides run the full 48-inch length and the two end pieces fit between them (rather than the other way around), which keeps the plywood top’s edges fully supported along its longest, most flex-prone dimension. Pre-drill pilot holes before driving screws into the 2×4 ends — skipping this step is the single most common reason a corner joint splits during assembly, since driving a screw straight into unpiloted end grain has very little wood fiber to bite into before it cracks. Check each corner with a square as you go rather than only at the end; a frame that’s slightly out of square is far easier to correct one joint at a time than to fix after all four corners are fastened.
For legs that fold flat for storage and transport, a carriage bolt through a single pivot hole near the top of each leg, paired with a hook-and-eye or a short chain to set the leg at the correct angle when deployed, is the standard approach — it lets the leg swing freely on the bolt while the chain (cut to a length that puts the leg at the angle needed for a 12-inch back height) stops it from swinging too far. Snug the pivot bolt enough to eliminate wobble but loose enough that the leg still pivots by hand; over-tightening it defeats the folding mechanism entirely.
Credit: www.youtube.com
Finishing Touches
Work through the grits methodically rather than jumping straight to a fine one — 120-grit first to knock down any mill marks and tear-out from the circular saw cuts, then 220-grit for the final smoothing pass that actually determines bag slide quality. Sanding with the plywood’s face grain (the direction of the visible surface veneer, not necessarily the internal ply layers) avoids the faint cross-grain scratches that can show up as a slightly duller streak once paint or clear finish goes on over them.
Round over sharp edges and corners with sandpaper or a router roundover bit, since square-cut plywood edges are exactly where splinters form after repeated handling and where a fast-moving bag is most likely to catch and stop short instead of sliding.
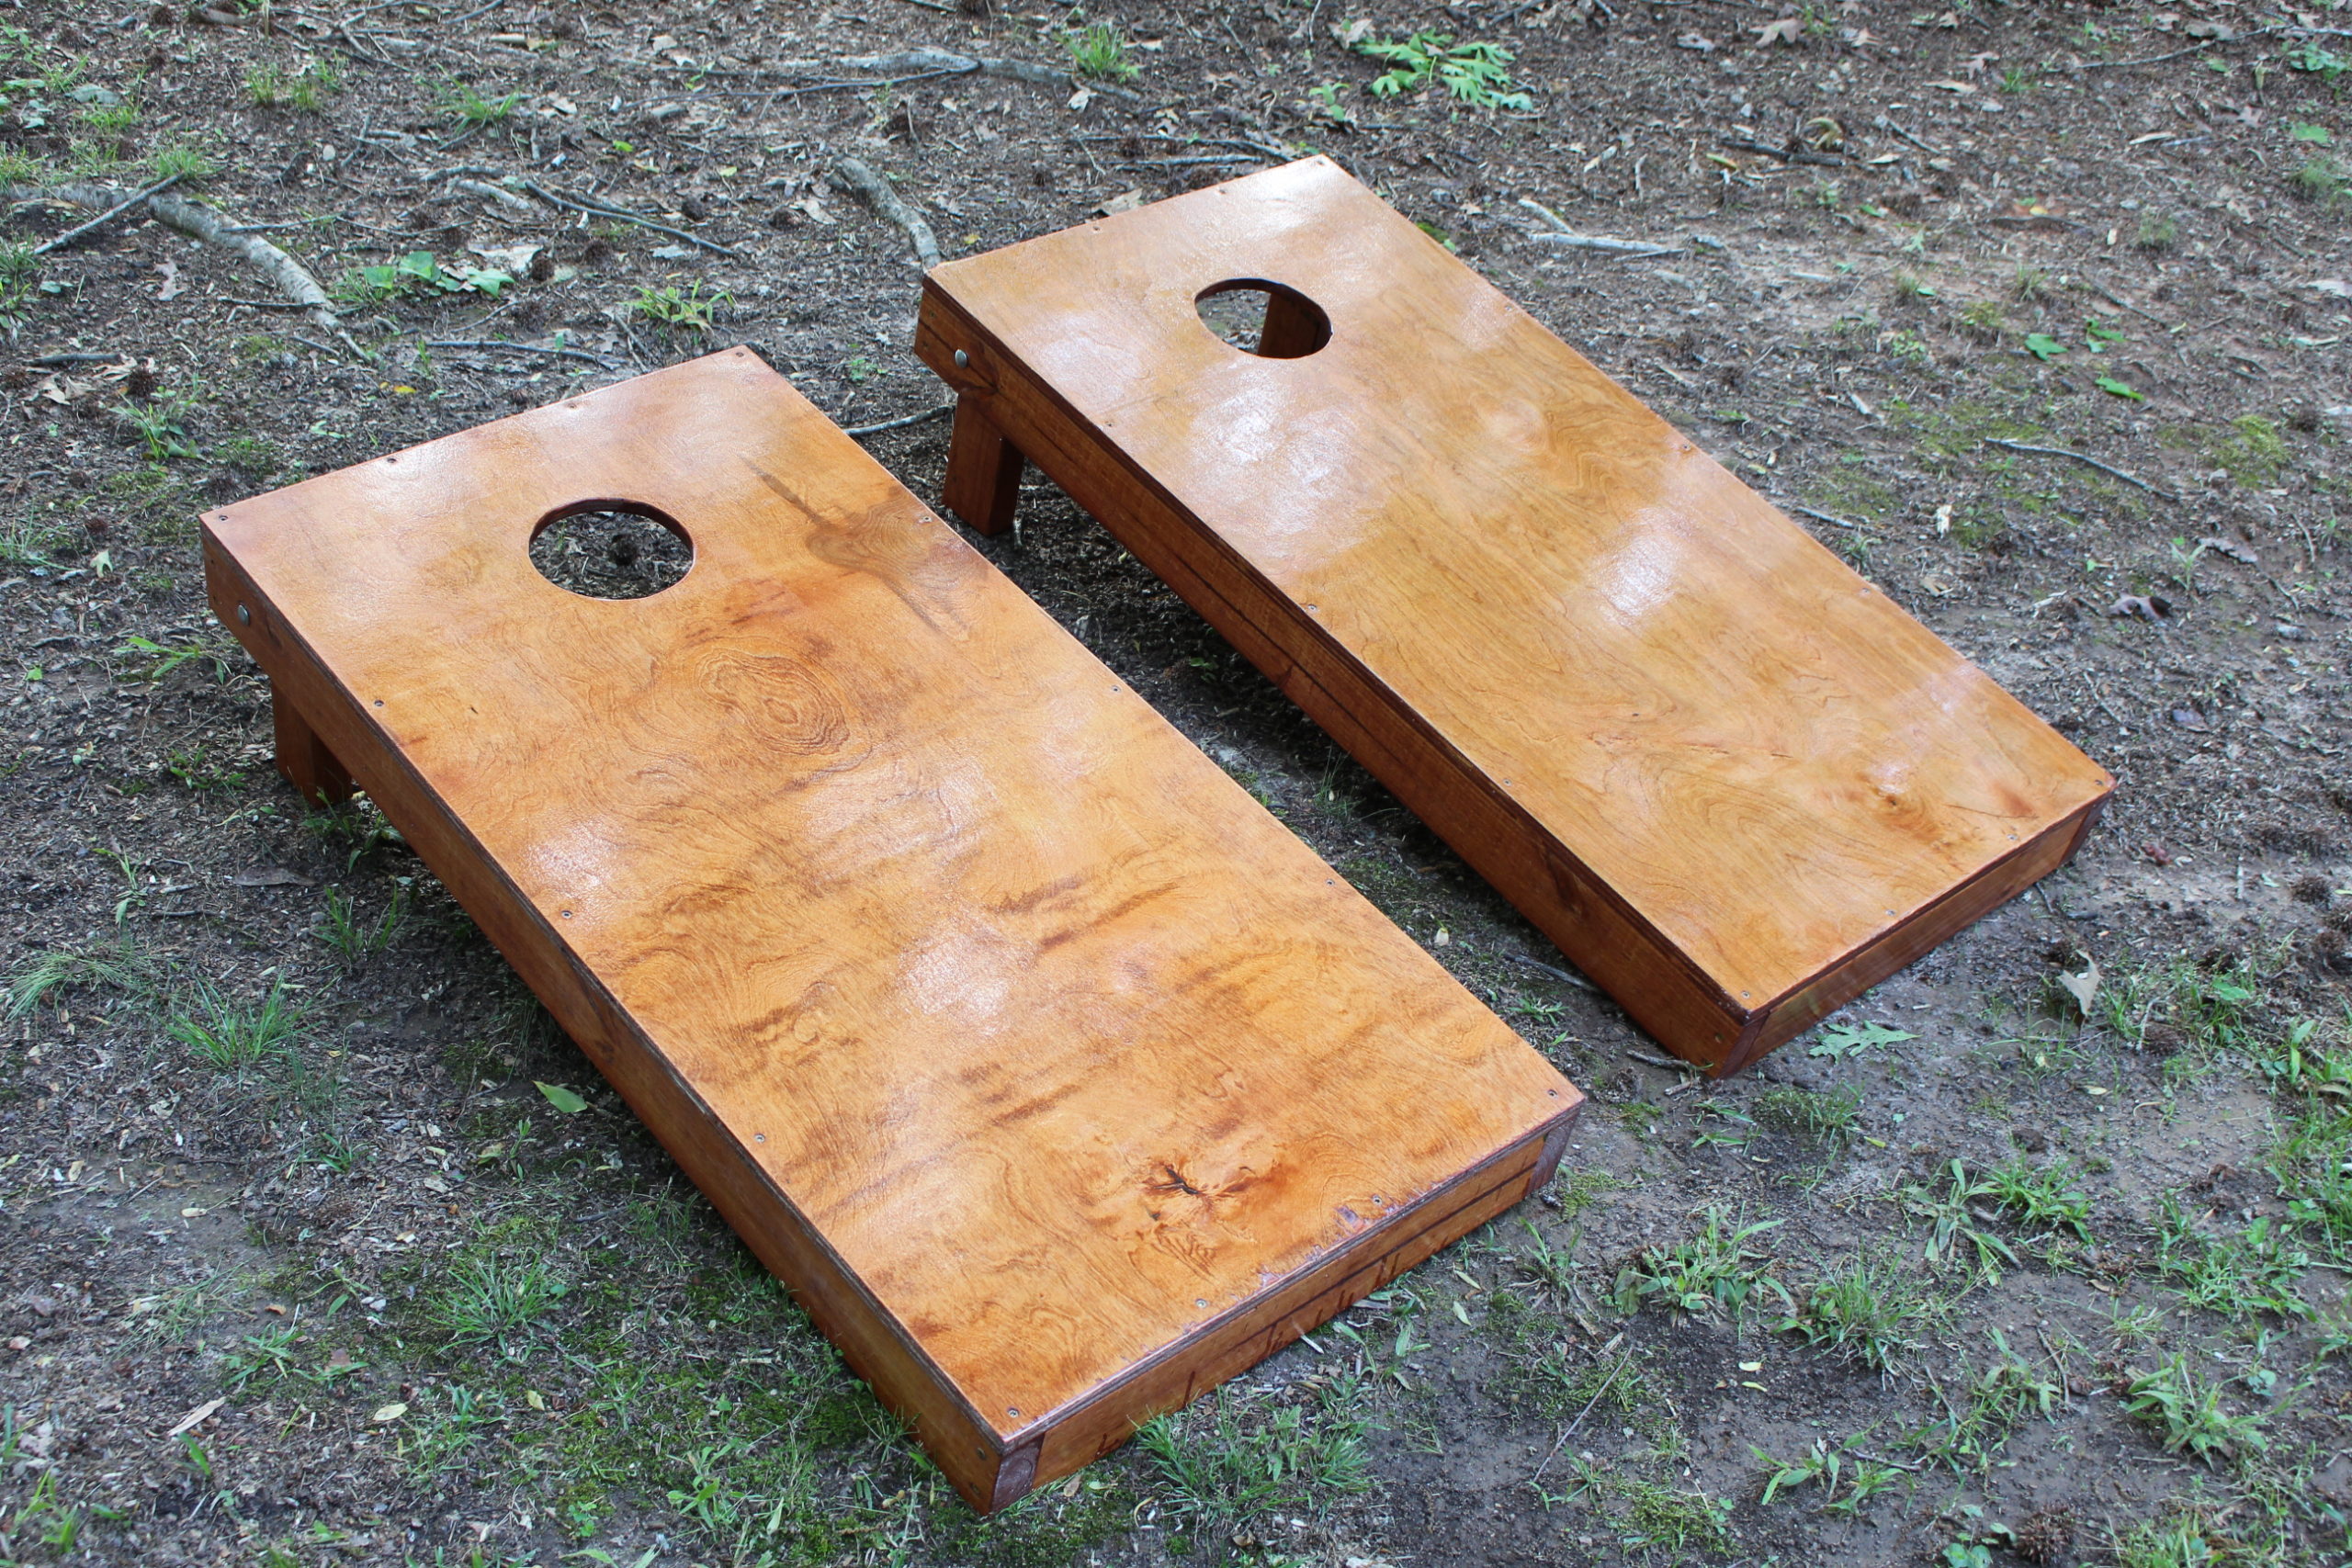
An exterior-rated latex or acrylic paint holds up to sun and moisture far better than an interior paint would, especially if the boards live outside between games. Two to three thin coats build more even color and a smoother final texture than one heavy coat, which tends to show brush or roller marks and takes considerably longer to fully dry without staying tacky underneath.
Stencils and painter’s tape work best applied after the base coat has fully cured, not just dried to the touch — pulling tape off a still-soft base coat commonly lifts paint along with it, leaving a ragged edge instead of a crisp line.
Creating The Corn Hole Bags
Duck cloth or canvas holds up to repeated throwing and sliding far better than lighter cotton fabrics, which tend to wear thin and eventually split at the seams after a season of regular play. Regulation bags measure 6×6 inches finished and weigh roughly 15-16 ounces filled — a useful target if the goal is bags that feel and play like a standard tournament set rather than noticeably lighter or heavier ones.
Dried whole-kernel corn is the traditional backyard filling and gives bags a bit of shift and give as they land, which is actually part of what lets a well-thrown bag settle into the hole rather than bouncing off. Plastic resin pellets are the more common filling in ACA tournament play, since they hold their shape and weight distribution more consistently over time and don’t attract pests or mold the way corn can if a bag gets left out in wet weather. Whichever filling is used, double-stitching the final seam (sewing over it twice) is worth the extra minute, since that seam takes the most repeated stress of any part of the bag every time it’s thrown or slides across a board.
Setting Up And Playing
Standard scoring cancels out each round rather than adding up both teams’ points separately — only the team with more points in a round scores, and only the difference, which keeps games from dragging on. A bag through the hole is worth 3 points, one resting anywhere on the board is worth 1, and games are typically played to 21, needing to be reached exactly or by playing past it depending on the house rule agreed on beforehand.
Setting the boards at the full 27-foot regulation distance rather than shortening it for a smaller yard changes the game more than it might seem — the arc and distance a bag needs to travel is calibrated to that spacing, and a shortened setup tends to make every throw feel too easy, flattening the skill gap that makes close games fun. If space is tight, it’s usually better to shrink both the distance and expectations consistently (playing a casual, shorter-range house version) rather than trying to preserve regulation scoring at a non-regulation distance.
Maintenance And Storage
Plywood’s biggest long-term enemy is moisture working into any unsealed edge or seam, which is exactly where a homemade set is most vulnerable if the finish coat didn’t fully wrap the board’s edges during the finishing step. A breathable waterproof cover protects cornhole boards left outside between uses far better than no cover at all, though even covered boards benefit from being brought under a roof during extended wet stretches rather than left out indefinitely.
Storing boards flat, off the ground, and out of direct sun does more for their lifespan than almost any other single habit — leaning them upright against a wall for months lets gravity and their own weight gradually warp the panel, while direct sun exposure over a full season is what actually fades paint faster than normal handling ever would. Catching small chips or scratches in the finish early, and touching them up with matching paint before moisture gets underneath, keeps a small cosmetic issue from becoming a spot where the plywood itself starts to delaminate.
Credit: www.skipsgarage.com
Frequently Asked Questions
How Do You Make Diy Corn Hole Boards?
To make DIY corn hole boards, you need plywood, 2x4s, screws, and paint. Cut the wood, assemble the frame, attach the plywood, and paint your design.
What Materials Are Needed For Diy Corn Hole Boards?
For DIY corn hole boards, you need plywood, 2x4s, screws, wood glue, sandpaper, and paint.
How Long Does It Take To Make Corn Hole Boards?
Making corn hole boards usually takes around 4-6 hours. This includes cutting, assembling, sanding, and painting.
Can Beginners Make Diy Corn Hole Boards?
Yes, beginners can make DIY corn hole boards. The process is simple with basic woodworking skills and tools.
Conclusion
A single sheet of plywood, a couple of 2x4s, and an afternoon of careful measuring and sanding produce a set of boards that plays as well as most store-bought options, at a meaningful fraction of the cost — and with full control over the paint job, which is where most of the personality of a homemade set actually comes from.
Getting the regulation dimensions and a properly smooth, sealed surface right matters more to how these boards actually play than any amount of paint detail on top — get those fundamentals in place first, and the finish is just where the project gets to be genuinely creative.
Sponsored / affiliate links. As an Amazon Associate I earn from qualifying purchases. I may earn additional commission from eligible campaigns.