Framing Lumber Size Chart: Nominal vs Actual Dimensions
Framing lumber is sold by nominal size, but you build to the actual size: a 2×4 is 1 1/2 × 3 1/2 in., a 2×6 is 1 1/2 × 5 1/2 in., and larger stock is typically about 1/2 in. thinner than its nominal label. If you ignore actual dimensions, wall height, joist spacing, header fit, and post sizing can all come out wrong, wasting material and time. This guide gives a framing lumber size chart, explains nominal versus actual dimensions, and shows how those numbers affect studs, joists, headers, and posts.
| Decision factor | Nominal | Actual Dimensions | Winner |
|---|---|---|---|
| Ordering and yard labels | Matches what the yard tags and cut lists usually say | Needs conversion before you can frame with it | Nominal |
| Layout and fit | Too large for direct layout if used literally | Matches the size you must mark, cut, and assemble to | Actual Dimensions |
| Wall, joist, and post planning | Can misstate thickness, span depth, and opening sizes | Gives the real thickness and depth that affect structure | Actual Dimensions |
| Risk of mistakes | Higher if you forget the label is historical | Lower when you measure and cut from finished stock | Actual Dimensions |
Why labelled size shrinks after milling
Nominal size is the store label. Actual size is the planed board you mark, cut, and fit. The old name came from rough-sawn stock, while the finished size is what controls layout on the job.
Why the label and the board differ
Modern dimensional lumber is surfaced after milling, so it finishes smaller than the nominal tag. Dry lumber is sold under sizing rules that separate label size from minimum finished size, and PS 20-20 is one of the standards that reflects that split for dry stock. Write down the actual size before you set your saw or snap your lines.
How actual size changes layout
A half-inch difference sounds small until it stacks across a wall or frame. A wall laid out around nominal dimensions can drift in height, opening width, and sheathing fit once you add plates, studs, and headers. The problem shows up fastest where members stack in a sequence, because each small error compounds.
Common framing lumber actual sizes
The most common framing sizes are 2×4, 2×6, 2×8, 2×10, and 2×12. For posts, 4×4 and 6×6 are also common. Their actual dimensions are the numbers that matter for framing decisions, not the nominal labels on the rack.
What is the actual size of a 2×4?
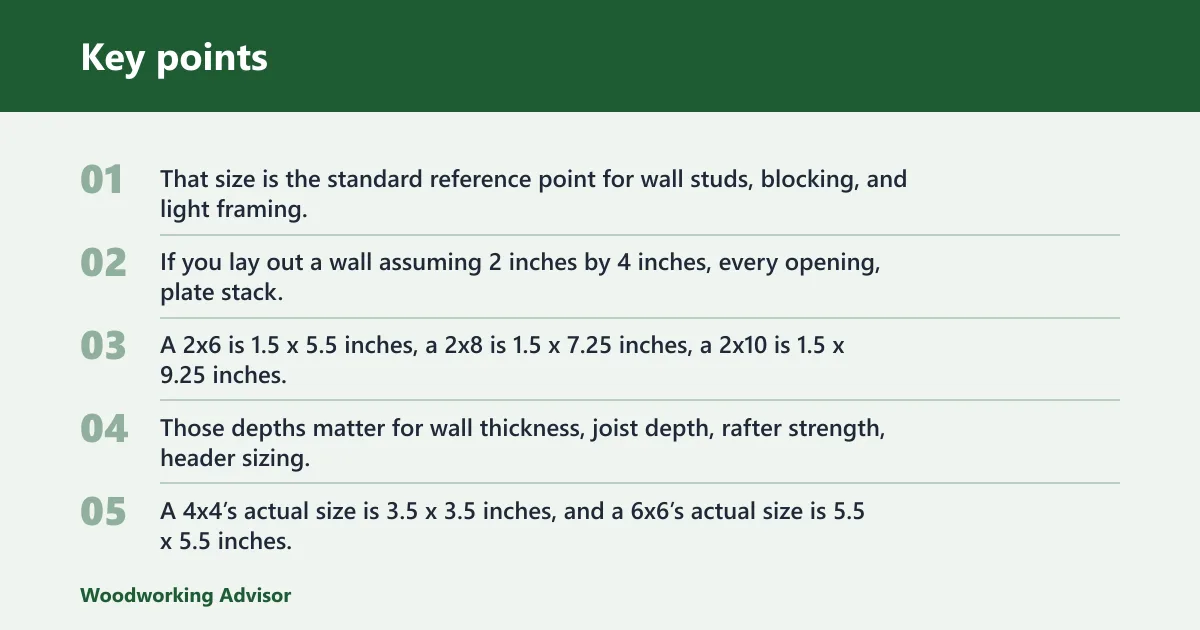
A 2×4’s actual size is 1.5 x 3.5 inches. That size is the standard reference point for wall studs, blocking, and light framing. If you lay out a wall assuming 2 inches by 4 inches, every opening, plate stack, and finish return will be off.
What are the actual dimensions of 2×6, 2×8, 2×10, and 2×12 lumber?
A 2×6 is 1.5 x 5.5 inches, a 2×8 is 1.5 x 7.25 inches, a 2×10 is 1.5 x 9.25 inches, and a 2×12 is 1.5 x 11.25 inches. Those depths matter for wall thickness, joist depth, rafter strength, header sizing, and span decisions.
Are 4×4 posts really 4 inches by 4 inches?
No. A 4×4’s actual size is 3.5 x 3.5 inches, and a 6×6’s actual size is 5.5 x 5.5 inches. That difference matters when you choose post bases, rail connectors, saddle hardware, and beam pockets, because the hardware is sized to the finished post, not the label.
Which lumber sizes are most common for framing?
2×4 and 2×6 are the most common general framing sizes, with 2×8, 2×10, and 2×12 used more often when depth, span, or load demand a taller member. Posts are usually built from 4×4 or 6×6 stock. The right choice depends on whether you are framing studs, joists, rafters, headers, beams, stair stringers, or support posts.
Lumber dimensions and framing chart
This table is a decision tool. It ties the nominal label to the actual size and shows where the wrong assumption causes trouble in a real project. Use it before you cut.
| Nominal size | Actual dimensions | Typical use | Likely measurement pitfall | Project consequence |
|---|---|---|---|---|
| 2×4 | 1.5 x 3.5 inches | Wall studs, blocking, small frames | Marking a 4-inch thickness on plans or hardware | Stud walls, corner build-ups, and openings can end up out of plumb or too tight |
| 2×6 | 1.5 x 5.5 inches | Studs, joists, rafters, taller walls | Using nominal depth for wall thickness or ceiling takeoff | Sheathing, insulation space, and rough openings can be mis-sized |
| 2×8 | 1.5 x 7.25 inches | Floor systems, beams, stair stringers, longer spans | Assuming 8-inch depth in span or stair calculations | Stringer layout, beam pockets, and floor build-up may not fit |
| 2×10 | 1.5 x 9.25 inches | Floor systems, beams, stair stringers, spans | Planning for a full 10-inch member depth | Headers and stair details can land high or low relative to the real member |
| 2×12 | 1.5 x 11.25 inches | Beams, stair stringers, longer spans | Overestimating depth by nearly an inch in a stack-up | Beam seats, stair rise, and framing transitions can miss by enough to need rework |
| 4×4 | 3.5 x 3.5 inches | Posts, short supports, fences, light structures | Choosing hardware for a true 4-inch post | Post bases and caps may not seat correctly |
| 6×6 | 5.5 x 5.5 inches | Posts, deck supports, heavier vertical loads | Using the nominal width for post brackets or concrete layout | Footings, connectors, and beam alignment can shift |
Where nominal size causes the biggest layout errors
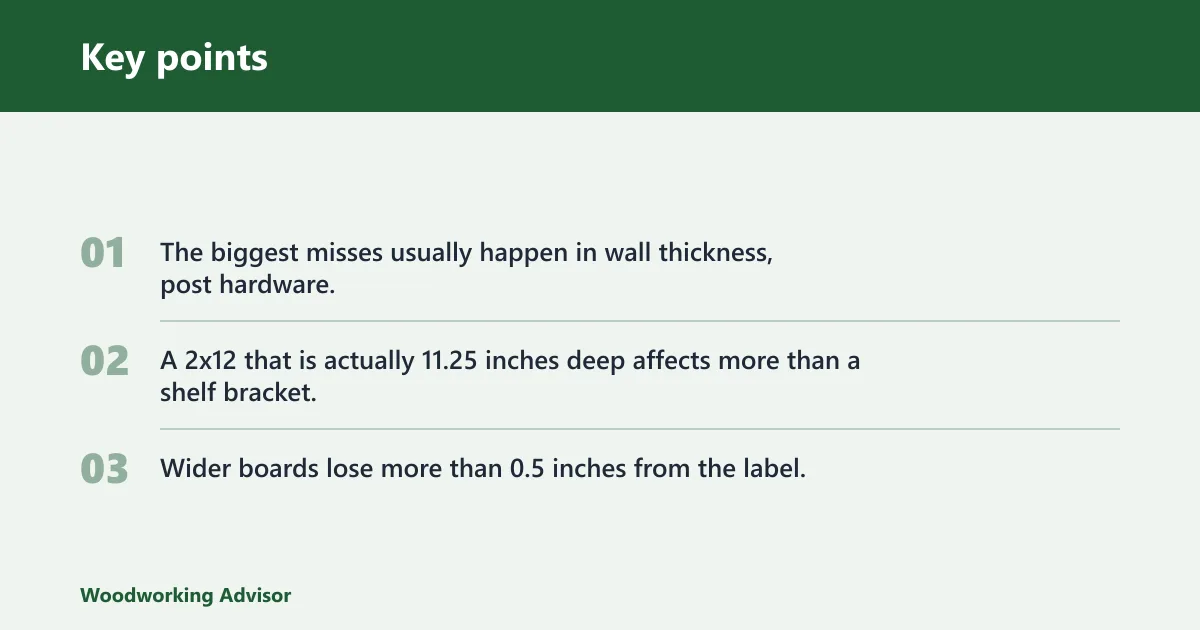
The biggest misses usually happen in wall thickness, post hardware, and stair or beam layout. A 2×12 that is actually 11.25 inches deep affects more than a shelf bracket; it changes vertical stack-up, opening height, and any cut that depends on a precise member depth. Wider boards lose more than 0.5 inches from the label, so the error becomes more noticeable as the nominal size increases.
Does pressure-treated lumber measure the same?
Pressure-treated lumber uses the same nominal sizes as untreated lumber, but the stock is often wetter when you buy it. That means it can shrink after installation. Kiln-dried lumber starts with lower moisture content and generally shrinks less in service, which matters when you are laying out tight fits or finished openings.
Wet stock versus kiln-dried stock
PS 20-20 is commonly used to separate dry lumber from wet lumber, and the chart here treats kiln-dried lumber as about 19% moisture content. Wet pressure-treated Southern Pine can be listed at 1.83 lbs per foot for 2×4 stock, but the key issue is not weight alone. It is movement after installation.
Suppose you frame a deck with wet pressure-treated 2×6 joists and set a tight stair opening based on the board’s as-bought depth. After the wood dries, the joists can shrink across their width, and the opening may no longer line up as planned.
Why treated wood can move more in service
The USDA Wood Handbook notes that waterborne-treated wood dries and shrinks after installation, with shrinkage occurring mostly across the width. That is why a treated 2×6 can be the same nominal and actual size as untreated lumber at the store, yet still move enough later to affect fit. If a project depends on a fixed dimension, let the lumber dry before final trim decisions when possible.
Why do wider boards lose more size?
Planing removes material from all faces, but the size difference becomes more noticeable on wider stock because the label and the finished board are farther apart in absolute terms. A 2×4 loses less total width than a 2×12, even though both finish at the same thickness. That is why width-driven errors show up most in deep members.
Surface planing and finished dimensions
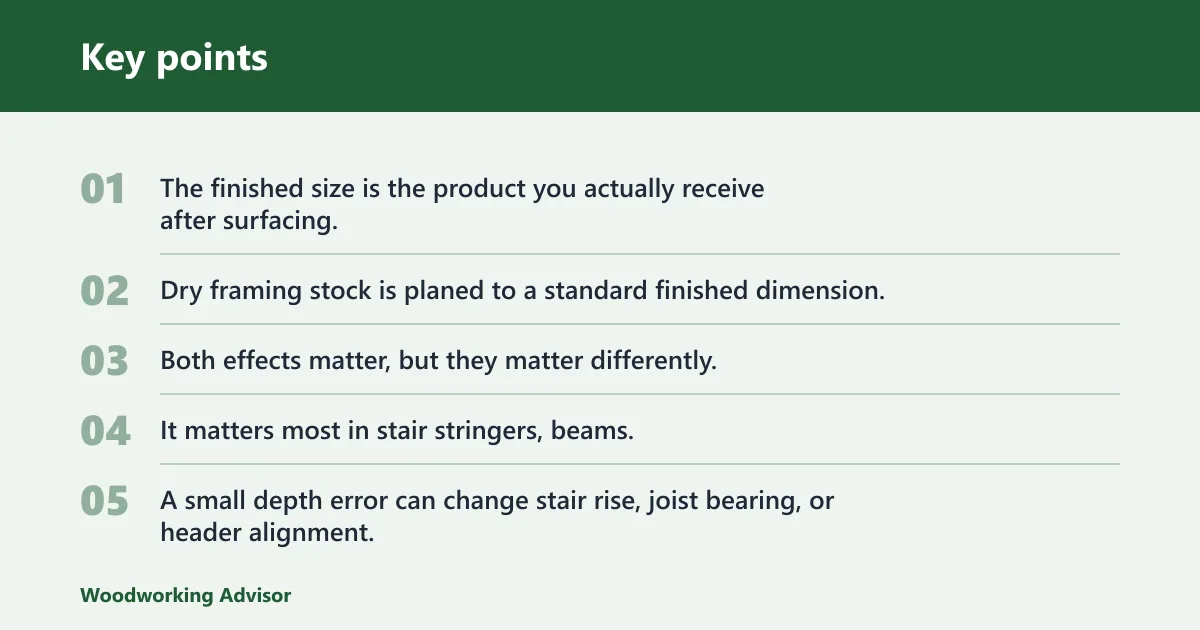
The finished size is the product you actually receive after surfacing. Dry framing stock is planed to a standard finished dimension, while wet treated stock can also change after installation as moisture leaves the board. Both effects matter, but they matter differently.
Where this matters most in framing decisions
It matters most in stair stringers, beams, and members that must fit into a pocket or hanger. A small depth error can change stair rise, joist bearing, or header alignment. If you are stacking several pieces, measure each one before you lock in the cut.
How should you buy lumber for framing?
Buy by actual size, not the label, and verify the stamp before you cut. Check species, treatment status, and moisture condition, then confirm that the board suits the task. A framing cut list should be written in actual dimensions, especially for posts, headers, joists, and tight openings.
Nominal vs Actual Dimensions checklist
- Read the stamp and confirm the species group, such as Spruce-Pine-Fir, Douglas Fir-Larch, Hem-Fir, or Southern Pine.
- Check whether the lumber is kiln-dried or pressure-treated wet stock.
- Measure the actual thickness and depth on a few boards before you buy the full pack.
- Match the member size to the job: studs, joists, rafters, headers, beams, stair stringers, or posts.
- Allow for shrinkage if the board is wet pressure-treated lumber and the fit will be tight after installation.
- Do not assume every piece in the bundle is identical; yard variation still happens.
A common first-timer mistake is buying 2×6 stock for a wall and then laying out the opening as if the board were 6 inches wide. The wall may end up slightly wider or the rough opening slightly narrow, and the fix shows up only after the studs are already cut.
Buy to the task, not the label
Use nominal size for communication at the lumber yard, then switch to actual size for layout and fastening. That habit prevents most fit problems. It also keeps you from overbuilding or underbuilding a frame because the label sounded larger than the board really is.
Choose Nominal if…
Choose Nominal if you are talking to the lumber yard, ordering by tag, or matching a cut list written by stock size. It is the right label for purchase and inventory, but not for direct layout. For actual framing, it is only the starting point.
Choose actual Dimensions if…
Choose Actual Dimensions if you are marking studs, laying out joists, sizing headers, fitting posts, or checking stair and beam clearances. This is the right choice for cut lists, hardware fit, wall thickness, and span-related decisions. If the project must fit on the first try, actual size wins.
Frequently asked questions
Why are nominal lumber sizes different from actual sizes?
Nominal sizes come from older rough-sawn naming, while actual sizes reflect the finished, planed board you buy today. Surfacing removes material, and dry lumber standards separate label size from minimum finished size. That is why the store tag and the board in your hand do not match.
Does pressure-treated lumber have the same nominal and actual sizes?
Yes, pressure-treated lumber uses the same nominal and actual sizing system as untreated lumber. The difference is moisture: treated stock is often wet and can shrink after installation. That shrinkage matters most where you need a fixed fit, such as posts, stair openings, and tight framing transitions.
Do lumber lengths also differ from the label?
Lumber lengths are usually close to the labeled length, but they are not a reason to skip measuring. Yard handling, trimming, and bundle variation can still change the usable length enough to matter. Check the board before you cut, especially for long spans and exact openings.
How do I avoid mistakes when buying lumber for a project?
Verify the stamp, confirm the actual dimensions, and check whether the stock is kiln-dried or pressure-treated. Then match the board to the structural task before cutting. That quick check helps you avoid the most common framing errors: wrong depth, wrong hardware, and fit problems after assembly.
Sponsored / affiliate links. As an Amazon Associate I earn from qualifying purchases. I may earn additional commission from eligible campaigns.