Wooden Snowflake DIY Plans: Build Steps and Sizing
Wooden snowflake DIY plans work best as a repeatable pattern: start with a six-armed layout, keep every arm identical, and use one master template scaled to 12, 18, or 24 inches. Crooked points, uneven spacing, and hand-drawn-looking cutouts show up fast. This guide covers exact sizing, layout math, cut list choices, and finish options for a clean wooden snowflake.
This guide is part of our Christmas Woodworking Projects: Ornaments, Gifts and Decor series.
Wooden snowflake build overview
Build it as a pattern first, then as decor. The same six-point geometry can become a 6-inch ornament, a 10-inch hanging piece, or an 18-inch porch sign if you keep the arm lengths and angles matched.
Use paint stir sticks for a light, low-cost small build. Use Jenga blocks or small scrap pieces when you want a lattice look with more blocky detail. For outdoor display, use exterior plywood and mount it to about 1×2 stakes.
Project scope and size options
The 6-inch version suits a tree, doorknob, or small wall hook. The 10-inch version reads better on a mantel or gallery wall. The 18-inch version needs weather-aware construction and should be treated like a small sign, not a lightweight craft piece.
For winter decor, the simplest path is a template-based cutout with painted faces and sealed edges. That keeps the project beginner-friendly without turning it into a freehand cut-and-trace project.
What you’ll need
- Paint stir sticks for the 6-inch ornament version
- Jenga blocks or small scrap pieces for the 10-inch lattice version
- Exterior plywood for the 18-inch porch sign version
- 1×2 stakes and wood screws for lawn or yard mounting
- Hot glue gun for fast tack on small parts
- E6000 adhesive for stress points and stronger bonds
- Saw, miter saw, or hand saw for cutting stock to length
- Sandpaper or sanding block for cleanup and edge distressing
- Snowflake stencils or a printable template
- Gray and white acrylic paint
- Finger daubers for applying paint through the stencil
- Elmer’s glue for crackle finish work
- Mod Podge and diamond dust for a sparkle finish
- Fast-drying acrylic spray seal for indoor finishing
- Spar urethane for outdoor sealing
How do you make a wooden snowflake?
Make it by building one arm, then mirroring that arm five times around a center point. The cleanest result comes from a centerline, equal arm spacing, and repeated angles rather than freehand placement.
Mark the centerlines
Draw one vertical centerline and one horizontal crossline on your base piece. Add four more light layout lines so you have six spokes spaced evenly at about 60 degrees apart. That keeps the snowflake from drifting off center as the parts go on.
Use the center point as the anchor for every arm. If one arm sits farther from the center, the whole shape reads as crooked even when each part is cut well.
Lay out one arm and mirror it
Build one arm fully before repeating it. Match the same length on both sides of the centerline, then mirror the angle on the next arm. A simple stop block helps keep each cut identical.
Suppose the 10-inch version looks uneven after the third arm. Check the first arm against the template before adding more pieces. One slightly long segment compounds the error across the whole layout.
Cut and dry-fit the parts
Cut all repeated pieces before gluing. Dry-fit the full snowflake on a flat surface and confirm that the points land at the same distance from the center.
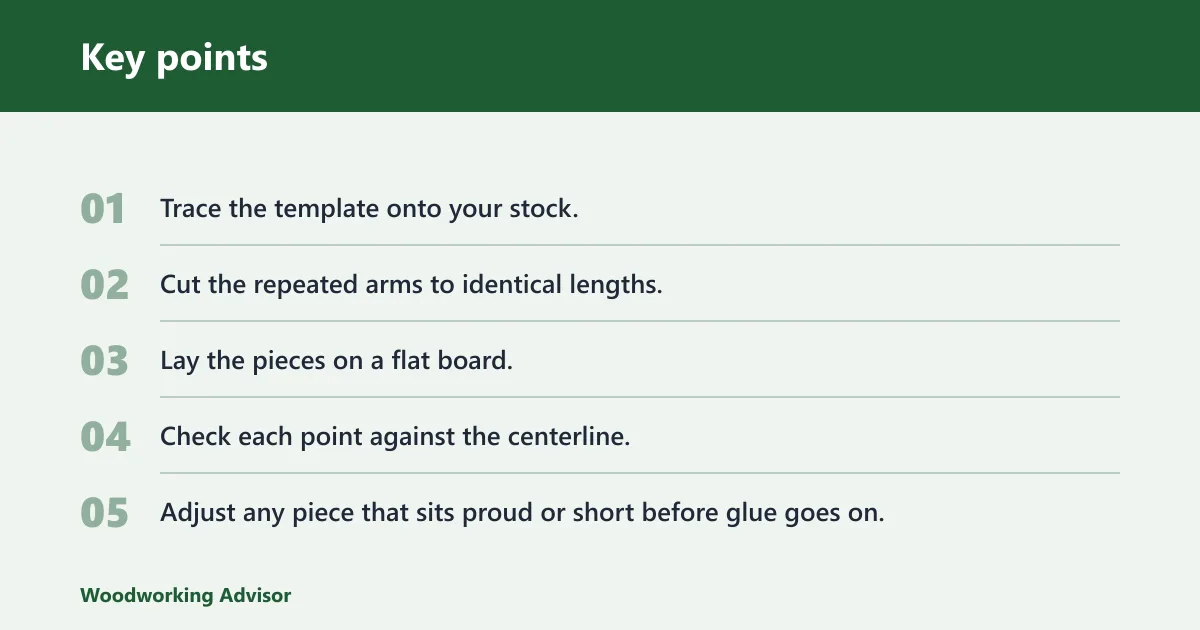
- Trace the template onto your stock.
- Cut the repeated arms to identical lengths.
- Lay the pieces on a flat board.
- Check each point against the centerline.
- Adjust any piece that sits proud or short before glue goes on.
Wooden snowflake sizing and build matrix
This table compares the three size versions so you can choose the right stock, tools, and finish before cutting anything. It also flags the most common failure points for each build.
| Version | Suggested stock thickness | Recommended tools | Layout method | Finish type | Estimated build time | Common failure points |
|---|---|---|---|---|---|---|
| 6-inch ornament | Paint stir sticks, about 1/8 to 1/4 inch thick | Hot glue gun, hobby saw, sandpaper, stencil, finger dauber | Center point with 60-degree arm marks | White or gray acrylic paint, then fast-drying acrylic spray seal | 45 to 75 minutes | Thin sticks bowing, weak glue joints, fuzzy stencil edges |
| 10-inch hanging decor | About 1/4 to 1/2 inch for small blocks and scrap pieces | Miter saw or hand saw, hot glue gun, E6000, sanding block | Paper template over a centerline grid | Paint, crackle finish, or sealed natural wood | 1.5 to 2.5 hours | Uneven arm lengths, glue squeeze-out, overdone distressing |
| 18-inch porch sign | Half-inch exterior plywood | Jigsaw, drill/driver, clamps, wood screws, sander | Full-size template with repeated arm spacing | Paint plus spar urethane on all faces and edges | 3 to 5 hours | Warped plywood, exposed end grain, loose stake mounting |
How do you attach a wooden snowflake together securely?
Use hot glue for fast tack, then reinforce stress points with E6000. Hot glue gives you quick placement on lightweight parts, while E6000 adds a stronger bond where arms meet or where the piece will hang.
Hot glue for fast tack
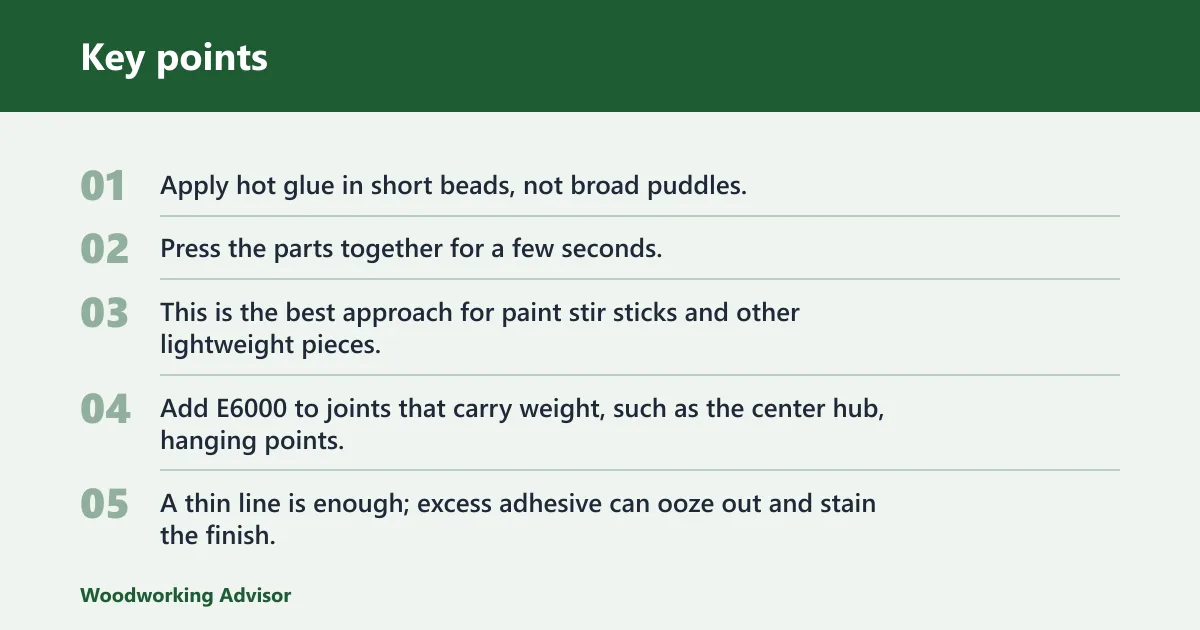
Apply hot glue in short beads, not broad puddles. Press the parts together for a few seconds, then let the joint cool fully before moving the snowflake. This is the best approach for paint stir sticks and other lightweight pieces.
E6000 at stress points
Add E6000 to joints that carry weight, such as the center hub, hanging points, or the long ends of a porch sign lattice. A thin line is enough; excess adhesive can ooze out and stain the finish.
Clamp or weight while the bond sets
For larger pieces, clamp the joint or place a flat weight on top while the adhesive sets. Keep the pressure even so the arms stay on the same plane. If a joint lifts at one end, recheck it before the adhesive hardens.
A common first-timer mistake is gluing one arm, then trying to force the rest into place after the first joint has already cooled. That usually creates gaps and uneven spacing. Build in pairs and check alignment after each pair is attached.
How do you decorate a wooden snowflake so it looks rustic or painted?

Use gray and white acrylic paint for a simple winter look, then choose either crackle, distressing, or sparkle. Match the finish to the display use: clean paint for a porch sign, worn edges for wall decor, and lighter sparkle for an ornament.
Winter paint finishes
Base-coat the surface in white or gray acrylic paint. To speed drying, use a heat gun or dryer on low and keep it moving so the paint does not blister or shift before it cures.
Elmer’s glue crackle technique
Brush a thin coat of Elmer’s glue over the painted layer and let it get tacky. Then brush the top coat without mixing the layers. As the surface dries, the top coat opens into a distressed crackle pattern.
Use this on a flat surface with moderate paint coverage. Too much glue slows the dry time and can leave soft spots under the finish.
Mod Podge with diamond dust
Brush on Mod Podge, then dust on diamond dust while it is still wet. This works as a small accent, not a full cover coat. It suits a hanging ornament or gift piece better than a porch sign.
For a rustic edge, lightly distress the finished surfaces with a sanding block. That step should only kiss the corners and high spots. If you sand through too much paint, the piece starts to look worn in a bad way instead of intentionally aged.
Common mistakes
Most problems come from shape, bond strength, or finish control. Fix those three areas first and the build usually comes together cleanly.
- Uneven symmetry: Use a centerline and a repeated arm template. Measure every arm from the same point.
- Warped scrap: Flatten light stock before layout. Replace bowed pieces on larger builds.
- Weak joints: Pair hot glue with E6000 at loaded points. Let the joint set before moving on.
- Fuzzy stencil edges: Use finger daubers with light pressure. Dab, do not scrub.
- Bleed-through: Seal porous wood first or use less paint at the stencil edge.
- Uneven distressing: Sand only the high points with a sanding block, then stop and check.
- Outdoor finish failures: Seal faces and edges, then add spar urethane after paint.
Say your 18-inch porch sign is mounted outside and one lower arm starts to lift after rain. The likely issue is unsealed edge grain or a weak screw connection at the stake, not the stencil shape itself. Recheck the backer, then reseal the exposed edges.
Prevention: For outdoor pieces, seal every cut edge before final assembly, then apply spar urethane after paint so moisture has fewer places to enter.
Frequently asked questions
What wood is best for a wooden snowflake DIY?
Use paint stir sticks for small indoor pieces, small scrap wood for a medium wall version, and half-inch exterior plywood for outdoor display. Choose flatter stock over decorative grain if symmetry matters more than texture.
Can I make a wooden snowflake without power tools?
Yes. A hand saw, sanding block, stencil, and hot glue gun are enough for the small version. Keep the design simple, use pre-cut strips or stir sticks, and avoid thick stock that needs heavy cutting.
What size should a wooden snowflake be for outdoor display?
An 18-inch version works well for porch or yard use because it stays visible at a distance without becoming hard to handle. Mount it to 1×2 stakes with wood screws, then seal all faces and edges with spar urethane.
How do I keep a wooden snowflake from weathering outside?
Seal the cut edges, paint the faces, and top the finished piece with spar urethane. Exterior plywood helps, but the edge grain still needs protection. Recheck screw heads and exposed joints after the first wet season.
What tools do I need for a wooden snowflake project?
At minimum, use a saw, hot glue gun, sandpaper or a sanding block, and a stencil or template. Add E6000 for stronger joints, finger daubers for paint application, and a heat gun or dryer if you want faster drying.
Can I make a wooden snowflake from paint stir sticks?
Yes. Paint stir sticks are a good low-cost option for a small indoor or porch snowflake. They pair well with hot glue for fast assembly, but the joints should still get E6000 where the weight pulls on the arms.
Sponsored / affiliate links. As an Amazon Associate I earn from qualifying purchases. I may earn additional commission from eligible campaigns.