How to Make Regulation Cornhole Boards: Full Plans & Cut List
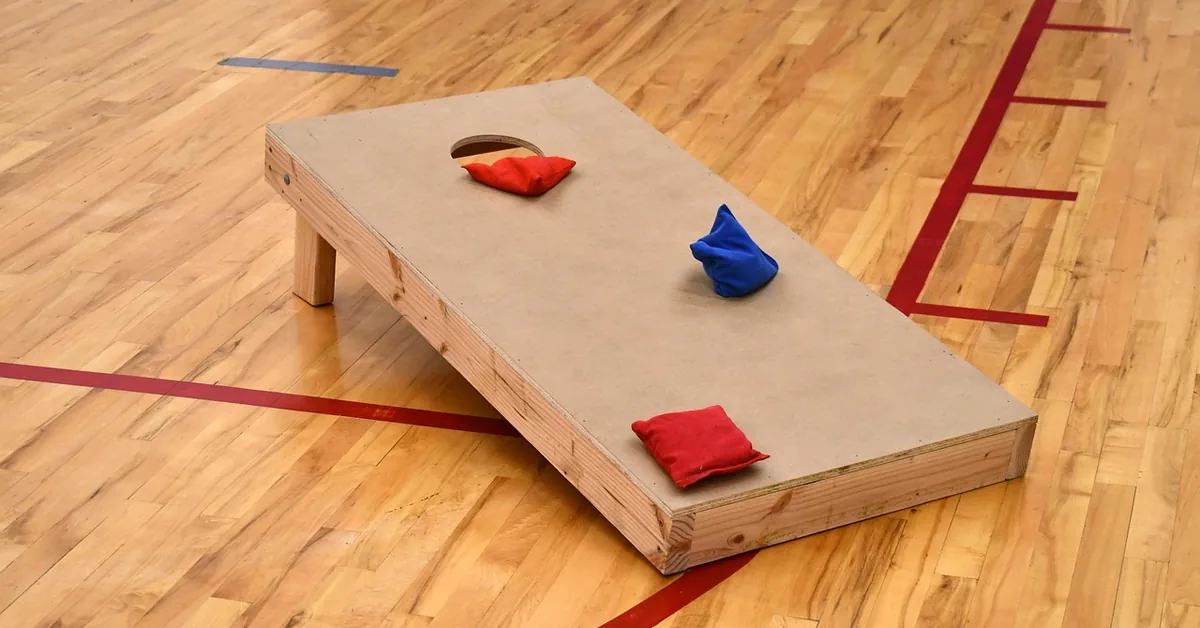
Regulation cornhole boards measure 24 by 48 inches with a 6-inch hole centered 9 inches from the top – not the rough guesses many tutorials use. Cutting the hole off-center or skipping the 12-inch back rise throws off bag roll and fails tournament inspection. This guide covers the exact 2×4 cut list, the 1/2-inch plywood top, hinged 11.5-inch legs, and the paint and sealing steps that make a set last outdoors for years.
Insert your Affiliate Disclosure reusable block here.
What You Need: Materials and Tools
A full regulation set (two boards) uses one 4×8 sheet of 1/2-inch plywood and four 8-foot 2x4s – about $35-50 in lumber at most home centers. You’ll also need wood glue, 1-5/8-inch and 2-1/2-inch wood screws, a pair of 3-inch hinges per board, exterior paint or stain, and a clear polyurethane topcoat.
- 1 sheet 1/2-inch plywood (4 ft x 8 ft) – yields two 24″x48″ tops
- 4 pressure-treated or standard 2x4s, 8 feet long – for the frames and legs
- Circular saw or table saw, plus a jigsaw for the hole
- Cordless drill/driver, 3/8-inch drill bit, countersink bit
- 1-5/8″ and 2-1/2″ exterior wood screws, wood glue
- 2 pairs of 3-inch folding hinges (one pair per board)
- Compass or string-and-pencil jig for the 6″ circle, tape measure, square
- 120-grit sandpaper, exterior paint, clear polyurethane sealant
If you’d rather not sew your own bags, a ready-made regulation bag set saves a weekend and guarantees the correct 6″x6″, 16-ounce spec bags below.
Best Regulation Bean Bags Pick
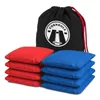 |
GoSports Official Regulation Cornhole Bean Bags (Set of 8) – $21.99 Matches the 6″x6″, 16-ounce regulation spec this guide’s FAQ section covers, so your new boards play to tournament rules from the first toss.
|
As an Amazon Associate we earn from qualifying purchases.
Cutting the Wood to Size
Cut the plywood sheet in half to make two tops measuring 23-3/4″ x 47-3/4″ – a hair under 24″x48″ so the surface sits flush inside the frame. From the 2x4s, cut four 47-3/4″ rails and four 20-3/4″ rails per board for the frame, plus four 11-1/2″ pieces per board for the legs.
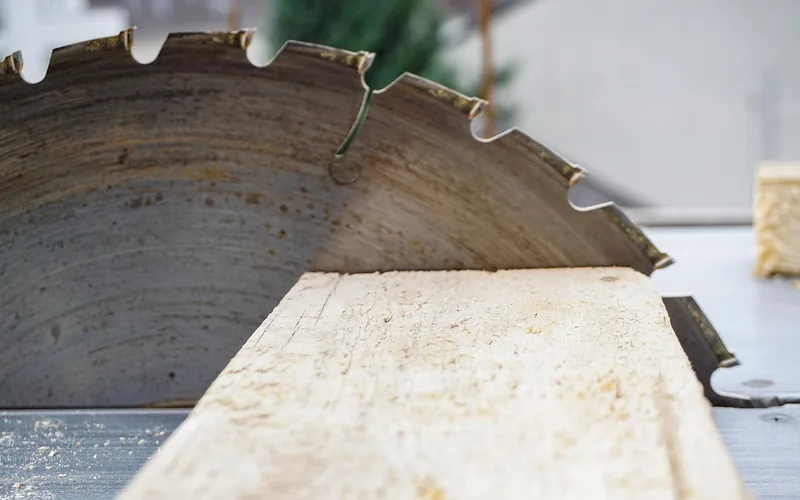
Mark every cut with a square before you cut, not just a tape measure line – a plywood sheet that’s off by even 1/4″ on the width throws the hole off-center later. Wear eye protection, and for the plywood, keep the good face up on a circular saw (down on a table saw) since the blade tears out on the exit side.
Cutting the Regulation 6-Inch Hole
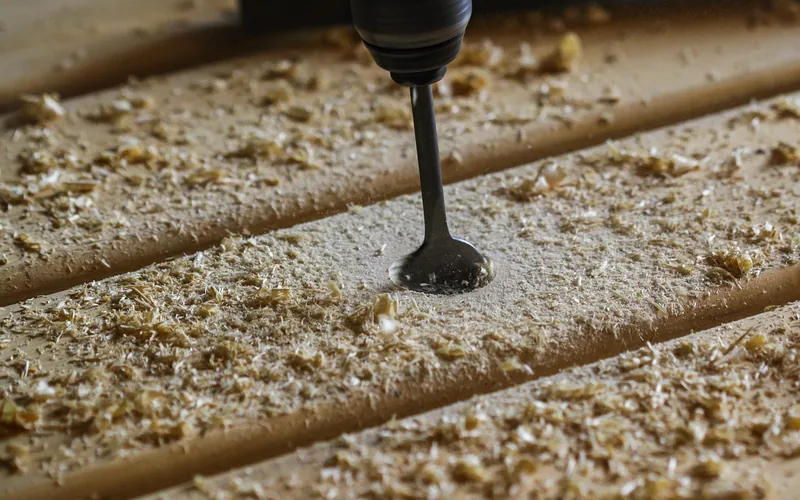
The hole is 6 inches in diameter, centered left-to-right and 9 inches down from the top edge of the board. Mark the centerline, swing a compass (or a pencil on a 3″ string pinned at the center) to draw the circle, then drill a 3/8″ starter hole inside the line and finish the cut with a jigsaw.
Cut just outside your pencil line and sand back to it – cutting inside the line leaves a hole that’s undersized and grabs bags instead of letting them drop through. For the exact math behind these numbers, see our breakdown of cornhole board dimensions.
Assembling the 2×4 Frame
Build a rectangle from the four 47-3/4″ and four 20-3/4″ rails – two identical frame halves. Run a bead of wood glue on every joint before driving 2-1/2″ screws, and pre-drill a pilot hole first so the 2×4 doesn’t split near the end grain.
Check each frame for square by measuring corner to corner in both directions – the two diagonal measurements should match within about 1/8″. A frame that’s out of square will telegraph into the plywood top and make the board wobble once the legs go on.
Attaching the Plywood Playing Surface
Center the plywood top on the frame and secure it with 1-5/8″ screws every 6-8 inches around the perimeter, plus a few along the middle rail so the surface doesn’t drum or flex when a bag lands. Countersink every screw head flush or slightly below the surface – a proud screw head will catch bags and change how they slide.
Adding Hinged Legs at Regulation Height
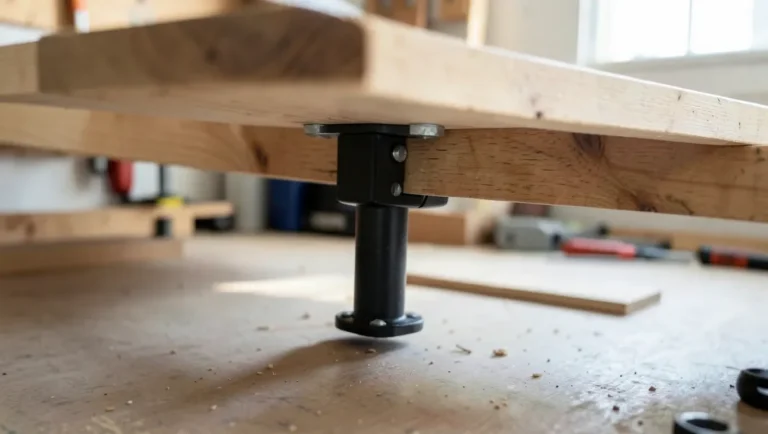
Regulation boards sit 12 inches off the ground at the back and 3 to 4 inches off the ground at the front, which is what creates the playing incline. With a 1/2″ plywood top and a 2×4 frame, that works out to legs cut about 11-1/2″ long, attached with folding hinges roughly 9-12 inches down from the top edge of the board.
Mount one hinge per side rather than a single center leg – a single leg lets the board rock side to side under a thrown bag. For a full walkthrough of hinge placement and angle, see our dedicated guide to cornhole board legs.
Sanding, Painting and Sealing
Sand the whole board with 120-grit paper, working in the direction of the grain, then wipe off dust with a damp cloth before painting. Two coats of exterior acrylic paint, sanded lightly between coats, gives the smoothest surface for bags to slide across.
Finish with at least one coat of clear polyurethane to protect the paint from weather and repeated bag impacts. Our guides on what paint to use on cornhole boards and how to finish cornhole boards cover specific product picks and dry times in more depth.
📊 Regulation platforms must use plywood at least 1/2 inch thick when backed by a 2×4 frame, with a rear standing height of 12 inches. Source: American Cornhole Organization, regulation board specifications
Regulation Cornhole Board Specs at a Glance
| Spec | Regulation Measurement | Why It Matters |
|---|---|---|
| Board size | 24″ x 48″ | Non-standard sizes won’t pass tournament inspection |
| Playing surface thickness | 1/2″ plywood (frame-backed) | Thinner flexes and drums; thicker adds needless weight |
| Hole diameter | 6″ | Undersized holes deflect bags instead of dropping them |
| Hole position | 9″ from top, centered side to side | Off-center holes favor one side of the board |
| Front height | 3″-4″ | Sets the throwing incline with the back height |
| Back height | 12″ | Paired with front height for the regulation slope |
| Board spacing | 27′ front edge to front edge | Standard adult tournament pitching distance |
Setting Up the Game and Scoring
Set the two boards 27 feet apart, measured from the front edge of one board to the front edge of the other, facing each other on flat, obstacle-free ground. For kids or casual backyard play, closing the gap to 15-21 feet is common and not against any rule – only sanctioned tournaments enforce the full 27 feet.
Split into two teams of one or two players, with four bags per team. Players alternate throws from the same end; a bag through the hole scores 3 points, a bag resting on the board scores 1, and bags that touch the ground first score nothing. The first team to reach 21 (winning by any margin) takes the game; some house rules require a win by 2 or 3.
Common Mistakes to Avoid
- Skipping the countersink: proud screw heads on the playing surface snag bags and wear out the fabric faster.
- Using interior paint: it chalks and peels outdoors within a season – stick to exterior-rated paint and a poly topcoat.
- Eyeballing the hole position: mark the 9″ centerline with a square, not by eye, or the hole ends up crooked relative to the edges.
- One leg instead of two: a single center leg lets the whole board twist when a bag lands near an edge.
- Ignoring board weight and balance: boards built from full 3/4″ plywood are needlessly heavy to carry and store; 1/2″ is the regulation spec for a reason.
Frequently Asked Questions
What are the dimensions of regulation cornhole boards?
Regulation cornhole boards measure 24 inches wide by 48 inches long, built on a 1/2-inch plywood top with a 2×4 frame. The hole is 6 inches in diameter, centered 9 inches from the top edge.
How do you make cornhole boards step by step?
Cut a 4×8 sheet of 1/2″ plywood into two 24″x48″ tops, build a 2×4 frame for each, attach the plywood, cut the 6″ hole 9″ from the top, add hinged 11-1/2″ legs, then sand, paint, and seal both boards.
What materials do I need to build cornhole boards?
You need one sheet of 1/2″ plywood, four 8-foot 2x4s, wood glue, exterior screws, two pairs of 3-inch hinges, sandpaper, exterior paint, and a polyurethane sealant. This bill of materials builds a full two-board set.
How tall should cornhole board legs be?
Legs cut to about 11-1/2 inches long produce the regulation 12-inch back height and roughly 3-4 inch front height on a board built with a 1/2-inch plywood top and 2×4 frame.
How far apart should cornhole boards be placed?
Regulation adult play sets the boards 27 feet apart, front edge to front edge. Casual or kids’ games commonly shrink that to 15-21 feet with no rule against it.
Conclusion
Building a regulation set comes down to getting a handful of numbers right: 24″x48″ boards, a 6″ hole 9″ from the top, 1/2″ plywood, and legs that land the board at 12″ in back and 3-4″ in front. Get those right and the paint color is the only decision left. Prefer a faster weekend build with looser tolerances? Our DIY corn hole boards and cornhole game plans guides walk through simplified versions of the same project.
Sponsored / affiliate links. As an Amazon Associate I earn from qualifying purchases. I may earn additional commission from eligible campaigns.