Painted Wooden Name Ornaments
Choose a blank at least 1 inch longer than the name. Match short names with chunkier fonts, use opaque paint over sealed wood, and finish with satin sealer for gift-ready painted wooden name ornaments. Skip that fit, and letters bleed, tiny names look lost, and the ornament can warp or read unevenly. This guide shows how to size the blank, pick the letter style, coat for coverage, and choose a finish that suits the wood.
What you’ll need

Start with unfinished wooden ornament blanks that feel smooth and already have a hanging hole. Pick one with sanded faces and no rough edges, because a clean surface takes paint more evenly and needs less correction later. Round discs, wood slices, and cutout shapes all work, but the best blank is the one that gives the name room to breathe.
- Unfinished wooden ornament blanks with a smooth, sanded surface and a pre-drilled hanging hole
- Acrylic craft paint for the base and lettering
- Flat brush for base coats
- Small detail brush for names
- Fine tip brush for outlines and thin lettering
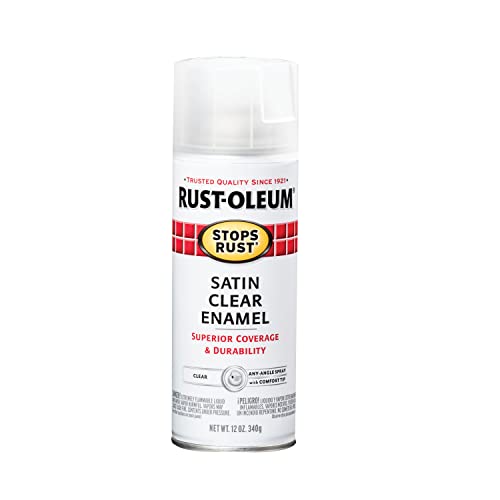
- Mod Podge or another sealer in matte, satin, or gloss
- Pencil and ruler or a light marking guide
- Jute twine or ribbon hanger
- Fine-grit sandpaper or sanding sponge
- Paper towel or soft cloth for dust removal
Acrylic craft paint is commonly used as the main color layer here because it covers bare wood well and dries quickly in thin coats. A matte or gloss Mod Podge finish can protect the paint, and a thin coat keeps the surface smoother without burying the lettering.
What blank size fits the name?
Pick a blank that gives the full name space to center cleanly. A practical rule is to choose a blank about 1 inch longer than the name, then make it wider if script lettering, a family name, or a top hanger will share space with the layout.
Short names and initials
Short names, single initials, and monograms fit smaller blanks well because the letters stay readable without crowding the edges. A 4-inch unfinished round wood circle with holes is a common size for single names or initials, while a set described as 3.5-4.0 inch natural rounds suits compact layouts for gift sets.
Long names and family names
Long names need more horizontal room. A larger blank, such as a 7-inch wooden ornament blank, gives space for wider letters, a family name, or a second line. If the name is long and the blank is small, use block lettering and reduce flourishes before you start painting.
Round discs, wood slices, and cutout shapes
Round discs are the easiest for centered text because you can measure the midpoint in both directions. Wood slices add a natural edge and work well with bare wood is beautiful styling. Cutout shapes look best when the name follows the widest open area, not the outer edge, so the letters do not fight the silhouette.
Use a smooth blank, paint in thin coats, center the name before you letter, and seal only after the paint is fully covered. That workflow keeps the surface cleaner than trying to fix the name after the final coat. It also helps batch-made ornaments match from one name to the next.
- Sand and clean the blank. Wipe away dust after light sanding so the first coat sits flat.
- Brush on the base color in thin coats. Thin coats reduce bleed and keep the wood grain from telegraphing through.
- Mark the centered layout. Find the middle point, then sketch the name lightly before paint touches the surface.
- Paint the name with controlled strokes. Work from the center of each letter outward so the brush does not dump excess paint at the edges.
- Add outlines or accents only after the main letters dry. This keeps fine details from merging into one wet band.
- Seal the ornament and attach the hanger. Add a thin coat of sealer, then thread jute twine or ribbon through the hole.
Suppose you are making six ornaments for siblings and one name is much longer than the others. Keep the same base color, but switch the long name to a smaller font and a larger blank so the set looks coordinated instead of crowded.
How do you paint the name cleanly?
Use a font that fits the blank, high-contrast colors, and the right brush for each stroke. Clean lettering comes from controlling the paint load, not from pressing harder. A small detail brush handles most names, while a fine tip helps with serif ends, outlines, and narrow script links.
Choose a letter style that fits the space
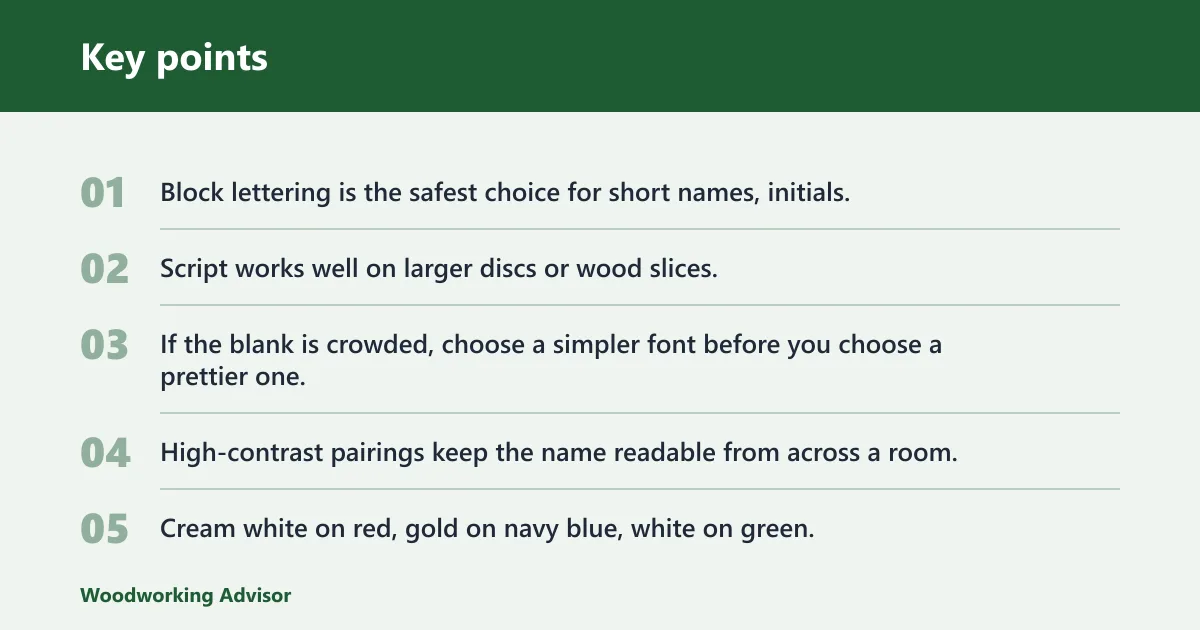
Block lettering is the safest choice for short names, initials, and family names on smaller blanks. Script works well on larger discs or wood slices, but only when the letters have enough room to separate. If the blank is crowded, choose a simpler font before you choose a prettier one.
Use high-contrast color pairings
High-contrast pairings keep the name readable from across a room. Cream white on red, gold on navy blue, white on green, and dark green on natural wood all read clearly from a few steps away. A neutral wood tone also works when the letters are painted in cream, black, or deep red.
Work with the right brush for each line
Use a flat brush for the base coat, a small detail brush for the name, and a fine tip for outlines. If the paint looks thick on the bristles, blot once on scrap paper before touching the ornament. That one check prevents the first stroke from flooding the letter edge.
Name ornament decision table
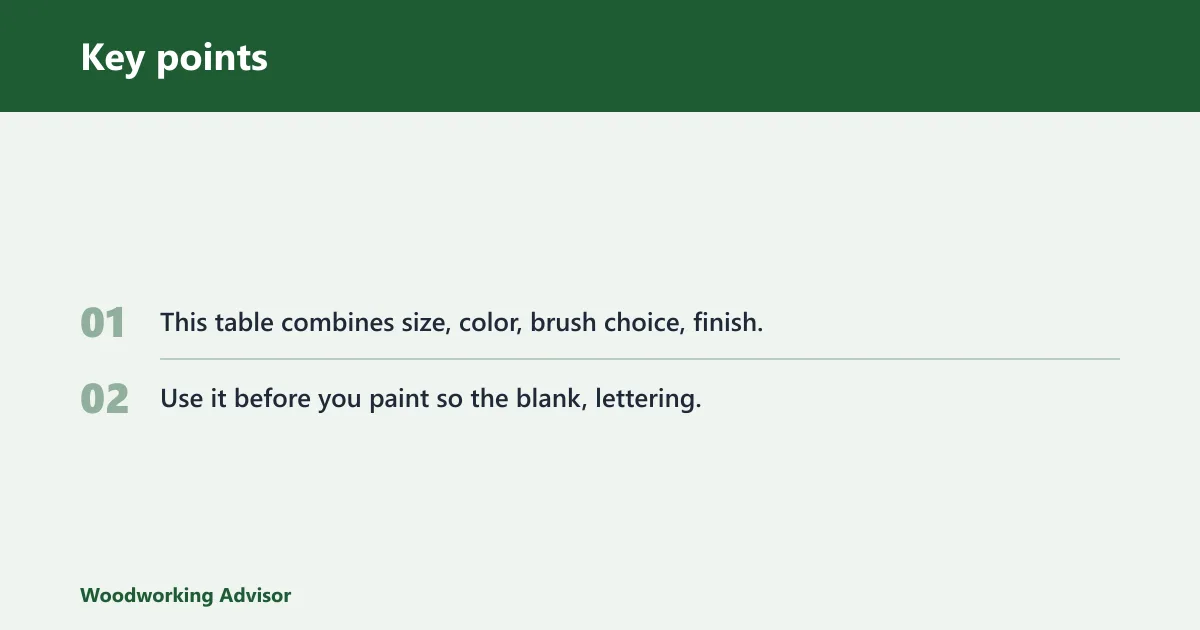
This table combines size, color, brush choice, finish, and a quick fix for the most common problems. Use it before you paint so the blank, lettering, and sealer all match the name length and wood surface.
| Name length | Blank size | Legible paint pairing | Brush for each step | Sealant finish | Common failure and fix |
|---|---|---|---|---|---|
| 1 initial or short name | 3.5-4.0 inch round or similar small blank | Red on cream white, gold on green | Flat brush for base, detail brush for letters, fine tip for outline | Satin for a gift-ready look | Bleed: switch to thinner coats and let the base dry before lettering |
| 4-6 letters | 4″ round disc with hole | Blue on natural wood, cream on red | Flat brush, small detail brush, fine tip brush | Matte if you want less glare | Streaks: reload the brush lightly and finish each stroke in one pass |
| Long first name | Large 7″ blank or wider cutout | Green on cream white, dark red on bare wood | Flat brush for base, detail brush for letters, fine tip for touch-up | Satin for balanced sheen | Wrinkling: stop adding wet layers and let the previous coat settle first |
| Family name | Large round disc or wood slice | Gold on navy blue, white on green | Flat brush, fine tip for spacing marks, detail brush for name | Gloss only if you want more shine | Lifting: seal in thin coats and avoid brushing back over soft paint |
How do you stop paint from bleeding on wood ornament letters?
Bleed is commonly reported to come from too much paint, a rough surface, or lettering over a base coat that is still soft. The quickest fix is thin paint on a smooth blank, followed by a second pass only where coverage is weak. If needed, add another coat after the first one dries rather than trying to force coverage in one pass.
- Sand the blank with fine grit until it feels even.
- Brush on one thin base coat, then let it settle before lettering.
- Load the detail brush lightly and test the stroke on scrap wood first.
- Paint each letter once, then add another coat only where the wood still shows through.
A common first-timer mistake is loading the brush like a sign painter on a rough blank. The result is fuzzy edges and paint that wicks into the grain. Thin layers, a smoother surface, and a steadier hand fix more problems than heavier paint ever will.
How do you seal painted wooden ornaments so names stay crisp?
Seal with a thin coat after the lettering is fully dry, then choose matte, satin, or gloss based on how much shine you want. Satin is the most flexible choice for gift ornaments because it protects the paint while keeping the name visible. Matte reduces glare, and gloss gives the most shine on smooth blanks.
- Check that the paint is dry to the touch and no longer tacky.
- Brush on a thin layer of Mod Podge or another sealer.
- Do not scrub the brush back and forth over the name.
- If the coverage looks patchy, add another thin coat after the first one settles.
For mixed-surface projects, such as painted base plus lettering plus tiny accents, seal the whole face evenly so the finish does not look stepped. If you want a more natural appearance, a matte finish keeps the wood tone quieter. If the ornament will hang near lights, gloss will reflect more.
How do you hang painted wooden name ornaments on a tree?
Use the pre-drilled hole or drill one before painting, then thread jute twine or ribbon so the ornament hangs straight. Centered names look best when the hanger sits directly above the midpoint. If the top hole is off-center, the ornament may tilt and pull the name out of alignment.
Jute twine or ribbon
Jute twine gives a rustic look and works well with wood slices and natural finishes. Ribbon feels more formal and matches polished painted surfaces. For a cleaner display, tie the hanger into a small loop and test the balance before trimming the ends.
Placement at the top
Keep the hanger close to the top edge, but not so close that it crowds the lettering. If you add decoration above the name, leave enough clearance for the hanger knot. Tiny pinecones can work as a top embellishment, but they should stay small enough not to pull the focus away from the name.
Common mistakes
Most problems with painted wooden name ornaments come from rushing the surface prep, overloading the brush, or choosing a blank that is too small for the name. Fix those three points first, and the rest gets easier.
- Paint bleed and fuzzy edges. Use thin coats, a smoother blank, and a lighter touch on the brush.
- Streaks. Reload the brush less often and pull each stroke in one direction.
- Wrinkling. Let each coat dry before adding the next one, especially over a painted base.
- Lifting. Seal with thin layers instead of scrubbing over partially dry paint.
- Warped blanks and off-center hangers. Choose a flat blank and check balance before tying the hanger.
Say your blank is a 4″ round and the family name barely fits. The best correction is not more paint. Switch to a smaller font, tighten the spacing, or move up to a larger blank so the name stays readable and the ornament keeps its shape.
Frequently asked questions
What paint works best on unfinished wooden name ornaments?
Acrylic craft paint is the safest choice because it covers bare wood well and dries fast enough for layered lettering. Use opaque colors and build coverage with light coats. If the blank is sealed first, acrylic still works, but thin application matters more than ever.
Do wooden name ornaments need sanding before painting?
Yes, especially if the blank feels fuzzy or rough. Light sanding removes splinters and helps paint sit evenly on the surface. After sanding, wipe away every trace of dust so the base coat bonds cleanly and the lettering does not pick up grit.
What size unfinished wood blank is best for a name ornament?
Choose a blank at least 1 inch longer than the name. A 4″ round works well for initials and short names, while a larger 7″ blank gives long names or family names enough room to read cleanly without crowding the edges.
Can you decoupage names onto painted wood ornaments?
Yes, but treat decoupage as an optional technique, not the default. Use a painted base, apply the paper name with a thin sealer layer, and smooth it gently before topcoating. It works best when the paper is cut cleanly and the ornament surface is flat.
Sponsored / affiliate links. As an Amazon Associate I earn from qualifying purchases. I may earn additional commission from eligible campaigns.