Can You Spray Polyurethane With a Paint Sprayer? Yes, Here’s How
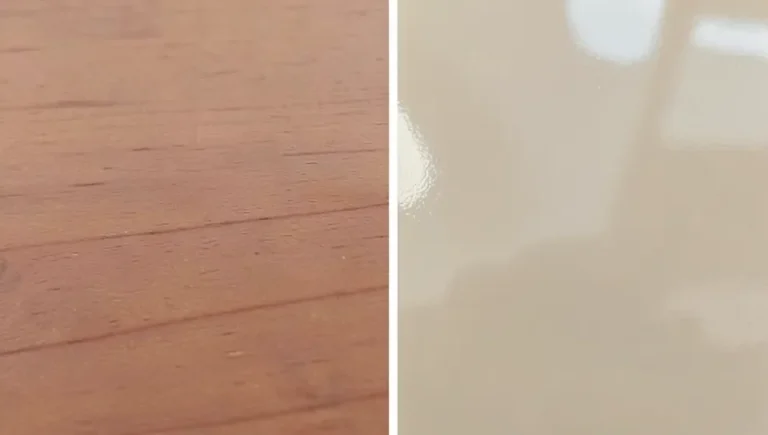
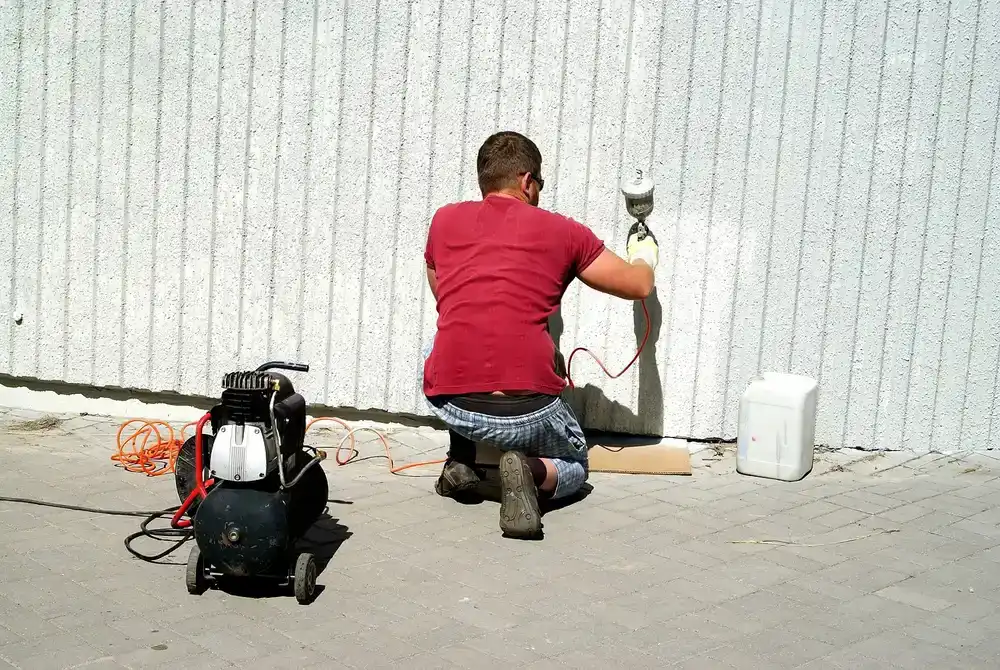
Yes, you can spray polyurethane with a paint sprayer. Polyurethane is thicker than most other spray finishes, though, so the sprayer, tip size, and thinning ratio you’d use for latex paint usually won’t give you a clean coat straight out of the can. Get those three things right and a sprayer lays down a smoother, more even coat of poly than a brush ever will — especially on cabinet doors, trim, and other pieces with a lot of surface area.
Looking for a wider comparison of every spray method — aerosol cans, airless rigs, and HVLP guns side by side? Our general guide to spraying polyurethane covers that. This page focuses specifically on using a standard paint sprayer, what to thin with, and the mistakes that actually ruin a poly finish.
Which Polyurethane Types Actually Spray Well
BEST HVLP SPRAYER FOR POLYURETHANE
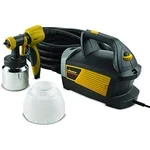 |
Wagner Control Spray Max HVLP Sprayer – $150.99 A corded HVLP turbine built for thin-bodied materials like stain and polyurethane, not just wall paint.
|
Not every polyurethane behaves the same way in a sprayer. The type you’re using changes both the thinning ratio and which solvent is safe to mix in.
Water-Based Polyurethane
Water-based poly is the easiest to spray and clean up, and it’s lower in fumes and toxicity than the oil-based version. It thins with plain water — a common starting ratio is about 3 parts poly to 1 part water, adjusted from there. The tradeoff is durability: water-based poly lays down thinner per coat, so plan on one or two extra coats to match the build of an oil-based finish.
Oil-Based Polyurethane
Oil-based poly thins with mineral spirits, never water. It’s more durable and builds a thicker film per coat, but it also dries slower — which matters more than most guides let on (more on that below) — and throws more fumes, so run real ventilation and a proper respirator, not just an open window.
Aerosol/Spray-Can Polyurethane
Pre-thinned spray cans are fine for small touch-ups but aren’t a real substitute for a sprayer on a full project — you can’t adjust the mix, and getting an even coat over a large surface takes a lot more cans than you’d expect.
Thinning Polyurethane the Right Way (Not Just “a Little Water”)
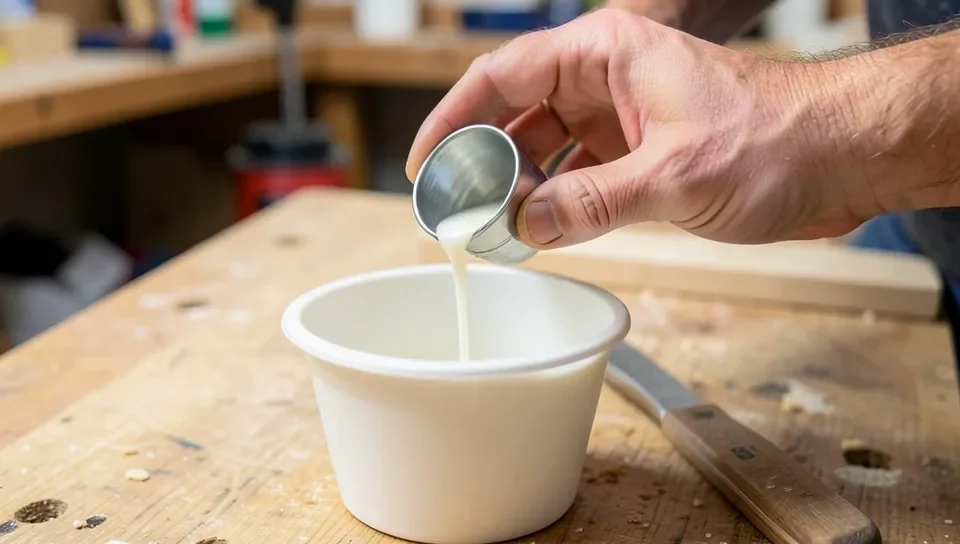
This is the step most pages skip, and it’s the one that actually determines whether your finish sprays clean or comes out orange-peeled and gritty. Polyurethane is noticeably more viscous than the stains and paints most home sprayers are tuned for, and every sprayer manufacturer publishes a target viscosity range for its own tips — guessing at “a splash of thinner” is how you end up with a clogged tip or a finish that never lays flat.
The standard tool for checking this is a #4 Ford viscosity cup: dip it fully into the thinned poly, lift it straight up, and time how long it takes for the stream to break into drips. Most HVLP setups spraying polyurethane want a reading in the 18–22 second range after around a 10% thinner reduction, though your specific gun’s manual is the final word — check it against the sprayer, not a generic number. Mix the thinner in slowly with a gentle stir; aggressive shaking whips air bubbles into the poly, and those bubbles show up as pinholes in the cured finish.
For a deeper walkthrough of ratios by brand and finish type, see our full guide to thinning polyurethane for spraying.
The Overspray-and-Dust Problem Nobody Mentions
Here’s a real difference between spraying polyurethane and spraying a fast-drying finish like lacquer or shellac: poly’s working time is much longer. That’s good for leveling out brush marks, but it also means the wet film stays tacky and open far longer — often 30 minutes or more before it’s dust-free to the touch. Any airborne overspray, sawdust, or shop dust that settles during that window gets trapped in the coat permanently, and you won’t see it until the finish has fully cured.
Two habits fix most of this: spray in a space where you can stop generating dust (no sanding, no sweeping, no foot traffic for at least an hour after), and let overspray settle before you walk back into the room. A cheap box fan pulling air out through a filter or an open doorway, positioned so it draws air away from the workpiece, cuts down redeposited overspray more than people expect.
Spray Guns and Sprayers Suited to Polyurethane
The sprayer matters as much as the thinning ratio. Here’s how the common options stack up specifically for poly:
HVLP (High Volume, Low Pressure)
HVLP is the standard choice for furniture, cabinets, and trim. Low pressure means less overspray and finer atomization, which translates to more control and less wasted material — important since a properly thinned poly mix is thinner and easier to overshoot than paint.
Airless
Airless sprayers push material through at high pressure and cover large surfaces fast, but they produce more overspray and a coarser pattern — better suited to decks and large flat panels than fine furniture work.
Gravity-Feed
Gravity-feed guns (cup on top, fed by gravity) are common for small, detailed pieces and touch-up work. They’re easy to clean and waste very little material since nothing pools unused in the bottom of a cup.
For tip sizes, CFM requirements, and current prices across specific gun models, see our comparison of spray guns for polyurethane.
Step-by-Step: Spraying Polyurethane With a Paint Sprayer
With the type of poly chosen, the gun picked, and the thinning ratio checked, the actual spraying process is straightforward:
- Sand the surface (typically 220-grit for a finish coat) and wipe it down with a tack cloth or a rag dampened with the appropriate solvent to pull off dust and any oily residue.
- Thin the polyurethane per your sprayer’s manual, check it against a #4 Ford viscosity cup, and strain it through a paint filter into the gun’s cup to catch any skin or debris.
- Test the spray pattern on cardboard or scrap wood first. Adjust the fan pattern and material flow until you get an even, cone-shaped mist with no fingering at the edges.
- Hold the gun 8-10 inches from the surface, keep it perpendicular (not angled), and start the pass off the edge of the workpiece so the trigger is already engaged when it crosses onto the surface.
- Overlap each pass by about 50% and keep the gun moving at a steady speed. Stopping mid-pass is what causes heavy, sagging spots.
- Apply 2-3 thin coats rather than one heavy one, sanding lightly with fine-grit (320+) sandpaper between coats once each is dry to the touch.
- Let the piece cure somewhere still and dust-free for the full recoat window listed on the can before handling it or setting anything on it.
Safety Gear You Actually Need
Atomized polyurethane creates fine airborne particles that a dust mask does not stop, especially with oil-based poly and its solvent vapors. A cartridge respirator rated for organic vapors is the right call for oil-based polyurethane; a well-fitted N95 is the minimum for water-based poly in a well-ventilated space, though a vapor respirator is still the safer choice. Pair either with safety glasses and, ideally, a spray suit or old long sleeves you don’t mind ruining with overspray. Run cross-ventilation (a fan pulling air out, not just a window cracked open) so fumes and airborne mist move away from you and out of the room instead of circulating back across the workpiece.
Fixing the Three Most Common Spraying Problems
Runs and Streaks
Usually caused by holding the gun too close or too still. Keep the tip 8–10 inches from the surface, keep it moving in a steady side-to-side pass, and lay down two or three thin coats instead of one heavy one.
Fisheyes
Small craters that form when oil, wax, or silicone contamination is on the wood or in the poly itself. Wipe the surface down with mineral spirits before spraying and strain the poly through a paint filter first.
Bubbles
Usually trapped air from shaking the can or stirring too aggressively when thinning. Stir gently, let the mix sit a few minutes to release bubbles, and strain it again before it goes in the cup.
Frequently Asked Questions
Can you use a regular paint sprayer for polyurethane?
Yes, as long as you thin the polyurethane to the viscosity your sprayer’s manual calls for first. A regular sprayer running unthinned poly straight from the can will usually clog the tip or spray an uneven, streaky coat.
Can Minwax polyurethane be sprayed?
Yes. Minwax polyurethane can be sprayed with the same thinning approach — mineral spirits for the oil-based version, water for the water-based version — checked against a #4 Ford cup reading before you spray a full piece.
How much do you thin polyurethane for spraying?
Most HVLP setups need roughly a 10% thinner reduction to hit an 18–22 second reading on a #4 Ford viscosity cup, but always check your sprayer’s own manual first since tip sizes vary by model.
Why does my sprayed polyurethane have bubbles or dust in it?
Bubbles usually come from shaking or stirring the poly too hard while thinning it. Dust and grit almost always come from poly’s long open working time — the wet film can stay tacky for 30 minutes or more, and anything airborne during that window gets trapped permanently in the coat.
Once you’ve got the ratio and gun dialed in, spraying is genuinely the fastest way to get a smooth, brush-mark-free coat of polyurethane on cabinets, trim, or furniture — the setup work is the only real learning curve.
Sponsored / affiliate links. As an Amazon Associate I earn from qualifying purchases. I may earn additional commission from eligible campaigns.