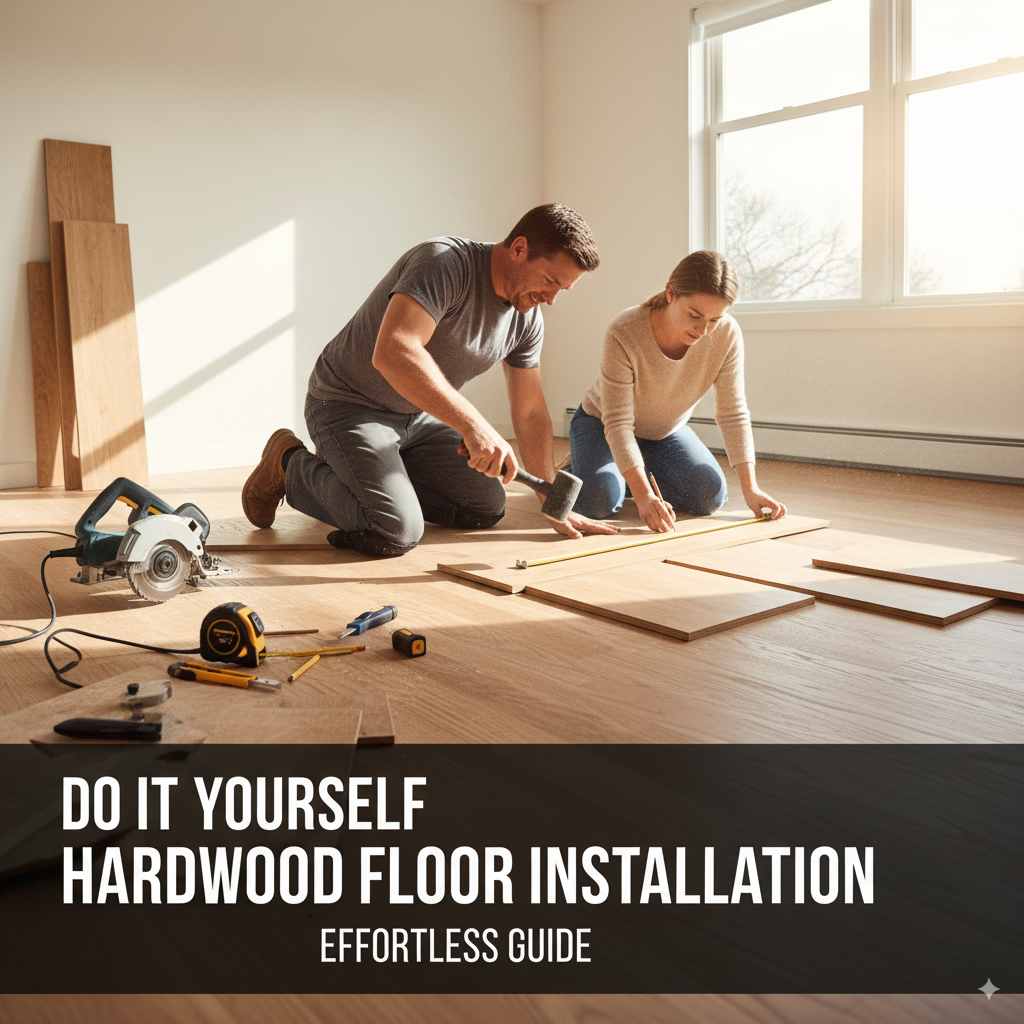
Do It Yourself Hardwood Floor Installation: Effortless Guide
Yes, you can absolutely achieve beautiful DIY hardwood floor installation! This effortless guide breaks down every step, from preparation to the final plank, making it straightforward and rewarding for beginners. Get ready to transform your home with stunning new floors!
Dreaming of warm, natural hardwood floors but worried about the cost of professional installation? Many homeowners feel the same way! The thought of tackling such a big project can seem daunting, conjuring images of complicated tools and tricky cuts. But what if I told you that with clear guidance and a bit of patience, do it yourself hardwood floor installation is well within your reach? I’m Md Meraj, and I’m here to show you that creating a beautiful new floor for your home is more achievable than you think. Forget the intimidation; we’re going to walk through this together, step by simple step, making the process feel manageable and even enjoyable. Get ready to learn how to lay down those gorgeous planks like a pro!
Your DIY Hardwood Floor Installation Journey Starts Here
Transforming your home with hardwood floors is a fantastic way to add value and timeless beauty. While it might seem like a job for seasoned professionals, a well-prepared DIYer can absolutely master the art of do it yourself hardwood floor installation. The key is understanding the process, having the right tools, and taking your time. This guide is designed to break down every phase, from picking the right wood to the final gleaming shine, ensuring you feel confident and capable every step of the way. Let’s get your dream floors laid!
Choosing Your Hardwood Flooring
Before we grab any tools, let’s talk about the star of the show: your hardwood flooring! There are a few types to consider, each with its own charm and installation needs.
Solid Hardwood vs. Engineered Hardwood
This is your first big decision, and it impacts how you’ll install it. Here’s a quick rundown:
| Feature | Solid Hardwood | Engineered Hardwood |
|---|---|---|
| What it is | One solid piece of a hardwood species (like oak, maple, or cherry). | Multiple layers of wood veneer or plywood glued together, topped with a hardwood veneer. |
| Installation Methods | Typically nailed or stapled down to a subfloor. Can also be glued in some cases. | Can be nailed/stapled down, glued down, or installed as a “floating floor” (planks lock together without being attached to the subfloor). |
| Durability & Longevity | Can be sanded and refinished many times, lasting for generations. | Sanding and refinishing depend on the thickness of the top veneer. Some can be refinished once or twice; others not at all. |
| Best For | Basements (with proper moisture barriers), main floors, areas where longevity and multiple refinishes are desired. Can be sensitive to moisture. | Versatile – suitable for most areas, including basements and kitchens, as it’s more stable with humidity changes. |
| DIY Friendliness | Requires specialized nailing/stapling tools. | Floating installation is often the most beginner-friendly. |
For do it yourself hardwood floor installation, especially for beginners, engineered hardwood with a click-lock or floating system is often the most forgiving and straightforward. Solid hardwood, while beautiful, usually requires a nail-down installation, which means renting or buying a specialized flooring nailer and compressor.

Tools You’ll Need for DIY Hardwood Flooring
Gathering your tools before you start is crucial for a smooth installation. Don’t worry, you likely already have some of these. For others, renting is a great option!
Essential Tools for Most Installations:
- Tape Measure: For accurate measurements and layout.
- Pencil: To mark cuts.
- Utility Knife: For scoring and cutting underlayment or trim.
- Safety Glasses: Always protect your eyes!
- Work Gloves: To protect your hands.
- Carpenter’s Square: For marking straight cuts.
- Broom and Dustpan or Vacuum: For keeping your work area clean.
- Chalk Line: For snapping long, straight layout lines on the subfloor.
- Pry Bar: To make small adjustments or remove stubborn pieces.
- Hammer: For tapping planks into place and making minor adjustments.
- Tapping Block: A specialized piece of wood used to gently tap planks together without damaging the edges.
- Pull Bar: Used to pull the last row of planks tight against the wall.
- Jigsaw or Miter Saw: A trusty jigsaw is excellent for cutting around obstacles like doorways or vents. A miter saw is perfect for precise crosscuts (cutting planks to length). A circular saw can also be used for rip cuts (cutting along the length).
- Underlayment: Usually required for floating floors; check your flooring manufacturer’s recommendations.
- Moisture Barrier (if needed): Especially important for concrete subfloors or in basements.
Tools for Nail-Down Installation (More Advanced DIY):
- Flooring Nailer: This tool drives nails at an angle into the tongue of the hardwood for a secure fit.
- Air Compressor: To power the flooring nailer.
- Hose: To connect the compressor to the nailer.
Preparation is Key: Setting the Stage for Success
This is arguably the most important phase for a beautiful and lasting do it yourself hardwood floor installation. Skipping these steps can lead to problems down the road.
1. Acclimate Your Flooring
This is non-negotiable! Hardwood is a natural material that reacts to its environment. It needs to adjust to the humidity and temperature of your home.
- Leave the unopened boxes of flooring in the room where you’ll be installing them for at least 72 hours (or as recommended by the manufacturer).
- Ensure the HVAC system is running at your normal living temperature and humidity level during this period.
2. Prepare the Subfloor
Your subfloor is the foundation for your new floor. It needs to be:
- Clean: Sweep and vacuum thoroughly. Remove any dust, debris, paint, or old adhesive.
- Dry: Check for moisture. If you have a concrete subfloor or are installing in a basement, a moisture meter is a good investment. You may need a specialized moisture barrier. For recommendations, check out the Building Science Corporation for insights into moisture in building assemblies.
- Level: High spots can be sanded down. Low spots might need to be filled with a floor leveling compound. Most manufacturers allow for a slight variation, typically no more than 3/16 inch over a 10-foot span.
- Sound: Ensure there are no loose boards that squeak. Screw them down to the joists.
- Smooth: Any bumps or ridges will telegraph through to the finished floor.
3. Remove Existing Flooring and Trim
- Carefully pry off baseboards and quarter-round molding. If they are in good condition, you can re-nail them later.
- Remove any existing flooring like carpet, vinyl, or old tile. If you’re going over existing hardwood, ensure it’s in excellent condition, perfectly level, and well-secured. Nail-down hardwood is generally not recommended over existing hardwood.
4. Plan Your Layout
A good layout makes a huge difference:
- Direction: Generally, lay planks perpendicular to the floor joists for stability, or parallel to the longest wall or main light source in the room for the best aesthetic.
- Expansion Gaps: Hardwood needs space to expand and contract with changes in temperature and humidity. You’ll need to leave a gap of about 1/4 to 1/2 inch around the perimeter of the room, at walls, doorways, and any fixed objects (like cabinets or columns). Use spacers during installation.
- First Plank Measurement: Measure the width of your room and divide by the width of your planks. If the last plank would be less than half the width of a full plank, you’ll need to rip (cut lengthwise) your first plank. This ensures you don’t have a very narrow, awkward strip at the far wall.
The Installation Process: Laying Your New Floor
Now for the exciting part! Let’s get those planks down.
For Floating Floors (Click-Lock Engineered Hardwood)
This is often the most beginner-friendly method for do it yourself hardwood floor installation.
- Install Underlayment: Roll out your underlayment according to the manufacturer’s instructions. If it has an integrated moisture barrier, ensure it’s facing the right direction. Overlap seams and tape them securely.
- Lay the First Row: Start in a corner, typically the left corner of the longest wall. With the tongue-side of the plank facing the wall, use your utility knife to cut off the tongue that would normally connect to the previous plank. This creates a flat edge to butt against the wall. Place your spacers between the plank and the wall. Ensure the plank is perfectly straight using your chalk line if needed.
- Connect Subsequent Planks in the First Row: For each new plank in the first row, angle its long edge tongue into the groove of the previous plank and lower it down to create a tight seam.
- Start the Second Row: Begin the second row with a plank cut to a different length, ideally at least 6-8 inches shorter than the first plank. Staggering your joints (or breaks) between planks is crucial for structural integrity and appearance. Aim for a random look, not a uniform pattern.
- Engage Planks: Angle the long tongue side of the second-row plank into the groove of the first-row plank. Then, angle the short end tongue into the groove of the previous plank in the second row. Tap gently with your tapping block and hammer to ensure a tight lock.
- Continue Laying Rows: Work your way across the room, row by row. You’ll frequently need to cut planks to length to finish a row. Use the cut-off piece to start the next row, as long as it meets the minimum length requirement for staggering.
- Cutting Around Obstacles: Use your jigsaw to cut planks to fit around door jambs, heating vents, or other fixed objects. Remember to still account for your expansion gap!
- The Last Row: This is often the trickiest. Dry-fit the planks to measure the exact width needed. You’ll likely need to cut off the long tongue on these final planks. Use a pull bar and hammer to gently pull these last planks into place, ensuring they lock securely against the previous row and snug up to the wall.
For Nail-Down Installation (Solid Hardwood)
This method requires more specialized tools and is generally for those comfortable with power tools and confident in their measuring and cutting skills.
- Install Felt Paper or Underlayment: Lay down roofing felt or a recommended underlayment, overlapping seams by about 6 inches. This acts as a protective layer and vapor barrier.
- Lay the First Row: Similar to floating floors, you’ll often need to cut off the tongue on the wall side of the planks. However, the first row is usually face-nailed (nails driven down through the face of the plank, then countersunk) because the flooring nailer can’t get close enough to the wall. Alternatively, some nailers allow for blind nailing into the tongue of the board if you can get close enough.
- Use the Flooring Nailer: Once you’re a few rows in, you can use your flooring nailer. Position it to drive a nail through the tongue of the board and into the subfloor. You’ll typically need to place the nailer almost flush with the plank’s face.
- Continue Nailing: Follow the nailer’s instructions. Most require you to hit a plunger to drive the nail. Ensure consistent spacing of your nails (usually every 6-8 inches along the tongue).
- Stagger Joints: Maintain staggered end joints, just as with floating floors, for strength and appearance.
- The Last Row: This will again require careful measuring. You might need to rip planks lengthwise. Use a pry bar and hammer to pull them tight, and then face-nail them, countersinking the nails and filling the holes with matching wood putty later.
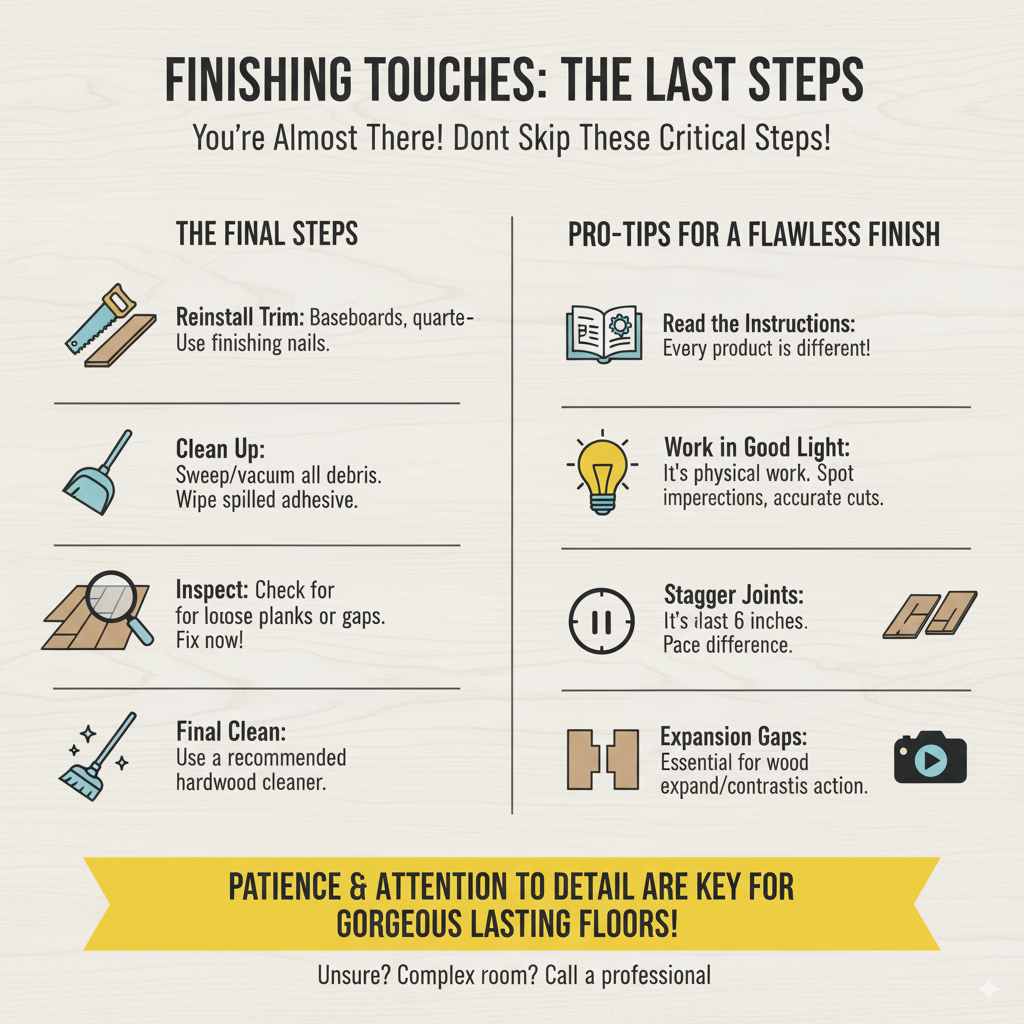
Finishing Touches: The Last Steps
You’re almost there! These final steps make a big difference.
- Reinstall Trim: Carefully reattach your baseboards and quarter-round. Use finishing nails and a nail set to sink them slightly below the wood surface, ready for filling and painting.
- Clean Up: Sweep or vacuum all dust and debris. Any spilled adhesive should be cleaned according to the manufacturer’s instructions.
- Inspect: Walk the floor and look for any planks that are loose or have gaps. Address these now.
- Final Clean: Give your beautiful new floor a final clean with a recommended hardwood floor cleaner.
Tips for a Flawless DIY Installation:
- Read the Manufacturer’s Instructions: Every brand and type of flooring has specific requirements. Always defer to them!
- Work in Good Light: This helps you spot imperfections and ensures accurate cuts.
- Take Breaks: Installing a floor is physical work over potentially several days. Don’t push yourself too hard.
- Stagger Your Joints: This is vital for strength and beauty. At least a minimum of 6 inches difference between the end joints of adjacent rows is recommended.
- Don’t Forget Expansion Gaps: This is critical for preventing buckling or gapping later.
- Test Fit First: Before making a permanent cut or connection, do a dry fit to ensure it’s correct.
- Watch Videos: Seeing the process in action can be incredibly helpful. Search for videos specific to your type of flooring (e.g., “click lock engineered hardwood installation”).
When to Call a Professional
While this guide aims to empower you for DIY success, there are times when professional help is the best route:
- Complex Room Layouts: Odd angles, irregular shapes, or many built-in cabinets can be challenging.
- Difficult Subfloors: Severely uneven, damaged, or problematic subfloors requiring extensive repair.
- Nail-Down Installation Concerns: If you’re not comfortable with the specialized tools or the precision required.
- Pre-finished Solid Hardwood Installation: While possible DIY, it often involves renting equipment and has a steeper learning curve.
- Uncertainty: If at any point you feel overwhelmed or unsure, it’s always wise to consult a professional. It’s better to get expert advice than to risk damaging your materials or creating a long-term problem.
Frequently Asked Questions About DIY Hardwood Flooring
Q1: How long does it take to install hardwood floors myself?
A1: For a typical medium-sized room (150-200 sq ft), a beginner might take 2-3 full days. This includes preparation, installation, and finishing touches. Experienced DIYers can do it faster, but prioritizing accuracy and patience is key for your first time.
Q2: Can I install hardwood floors over my existing vinyl or laminate flooring?
A2: Generally, no. Most manufacturers recommend installing hardwood only over a solid, stable subfloor. Vinyl and laminate can be too flexible, trap moisture, or not provide a firm enough base, potentially leading to issues with your new wood floor. It’s best to remove them first.
Q3: What’s the biggest mistake beginners make during DIY hardwood floor installation?
A3: The most common mistake is not leaving adequate expansion gaps around the perimeter of the room. Wood expands and contracts; without room to move, planks can buckle or lift, causing permanent damage. Another common error is not acclimating the wood properly.