How to Finish a Bass Guitar Body (Wood Finish Guide)
Oil finishes (Tru-Oil, Danish oil, or plain tung oil) are the easiest reliable wood finish for a bass guitar body, because they need no spray equipment and forgive small mistakes a lacquer finish won’t. Nitrocellulose lacquer and catalyzed polyurethane look more like a factory finish but demand a ventilated spray area and weeks of cure time. Basswood — the most common budget and mid-tier bass body wood — is softer and more porous than alder or ash, so it needs 2–3 extra sealer coats that other tonewoods skip. This guide covers prep, both finish routes, basswood’s specific quirks, and how long to wait before you restring.
Quick Answer
Sand the bare body to 320–450 grit, seal porous woods like basswood with a sanding sealer or dewaxed shellac, then apply either an oil finish (3–8 wiped-on coats, no sprayer needed) or a sprayed lacquer/poly finish (8–12 light coats in a ventilated area). Oil is the simpler, more resonance-friendly DIY route; lacquer looks more like a factory finish but needs real cure time before the body goes back together.
What Is the Best Finish for a Bass Guitar Body?
An oil finish is the best all-around choice for a first refinish, because it needs no spray gear, dries between coats in under an hour, and lets the wood keep resonating close to its raw, unfinished state. Lacquer and polyurethane finishes are more durable and glossier but require a ventilated spray area and a multi-week cure.
| Finish | Equipment needed | Typical coats | Full cure time | Effect on resonance |
|---|---|---|---|---|
| Oil (Tru-Oil, Danish oil, tung oil) | Rag or brush — no sprayer | 3–8, hand-wiped | 2–4 weeks for full hardening | Minimal — thin film soaks in rather than sitting on top |
| Nitrocellulose lacquer | Spray gun or rattle cans, ventilated area | 8–12 light coats | 2–4 weeks to fully out-gas | Low once cured — thin, brittle film |
| Catalyzed polyurethane | Spray gun, ventilated area | 3–4 wet coats | 1–2 weeks to harden, longer to fully cure | Higher — thicker, harder film can damp overtones |
How Do You Prepare a Bass Body Before Finishing?
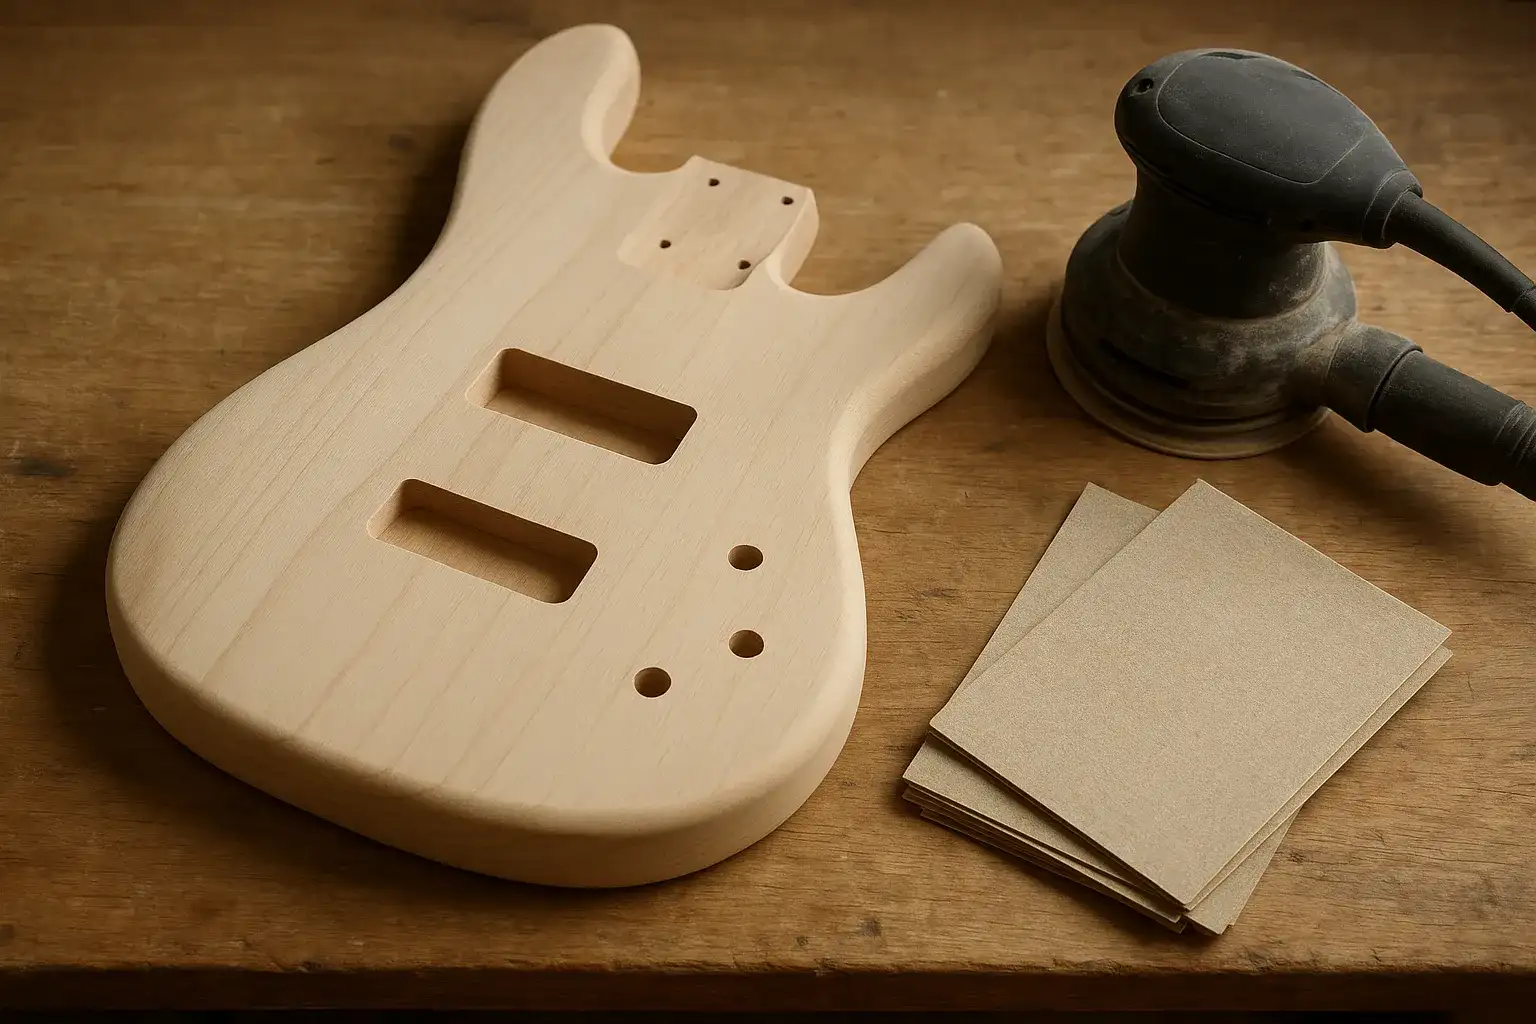
Prep decides whether the finish looks even or blotchy, and it starts with pulling every piece of hardware and sanding through a full grit progression before any stain, oil, or sealer touches the wood. Skipping steps here shows up permanently once the finish goes on.
Step 1: Remove the Hardware and Mask What Stays
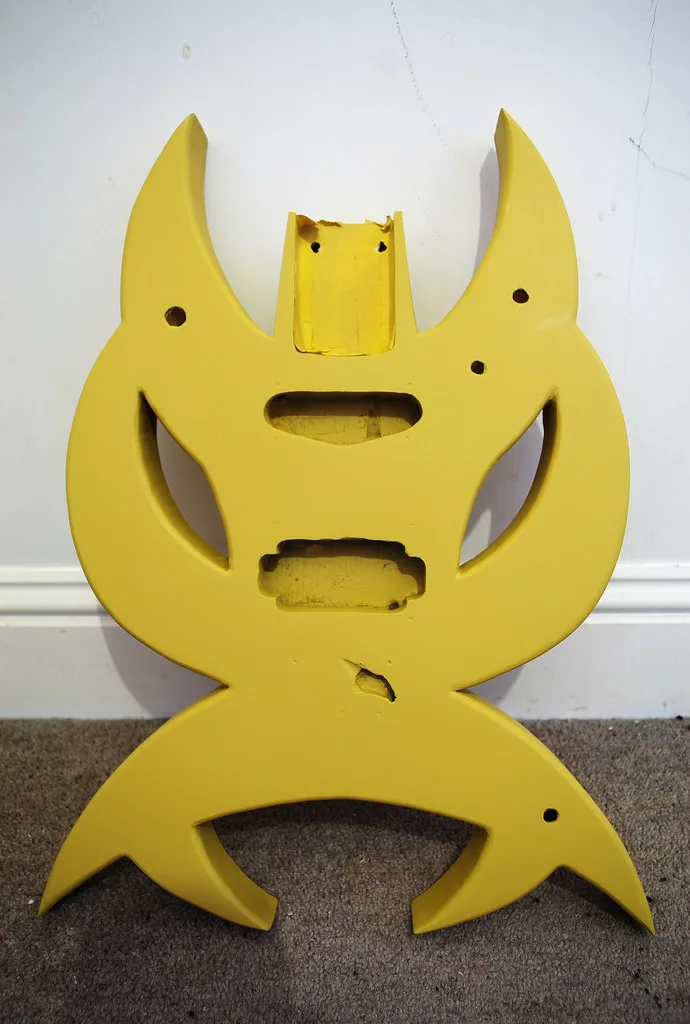
Take off the pickups, bridge, control plate, and neck before sanding — every part left on will trap dust and finish under its edges. If a previously finished body is being stripped, get it down to bare wood; any leftover finish or sealer under new coats causes a blotchy, uneven result later.
Step 2: Sand Through the Grits
Work up from 120-grit on bare or repaired wood, then 150, then 220, sanding only with the grain and using a sanding block on flat areas so you don’t round over edges. For a clear or oiled finish, keep going to at least 320–450 grit — Guitar Kit World’s Guitar Finishing 101 guide notes that skipping a grit leaves scratches the next grit won’t fully remove, so each step has to actually erase the marks from the one before it.
Step 3: Decide if the Wood Needs Grain Filler
Open-grain woods like mahogany and ash need a pore filler for a glass-smooth finish; closed-grain woods like basswood and maple generally don’t. Fill only if you want a perfectly flat, pore-free surface — on basswood specifically, leaving the pores open is normal and won’t weaken the finish.
Step 4: Wipe Down and Let the Grain Raise
Wipe the body with a barely damp cloth or naphtha to pull sanding dust and surface oils out of the pores, then let it dry fully. Water-based wipe-downs raise the grain slightly — once it’s dry, a light pass with 320-grit knocks down the raised fibers so the surface stays smooth under stain or oil.
Does Basswood Need a Sanding Sealer Before Staining or Oiling?
Yes — basswood should be sealed with a sanding sealer or dewaxed shellac before stain or dye goes on, because its low density makes it soak up color unevenly and turn blotchy. Basswood runs 320–420 kg/m³ (0.32–0.42 g/cm³), per our own balsa vs. basswood density breakdown, versus red alder’s 450 kg/m³ (0.45 g/cm³) listed on The Wood Database — basswood’s lower density means thinner, more porous cell walls that drink up sealer and primer faster and need more coats to build an even base.
Plan on 2–3 coats of a thinned sanding sealer or a wash coat of dewaxed shellac, sanding lightly with 320-grit between coats, before applying stain, oil, or paint. Alder or ash bodies typically need only 1 coat of sealer to reach the same even base. Skipping the sealer on basswood is the single most common cause of the splotchy, uneven color that DIY refinishers run into on their first attempt.
How Do You Apply an Oil Finish to a Bass Guitar Body?
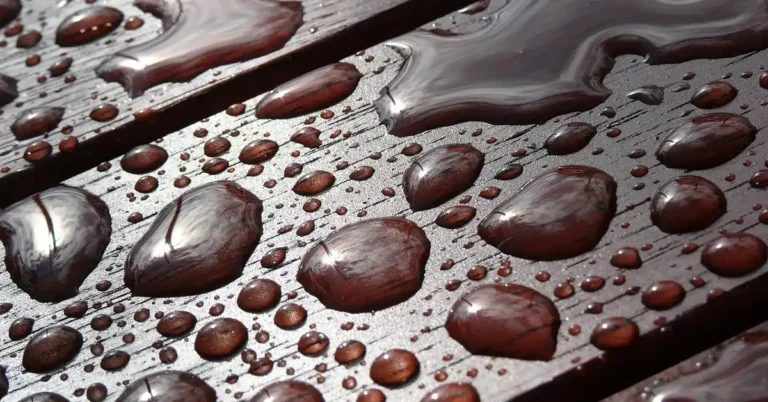
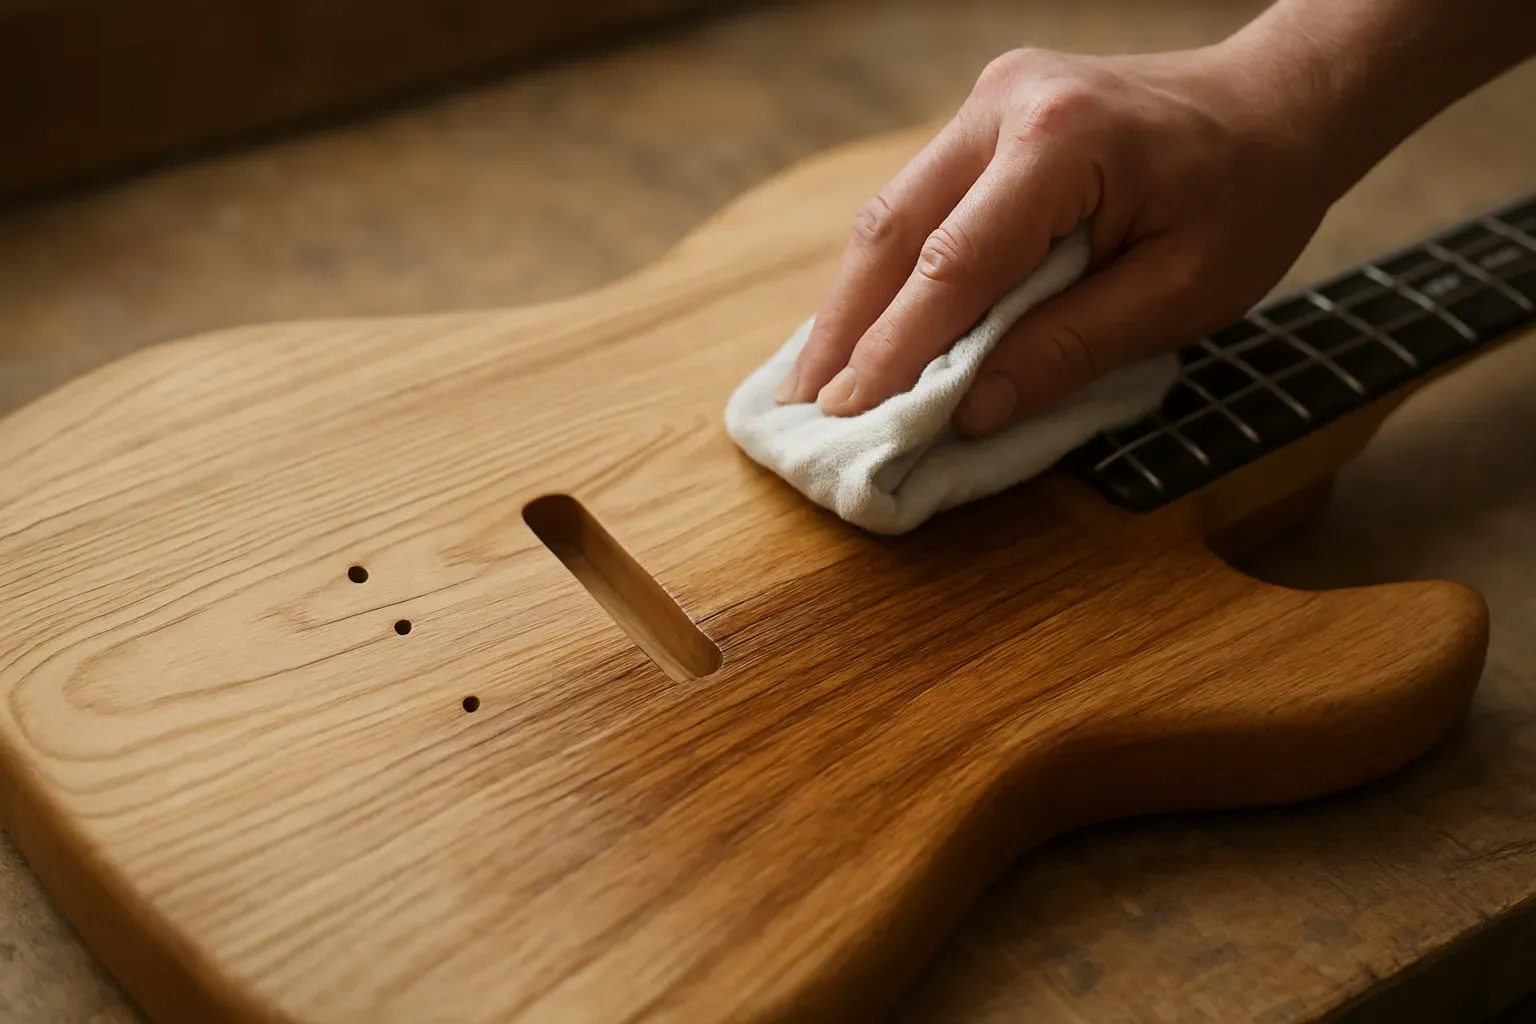
Wipe on a thin coat of Tru-Oil, Danish oil, or tung oil with a lint-free cloth, let it soak in, wipe off the excess, and repeat — most oil finishes need a minimum of 3–4 coats, with some builders applying 6–12 for extra depth and shine.
Step 1: Apply the First Coat and Wipe Off the Excess
Pour a small amount of oil onto a lint-free cloth and work it into the wood with the grain, then wipe the surface down until it feels dry to the touch — oil left sitting on top instead of soaked in stays tacky and collects dust. A thin coat on a bass neck typically dries to the touch in under an hour; a full body takes a bit longer because there’s more surface area to off-gas.
Step 2: Build Coats on a Daily, Then Weekly, Schedule
The traditional oil-finishing schedule is one coat a day for the first week, then one coat a week after that — each coat needs roughly 24 hours before the next goes on. One documented alder Fender-style body refinish followed this exact schedule and applied around 12 coats total, well past the oil manufacturer’s own 6–8-coat recommendation, to build extra depth using Crimson Guitars’ oiling method.
Step 3: Wax for Extra Sheen and Protection
Once the final oil coat has cured for at least a few days, buff on a paste wax — carnauba or a wood-specific paste wax both work — to add shine and a bit of extra moisture resistance the oil alone doesn’t provide. Re-wax every few months on a bass that gets regular stage or practice use; oil finishes aren’t as durable as lacquer and need this light maintenance.
How Do You Apply a Lacquer or Sprayed Finish to a Bass Body?
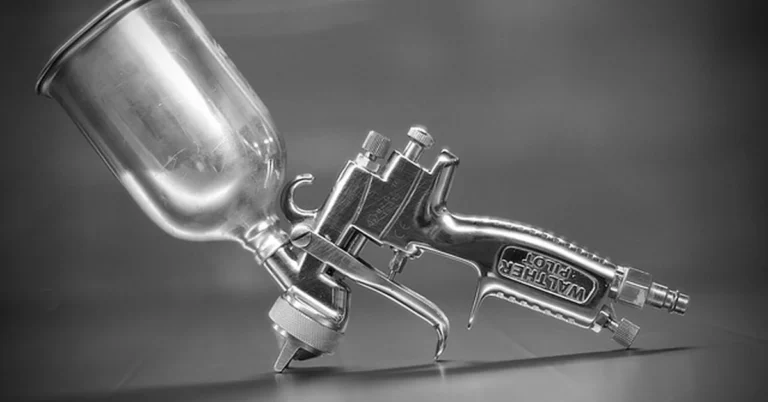
Spray a light tack coat first, wait several minutes, then build 8–12 wet coats with light level-sanding between groups of coats, finishing with wet-sanding and buffing once the lacquer has cured. This route needs a spray gun or rattle cans and a ventilated space — it isn’t a wipe-and-done process like oil.
- Tack coat first: a light misting coat gives the heavier wet coats that follow something to grip, which reduces the chance of a run.
- Warm the can or gun mix: cold lacquer atomizes poorly and spatters instead of laying flat — warming spray cans in a sink of warm water first fixes this.
- Build in light, even passes: several thin wet coats beat one heavy coat, which sags and takes far longer to fully cure.
- Level-sand between coat groups: once a set of coats has flashed off, knock down dust nibs with 400–600-grit before the next round.
- Wet-sand and buff at the end: after the finish has hardened, wet-sand with 1200–1500-grit, then buff with polishing compound for the glossy, glass-smooth look people associate with a factory nitro finish.
See our full guide to applying lacquer to wood for brush and spray technique that applies beyond just instrument bodies.
Does a Thicker Finish Change the Tone of a Bass Guitar?
Yes, to a measurable degree — a thin oil finish soaks into the wood and leaves it closer to its raw resonant state, while a thick catalyzed poly or heavy lacquer film sits on top and can damp some high-frequency overtones. Bass manufacturer AV Basses’ surface finish page states outright that nitrocellulose varnish is used specifically “for sound as similar as possible to traditional instruments,” while noting the tradeoff is nitro’s “lower protective qualities and durability” compared with polyurethane lacquer.
In practice, the difference matters most to players chasing a specific vintage tone; for most home builds and refinishes, wood choice, hardware, and pickups affect tone far more than finish thickness alone.
Can You Leave a Bass Guitar Body Unfinished?
You can play a bass with a completely raw, unfinished body, but bare wood absorbs sweat, humidity, and hand oils, which can warp or discolor it over time. At minimum, an unfinished body should get a light coat of oil or wax for basic moisture resistance, even if you skip stain or color entirely.
A raw-oil finish (just the oil, no stain or dye) is the closest thing to genuinely “unfinished” while still protecting the wood, and it’s the fastest of all the routes covered here — there’s no color-matching, no spray equipment, and no multi-week cure before the body is playable.
How Long Does a Bass Body Finish Need to Cure Before You Restring It?
An oil finish is generally safe to reassemble and string up once the final coat is dry to the touch (usually within a day), though full hardening continues for 2–4 weeks. Lacquer and poly finishes need the full 2–4-week out-gassing period before hardware goes back on — mounting the bridge or pickups too early can leave permanent impressions in a finish that hasn’t fully hardened.
If you’re not sure a sprayed finish has fully cured, press a fingernail gently into an inconspicuous edge; if it leaves a mark, give it more time before reassembly.
Bass Guitar Body Finishing FAQ
What’s the difference between an oil finish and a lacquer finish on a guitar body?
An oil finish soaks into the wood and needs no spray gear, while lacquer builds a hard film on top of the wood that requires spraying and a multi-week cure. Oil is easier for a first DIY project; lacquer gives a glossier, more durable, factory-style result.
What sandpaper grit should I use to prep a bass body for finishing?
Work through 120, 150, and 220 grit for shaping and repairs, then continue to 320–450 grit before applying stain, sealer, or oil. Each grit has to fully remove the scratches left by the one before it, or they’ll show through the finish.
Do I need a spray booth to lacquer a bass body at home?
You need at minimum a dedicated, cross-ventilated area, per OSHA’s woodworking finishing guidance — a single exhaust fan isn’t considered adequate ventilation for solvent-based lacquer. A detached garage or outdoor spray booth with airflow in and out works for occasional DIY use.
Can I finish a bass body with just a rattle can?
Yes — rattle-can lacquer is a common DIY route and can produce good results if you warm the cans first, spray light tack coats, and level-sand between coat groups. It takes more cans and patience than a spray gun but doesn’t require investing in equipment.
How many coats of oil finish does a bass body need?
Most oil finishes need a minimum of 3–4 coats to build enough film for a durable sheen, though builders chasing extra depth apply 6–12 coats on a daily-then-weekly schedule. More coats mean more shine and protection, not a different process.
Conclusion
An oil finish is the most forgiving way to finish a bass guitar body without spray equipment, while lacquer or poly delivers a harder, glossier result at the cost of a real cure-time commitment. Basswood specifically needs 2–3 extra sealer coats before stain or oil because it’s softer and more porous than alder or ash. Whichever route you choose, don’t rush the cure — reassembling too early is the most common way a finish job gets permanently marked before it ever leaves the workbench.
For general basswood staining outside of instrument bodies, see our guide to staining basswood, or compare basswood against balsa in our basswood vs. balsa breakdown.
Building gear for your guitar rig as well? Our guide to a DIY wooden pedalboard covers sizing, a cut list, and finishing the deck.
Sponsored / affiliate links. As an Amazon Associate I earn from qualifying purchases. I may earn additional commission from eligible campaigns.