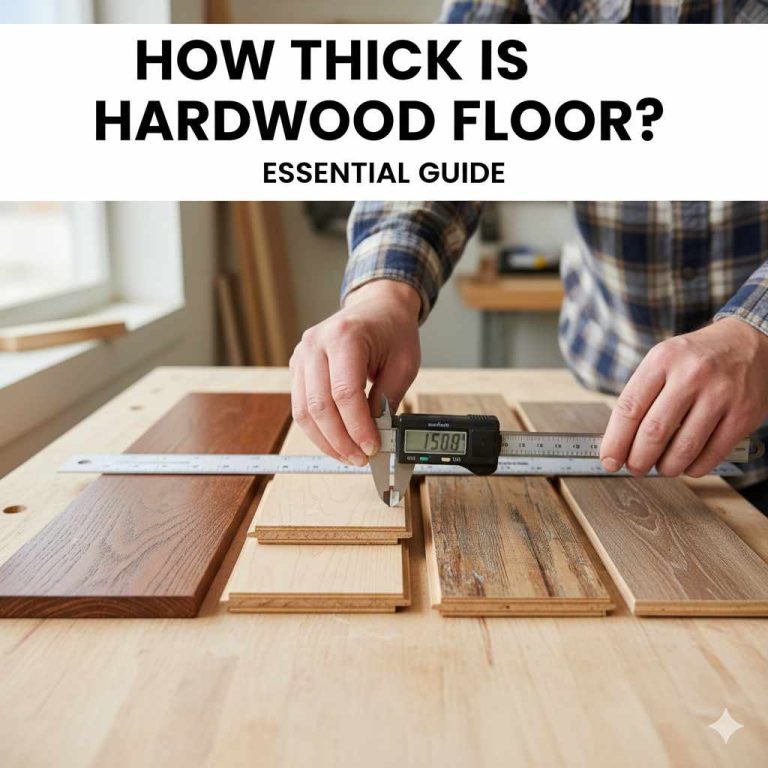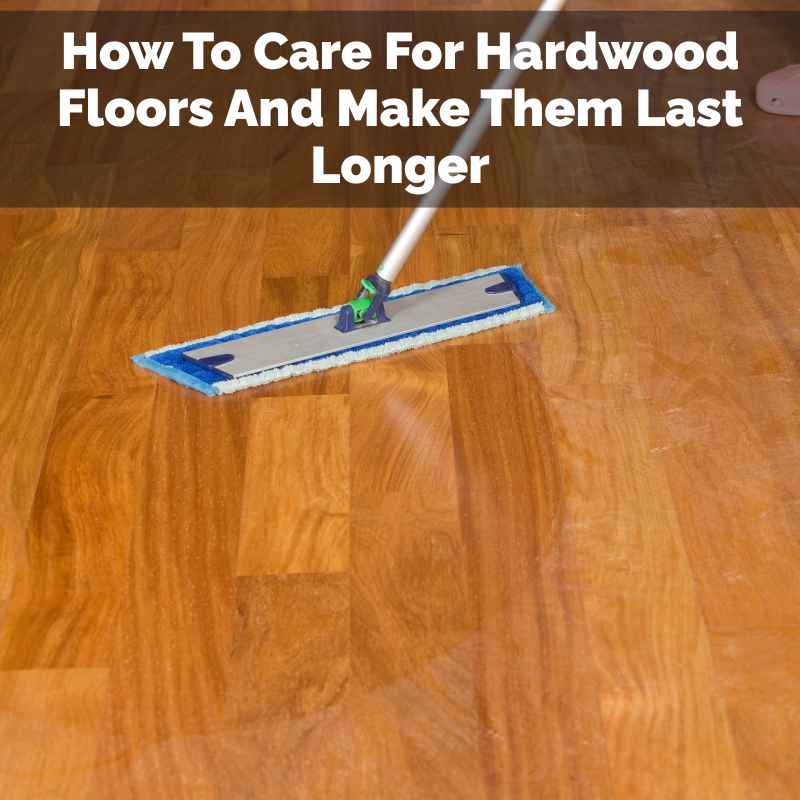
How To Care For Hardwood Floors And Make Them Last Longer
Hardwood floors add so much warmth and beauty to a home. They look classic and feel great underfoot. But keeping them looking their best can feel like a puzzle.
You want them to shine, but you also worry about scratches or water damage. It’s a common worry. Many homeowners wonder about the best ways to clean and protect these lovely floors without causing harm.
This guide will help you understand how to care for your hardwood floors so they stay beautiful for many, many years.
Caring for hardwood floors involves regular cleaning, prompt spill attention, and using protective measures. Proper maintenance ensures their longevity and beauty. Focus on gentle cleaning methods and avoiding moisture, as these are key to preventing damage and wear over time.
Understanding Your Hardwood Floors
Before we dive into cleaning, let’s talk about what makes your hardwood floors tick. They are made of natural wood, which means they can expand and contract with changes in humidity and temperature. This is totally normal.
Different types of wood have different hardness levels. For example, oak is pretty tough, while pine is softer and can dent more easily. Knowing your wood type can help you understand how it might behave.
The way your floors were finished also matters a lot. Most modern hardwood floors have a protective top coat. This finish is like a shield.
It keeps dirt and moisture from sinking into the wood itself. The most common finishes are polyurethane. You’ll find both oil-based and water-based polyurethane.
Oil-based finishes are super durable but can have a strong smell. Water-based finishes dry faster and are more eco-friendly. Some older homes might have wax finishes.
These need different care.
Think of the finish as the first line of defense. It’s what you’ll be cleaning and trying to keep intact. The wood underneath is beautiful, but it’s also sensitive.
So, our goal is always to protect that finish and the wood beneath it.
The Basics of Cleaning Hardwood Floors
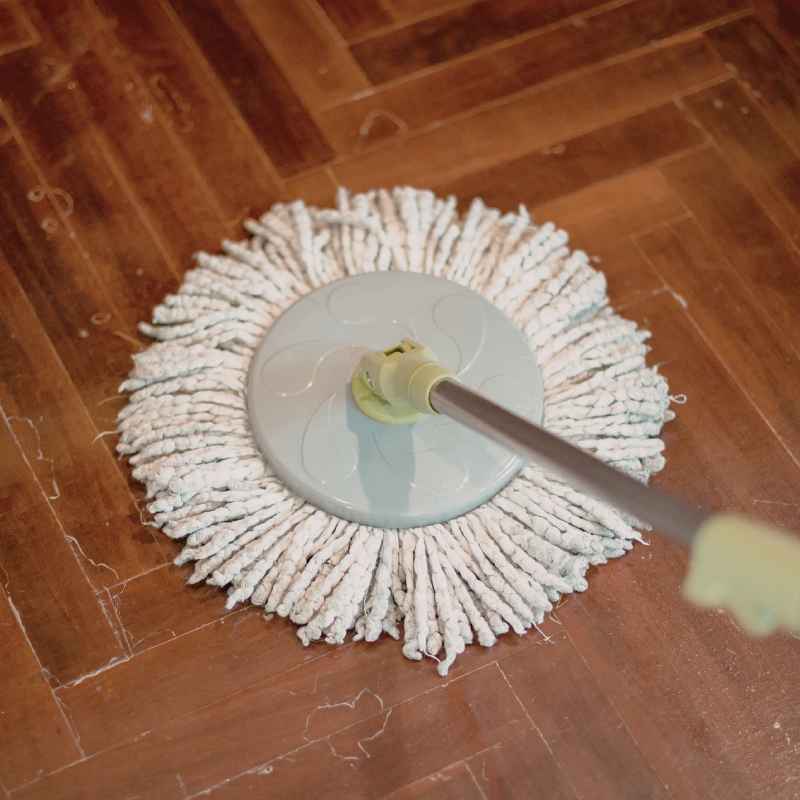
Cleaning hardwood floors is simpler than you might think. The key is consistency and using the right tools. You don’t need a lot of fancy products.
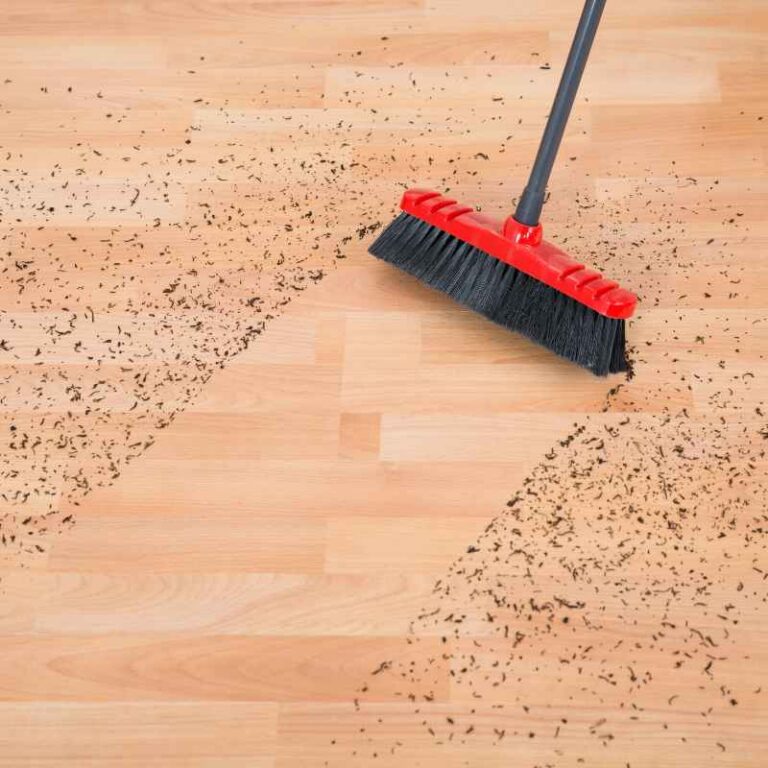
Most of the time, a good sweep or vacuum is all you need. This removes the everyday dust and dirt that can scratch your floor over time.
For regular cleaning, a soft-bristle broom or a vacuum cleaner with a special hardwood floor attachment is best. Make sure the vacuum brush roll isn’t too aggressive. You don’t want it to scratch the finish.
Think about sweeping your floor every day or every other day. This simple step stops grit from becoming a problem.
If you use a vacuum, go over the floors slowly. Pay attention to corners and edges where dust likes to gather. Some people like using microfiber dust mops.
These are great for picking up fine particles. They are gentle and effective. Always work with the grain of the wood.
This helps you catch more dirt and avoid streaks.
When it comes to sweeping or vacuuming, remember that less is often more. Overdoing it with harsh brushes can wear down the finish. The goal is to gently lift dirt, not scrub it into the wood.
Quick Clean Routine
Daily (or every other day):
- Sweep with a soft broom or dust mop.
- Use a vacuum with a hardwood floor attachment.
Weekly (or as needed):
- Damp mop with a pH-neutral cleaner specifically made for hardwood.
- Dry any excess moisture immediately.
Dealing with Spills and Moisture
This is where many people make mistakes. Wood and water don’t mix well. Even sealed hardwood floors can be damaged by standing water.
Spills happen, of course. The most important thing is to clean them up right away. Don’t let liquids sit on your floors.
This can cause stains, discoloration, or even warping of the wood.
For most spills, a clean, soft cloth or paper towel is your best friend. Blot the spill gently. If it’s something sticky, you might need a slightly damp cloth.
But again, make sure it’s just damp, not wet. After blotting, dry the area with a clean, dry cloth. This is crucial.
What about pet accidents or very wet spills? These need extra attention. Clean them up as quickly as possible.
You might need to use a special hardwood floor cleaner that is designed to tackle tougher messes. Always follow the product instructions carefully. And always, always dry the area thoroughly afterward.
Think of it like tending to a wound; the sooner you address it, the better the outcome.
Never use a steam mop on hardwood floors. The steam can force moisture into the wood. It can damage the finish and the wood itself.
It’s a tempting shortcut, but it’s not worth the risk. Stick to damp mopping and immediate cleanup for spills.
Spill Safety First!
Act Fast: Clean up spills within minutes.
Blot, Don’t Rub: Rubbing can spread the spill.
Use a Damp Cloth: Never a soaking wet one.
Dry Completely: Always dry the area after cleaning.
Avoid Steam Mops: They can cause damage.
Choosing the Right Cleaning Products
When it comes to cleaning products, simpler is usually better. Harsh chemicals can strip the finish or leave a dull residue. You want cleaners that are pH-neutral.
This means they aren’t too acidic or too alkaline. Many companies make cleaners specifically for hardwood floors.
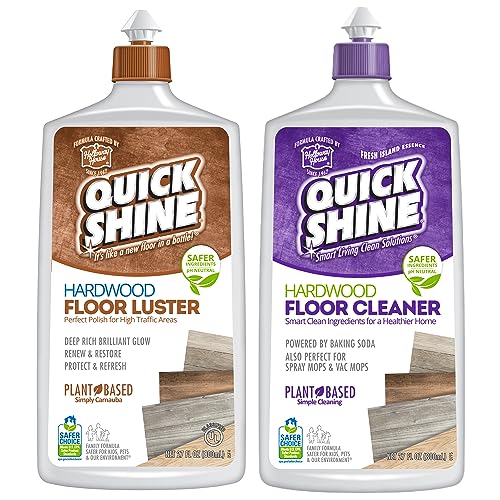
You can often find these at your local grocery store or home improvement center. Look for labels that say “for hardwood” or “pH-neutral.” Some popular brands are Bona, Bruce, and Murphy Oil Soap (though be careful with oil soaps; some people find they can leave a film if not used correctly).
For everyday cleaning, you might not even need a cleaner. A damp microfiber mop might be enough. If you do use a cleaner, follow the instructions precisely.
Most recommend diluting the cleaner in water. You typically don’t want to pour the cleaner directly onto the floor. Instead, spray it onto your mop head.
If you’re unsure about a product, test it in an inconspicuous spot first. This could be in a closet or under a rug. Wait for it to dry and see how the floor looks.
This small test can save you from a big headache later. Remember, the goal is to clean without damaging the floor’s protective finish.
Some people like to make their own cleaners. A very diluted solution of white vinegar and water is sometimes suggested. However, vinegar is acidic.
Too much or too frequent use can dull the finish over time. Always dilute it heavily (e.g., 1/4 cup vinegar to a gallon of water) and use it sparingly. Most experts now lean towards commercially made, pH-neutral cleaners.
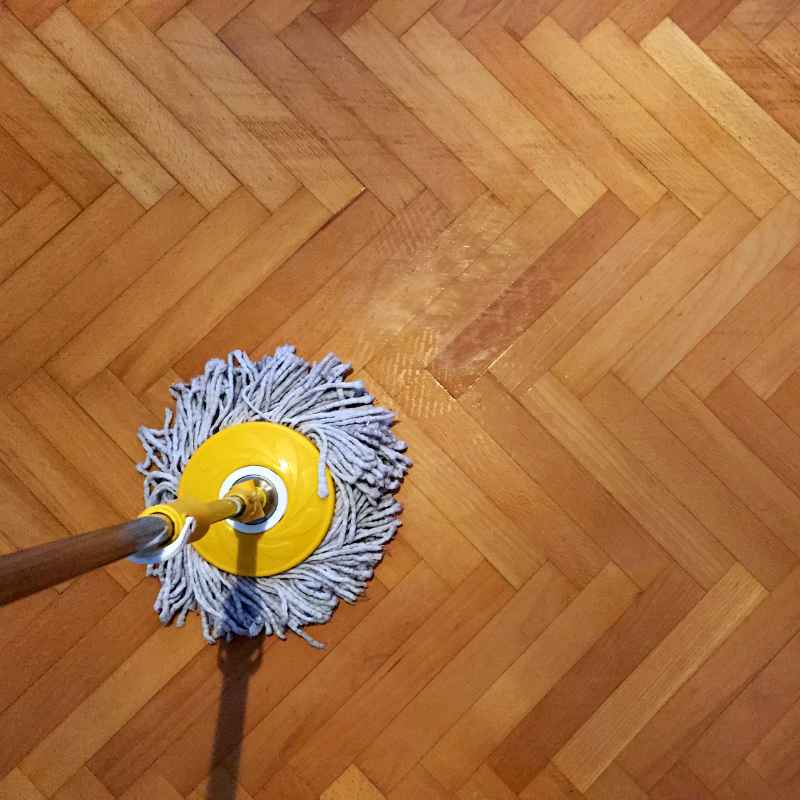
Damp Mopping Techniques
Damp mopping is your go-to for deeper cleaning. It removes grime that sweeping or vacuuming misses. The key word here is damp.
The mop should feel slightly moist, not wet. If you can see puddles of water, your mop is too wet.
Start by sweeping or vacuuming your floor. This removes loose debris. Then, prepare your cleaning solution according to the product’s directions.
You might mix it in a bucket or spray it directly onto your mop. A good quality microfiber mop is ideal. It traps dirt well and doesn’t hold too much water.
Work in small sections. Mop in the direction of the wood grain. This helps lift dirt and prevents streaking.
After you mop a section, go back over it with a dry cloth or a dry mop. This removes any lingering moisture. It’s essential to dry the floor quickly.
This prevents water from seeping into the wood or damaging the finish.
Don’t let the mop get dirty. Rinse it frequently in your cleaning solution or plain water. If the water in your bucket gets very dirty, change it.
A dirty mop can just spread grime around. Think about your technique. You want to glide the mop, not scrub hard.
Gentle pressure is usually enough.
For very stubborn spots, you might need to use a bit more cleaner. Let it sit for a minute or two. Then, gently work at the spot with your mop.
Always follow up by drying the area. This process might seem a little involved, but it’s the best way to get your floors clean without causing harm.
Damp Mopping Dos and Don’ts
DO:
- Sweep or vacuum first.
- Use a pH-neutral cleaner.
- Use a damp (not wet) microfiber mop.
- Mop with the wood grain.
- Dry the floor immediately after.
- Change dirty water often.
DON’T:
- Use a soaking wet mop.
- Use steam mops.
- Use abrasive cleaners or scrub brushes.
- Use vinegar unless heavily diluted and sparingly.
- Let water stand on the floor.
Protecting Your Hardwood Floors
Cleaning is one part of care. Protecting your floors is just as important. This involves preventing scratches and wear in the first place.
Small steps can make a big difference over time.
Think about furniture. Heavy furniture can scratch floors when moved. Place felt pads on the legs of chairs, tables, sofas, and any other furniture.
Check these pads regularly. They can collect grit and become abrasive themselves. Replace them when they get worn or dirty.
For very heavy items like pianos or refrigerators, consider using a furniture slider specifically designed for hardwood floors.
Entryways are another big culprit for scratches and wear. Place doormats both outside and inside every exterior door. This traps dirt, sand, and moisture before they can be tracked onto your floors.
Make sure the mats are suitable for hardwood floors and don’t have rough backing that could scratch.
Consider asking people to remove their shoes when they come inside. High heels, cleats, or even just gritty soles can cause damage. Many families make this a house rule.
It might seem like a small thing, but it really helps preserve your floors. You can provide a shoe rack near the door as a reminder.
For areas with high traffic, like hallways or living rooms, consider using area rugs or runners. These provide an extra layer of protection. Just make sure the rugs have a non-slip backing that is safe for hardwood.
Some rubber or latex backings can discolor the floor over time. Look for “colorfast” or specifically hardwood-safe backing.
Pets are also a factor. Keep your pets’ nails trimmed. Long nails can scratch the floor.
If your pet has accidents, clean them up immediately, as we discussed. For dogs that tend to slide on the floor, adding rugs can help give them better traction and protect the wood.
Prevention Strategies
Furniture Protectors: Felt pads on all furniture legs.
Doormats: Place mats inside and outside all doors.
Shoe-Free Zone: Encourage guests to remove shoes.
Area Rugs: Use rugs in high-traffic areas.
Pet Nail Care: Keep pet nails trimmed.
Dealing with Scratches and Dents
Even with the best care, scratches and dents can happen. Don’t despair! Depending on the severity, many of these can be fixed.
Small, superficial scratches are often the easiest to deal with. They usually only affect the top layer of the finish.
For very light scratches, you might be able to buff them out. Some hardwood floor care systems offer scratch-repair kits or polishes. These can fill in minor imperfections and restore some shine.
You can also try a touch-up crayon or marker designed for wood floors. Match the color as closely as possible to your floor. Apply it gently to the scratch, then wipe away any excess.
Deeper scratches or gouges are more challenging. If the scratch has gone through the finish and into the wood, you might need a wood filler. This comes in various colors.
You’ll want to choose one that matches your floor. Apply it carefully to the damaged area. Once it’s dry, you may need to lightly sand the area and apply a matching finish.
This often requires a bit of skill and patience.
For significant damage, like deep dents or large areas of worn finish, you might need to consider refinishing your floors. This is a bigger project. It involves sanding down the entire floor to the bare wood.
Then, you re-stain it (if desired) and apply new protective coats of finish. This can bring old, tired floors back to life. It’s often a job best left to professionals, but it can dramatically improve your floor’s appearance.
Remember, the goal isn’t perfection. Hardwood floors are natural and have character. A few minor marks can tell the story of your home.
Focus on addressing damage that looks unsightly or could lead to bigger problems, like water getting into the wood.
Scratch & Dent Solutions
Minor Scratches:
- Use a hardwood floor polish or scratch repair kit.
- Try a wood touch-up crayon or marker.
Deeper Scratches/Gouges:
- Use a matching wood filler.
- May require light sanding and re-finishing in the damaged area.
Significant Damage:
- Consider a full floor refinishing by a professional.
Deep Cleaning and Maintenance
Beyond your regular routine, your hardwood floors might need occasional deep cleaning. This is especially true if they look dull or have built-up grime that regular damp mopping doesn’t remove. The frequency depends on how much traffic your floors get and how well they are maintained.
A good deep clean usually involves a more thorough washing. You’ll use a hardwood floor cleaner specifically designed for this purpose. Again, always follow the product instructions carefully.
You’ll want to ensure you’re not using too much product or leaving excess moisture.
For floors with a polyurethane finish, some manufacturers recommend a specific deep cleaner. These are formulated to break down tougher grime while still being safe for the finish. You might need to apply the cleaner, let it sit for a few minutes, and then mop with a clean, damp mop.
Rinsing might be recommended, depending on the product.
If your floors have a wax finish, the approach is different. Waxed floors need to be cleaned with a wax cleaner or a very mild soap solution. You may also need to re-wax them periodically to maintain their shine and protection.
Wax builds up, so occasional stripping might be necessary.
Another aspect of deep maintenance is checking the finish itself. Over time, the protective coating can wear down, especially in high-traffic areas. If you notice the finish looking dull, worn, or scratched even after cleaning, it might be time to recoat.
Recoating involves cleaning the floor thoroughly, scuff-sanding it lightly to help the new coat adhere, and then applying one or two new layers of finish. This is less intensive than a full refinish and can extend the life of your floors significantly.
Always check your floor manufacturer’s recommendations. They often provide specific care guides for their products. If you can’t find them, a general approach of using pH-neutral cleaners and avoiding excess moisture is usually safe for most modern finishes.
Environmental Factors: Humidity and Temperature
As mentioned earlier, wood is a natural material that reacts to its environment. Humidity and temperature fluctuations are big players in how your hardwood floors behave. In the summer, humidity tends to be higher.
Wood absorbs moisture and can expand. In the winter, heating systems dry out the air, and wood can contract.
These expansions and contractions are normal. However, extreme changes can cause problems. Large gaps can appear between floorboards when the wood shrinks too much.
Or, boards can buckle if they expand too much and have nowhere to go. This is why maintaining a stable indoor climate is so important for hardwood floors.
Using a humidifier during dry winter months can help. Keeping the humidity level in your home between 30% and 50% is often recommended. A hygrometer can help you monitor these levels.
Similarly, during very humid summer months, a dehumidifier might be beneficial.
Avoid placing heating or cooling vents directly near hardwood floors. The direct airflow can cause rapid temperature and humidity changes in that spot, leading to localized expansion or contraction. Also, try not to place large, heavy rugs directly over heating vents in the floor, as this can trap heat and moisture.
If you notice significant gapping or cupping (where the edges of the boards are higher than the center), it’s often a sign that the humidity levels are too extreme. Addressing the climate control in your home is the first step to resolving these issues. Sometimes, minor gaps will close up as the seasons change, but persistent problems may require professional assessment.
Climate Control Tips
Ideal Range: Aim for 30-50% indoor humidity.
Winter: Use a humidifier to add moisture.
Summer: Use a dehumidifier to remove moisture.
Monitor Levels: Use a hygrometer to track humidity.
Ventilation: Avoid direct airflow from vents on floors.
When to Call a Professional
While you can handle a lot of hardwood floor care yourself, there are times when it’s best to call in the experts. If you’re unsure about a cleaning method or product, a professional can offer guidance. They have experience with various wood types and finishes.
For deeper issues like extensive scratching, deep gouges that penetrate the wood, or significant warping or buckling, professional help is often needed. They have specialized tools and techniques for repairs that go beyond simple touch-ups.
The most common reason to call a professional is for refinishing or recoating. If your floors are visibly worn, dull, or have numerous scratches and dents, a professional can sand them down and apply a fresh new finish. This can make your floors look brand new again.
They can also help you choose the right type of finish for your needs and lifestyle.
Don’t hesitate to get a consultation. Many flooring companies offer free estimates. It’s worth getting an expert opinion before attempting a complex repair yourself, which could potentially cause more damage.
A professional can assess the condition of your floors and recommend the best course of action. They can also advise on preventative measures tailored to your specific situation.
Think of it like a regular check-up for your car. You can do your own oil changes, but you still need mechanics for bigger jobs. Your hardwood floors are an investment.
Protecting that investment with professional help when needed makes good sense.
Real-World Scenarios and Habits
Let’s look at some common scenarios that affect hardwood floors. In a busy family home with young children and pets, spills are frequent. Kids might drop toys, leaving dents.
Pets can scratch floors with their nails. The habits here involve quick clean-ups and consistent use of protective measures like floor pads.
In a home with lots of natural light, especially if it faces south or west, UV rays can cause fading over time. While you can’t stop the sun, using curtains or blinds during peak hours can help. Area rugs also provide protection from direct sunlight.
Consider the types of activities that happen in each room. A dining room might see more food spills and chair movement. A hallway is a high-traffic zone.
Bedrooms might have less wear but could have furniture moved more often during decorating changes. Understanding these patterns helps you focus your protection efforts where they are most needed.
One thing I’ve seen in many homes is the tendency to overuse cleaning products. People think more cleaner means cleaner floors. But it often leads to residue buildup that dulls the finish.
Stick to the recommended amounts. Less is often more.
Another common habit is neglecting to clean under furniture. Dust bunnies and pet hair can accumulate. This fine debris can act like sandpaper under the legs of furniture when it’s moved.
Regularly cleaning everywhere, including hidden spots, is key.
What This Means for You
Caring for your hardwood floors isn’t about perfection. It’s about consistent, gentle maintenance. When is it normal for your floors to show wear?
A few light scratches from everyday life are completely normal for hardwood. Some slight dulling of the finish in very high-traffic areas over many years is also expected.
When should you worry? If you see deep gouges that go into the wood, significant cupping or crowning of the boards, or if the finish is peeling or flaking off everywhere, it’s time to take action. Standing water for extended periods is also a major concern, as it can lead to rot or structural damage.
Simple checks you can do regularly: Run your hand over the floor. Do you feel grit that won’t sweep up? Check the edges of your furniture pads.
Are they worn or full of debris? Look at your floors in different lighting. Are there areas that look particularly dull or worn?
These checks can help you spot potential problems early.
The most important takeaway is that a little effort goes a long way. Regular sweeping, prompt spill cleanups, and smart protection strategies will keep your hardwood floors looking beautiful for decades. Don’t be afraid to get in there and give them the care they deserve.
Quick Fixes and Tips
Here are some simple, actionable tips to keep in mind:
- Clean spills immediately with a soft cloth and dry the area.
- Sweep or dust mop daily to remove grit.
- Use felt pads on all furniture legs.
- Place doormats inside and outside every door.
- Avoid steam mops and excessive water.
- Use a pH-neutral cleaner for damp mopping.
- Dry mop after damp mopping to remove all moisture.
- Keep pet nails trimmed to prevent scratches.
- Consider area rugs in high-traffic zones.
- Maintain consistent indoor humidity (30-50%).
- Test cleaning products in an inconspicuous spot first.
- Don’t let grit build up under furniture or rugs.
Frequent Questions About Hardwood Floor Care
Can I use a regular household cleaner on my hardwood floors?
It’s generally not recommended. Most regular household cleaners are too harsh for hardwood floor finishes. They can strip the finish, leave a dull residue, or even damage the wood.
Always opt for a pH-neutral cleaner specifically designed for hardwood floors, or use a damp microfiber mop with plain water for light cleaning.
How often should I deep clean my hardwood floors?
The frequency of deep cleaning depends on how much traffic your floors get. For most homes, a deep clean once or twice a year is sufficient. If you have pets, children, or heavy foot traffic, you might need to do it more often.
Pay attention to how your floors look; if they appear dull or grimy, it’s time for a deep clean.
What’s the best way to clean pet messes on hardwood floors?
Clean pet messes immediately! Blot up as much of the liquid as possible with a paper towel or soft cloth. Then, use a cleaner specifically formulated for hardwood floors that can tackle pet stains and odors.
Make sure to dry the area thoroughly afterwards to prevent any moisture damage. For tough stains, you might need a specialized enzymatic cleaner for pet accidents.
Should I wax my hardwood floors?
Waxing is typically only done on older, traditional waxed hardwood floors. Most modern hardwood floors have a polyurethane or similar protective finish. Waxing a polyurethane-finished floor can create a sticky residue that is difficult to remove and can attract dirt.
If you’re unsure about your floor’s finish, consult a flooring professional. Never wax floors with a factory-applied polyurethane finish.
What if my new hardwood floors are squeaking?
Squeaking can happen for a few reasons. It might be due to humidity changes causing the wood to expand or contract. Sometimes, the nails or staples holding the floor down might be loose.
If it’s a new installation, it’s best to contact the installer. For existing floors, check humidity levels. Persistent squeaking might require professional inspection to ensure the subfloor or planks are properly secured.
How do I get rid of dull spots on my hardwood floors?
Dull spots are often caused by residue from cleaning products or a worn-down finish. If it’s product residue, try using a cleaner recommended by your floor manufacturer or a specialized hardwood floor cleaner that can remove buildup. If the finish itself is worn, you might need to buff the area with a hardwood floor polish or, for more significant dullness, consider recoating the floor with a new layer of finish.
Conclusion
Taking care of your hardwood floors is an ongoing journey, not a one-time chore. By understanding your floors, using gentle cleaning methods, and being proactive with protection, you can keep them looking beautiful and strong. Embrace the process, and your gorgeous wood floors will be a source of pride for many years to come.