Simple Homemade Bench: A 2X4 Build for Beginners
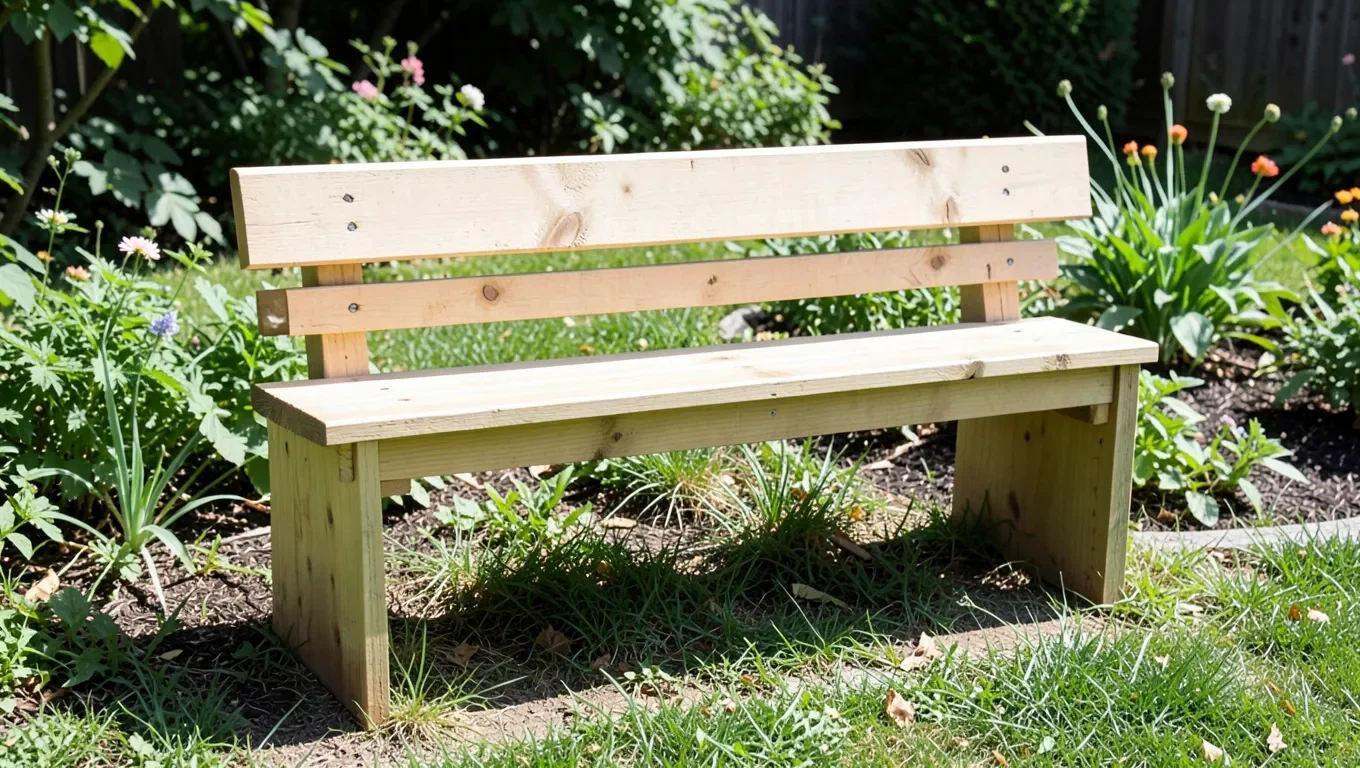
The fastest homemade bench to build uses only 2×4 lumber, butt joints, and screws – no mortises, no dowels, and no pocket-hole jig required. Five to six 8-foot 2x4s and an afternoon are enough to build a simple 48″ backless bench that’s sturdy enough for daily outdoor use.
If you want a more advanced build with proper wobble-proofing techniques and dimension options for different bench sizes, see our full homemade benches dimension guide. This page covers the quick, beginner-friendly version: one specific size, one simple design, minimal tools.
Materials and Cut List
Built To Handle Outdoor Weather
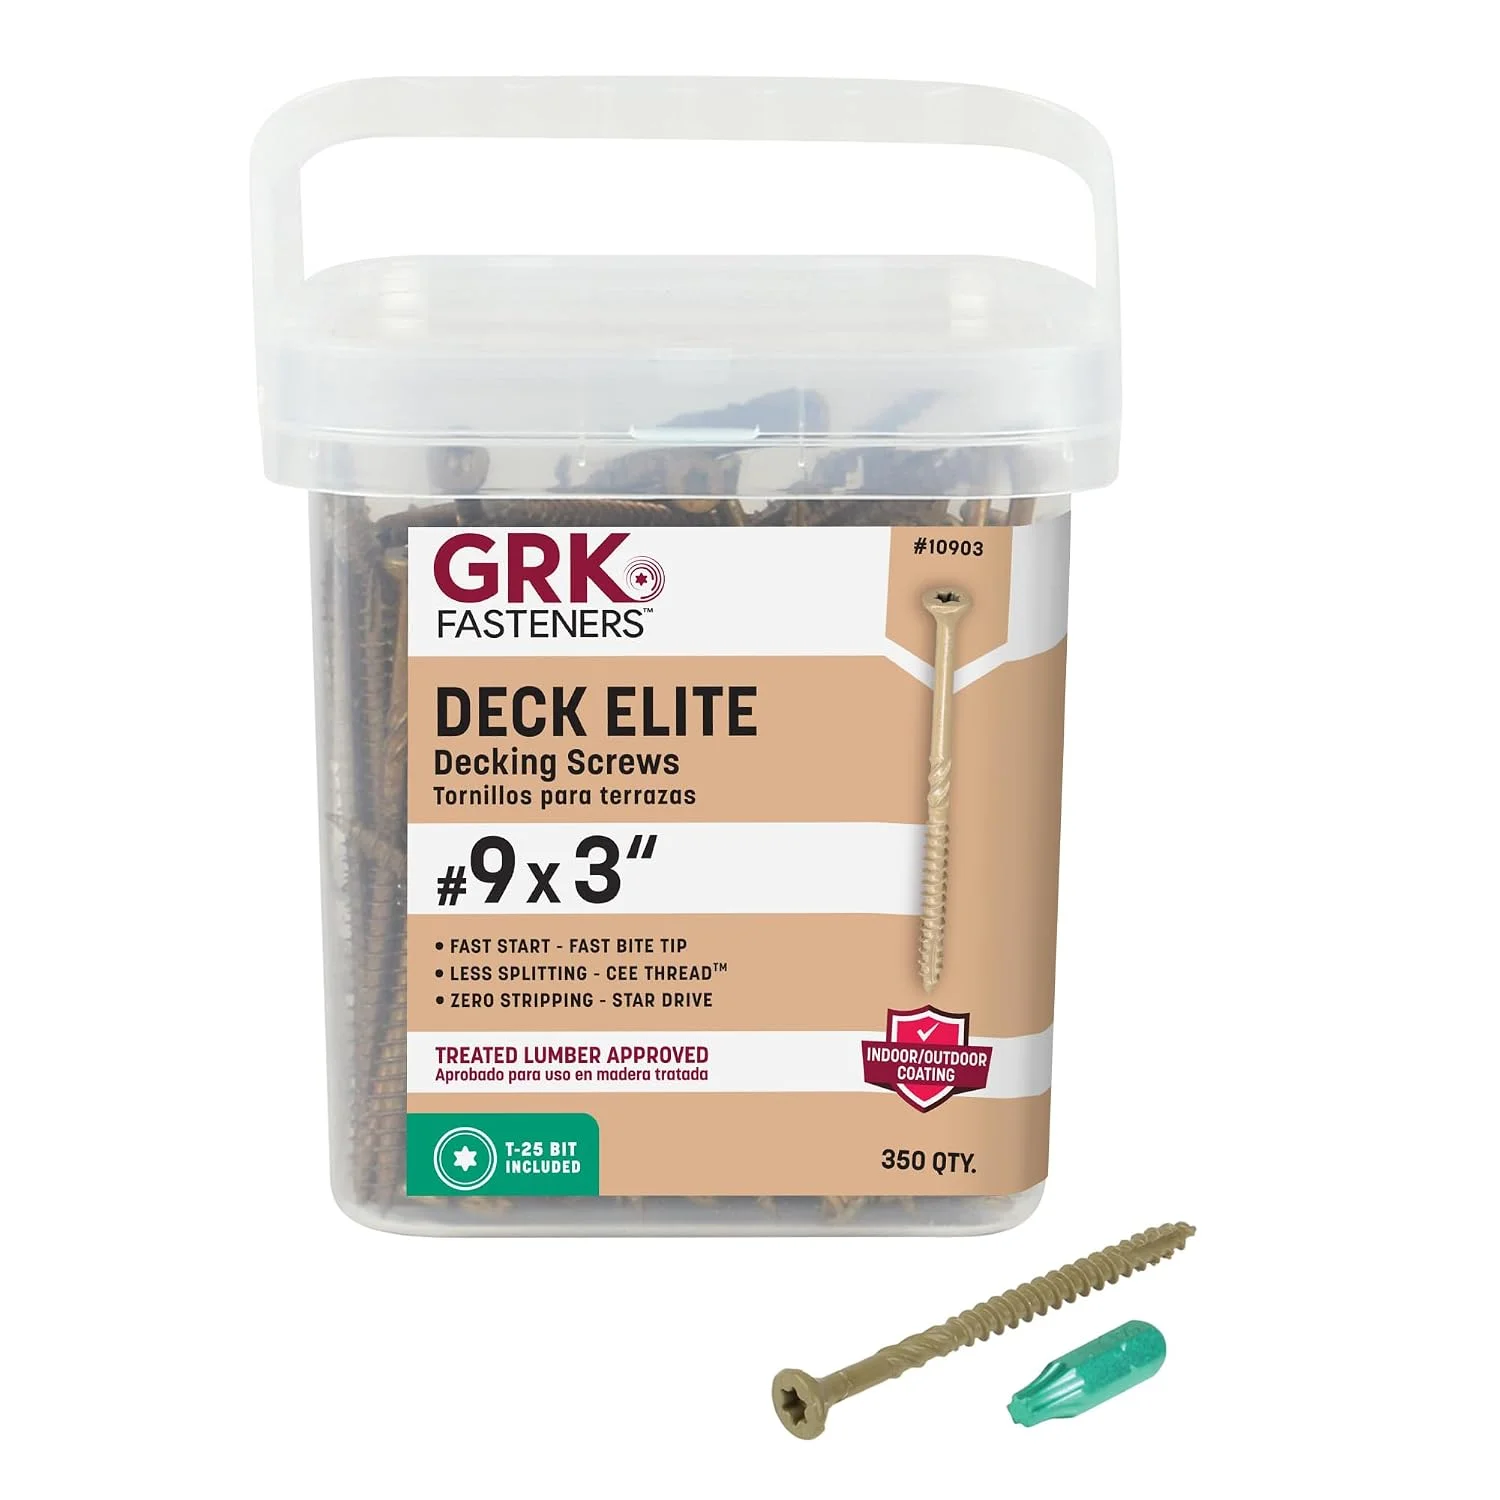 |
GRK Deck Elite #9 x 3″ Exterior Screws, 350-Pack Corrosion-resistant coating rated for outdoor and treated-lumber use, with a self-starting tip that skips pre-drilling on most of these joints.
|
This builds a simple backless bench, 48″ long, roughly 14″ deep, and 18″ tall – a comfortable seat height close to a standard dining chair.
| Part | Quantity | Cut Length |
|---|---|---|
| Legs | 4 | 18″ |
| Front & back apron | 2 | 45″ |
| Side stretchers | 2 | 11″ |
| Seat slats | 3 | 48″ |
The front and back aprons run 45″ – 3 inches shorter than the finished 48″ length – because they attach to the inside faces of the corner legs rather than butting against their ends. Plan on five to six 8-foot 2x4s total: one for the legs, two for the aprons and stretchers, and two to three for the seat slats.
Choosing Your Wood
Pressure-treated pine is the standard choice for an outdoor bench – it’s inexpensive, widely available in 2×4 dimensions, and rated for ground and weather exposure. If the bench will live somewhere sheltered, like a covered porch, plain untreated pine costs less but needs a sealant or paint to hold up over time. Cedar and redwood resist rot naturally without chemical treatment, at a higher price point than pine.
Tools You’ll Actually Need
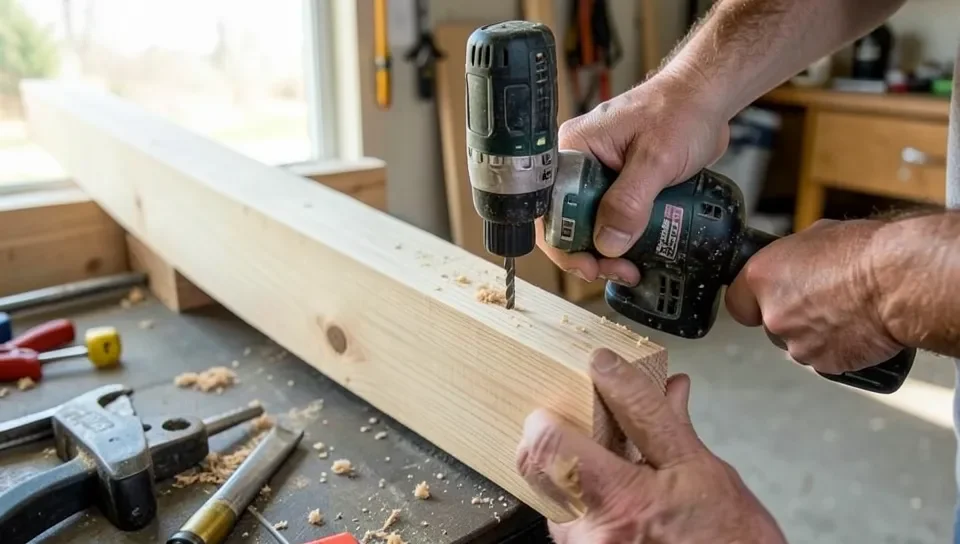
This build doesn’t require a full workshop. A circular saw or miter saw handles all the cuts, a drill drives the screws and pre-drills where needed, and a tape measure and square keep everything straight. A couple of clamps make holding pieces together while you drive screws much easier, though you can manage without them by having a second person hold pieces in place. Sandpaper (120 and 220 grit) finishes the job. None of this needs to be new or expensive – a basic corded drill and a hand saw will get through this build just as well as cordless power tools, just more slowly.
Sizing for Your Own Space
The 48″ length in the cut list above fits most entryways and small patios, but the same basic frame scales up or down easily. To resize, keep the front and back aprons 3 inches shorter than your target overall length (to account for the leg thickness at each end), and adjust the seat slats and legs to match. A bench longer than about 6 feet benefits from a center leg added under the middle of the frame, since a long, unsupported span of 2×4 can start to sag under regular use.
For seat depth, 14 inches (used in this plan) is comfortable for perching or short sitting; 18-20 inches deep is closer to a park-bench feel if you want more of a lounging surface, which just means longer side stretchers and wider seat slats.
Step-by-Step Build
- Cut all pieces to the lengths in the cut list above.
- Build two end assemblies: attach a side stretcher between two legs on each end, screwed flush at the top, forming two matching “H” shapes.
- Connect the two end assemblies with the front and back aprons, screwing through the apron ends into the legs, to form a rectangular base.
- Check the base is square by measuring both diagonals corner to corner – adjust until they match within about 1/8 inch before the screws are fully tightened.
- Lay the three seat slats across the top of the base with even gaps between them, and screw each one down into the aprons below.
- Sand all edges and surfaces, rounding over sharp corners so the bench is comfortable and splinter-free.
Finishing Touches
Wipe off sanding dust before applying any finish. A stain shows off the wood grain, while paint gives a solid, uniform color and hides any mismatch between boards. For an outdoor bench, follow up with an exterior-rated sealant or a few coats of exterior polyurethane once the stain or paint is fully dry, since this is what actually protects the wood from rain and sun rather than the color coat alone.
Simple Customizations
This basic frame is easy to dress up without changing the core build. Add a cushion cut to the seat’s dimensions for comfort, or screw a single 2×4 backrest slat onto short vertical supports at the back edge if you want something to lean against. Outdoor throw pillows, a small side table, or a planter at one end are easy additions once the base bench is built and finished.
Maintenance Tips
Wipe the bench down with a soft cloth regularly, and avoid harsh chemical cleaners that can strip a sealant or paint finish – mild soap and water is enough for most cleaning. If the bench sits outdoors year-round, check the finish once or twice a season and reapply sealant if water stops beading on the surface, which is the clearest sign it’s time for another coat.
Frequently Asked Questions
How do I prevent my DIY bench from rotting?
Use pressure-treated lumber or a naturally rot-resistant wood like cedar, keep the bench off direct ground contact if possible, and apply an exterior sealant or paint that you reapply once or twice a season.
What is the best wood for a DIY bench?
Pressure-treated pine is the most practical choice for an outdoor bench on a budget. Cedar and redwood resist rot naturally and look nicer left unpainted, but cost more per board.
Can I build this bench from pallet wood instead?
Yes, as long as the pallet boards are thick enough to hold screws securely and free of rot or damage. You’ll likely need to adjust the cut list since pallet lumber isn’t a standard 2×4, so measure your actual boards before cutting.
How is this different from a full wobble-proof bench build?
This plan uses simple butt joints and screws for the fastest possible build. A more advanced build adds techniques like diagonal bracing or lap joints at the corners for extra rigidity, which takes longer but holds up better under heavier or more frequent use.
Conclusion
A simple 2×4 bench is one of the most approachable first furniture builds there is – a handful of boards, straight cuts, and screws get you a functional, good-looking bench in an afternoon. Follow the cut list above for the 48″ version, or scale the dimensions up or down for your own space.
Sponsored / affiliate links. As an Amazon Associate I earn from qualifying purchases. I may earn additional commission from eligible campaigns.