Wooden Toy Train Patterns Free
By a woodworking editor specializing in child-safe shop projects. Wooden toy train patterns free downloads are generally worth using only if they keep parts large enough for small hands, use a child-safe coating system and follow the product’s cure instructions, and avoid small detachable pieces for children under 3. Poor plans can create choking hazards, tip over easily, or waste time on parts that break during sanding and assembly. This guide shows how to pick a buildable pattern, adjust dimensions for age, and check safety details before you cut wood.
How to judge a free toy train pattern
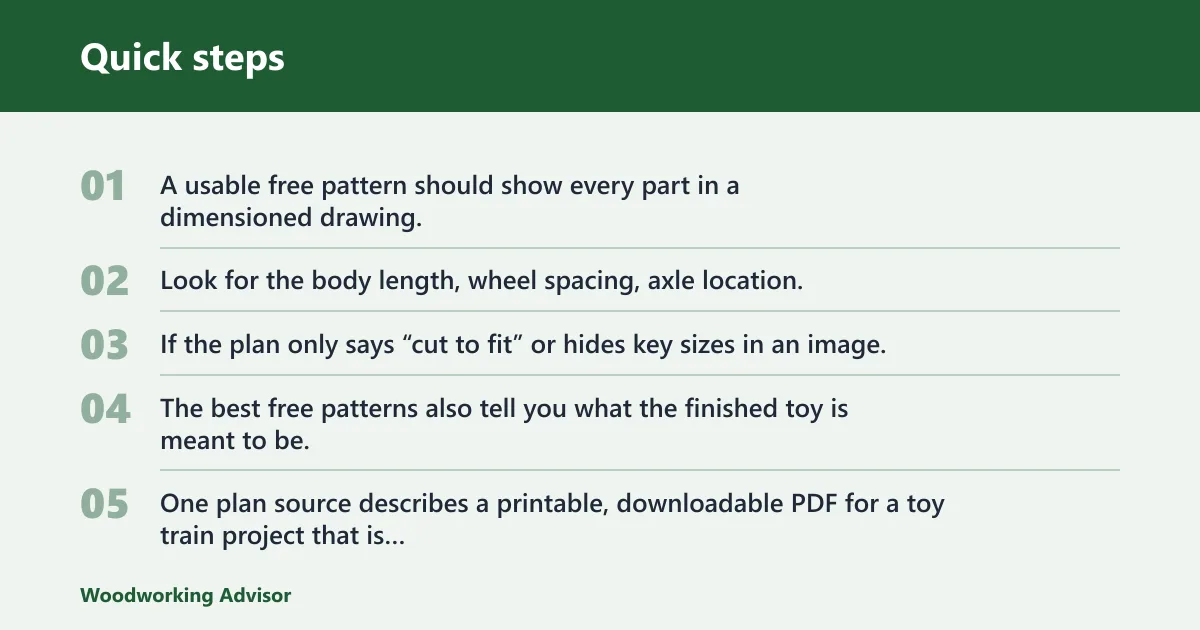


A usable free pattern should show every part in a dimensioned drawing, not just a pretty outline. Look for the body length, wheel spacing, axle location, and thickness callouts before you print anything. If the plan only says “cut to fit” or hides key sizes in an image, it is harder to build accurately and harder to adapt for a child.
The best free patterns also tell you what the finished toy is meant to be. One plan source describes a printable, downloadable PDF for a toy train project that is about 40 inches long and about 4 inches high, while the original ride-on version measured 34 inches long, 7 inches wide, and about 13 inches high. Those numbers matter because they show the source is not mixing up the smaller toy train with the larger ride-on design.
What a usable dimensioned drawing should include
Look for a plan that labels the engine, cars, wheel locations, axle holes, and thickness of the stock. If the drawing names the parts and gives reference dimensions, you can check whether the proportions suit the child, the wheels clear the body, and the axles run straight. A plan that only shows the outside silhouette is a weak starting point.
Signs the plan is too vague to build
Skip plans that hide wheel diameter, axle diameter, or hole placement. Those details determine whether the train rolls freely or rubs on the body. Also be careful with plans that rely on too many “match this shape” instructions. That usually means more hand fitting, more sanding, and a higher chance of uneven wheel fit.
When a free plan is better for display than play
Some plans are fine as shelf pieces but not ideal for a toddler’s hands. If the design has thin couplers, small roof details, pointed ends, or many glued-on decorations, treat it as display-only unless you simplify it. A play-ready toy train needs broad curves, sturdy wheel attachment, and very few detachable parts.
Wooden toy train patterns checklist
Use this checklist before downloading or printing any free toy train pattern. A pass means the plan gives enough information to build safely and adapt it with normal shop tools. A fail means the plan needs extra design work before you cut wood.
| Criterion | What to check | Pass / fail notes | Recommended modification |
|---|---|---|---|
| Clarity of dimensions | All major parts are dimensioned, including body length, wheel spacing, and stock thickness. | Pass if the drawing can be cut without guessing. Fail if sizes are hidden in artwork or labels are missing. | Add your own measured layout and redraw the part before cutting. |
| Wheel / axle sizing | Wheel diameter, wheel thickness, axle diameter, and hole size are specified or can be measured from the plan. | Pass if wheel and axle sizes are matched. Fail if the plan leaves hole size vague. | Choose a wheel and axle set first, then scale the body around that hardware. |
| Joint simplicity | Construction uses simple glue joints, dowels, or screws that can be hidden safely. | Pass if joints are easy to clamp and align. Fail if it depends on complex joinery for strength. | Simplify to butt joints, dowels, or glued blocks where possible. |
| Sanding burden | Curves, corners, and edges are easy to sand without thin breakage. | Pass if no part is too narrow to round over safely. Fail if the pattern has many tight corners. | Widen thin sections and soften every exposed edge. |
| Finish safety | The plan allows water-based paint or a low-toxicity topcoat, with time for drying and cure. | Pass if the finish choice is flexible. Fail if the plan depends on a solvent-heavy coating. | Use a child-safe coating system and follow the product’s cure instructions. |
| Child age fit | Parts are large enough for the intended age, with no small detachable pieces for children under 3. | Pass if the toy is clearly sized for the child. Fail if couplers, knobs, or trim can come off. | Remove small decorations and enlarge any part that can separate. |
| Tool requirements | The build fits the tools you actually have: saw, drill, clamps, block plane, and sanding tools. | Pass if the build matches common shop tools. Fail if it assumes a router table or specialty jigs. | Choose a simpler pattern or redraw the parts for hand-tool cutting. |
| Likely assembly risks | The plan avoids weak glue surfaces, misaligned axles, and parts that must be forced into place. | Pass if the build sequence is straightforward. Fail if the wheels or cars depend on exact hidden tolerances. | Dry-fit every rolling part and test one car before building the full set. |
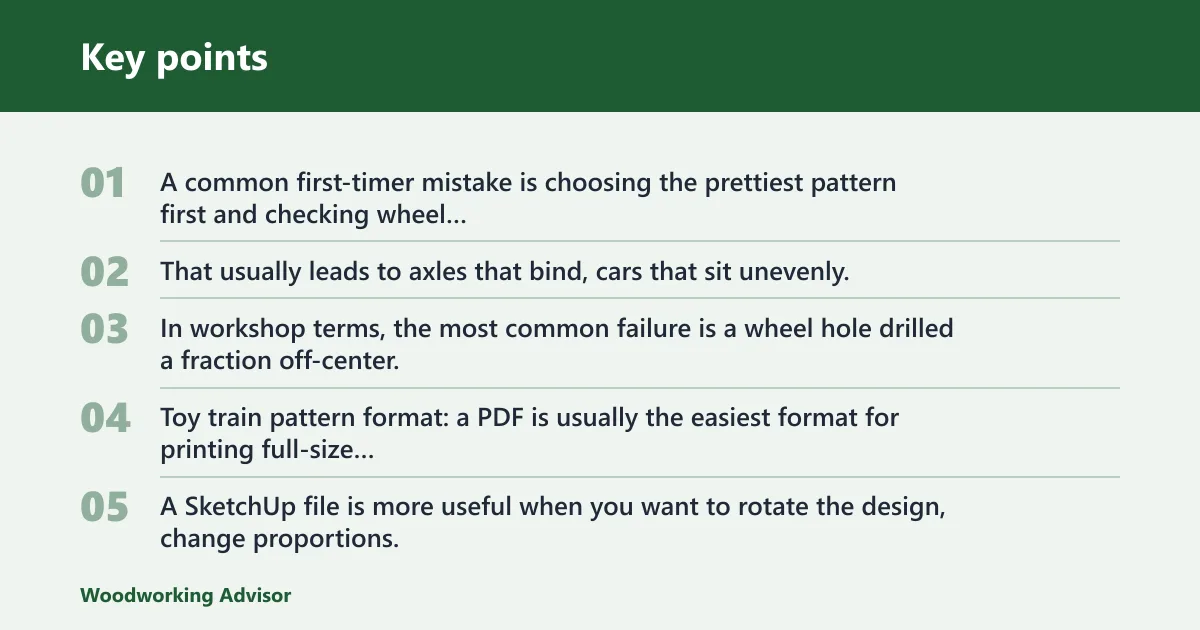
A common first-timer mistake is choosing the prettiest pattern first and checking wheel fit later. That usually leads to axles that bind, cars that sit unevenly, or a body that needs major rework after the glue is already on. In workshop terms, the most common failure is a wheel hole drilled a fraction off-center; the fix is to stop before final assembly, plug and re-drill the axle block, or widen the body so the wheels have clearance instead of forcing the body to meet the hardware.
Toy train pattern format: a PDF is usually the easiest format for printing full-size templates and checking dimensions on paper, which is why it is the most common format for free plans. A SketchUp file is more useful when you want to rotate the design, change proportions, or inspect how the body, cab, and wheelbase fit together in 3D before cutting. A CAD file is the best option when you need precise control over layers, offsets, and part geometry for shop drawings or CNC work. If a source only offers a flat image, it is harder to verify hole placement and scale than with a true PDF, SketchUp, or CAD file.
What wood should you use?
Hardwood is the safer default for a child’s wooden toy train because it dents less and holds edges better than many softwoods. Maple, beech, and birch are common choices for toys because they machine cleanly and resist wear. If the toy will be handled often, those woods are easier to keep smooth after sanding and finishing.
Why hardwoods are the safer default
For a toy train, the main advantage of hardwood is durability at corners, axle holes, and wheel hubs. Softer woods can dent quickly where the train hits floors, tracks, or other toys. That does not automatically make them unusable, but it does raise the chance of crushed edges and fuzzy surfaces that need more maintenance.
Maple, beech, and birch compared
Maple is a strong choice when you want crisp edges and a clean finish. Beech is also a common toy wood because it works well for rounded parts and holes. Birch is often used where a stable sheet material or a uniform look matters. Any of the three is a better default than a softwood if the toy will be played with regularly.
When softwood is workable and when it is not
Softwood can work for a display train or a larger body with thick sections, but dent risk rises fast on thin parts and wheel supports. If you use softwood, make the walls thicker, avoid sharp corners, and expect to sand more often. It is a weaker choice for axle blocks and small coupler parts.
How should the wheels and axles fit?
Wheel fit is where many free patterns fail in practice. Wheels need consistent diameter and thickness, and the axle holes must match the axle material closely enough to roll without slop. Whether you use wooden wheels or purchased wheels, the body should leave enough clearance so the wheels do not rub the sides.
Wooden wheels versus purchased wheels
Wooden wheels can match the rest of the toy visually, but they need careful drilling so the holes stay centered. Purchased wheels save time if the hole size and axle size are already matched, but you still need to check spacing and alignment. Either option works only if the axle path is straight and the wheel faces do not contact the body.
Matching axle diameter to wheel holes
Use a dowel or metal rod whose diameter matches the wheel hole with only slight rotation tolerance. Too tight, and the wheel will bind. Too loose, and it will wobble and scrape the body. If the plan does not specify the axle size, choose the wheel first and size the axle around the wheel hole.
Avoiding rub, wobble, and binding
The axle must be straight, and the wheel faces must sit square to the axle. Drill axle holes in a drill press or with a guided setup if possible. If the holes wander, the train may pull to one side or stop rolling when it is pushed. Add washers or spacers only if they do not create sharp edges or extra pinch points.
Suppose a pattern shows a narrow car body with wheel holes close to the edge. If the axle is even slightly off-center, the wheel can rub the body on every turn. The safer fix is to widen the body or move the axle inboard before drilling, not after assembly.
Safe finishes for wooden toys
For a child’s toy train, water-based paint and low-toxicity topcoats are often the simplest finish choices. Unsealed wood is possible for a display piece, but a play toy usually benefits from a sealed surface that is easier to wipe clean. Whatever you choose, the finish needs full drying time and full cure time before the toy goes to a child.
Water-based paint and low-toxicity topcoats
Water-based paint is a practical option because it is easier to use on small toy parts and tends to be friendlier than stronger solvent finishes. A low-toxicity topcoat can protect the paint and reduce wear from handling. Check the manufacturer’s listing for your model of coating system, then follow the listed dry and cure times exactly.
Unsealed versus sealed surfaces
An unsealed toy can feel natural in the hand, but it stains more easily and can shed fibers if the wood is soft or rough. A sealed surface is usually better for a toy that will be touched often, washed with a damp cloth, or shared between children. If you leave any surface unsealed, sand it very smooth and inspect it for splinters.
Drying time and cure time
Dry-to-touch is not the same as safe-for-use. A toy can feel dry on the surface while the coating still needs more time to harden. Do not package or hand over the train until the finish has fully cured according to the label. That matters more on parts that children will mouth or grip constantly.
Build and adapt the pattern
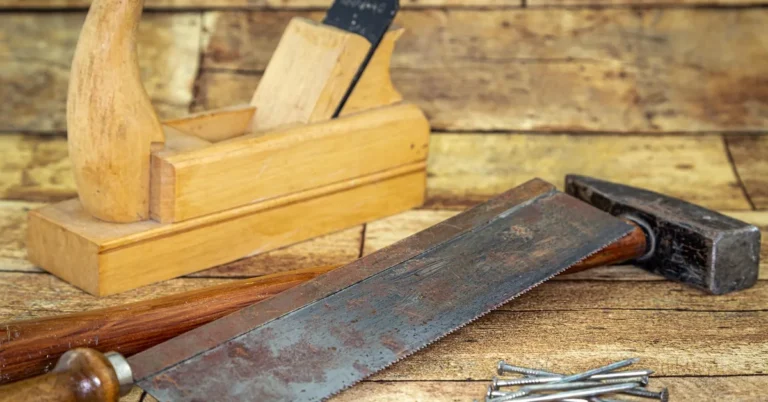
Basic tools are enough for many free toy train plans: saw, drill, clamps, block plane, and sanding tools. The project is often described as usable with basic woodworking tools. That is a good sign, but the plan still needs to be checked for wheel spacing, safe edges, and age fit before cutting.
Simple construction sequence
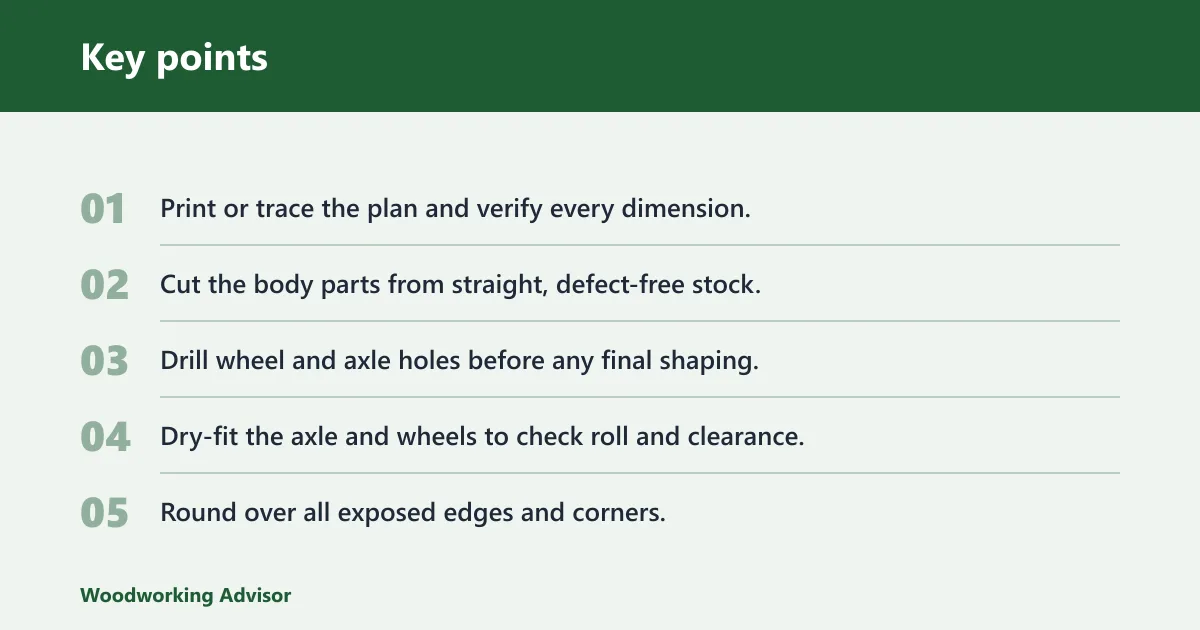
- Print or trace the plan and verify every dimension.
- Cut the body parts from straight, defect-free stock.
- Drill wheel and axle holes before any final shaping.
- Dry-fit the axle and wheels to check roll and clearance.
- Round over all exposed edges and corners.
- Sand the full toy, then inspect for splinters or tear-out.
- Apply paint or topcoat, then let it dry and cure fully.
- Do a final roll test on a flat surface before gifting the toy.
Safe adjustments for toddler use
For children under 3, remove detachable trim, small couplers, and anything that can be pried off by hand. Keep the profile simple and the edges rounded. If the pattern includes decorative pieces that are only glued on, either enlarge the glue area or leave the parts off entirely. Simpler is safer here.
How to change a pattern for cleaner assembly
If the plan asks for awkward angles, thin tabs, or tiny decorative blocks, redraw those features into larger, easier parts. A straighter body is easier to sand, easier to finish, and less likely to break at the glue line. If the toy is meant for actual play, prioritize wheel alignment and body strength over ornament.
Picture a builder who finds a free PDF with a charming smokestack and tiny side rails. That design may look good on a shelf, but for a toddler toy it is better to thicken the base, remove the small add-ons, and keep the engine-car shape broad and simple.
What safety standards matter for homemade wooden toys
ASTM F963, CPSIA, CE marking, and EN 71 matter because they point to different parts of toy safety, but a home shop cannot certify a toy on its own. In practice, they remind you to avoid small parts, sharp edges, toxic coatings, and unsafe finishes. For homemade toys, the useful step is to design and finish with those limits in mind, then verify the materials you choose.
For official references, see the current documentation for ASTM F963, CPSIA, and EN 71. These pages help confirm the broader toy-safety framework behind the practical checks discussed here.
ASTM F963 and CPSIA in practical terms
ASTM F963 is a toy safety standard, and CPSIA is a U.S. product safety law that can affect materials and labeling. For a woodworker, the practical takeaway is simple: avoid choking hazards, sharp edges, fragile parts, and finishes you cannot identify clearly. Do not assume a homemade toy is compliant just because it looks smooth.
CE marking and EN 71 in practical terms
CE marking and EN 71 are important references for toys sold in or into certain markets, but they are not something a home builder can claim without proper testing and paperwork. What you can do is build conservatively: use child-safe geometry, stable construction, and coatings with clear manufacturer guidance. That lowers the risk before any formal testing would even be considered.
What to verify before a child plays with the toy
Check for loose wheels, exposed fasteners, splinters, and any part that could separate. Tug on glued pieces. Spin the wheels. If anything binds, rattles, or pulls free, fix it before the toy is used. Safety starts with the build, not with the label.
Frequently asked questions
Wooden toy train plans free printable
Choose a printable plan only if the drawing includes clear dimensions, wheel positions, and stock thickness. A printable file is useful when it translates cleanly to actual board sizes and hole locations. If the printout is decorative but not measured, it is not a dependable build guide.
Wooden toy train plans pdf free download
Look for a downloadable print-ready PDF that includes part dimensions and a clear assembly sequence. One plan source describes the project this way and gives the toy train as about 40 inches long and about 4 inches high, which helps you judge scale before cutting. Confirm the drawing matches the age group you want.
What wood is best for a wooden toy train?
Maple, beech, and birch are the safest defaults for durability and clean edges. They resist dents better than many softwoods and hold up well around axle holes and corners. If you use softwood, make the parts thicker and expect more wear on the finished toy.
How do I make wooden toy train wheels fit properly?
Choose wheel diameter and axle size together, then drill the axle holes to suit the actual hardware. Wheels should spin freely without visible wobble, and they should not rub the body. If the plan leaves hole size vague, test on scrap first and adjust before drilling the final parts.
Sponsored / affiliate links. As an Amazon Associate I earn from qualifying purchases. I may earn additional commission from eligible campaigns.