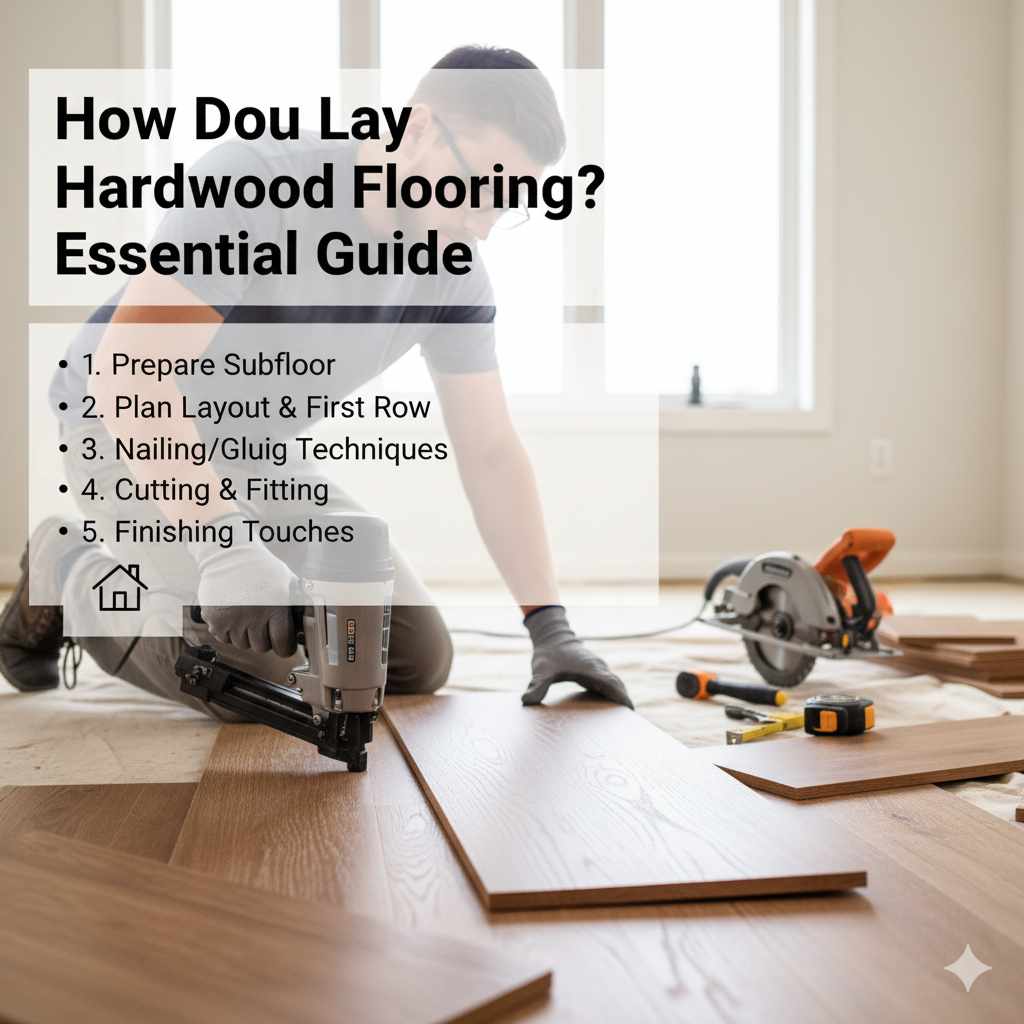
How Do You Lay Hardwood Flooring? Essential Guide
Laying hardwood flooring yourself is absolutely achievable! With careful preparation, the right tools, and this step-by-step guide, you can successfully install beautiful hardwood floors. It requires patience and attention to detail, but the reward of a stunning, durable floor is well worth the effort.
Dreaming of that warm, classic look of hardwood floors in your home? You might think it’s a job best left to the professionals, but I’m here to tell you that with the right guidance, laying hardwood flooring is a fantastic DIY project that’s totally within your reach. It can feel a bit overwhelming at first, especially when you look at all those planks and wonder where to start. But don’t worry! I’ve guided many folks through this very process, and we’re going to break it down into simple, manageable steps.
This guide is designed to take the mystery out of hardwood installation. We’ll cover everything from preparing your subfloor to the final trim, all explained in a way that makes sense. You’ll gain the confidence to tackle this project and enjoy the satisfaction of a beautifully installed hardwood floor that will enhance your home for years to come.
Why Choose Hardwood Flooring?
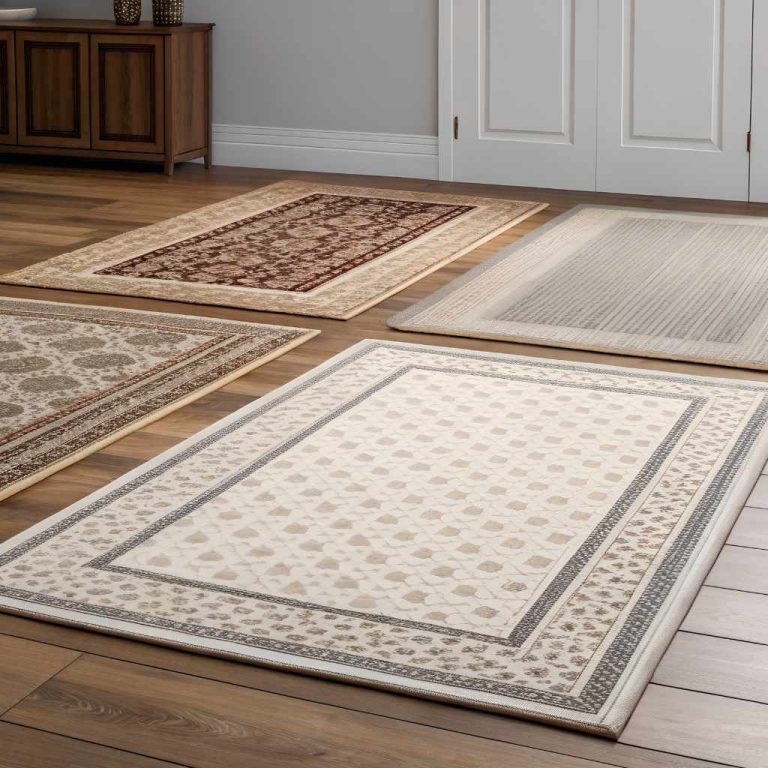
Hardwood floors are a timeless choice for many reasons. They add warmth, character, and a touch of elegance to any room. Unlike carpet, they are easy to clean and maintain, and they can even increase the value of your home. Plus, with proper care, hardwood can last for decades, making it a truly sustainable and beautiful flooring option.
Before You Begin: Essential Planning & Preparation
This is perhaps the most critical phase. Skipping preparation is like building a house without a solid foundation – it’s asking for trouble down the line! Let’s get everything ready so your installation goes smoothly.
Choosing Your Hardwood Flooring
There are two main types of hardwood flooring you’ll encounter for DIY installation:
- Solid Hardwood: This is milled from a single piece of wood. It’s durable and can be refinished many times over its lifespan. It’s typically installed by nailing or stapling it to a subfloor.
- Engineered Hardwood: This consists of layers of wood veneer or composite material pressed together, with a top layer of real hardwood. It’s generally more stable than solid hardwood, especially in areas with fluctuating humidity, like basements or bathrooms (check manufacturer recommendations for specific uses). It can be installed by nailing, stapling, gluing, or even floating (where planks lock together without direct attachment to the subfloor).
Acclimation is Crucial
Wood is a natural material that expands and contracts with changes in temperature and humidity. Before you even think about laying a single board, your new hardwood needs to acclimatize to the conditions of the room where it will be installed. This means leaving the boxes of flooring open in the room for typically 72 hours (or as recommended by the manufacturer) before installation. This helps prevent warping, gapping, or buckling after the floor is down.
Subfloor Preparation: The Foundation of Your New Floor
Your subfloor is the surface beneath the hardwood planks. It needs to be clean, dry, flat, and structurally sound. Common subfloors are:
- Plywood or OSB: These are common for new construction.
- Existing Hardwood: Sometimes you can install over an existing, well-maintained hardwood floor (check manufacturer guidelines, as some don’t allow this).
- Concrete: Often found in basements.
Here’s what you need to do:
- Clean: Vacuum thoroughly and remove any debris, old adhesive, nails, or staples.
- Level: Your subfloor should be flat. Minor imperfections can often be fixed with leveling compounds. For significant issues, you might need to add shims or sand down high spots. A common standard is that the floor should not vary more than 1/8 inch over a 6-foot span. You can use a long, straight edge to check this.
- Dry: Ensure there’s no moisture. For concrete subfloors, use a moisture meter to check levels. You’ll likely need a moisture barrier (like 6-mil poly sheeting) over concrete.
- Sound: Walk across the subfloor. If it squeaks or flexes, you need to secure it further by adding screws.
For more information on subfloors, the Building Science Corporation offers excellent resources on moisture management in buildings.
Gathering Your Tools and Materials
Having the right tools makes a world of difference. Here’s a good starting list:
| Essential Tools | Materials |
|---|---|
| Tape Measure | Hardwood Flooring Planks |
| Pencil | Underlayment (if required by manufacturer or type of install) |
| Safety Glasses | Moisture Barrier (especially for concrete) |
| Gloves | Nails or Staples (for nail-down installation) |
| Chalk Line and/or Straight Edge | Wood Glue (for some engineered floors or tongue-and-groove) |
| Utility Knife | Wood Filler or Putty (for covering nail heads if not using a blind fastening method) |
| Miter Saw or Circular Saw (with fine-tooth blade for clean cuts) | Transition Strips (for doorways, changes in flooring type) |
| Jigsaw (for cutting around obstacles) | Trim and Quarter Round (to cover expansion gaps) |
| Flooring Nailer or Stapler (rentable for nail-down) | Finishing Nails (for trim) |
| Hammer | Paintable Caulk |
| Pry Bar | Primer and Paint (for trim) |
| Broom and Vacuum | |
| Level | |
| Air Compressor and Hose (if using pneumatic nailer/stapler) | |
| Schluter Strips or Metal Flashing (for expansion gaps at thresholds or where planks meet a durable surface like tile) |

Step-by-Step Guide: Laying Your Hardwood Floor
Now for the rewarding part! We’ll break this down into logical steps. We’ll focus on the most common DIY method: nail-down for solid or engineered hardwood, as it gives a very secure and professional finish.
Step 1: Plan Your Layout and Direction
The way you lay your planks can significantly impact how the room looks and feels.
- Direction: The general rule of thumb is to lay planks parallel to the longest wall in the room. In most cases, this means installing them running towards the main light source (like a window). This makes the floor look cohesive and less prone to showing imperfections.
- Starting Wall: You’ll typically start along the longest, straightest wall. Ensure this wall is perfectly straight using your chalk line or straight edge.
- First Row: The first row is critical. Often, the tongue side of the boards faces the wall. You’ll likely need to cut off the tongue for the first row, so it sits flush against the wall. Check your flooring manufacturer’s specific instructions here, as some engineered floors have different installation methods.
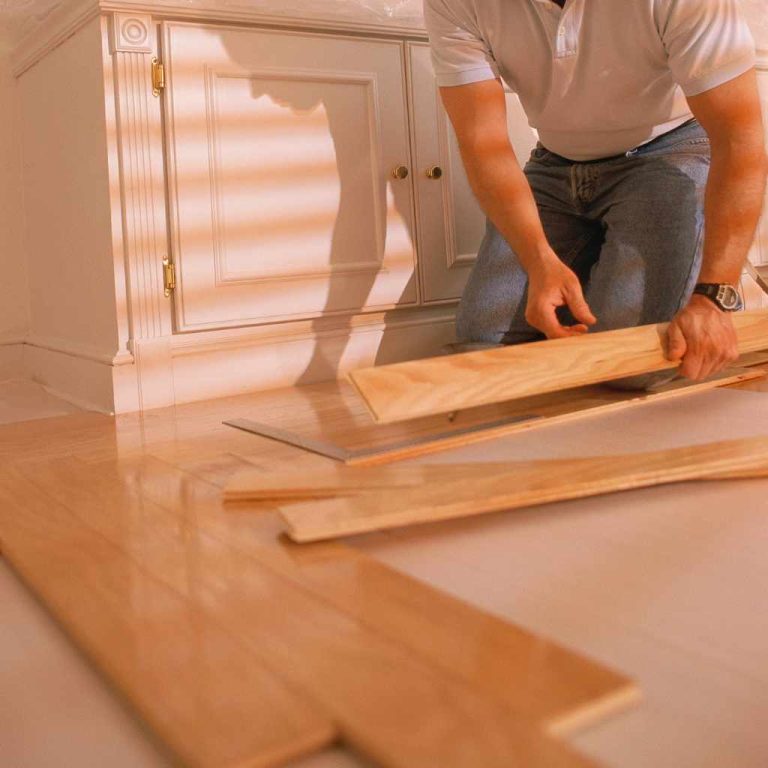
Step 2: Install the First Row
Accuracy is key here. The first row dictates the success of the entire floor.
- Prepare the Wall: Measure the width of a plank. If the wall isn’t perfectly straight, use this measurement to mark a parallel chalk line on the floor. This line will guide your first row.
- Acclimate and Cut: Lay out a few planks from different boxes to get a feel for the color variation. Cut off the tongue from the edge of the boards that will face the wall.
- Position and Secure: Place the first board, tongue side away from the wall, groove side facing out. You might need to use a tapping block and a pry bar gently to snug it up to the wall. Once in place, secure it. You can do this by drilling pilot holes (be careful not to drill through) and using screws, but the most professional way is to use a flooring nailer. Place nails at an angle through the groove or face-nailing very close to the wall edge, which will be covered by trim later.
- Continue the Row: Lay subsequent boards, ensuring they are Tightly butted against each other without forcing them. Use a tapping block and hammer (or mallet) to ensure tight joints. Cut the last board so that there’s about a 1/2-inch expansion gap between the end of the board and the wall.
Step 3: Lay Subsequent Rows
This is where the rhythm begins!
- Stagger Joints: For visual appeal and structural integrity, stagger the end joints of your planks. A good rule of thumb is to ensure end joints aren’t closer than 6 inches from the end joint of an adjacent row. Cut your last board from the previous row to start the new row, ensuring it’s long enough and creates a good stagger.
- Engage the Tongue and Groove: Angle the tongue of the new board into the groove of the previous row. Use a flooring nailer or stapler to drive fasteners through the board at approximately a 45-degree angle into the subfloor, securing the plank. Consult your flooring manufacturer’s guide for recommended fastener spacing and placement.
- Use a Tapping Block: For boards that don’t quite fit snugly, use a tapping block. Place the tapping block against the edge of the plank to protect it, and gently tap with a hammer or mallet to close the gap. Don’t hit the plank directly, as you could damage it.
- Work Across the Room: Continue installing rows across the room, staggering joints and ensuring tight fits.
Step 4: Cutting Around Obstacles
Doors, vents, and other features require careful cutting.
- Doorways: Undercut the door jambs using a handsaw or oscillating tool so the plank can slide underneath. This creates a clean, professional look.
- Vents and Other Obstacles: Use a jigsaw to cut out shapes for vents or other irregularities. Measure and mark carefully on the plank before cutting.
Step 5: The Last Row
The last row is often the trickiest because you’ll likely need to rip (cut lengthwise) the planks to fit. Remember to maintain that 1/2-inch expansion gap!
- Measure and Cut: Measure the distance from the groove of the second-to-last installed row to the wall. Subtract 1/2 inch for your expansion gap. Rip the planks to this width.
- Install: You may need to use a pry bar or a specialized “pull bar” tool to gently pull the last row into place. Secure with screws or nails through the face of the board, being careful to place fasteners where they’ll be hidden by trim.
Step 6: Install Trim and Baseboards
This is where the magic happens, hiding all your work and giving the floor a finished look.
- Remove Old Trim: If you removed baseboards, you’ll want to reattach them. If you left them on, you can sometimes carefully pry them away from the wall, install the floor, and then push them back into place, or you might need to remove and re-nail them.
- Install Quarter Round: The 1/2-inch expansion gap along the walls will be covered by quarter-round molding, which is a small piece of trim with a quarter-circle profile. Nail this to the baseboard, not the floor, so it acts as a flexible cover for the gap.
- Transition Strips: Install transition strips in doorways or where your new hardwood meets another type of flooring. These are designed to create a smooth, safe transition and cover expansion gaps.
Step 7: The Final Touches
Once everything is installed and trimmed, it’s time for the finishing touches.
- Clean Up: Thoroughly vacuum and clean the floor.
- Fill Holes: If you face-nailed any boards in the last row or elsewhere, fill the nail holes with wood filler that matches your flooring color.
- Paint/Stain Trim: Paint or stain your new trim and quarter-round as desired.
Maintaining Your New Hardwood Floor
To keep your beautiful new floor looking its best:
- Sweep or vacuum regularly to remove grit that can scratch the finish.
- Wipe up spills immediately with a slightly damp cloth.
- Use furniture pads under chairs and tables.
- Avoid using harsh chemical cleaners or excessive water. Stick to products recommended by your flooring manufacturer. For more on maintenance, the National Wood Flooring Association (NWFA) has excellent cleaning guides.

Frequently Asked Questions (FAQ)
Q1: Can I lay hardwood flooring over existing carpet?
No, typically you cannot. Carpet is too soft and flexible. You must remove the carpet and any padding before installing hardwood over the subfloor. In some cases, you might be able to install hardwood over existing hard surface flooring like vinyl tile, but always check your specific hardwood manufacturer’s guidelines.
Q2: How much hardwood flooring should I buy?
It’s crucial to buy extra to account for cuts, mistakes, and future repairs. For most rooms, add about 10% for waste. If your room has many angles or irregular shapes, you might want to add 15%.
Q3: Do I need an underlayment?
It depends on the type of flooring and the subfloor you have. Many engineered floors come with a pre-attached underlayment. If you have a concrete subfloor, you’ll always need a moisture barrier, which often also provides some cushioning. Floating floors typically require a specific type of underlayment for proper performance. Always check the manufacturer’s recommendations.
Q4: How do I handle expansion gaps at doorways?
You’ll use transition strips specifically designed for doorways and where different flooring types meet. These can be flush, T-molding, or reducer strips, depending on the height difference and type of flooring. They cover the expansion gap and create a safe, smooth transition.
Q5: What’s the best way to cut hardwood planks cleanly?
A sharp, fine-tooth blade on a miter saw or circular saw is your best bet for straight, clean cuts. Always measure twice and cut once. For curves or cutouts around vents, a jigsaw is the preferred tool.
Q6: My new hardwood floor squeaks. What should I do?
For nail-down installations, squeaks often indicate loose boards or subfloor. You can try to locate the loose board and add a screw or nail, or sometimes a small amount of wood glue can help. If the subfloor itself is loose, it needs to be properly secured. For floating floors, squeaks can sometimes be due to lack of proper expansion gaps or issues with the underlayment.
Conclusion
See? Laying hardwood flooring isn’t some mystical art reserved only for seasoned pros. It’s a process that rewards patience, careful planning, and following good instructions.
By understanding the importance of preparation, gathering the right tools, and taking it step by step, you’ve empowered yourself to achieve a stunning new floor. You’ve learned about acclimation, subfloor prep, laying the boards, and finishing touches. The satisfaction of walking on a floor you installed yourself is truly something special. So go ahead, embrace the challenge, and enjoy the beautiful, lasting results!