How Long Does Caulk Take to Dry Before Painting?
Most latex and siliconized-acrylic caulks are dry to the touch and safe to paint within 30 minutes to 1 hour, but they are not fully cured until 24 to 72 hours have passed. “Paintable” and “fully cured” are two different milestones – the surface can be firm enough to hold paint long before the bead has finished hardening all the way through. Pure silicone caulk is the exception: most silicone formulas never accept paint at all, no matter how long you wait, unless the label specifically says “paintable” or “siliconized.”
The confusion around caulk and paint almost always comes down to reading the tube, not the clock. Every manufacturer sets its own paint-ready time based on that specific formula, so a number that’s accurate for one tube of caulk can be wrong for the one sitting next to it on the shelf. Below is what actually varies caulk to caulk, how to tell when a bead is genuinely ready, and what happens if you paint over it too soon.
How Long Different Caulk Types Take to Dry Before Painting
Drying time depends first on the caulk’s chemistry. Here’s how the common types compare for interior trim, baseboard, and window/door seams:
| Caulk Type | Paintable After | Full Cure | Notes |
|---|---|---|---|
| Acrylic latex caulk | 30 min – 1 hour | 24-48 hours | Easiest to paint over; most “paintable in 30 minutes” labels are this type. |
| Siliconized acrylic latex | 30 min – 2 hours | 24-72 hours | Blends acrylic’s paintability with added flexibility; the standard pick for trim and baseboard. |
| Pure silicone caulk | Usually never | 24 hours+ | Paint won’t bond to most silicone formulas at any wait time – check the label before buying if the seam will be painted. |
| Polyurethane caulk/sealant | 1-3 hours (varies by brand) | 24-72 hours | Paintable formulas exist, but confirm on the specific product – not all are. |
Those ranges hold for typical interior conditions. Cold, damp, or poorly ventilated rooms push every number in that table higher, sometimes by hours – more on that below.
Best Paintable Trim & Baseboard Caulk
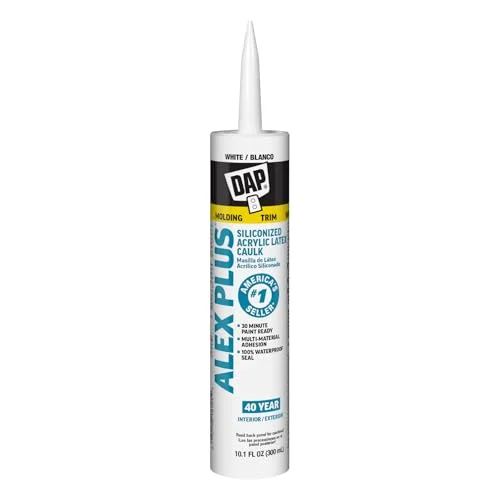 |
DAP Alex Plus Siliconized Acrylic Latex Caulk – $2.97 A siliconized-acrylic formula built specifically for trim, baseboard, and molding seams that need to be painted, not just sealed.
|
Silicone vs. Siliconized Acrylic: Why the Caulk Type Determines Paintability
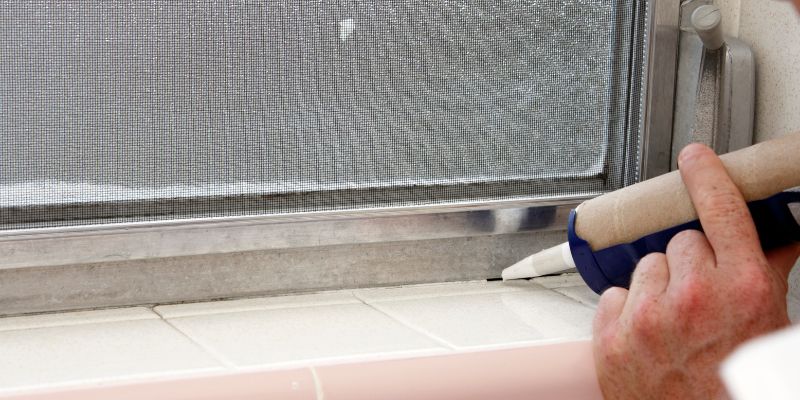
This is the part most drying-time guides skip, and it’s the actual reason a lot of DIY paint jobs fail on the caulk line specifically. Pure 100% silicone caulk cures by pulling moisture from the air into a flexible, rubber-like seal – and that rubbery surface is exactly what most paints can’t grip. Roll or brush paint over plain silicone and it will bead up, crawl, or peel off in sheets within days, no matter how long you waited to apply it.
Siliconized acrylic latex caulk solves this by starting from an acrylic latex base – the same paintable chemistry as latex paint itself – and adding a smaller percentage of silicone for flexibility and water resistance. That’s why it’s the standard choice for interior trim, baseboards, and window casing that will be painted: it keeps most of silicone’s durability without losing the paintable surface. If a tube just says “silicone” or “100% silicone” on the label, assume it isn’t paintable unless the packaging explicitly says otherwise. If it says “siliconized,” “acrylic latex caulk plus silicone,” or “paintable silicone,” it’s formulated to take paint.
What Affects How Fast Caulk Dries
Once you’ve confirmed the caulk type is paintable, the label’s stated dry time is really a best-case number. These four conditions push it up or down:
Temperature
Latex and siliconized-acrylic caulks dry by evaporation, so warmth speeds things up. A room around 70-77°F dries close to the label’s stated time. Below about 50°F, evaporation slows dramatically and some formulas won’t cure properly at all – a skin can form on the surface while the caulk underneath stays soft for days. Extreme heat isn’t automatically better either: it can crust the surface fast while trapping moisture underneath, which actually slows the full cure.
Humidity
High humidity works against water-based caulk the same way it slows down paint or wood finish – there’s less room in the air for moisture to evaporate into. A muggy bathroom or a rainy week can add hours to a dry time that would otherwise be quick in dry conditions.
Bead thickness and surface
A thin, smoothly tooled bead dries faster than a thick or overfilled one, since there’s less material for moisture to work through. Porous surfaces like raw wood or drywall pull some moisture out of the caulk as it sits, which can speed up surface drying but doesn’t guarantee the core has caught up – it just means the touch test can be misleading on those surfaces specifically.
Ventilation
Airflow carries evaporated moisture away from the bead instead of letting it linger at the surface. Cracking a window or running a fan for the first hour after applying caulk is one of the simplest ways to keep an actual dry time close to the label’s estimate.
How to Tell If Caulk Is Actually Ready for Paint
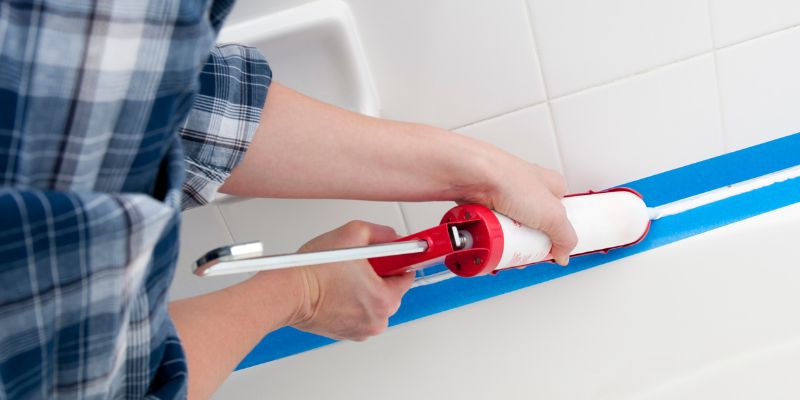
Waiting for a specific number of hours is a reasonable starting point, but the caulk itself will tell you more than the clock does. Check for these before picking up a brush or roller:
The finger test: Lightly press a fingertip on an inconspicuous section of the bead. If it feels firm and dry with no tackiness or residue left on your finger, the surface is ready. If it dents, feels sticky, or leaves residue, give it more time – there’s no shortcut around a caulk that’s genuinely still wet.
The sheen check: Freshly applied caulk usually has a slight wet sheen. As the surface dries, that sheen fades to a duller, more matte finish. A bead that still looks glossy is usually still curing.
Surface dry isn’t core dry: The finger test only confirms the outer skin has set. On a thick bead, the interior can still be soft even after the surface passes. This is why manufacturers often list a shorter “paintable” time and a longer “full cure” time separately – painting at the paintable mark is normal and expected, but don’t confuse it with the caulk being finished curing.
What Happens If You Paint Caulk Too Soon
Painting before the surface has actually dried is the most common cause of caulk-line paint failures, and the problems it causes are frustrating to fix after the fact:
Cracking and peeling: Wet caulk keeps expanding and contracting slightly as it continues to cure underneath a paint film that’s already hardened. That mismatch in movement is what causes the paint to crack along the caulk line first, even though the surrounding wall paint stays intact.
Bubbling: Moisture still trying to evaporate out of the caulk gets trapped under the new paint film and forms small bubbles or blisters, usually within the first day or two after painting.
Poor adhesion: Paint applied to a slightly damp or tacky surface simply doesn’t bond the way it would to a fully dry one, and it tends to peel away in strips rather than flaking evenly, often months later when it’s harder to trace back to the cause.
None of these show up immediately, which is exactly why rushing the wait time is tempting – the caulk line looks fine on day one and only starts failing once the paint has fully cured around it. The same logic applies if you’re planning to topcoat with polyurethane afterward – each layer needs its own layer beneath it fully dry, not just the caulk.

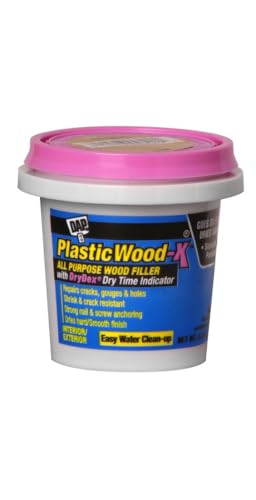
A few habits make the wait easier to manage. Apply caulk in thin, smooth, well-tooled beads rather than thick gobs – it looks better and dries faster. If you’re not sure a specific tube is dry enough yet, test it on a small hidden section first, like a corner that will be covered by furniture, rather than committing the whole room. And when the label and your own judgment disagree, trust the touch test over the clock; humidity and temperature swing enough from one room to the next that a printed number is only ever a starting estimate. Before starting on any gap-filling project, it also helps to know whether you’re dealing with a caulk job or a wood filler job, since the two dry very differently.
FAQ: Caulk Drying and Painting
Can I paint over caulk the same day I applied it?
Usually yes, if it’s a paintable latex or siliconized-acrylic caulk and it passes the finger test – most of these are paintable within an hour. Pure silicone caulk is the exception and generally can’t be painted at all, same-day or otherwise.
What’s the difference between “paintable” and “fully cured”?
Paintable means the surface has dried enough to accept and hold a paint film, which can happen in 30 minutes to a few hours. Fully cured means the entire bead, including the interior, has finished its chemical drying process, which typically takes 24 to 72 hours. You can safely paint at the paintable stage – you don’t need to wait for full cure first.
Why won’t paint stick to my caulk?
The two most common causes are painting before the surface is actually dry, or using a pure silicone caulk that isn’t formulated to accept paint at all. Check the tube’s label for “paintable” or “siliconized” before assuming the problem is timing.
Does cold weather really slow caulk drying that much?
Yes. Below roughly 50°F, water-based caulks evaporate much more slowly, and some formulas won’t cure properly at all in cold, damp conditions – the surface can skin over while the interior stays soft. If you’re working in an unheated space, warm the room before applying caulk that will be painted.
Is it better to trust the label’s dry time or the touch test?
Treat the label as a starting estimate and the touch test as the final check. Manufacturer times assume roughly 70°F and moderate humidity – a cooler, more humid room will need longer than the label states, and the finger test is the most reliable way to confirm the specific bead in front of you is actually ready.
Getting the timing right on a caulk line is a small step, but it’s the difference between a paint job that holds up for years and one that starts cracking at the seams within a season. When in doubt, give it the extra hour – it costs nothing and it’s the one step that’s hardest to fix after the paint has already gone on.
Sponsored / affiliate links. As an Amazon Associate I earn from qualifying purchases. I may earn additional commission from eligible campaigns.