How Much Is Hardwood Floor Refinishing: Essential Guide
Hardwood floor refinishing typically costs between $3 to $10 per square foot, with average living room costs ranging from $1,200 to $3,000. This price depends on factors like wood type, floor condition, and your location. Refinishing restores beauty and extends floor life, making it a valuable investment.
Are your beautiful hardwood floors looking a little tired? Scratches, dullness, and wear can really take away from a room’s charm. You might be wondering if it’s time to replace them or if there’s a more cost-effective way to bring back their original shine. The good news is, hardwood floor refinishing is a fantastic solution! It’s a process that can transform worn-out floors, making them look brand new without the hefty price tag of a full replacement.
Many homeowners feel overwhelmed thinking about the cost and effort involved. But don’t worry! This guide is here to break down “how much is hardwood floor refinishing” in a simple, easy-to-understand way. We’ll cover everything from what influences the price to what you can expect during the process, arming you with the knowledge to make a confident decision for your home.
What is Hardwood Floor Refinishing?
Hardwood floor refinishing, often called sanding and refinnishing, is a multi-step process designed to revive the natural beauty of your wood floors. Instead of installing new flooring, refinishing involves carefully removing the worn-out top layer of the wood, including any old finishes, stains, and minor imperfections like scratches and dents. Once the old layer is gone, a new protective finish is applied, restoring the floor’s original luster and color, or even giving it a new look.
This process is perfect for floors that are still structurally sound but have lost their appeal due to wear and tear. It’s a sustainable choice, as it utilizes the existing material of your floor. The result is a refreshed, durable, and beautiful floor that can last for many more years.
Why Refinish Your Hardwood Floors?
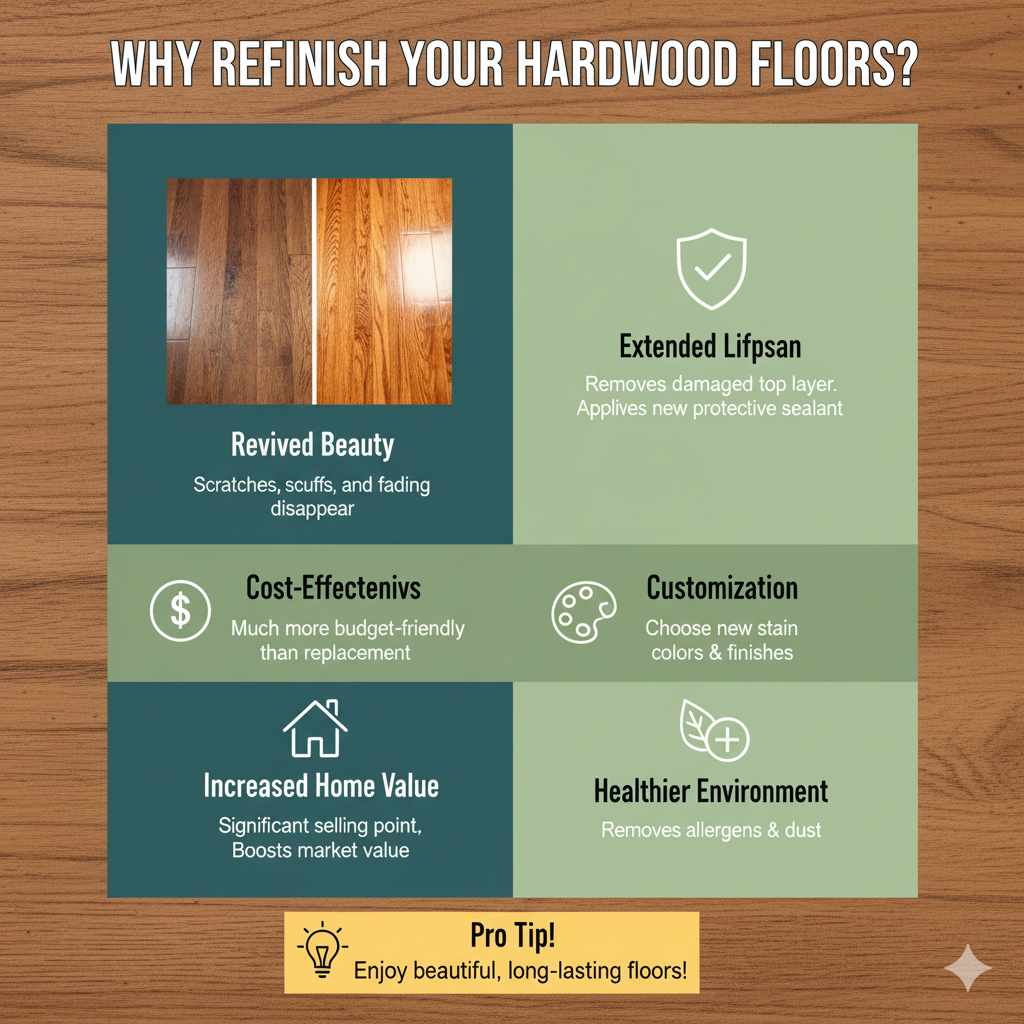
Refinishing your hardwood floors offers a multitude of benefits that go beyond just aesthetics:
- Revived Beauty: The most obvious benefit is the dramatic visual transformation. Scratches, scuffs, and fading disappear, revealing the natural grain and warmth of the wood.
- Extended Lifespan: By removing the damaged top layer and applying a new protective sealant, refinishing significantly extends the life of your hardwood floors.
- Cost-Effectiveness: Compared to the cost of completely replacing hardwood flooring, refinishing is a much more budget-friendly option.
- Customization: You can choose new stain colors and finishes to update your home’s style without changing the flooring material itself.
- Increased Home Value: Beautiful, well-maintained hardwood floors are a significant selling point and can boost your home’s market value.
- Healthier Environment: Refinishing removes allergens and dust that can accumulate in the old finish and wood grain.
Factors Influencing the Cost of Hardwood Floor Refinishing
When asking “how much is hardwood floor refinishing,” it’s important to understand that the price isn’t fixed. Several key factors will determine the final cost:
1. Square Footage of the Area
This is the most significant driver of cost. Professional refinishers typically charge by the square foot. The larger the area, the more material (sandpaper, finishes) and labor are required, increasing the total price.
2. Type and Condition of Wood Flooring
- Wood Species: Hardwoods like oak and maple are common, while exotic woods or softer woods like pine might have different refinishing requirements or costs.
- Floor Condition: Floors with deep scratches, significant gouges, warped boards, or extensive water damage may require extra work. This could include more aggressive sanding, board replacement, or specialized repairs, all of which add to the cost.
- Existing Finish: The type and condition of the current finish can also play a role. A floor with multiple layers of old, difficult-to-remove polyurethane may take longer to sand.
3. Labor Costs and Geographic Location
Labor rates vary considerably by region. In areas with a higher cost of living, you’ll generally find higher prices for professional services, including flooring refinishing.
4. Type of Finish Used
There are different types of finishes, each with its own cost and durability:
- Polyurethane (Oil-Based vs. Water-Based): Oil-based polyurethane is known for its durability and amber tone but has a strong odor and longer drying time. Water-based finishes dry faster, have less odor, and are clearer but might be slightly less durable or more expensive upfront. See recommendations on wood floor finishes from the This Old House for more insights.
- Other Finishes: Some projects might opt for wax or penetrating oils, which offer a more natural look but require more frequent maintenance and can be more costly.
5. DIY vs. Professional Service
Choosing to do it yourself can save money on labor, but you’ll need to rent equipment, purchase all materials, and invest your time. Professional services include the cost of labor, expertise, and typically a warranty on their work. The potential for costly mistakes in DIY can sometimes negate savings.
6. Additional Services
If your floors need more than just a basic sand and finish, the cost will increase. This can include:
- Board replacement
- Subfloor repairs
- Filling gaps or cracks
- Staining the wood a new color
- Applying multiple coats of finish
Average Costs for Hardwood Floor Refinishing
To give you a clearer picture, let’s look at some estimated costs. Keep in mind these are averages, and your actual quote may differ based on the factors mentioned above.
Cost Per Square Foot
The most common way prices are quoted is per square foot. This makes it easy to estimate for different room sizes.
| Service Type | Average Cost Per Square Foot | Notes |
|---|---|---|
| Basic Sanding & Clear Coat Finish | $3 – $6 | Removes old finish, applies new clear protective layers. |
| Sanding, Staining & Finish | $5 – $10 | Includes applying a new stain color before the protective finish. |
| Deep Restoration/Repair Work | $8 – $15+ | For floors requiring significant board replacement or repairs. |
Total Project Costs by Room Size
Here are some rough estimates for common room sizes:
| Room Size (Sq. Ft.) | Estimated Cost Range (Basic Sand & Clear Coat) | Estimated Cost Range (Sanding, Staining & Finish) |
|---|---|---|
| 100 (e.g., small bedroom) | $300 – $600 | $500 – $1,000 |
| 200 (e.g., average living room) | $600 – $1,200 | $1,000 – $2,000 |
| 300 (e.g., large living room/dining combo) | $900 – $1,800 | $1,500 – $3,000 |
| 500 (e.g., open concept main floor) | $1,500 – $3,000 | $2,500 – $5,000 |
These figures are for the refinishing process itself. They typically do not include the cost of replacing boards, major repairs, or moving furniture. Always get detailed quotes that specify what is included.
The Hardwood Floor Refinishing Process: Step-by-Step
Understanding the process can help you appreciate the cost and what to expect. Here’s a breakdown of how professional refinishing is typically done:
Step 1: Preparation and Protection
This is a crucial first step. Professionals will:
- Clear all furniture and items from the floor.
- Protect adjacent areas like walls, cabinets, and doorways with plastic sheeting and tape to contain dust.
- Cover air vents to prevent dust from circulating throughout the house.
Step 2: Drum Sanding
This is the most aggressive stage of sanding. A large drum sander is used to remove the old, damaged top layer of the wood. This is done in passes, often with progressively finer grits of sandpaper to smooth the wood surface.
Step 3: Edging and Detail Sanding
The drum sander can’t reach the edges of the room or corners. An edger sander is used for these areas, followed by an orbital or detail sander for tight spots and to ensure a uniform smoothness across the entire floor.
Step 4: Cleaning
After sanding, the floor will be covered in a thick layer of fine dust. The area is thoroughly vacuumed, and often wiped down with tack cloths or a damp cloth to remove all residual dust. Proper dust containment systems on modern sanding equipment significantly reduce airborne dust, but some dust is inevitable.
Step 5: Staining (Optional)
If you’ve chosen a new stain color, it’s applied now. The stain is usually wiped on and then wiped off to achieve the desired hue. Multiple coats might be needed, or a pre-stain conditioner could be used on certain wood types to ensure even absorption. For guidance on choosing stains, check out resources on wood floor staining.
Step 6: Applying the Finish (Sealer and Top Coats)
This is the protection stage. A coat of sealer is often applied first, especially if you’re using an oil-based polyurethane. Then, two to three coats of your chosen finish (e.g., polyurethane) are applied. Each coat needs to dry completely, and sometimes light sanding with very fine grit sandpaper is done between coats for maximum smoothness.
Step 7: Curing and Reintroduction of Furniture
The finish needs time to cure fully, which is different from drying. While you can walk on the floor with socks shortly after the final coat, it takes days or even weeks for the finish to harden completely and reach maximum durability. Avoid sliding furniture or placing rugs until the curing process is finished. Your contractor will advise you on specific timelines.
DIY vs. Hiring a Professional: Which is Right for You?
Deciding whether to tackle this project yourself or hire a pro is a big choice. Here’s a look at the pros and cons:
DIY Hardwood Floor Refinishing
Pros:
- Cost Savings: Significantly lower price by avoiding labor costs.
- Control: You manage the schedule and the pace of the work.
- Satisfaction: The rewarding feeling of a job well done.
Cons:
- Skill & Effort: Requires physical labor, precision, and knowledge of techniques.
- Tool Costs: Renting or buying specialized sanders can be expensive.
- Risk of Mistakes: Inexperienced sanding can lead to uneven results, gouges, or irreparable damage, costing more in the long run.
- Dust & Fumes: Older sanding equipment can create a lot of dust and strong fumes.
- Time Consuming: The process can take days or even a week or more for a beginner.
Professional Hardwood Floor Refinishing
Pros:
- Expertise: Professionals have the skills and experience for flawless results.
- Efficiency: They complete the job much faster.
- Quality Tools: Access to high-quality, efficient equipment, often with dust containment.
- Convenience: Minimal disruption to your life; they handle the mess and the work.
- Warranty: Many companies offer a warranty on their workmanship.
Cons:
- Higher Cost: The price includes skilled labor and professional overhead.
- Scheduling: You’ll need to schedule around their availability.
For beginners, especially those with valuable or intricately laid hardwood floors, hiring a professional is often the safer and more reliable choice. If you’re on a tight budget and have a good amount of patience and a knack for DIY, refinishing a small, less critical area yourself could be manageable. For more information on hiring contractors, the Federal Trade Commission (FTC) offers excellent advice.
When Refinishing Might Not Be Enough (or Cost-Effective)
While refinishing is often the best solution, there are times when it’s not the ideal choice:
- Extremely Damaged Floors: If the wood is severely water-damaged, warped, rotted, or if the boards are too thin or have been sanded down too many times previously, refinishing might not be possible or won’t solve the underlying issues. Each refinishing cycle removes a thin layer of wood, and there’s a limit to how many times this can be done.
- Engineered Hardwood: Not all engineered hardwood floors can be refinished. The ability to refinish depends on the thickness of the top wear layer. Very thin wear layers may only allow for one light screening or no refinishing at all.
- Extensive Structural Issues: Problems with the subfloor or underlying issues like persistent moisture can make refinishing a temporary fix. These problems need to be addressed first.
- Cost Comparison: In some rare cases, if extensive repairs, board replacements, and multiple sanding passes are needed, it might push the cost of refinishing close to, or even exceeding, the cost of new, budget-friendly flooring.
Your flooring professional can assess the condition of your floors and advise whether refinishing is a viable and cost-effective option. They can often tell you how many times a floor has been refinished in the past by looking at the remaining wood thickness before the tongue and groove.
Tips for Getting the Best Value When Refinishing
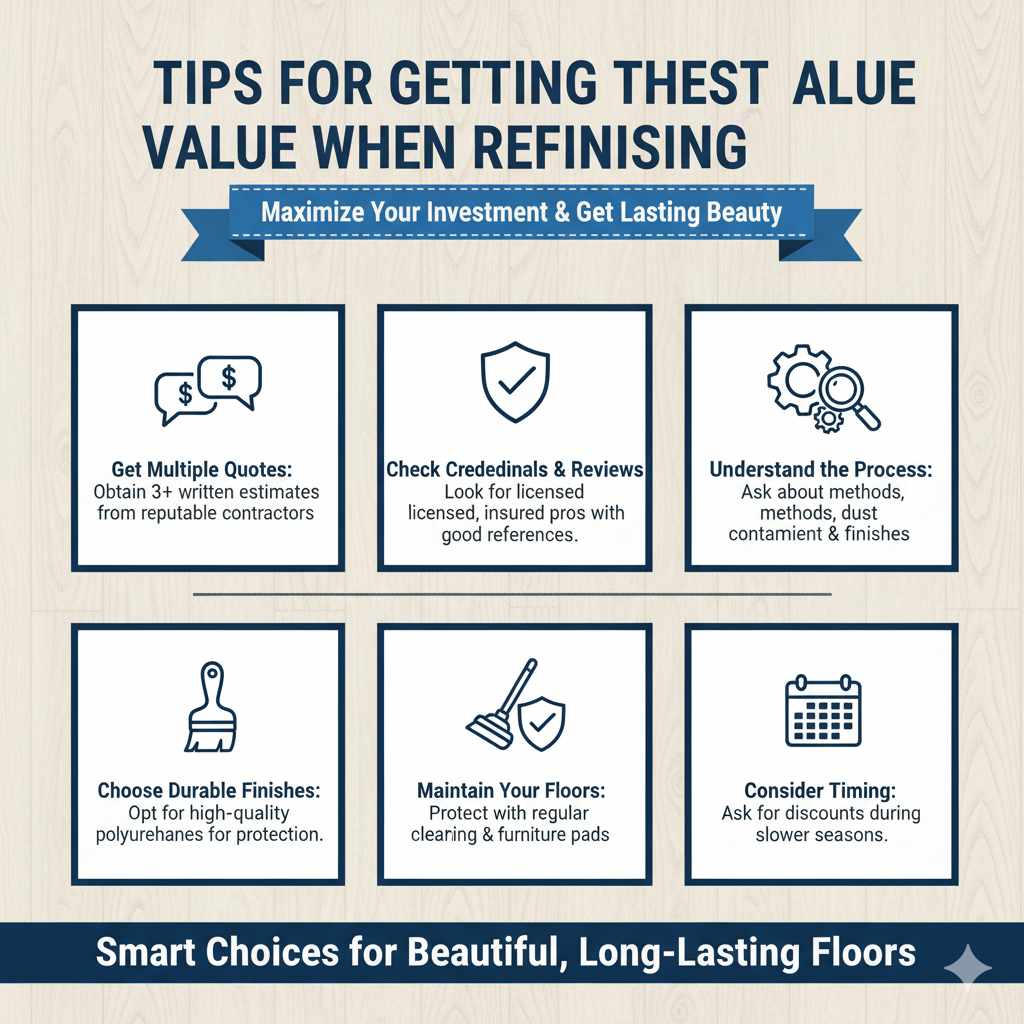
To ensure you get the most for your money and a beautiful, lasting result:
- Get Multiple Quotes: Obtain at least three written estimates from reputable flooring contractors. Ensure each quote details the scope of work, materials used, and total cost.
- Check Credentials and Reviews: Look for contractors with good reviews, ask for references, and ensure they are licensed and insured.
- Understand the Process: Know what steps are involved and ask questions about their methods, especially regarding dust containment and finishes.
- Choose Durable Finishes: Opt for high-quality finishes, like reputable polyurethane brands, even if they cost a little more. This ensures better protection and longevity.
- Maintain Your Floors: After refinishing, proper maintenance (regular cleaning, using felt pads on furniture, avoiding excessive moisture) will protect your investment and keep them looking great for years. Learn more about wood floor maintenance from Wood Floor Pros.
- Consider Timing: Sometimes, contractors offer discounts during slower seasons.
Frequently Asked Questions (FAQs) about Hardwood Floor Refinishing
Q1: How long does hardwood floor refinishing take?
A: A typical refinishing process for a standard room takes about 3 to 5 days. This includes prep, sanding, staining (if applicable), applying multiple finish coats, and allowing sufficient drying/curing time between steps.
Q2: Can I live in my house while the floors are being refinished?
A: Yes, but it requires careful planning. It’s best to move out for the duration if possible, especially if you have children or pets, due to dust and fumes. If you must stay, section off the work area and minimize exposure to the dust and finishing fumes. Ensure good ventilation.