How to Level a Piece of Wood: 4 Methods (No Planer Needed)
Level a piece of wood by finding high spots with a straightedge or winding sticks, then removing them with a hand plane, sander, or router sled — the right tool depends on board width and whether you own a planer. Skipping the check-as-you-go step is the most common mistake, leaving boards that look flat but rock or gap at glue joints. This guide covers marking high spots, hand vs. power methods, and flattening wide slabs without a planer.
Insert your Affiliate Disclosure reusable block here
What You’ll Need
Best Hand Plane Pick for Leveling Wood
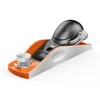
JORGENSEN NO.60-1/2 Low Angle Block Plane – $42.98
A 6-1/4″ block plane sized for the high-spot removal this guide walks through — small enough to work one-handed while you check progress against a straightedge every few passes.
- Best for: Boards under 8″ wide, trimming high spots marked with a straightedge
- Why we picked it: Adjustable mouth and cutting depth make it easy to take lighter passes as you approach flat
- Main drawback: Too small to flatten wide slabs efficiently — use a jack plane or router sled instead
Compare more hand plane options
 Option 1 JORGENSEN No.102 Block Plane – $34.98
|
 Option 2 JORGENSEN No.4 Smoothing Plane – $79.98
|
 Option 3 Spear & Jackson CBP95 – $39.99
|
As an Amazon Associate we earn from qualifying purchases.
- A straightedge (24–48″) or a pair of winding sticks for checking flatness and twist
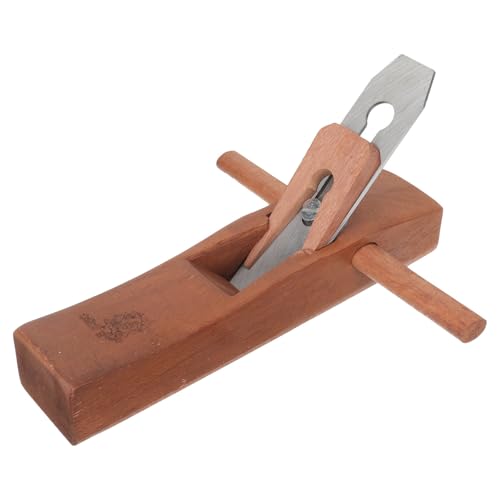
- A hand plane — a low-angle block plane for boards under 8″ wide, a jack plane for wider stock
- Sandpaper in 80, 120, and 220 grit, or an orbital sander for larger areas
- A pencil for marking high spots and a spirit level for a quick reference check
- Optional: a power planer, thickness planer, or router sled for wide slabs and bigger jobs
How to Find High and Low Spots on a Board
Before removing any material, find out exactly where the wood is uneven. Cutting blind wastes stock and rarely produces a flat result. Lay the board on a flat bench and check the condition first — cracks, splits, or heavy warping change which method will work.
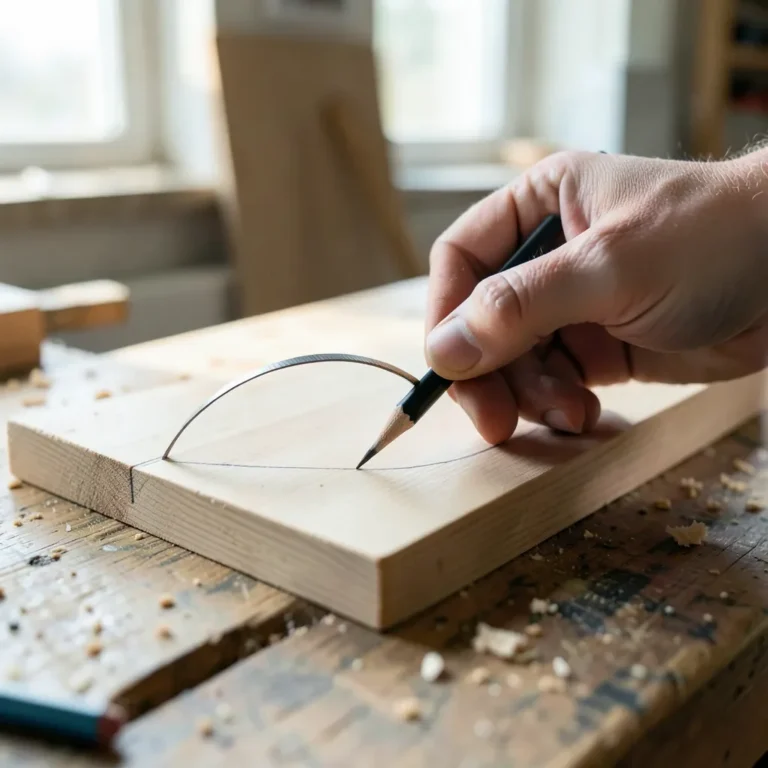
Place a straightedge flat across the board in several directions — along the length, across the width, and diagonally corner to corner. Any light visible underneath marks a low spot; any spot where the straightedge rocks marks a high spot. Mark every high spot with a pencil X so you know exactly where to remove material.
Winding sticks catch twist that a straightedge alone can miss. Set one stick flat across each end of the board, then crouch down and sight across the top edges of both sticks. If the far stick appears tilted relative to the near one, the board is twisted (in “wind”), and the high corners are the ones sitting higher in your sightline.
A laser level is a faster alternative for long boards: set it at one end and check where the projected line sits above or below the surface as you move along the board. It won’t replace winding sticks for catching twist, but it’s quick for spotting an overall high-to-low slope.
Leveling Wood With a Hand Plane
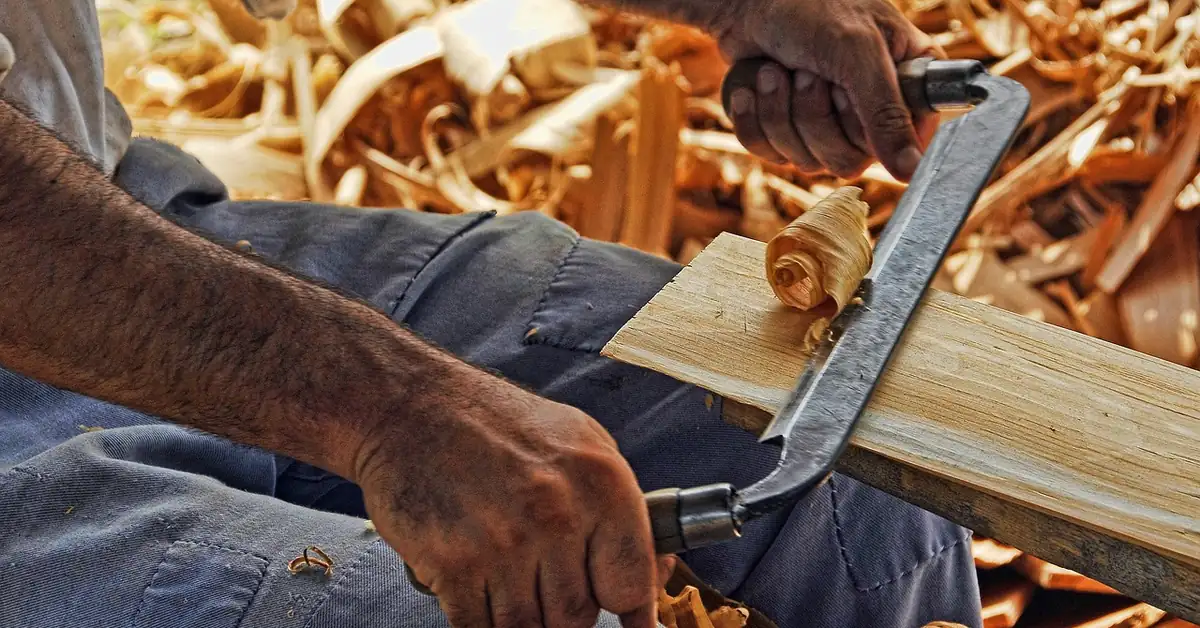
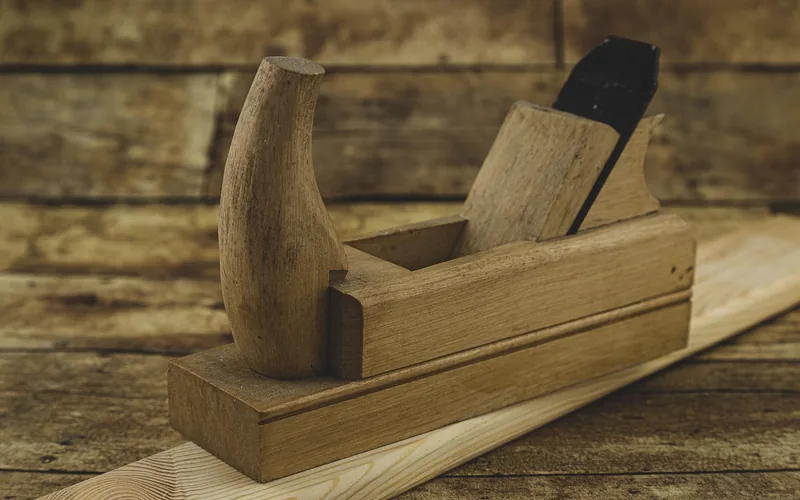
A hand plane is the traditional way to remove the high spots you just marked, and it works on almost any board width if you pick the right size — a low-angle block plane for boards up to about 8″ wide, a longer jack plane for anything wider, since its length bridges dips better than a short sole. Keep the blade sharp; a dull iron tears grain instead of shaving it.
Work diagonally across the grain in both directions over the marked high spots first, then finish with light passes parallel to the grain to clean up the surface. Diagonal passes remove material faster and are easier to control than planing straight into the grain on a still-uneven board. Recheck with your straightedge every three or four passes — it’s easy to overshoot and create a new low spot.
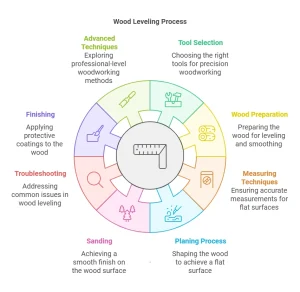
| Planing Technique | What It Does |
|---|---|
| Jointing | Creates one flat reference edge on the wood, used before planing the face |
| Smoothing | Removes small remaining imperfections for a fine, glue-ready finish |
| Thicknessing | Reduces the thickness of the wood evenly across the whole board |
Flattening Wide Boards and Slabs Without a Planer
A benchtop planer only handles boards up to its throat width — usually 12″ to 13″ — so a wide slab or glued-up panel needs a different approach. A router sled turns a handheld router into an oversized planer: two parallel rails, level with each other, sit on either side of the workpiece, and a sled rides across them holding the router above the surface. Passing the router back and forth removes high spots until the whole face sits at the same height as the lowest point on the board.
Set the router bit at the board’s lowest point first — that’s the depth every other pass has to reach — then work in overlapping passes across the full surface. It typically takes several passes with a wide, flat-bottomed bit to clear the whole face, and the rails need to be perfectly level with each other or the “flat” result just inherits their tilt.
“Once you have the bit set at the lowest point, bring the sled back to the end of the bench and start the routing process.”
Power Tool Methods: Sanding and Power Planing
For sanding, start with a coarse 80-grit to knock down the marked high spots, move to 120-grit to blend the transition, then finish with 220-grit for a smooth, glue-ready surface. Manual sanding with a block gives more control on small pieces; an orbital sander covers larger areas faster but removes material less precisely, so check with a straightedge more often than you would with a hand plane.
A power planer removes material fastest of any method here, which makes it good for rough stock but easy to overshoot on a board that’s close to flat. Set a shallow depth of cut, take a light first pass to check how the wood responds, and move steadily across the surface rather than pausing mid-pass — stopping partway through a pass digs a dip into the wood.
| Method | Best Board Width | Best For |
|---|---|---|
| Hand plane | Up to ~10″ | Precise control, no dust, no electricity needed |
| Orbital sander | Any width | Small high spots, final smoothing before finish |
| Power planer | Up to ~13″ (benchtop) / any width (handheld) | Rough stock, fast bulk removal |
| Router sled | Any width, including slabs | Wide slabs and glued-up panels too big for a planer |
Fixing Warped or Bowed Wood Before You Level It
Warping and bowing are usually a moisture problem, not a cutting problem — plane a wet or unevenly-dried board flat and it can warp again within days as it keeps losing or gaining moisture. Let the board acclimate to your shop for a few days before leveling it, and check the grain direction for how it’s likely to move as it dries further.
📊 Furniture-grade hardwood and softwood lumber is typically kiln-dried to a final moisture content of about 6–8%, and warp risk during and after drying rises the further a board’s moisture strays from that range. — Source: USDA Forest Service Research & Development, “Effect of Moisture Content on Warp in Hardwood 2x6s”
Tearouts happen when the plane or sander catches against the grain instead of with it. Put masking tape along the cut line before planing to reduce splintering, keep the blade sharp, and take lighter passes as you get close to flat. For uneven thickness after leveling, measure across the board with a caliper and take small, even passes with a planer or sander rather than trying to fix it in one pass.
Finishing and Protecting a Leveled Surface
Once the surface is flat, choose a finish based on how the piece will be used. Oil-based finishes give a rich, deep look but take longer to dry; water-based finishes dry fast and are lower in odor; shellac looks natural but wears faster under heavy use. Apply thin coats with a brush, roller, or sprayer, and sand lightly between coats with fine-grit paper to keep the surface smooth.
Keep a finished, leveled surface flat over time by controlling moisture — avoid direct sunlight and standing water, and reapply finish every few years as it wears. A board that was properly acclimated and leveled slowly is far less likely to move again than one that was rushed.
Advanced Techniques for Wider Shop Setups
A benchtop thickness planer removes material evenly across a board once one face is already flat, which is why jointing or hand-planing one reference face first still matters even if you finish with a power tool. A jointer creates that flat reference face and a straight edge in one pass, feeding the wood through carefully and checking the fence for square. CNC routers can flatten and surface wood to a programmed tolerance, which is worth it for production runs but rarely for a single board.
Frequently Asked Questions
How Do You Level A Piece Of Wood?
To level a piece of wood, place it on a flat surface and check it with a straightedge or spirit level. Mark high spots with a pencil, then remove them with a hand plane or sander. Recheck and repeat until no gap or rock remains anywhere on the board.
What Tools Are Needed To Level Wood?
Essential tools are a straightedge or winding sticks, a spirit level, and a hand plane or sander for removing material. A measuring tape and caliper help track thickness. Wide slabs need a router sled or a large planer instead of a hand plane alone.
Can You Level Wood Without A Planer?
Yes. Use a hand sander or sanding block to gradually even out the surface, or a hand plane sized to the board’s width. For boards too wide for a benchtop planer, a router sled flattens the surface using a handheld router instead. Check your progress frequently with a straightedge.
Can You Flatten A Wide Wood Slab Without A Planer?
Yes — a router sled is the standard method for slabs wider than a benchtop planer’s throat. Two level rails sit on either side of the slab, and a router mounted on a sled riding across them removes material down to the lowest point on the surface in overlapping passes.
What Grit Sandpaper Should You Use To Level Wood?
Start with 80-grit to remove marked high spots, move to 120-grit to blend the transition into the rest of the board, then finish with 220-grit for a smooth surface ready for finish. Skipping grits leaves visible scratch marks that the next grit up can’t fully remove.
How Long Does It Take To Level Wood?
Small projects typically take 15 to 30 minutes with a hand plane or sander. Larger pieces or boards with significant warp can take an hour or more, and a router-sled pass on a wide slab adds setup time for building and leveling the rail jig. Patience and frequent rechecking matter more than speed.
Conclusion
Leveling a piece of wood comes down to checking before you cut: find the high spots with a straightedge or winding sticks, remove them with the tool that fits your board’s width, and recheck often. Start with a small, manageable board while you build the habit of checking as you go — it’s what separates a flat result from one that only looks flat.
Sponsored / affiliate links. As an Amazon Associate I earn from qualifying purchases. I may earn additional commission from eligible campaigns.