How to Apply Copper Sheeting to Wood: Adhesive, Edges, and Patina
Copper sheeting turns a plain wood tabletop, cabinet panel, or craft box into something with real weight and warmth, but most tutorials skip the part that actually decides whether it lasts. Standard wood glue is formulated for porous wood-to-wood joints, not for bonding a smooth, non-porous metal sheet, so a sheet glued with PVA will eventually lift at the corners no matter how carefully it was cut. This guide covers the adhesives that actually hold copper to wood, the edge-wrapping step most projects skip, and the one decision – whether to seal the copper or let it patina naturally – that changes how the finished piece looks for years afterward.
None of this requires specialty tools. A sheet of thin copper (usually 24 to 18 gauge, thin enough to cut with tin snips and shape by hand), a contact or construction adhesive rated for metal-to-wood bonding, and basic hand tools are enough for a tabletop accent, a cabinet panel, or a small craft piece. The steps below walk through material selection, surface prep, cutting and edge finishing, adhesive application, and the patina-versus-sealed decision in the order they actually happen on a real build.
Materials You Need: Copper Sheet and the Right Adhesive
Copper sheet for this kind of project is sold by gauge, and thinner is easier to work by hand. 24 gauge (about 0.02 inch) is the common choice for tabletop accents, wall panels, and craft pieces because it cuts cleanly with tin snips or a utility knife and folds around edges without special forming equipment. Heavier gauges (18 to 16) hold their shape better on an exposed countertop edge but need metal shears or a jigsaw with a metal-cutting blade and are harder to fold by hand.
Best Copper Sheet for Wood Accent Projects
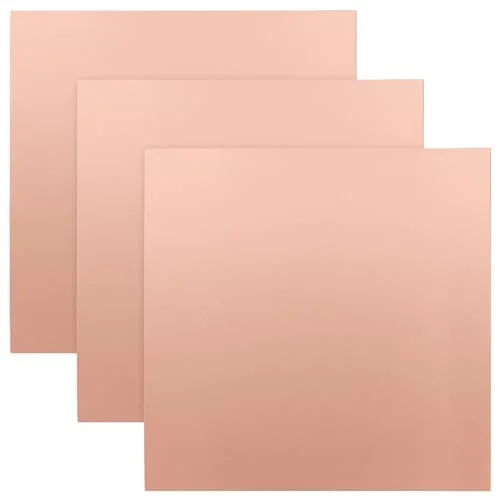 |
TAICHEUT 3-Pack 12×12″ Pure Copper Sheets, 24 Gauge – $38.99 Three 12×12 inch, 24-gauge sheets give enough material to practice cutting and edge-wrapping before committing to a final piece.
|
The adhesive matters more than the copper gauge. Two products actually bond metal to wood reliably: a contact adhesive, such as a spray or brush-on contact cement, applied to both the wood and the back of the copper sheet and allowed to become tacky before the two surfaces meet; or a construction adhesive rated for metal, such as a polyurethane or acrylic-based construction adhesive, troweled onto the wood in an even bed before the sheet is pressed and rolled down. Both are formulated to grip a smooth, non-porous surface, which is exactly what standard wood glue is not built to do.
Why Standard Wood Glue Does Not Work Here
Wood glue (PVA, or yellow glue) bonds by soaking into the open pores and fibers of wood on both sides of a joint, then hardening into a mechanical grip inside that porous structure. Copper has no pores for the glue to penetrate, so a PVA joint between wood and copper is really just a thin film sitting on top of a smooth metal surface, not a true bond. It can hold briefly, but wood also expands and contracts with humidity while copper does not move at anywhere near the same rate, and that mismatch is what eventually pops a wood-glued sheet loose at the corners and edges, sometimes months after the glue looked fully cured. A contact or construction adhesive rated for metal-to-wood use is formulated to grip a non-porous surface directly and flex slightly with that movement instead of fighting it.
Preparing the Wood Surface
Start with a wood surface that is clean, dry, and free of old finish, wax, or oil, any of which will keep the adhesive from making full contact. Wipe the surface down, let it dry completely, then sand with 120 to 150 grit sandpaper to knock down any raised grain and give the adhesive a slightly textured surface to grip. Vacuum or wipe away all sanding dust with a tack cloth – dust left behind will telegraph through as a bump once the sheet is pressed down. If the wood has any moisture content above what is normal for indoor furniture, such as freshly milled or outdoor-stored lumber, let it acclimate and dry first, since trapped moisture under a sealed copper sheet has nowhere to go.
Measuring, Cutting, and Wrapping the Edges
Measure the wood surface and add roughly half an inch to an inch of extra copper on each side if the plan is to wrap the sheet over the edge rather than butt it flush. Mark the cut lines on the protective film that ships on most copper sheet – leave that film on as long as possible, since it prevents scratches while you work – then cut with tin snips for straight lines or aviation snips for tighter curves. A raw cut copper edge is sharp enough to cut skin, so the edge needs to be dealt with before the piece goes anywhere near daily use.
For a wrapped edge, the copper is folded over the wood’s edge and tacked or glued to the underside, which buries the sharp cut edge against the wood instead of leaving it exposed. A metal edge-forming or seaming tool (sometimes sold as a bending brake or seaming pliers for flashing work) makes a crisp, even fold instead of a wavy hand-bent one; a wood block and a rubber mallet can substitute on a single small project, tapping the overhang down against the block in short sections rather than trying to fold the whole edge in one pass. If the design calls for a flush edge instead of a wrap, file or sand the cut edge smooth and slightly rounded so it is not sharp to the touch.
Applying the Adhesive and Attaching the Sheet
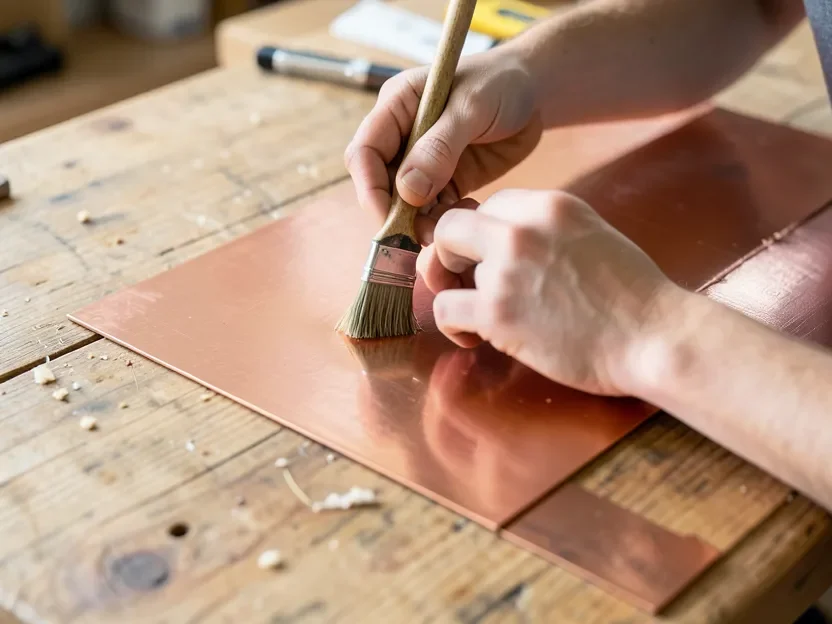
With contact adhesive, coat both the wood and the back of the copper sheet and let both flash off until tacky (check the product’s open time, usually 10 to 20 minutes) before bringing them together – contact adhesive bonds on contact, so alignment has to be right the first time. With a construction adhesive, trowel an even bed onto the wood, set the copper in place while there is still working time to adjust it, and press from the center outward to push out air rather than trapping it under the sheet.
Either way, go over the whole surface with a roller or a hard felt block wrapped in cloth to seat the copper firmly and chase out air bubbles before the adhesive sets. On a wrapped edge, tacking the folded-over lip with a few small brads on the underside, where they will not show, adds mechanical backup while the adhesive cures – use a light touch with thin brads to avoid splitting the wood near the edge. Let the adhesive reach full cure time per its label before using the surface; that is usually 24 to 72 hours, longer than the piece feels dry to the touch.
Natural Patina or Sealed Shine: Choosing a Finish
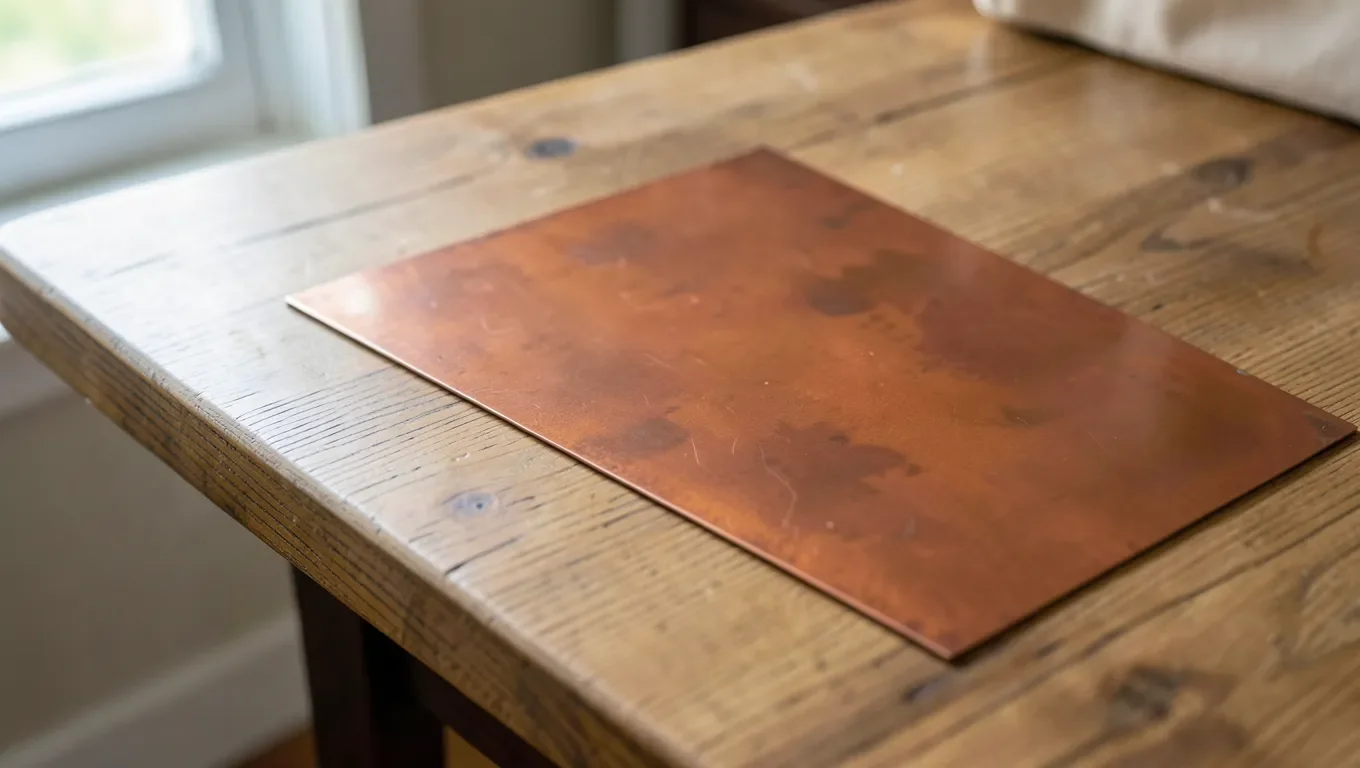
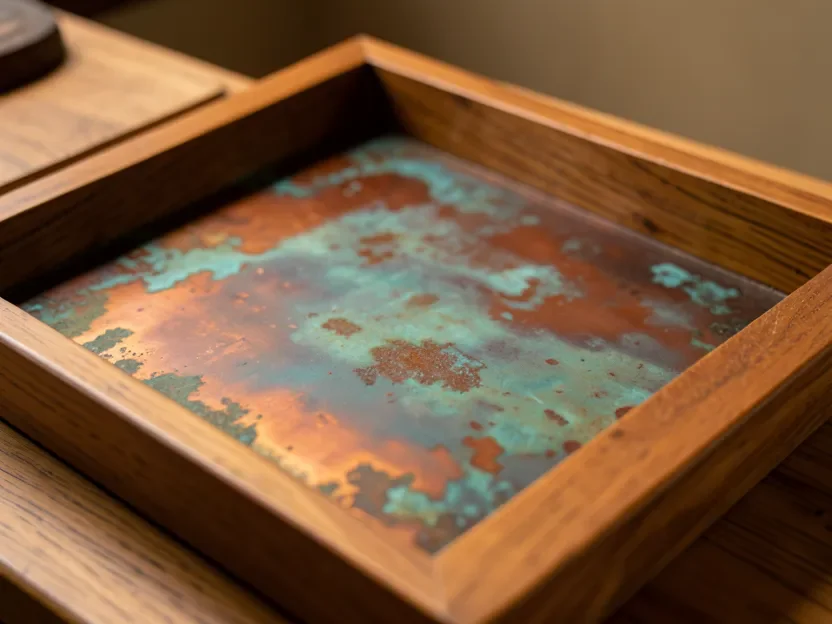
Bare copper left exposed to air and moisture will oxidize, moving from bright pink-orange to a dull brown and eventually toward a blue-green patina over months to years depending on humidity and handling. That is not a defect – it is the same natural process that turns a new penny dark and gives old copper roofing its green color, and plenty of woodworkers choose it deliberately for the aged, warm look it gives a tabletop or accent panel.
If the goal is to keep the bright, freshly polished look instead, the copper needs a clear coat formulated to block oxygen and moisture from reaching the metal, typically a clear lacquer made for metal, or a two-part epoxy for a surface that will see more wear, like a tabletop. Without that sealing coat, a shiny piece will not stay shiny – it will start to dull and darken within weeks of normal air exposure. Decide on patina versus sealed before finishing the piece, because polishing copper back to bright and then leaving it unsealed just restarts the same oxidation process.
Maintenance and Care
A sealed piece needs little beyond wiping with a soft, dry cloth; avoid abrasive cleaners that can scratch through the clear coat and expose bare copper underneath. A patina piece can simply be dusted, since disturbing the patina layer with vinegar, salt, or a polish removes the very finish that was chosen for it – if a fresh spot gets scratched down to bright copper, it will darken back to match the surrounding patina on its own over time. Re-lacquering a sealed piece every year or two in a high-use area, like a bar top or entry table, keeps the clear coat from wearing through at contact points before it becomes visibly obvious.
Frequently Asked Questions
How Do I Prepare Wood for Copper Sheeting?
Clean the wood to remove dirt, wax, or old finish, then let it dry completely. Sand with 120 to 150 grit sandpaper to knock down raised grain and give the adhesive a surface to grip, then wipe or vacuum away all sanding dust. Skipping the sanding or dust removal step is the most common reason a copper sheet bonds unevenly or shows a bump later.
What Adhesive Should I Use for Copper Sheeting?
Use a contact adhesive or a construction adhesive rated for metal-to-wood bonding, not standard wood glue. Wood glue is formulated to soak into porous wood fibers, and copper has no pores for it to grip, so a PVA joint sits as a thin film on the surface instead of a real bond and tends to lift at the edges over time.
How Do I Cut and Finish the Edges of Copper Sheeting?
Cut thin copper sheet with tin snips or aviation snips, working through the protective film to avoid scratches. A raw cut edge is sharp, so either wrap it over the wood’s edge and tack it to the underside with an edge-forming tool or a mallet and wood block, or file and sand a flush edge smooth so it is not sharp to the touch.
Will Copper Sheeting on Wood Tarnish Over Time?
Yes, unsealed copper will oxidize and darken, eventually developing a brown to blue-green patina – this is a natural, often intentional look rather than damage. To keep the bright polished color instead, apply a clear metal lacquer or a two-part epoxy coating, since bare copper left unsealed will not stay shiny.
Can I Paint Over Copper Sheeting on Wood?
Yes, but the copper needs to be clean, dry, and scuffed slightly for the paint to grip, and a primer made for metal surfaces will hold up better than painting directly onto bare metal. Keep in mind that painting over copper hides the natural material look most people choose copper sheeting for in the first place.
Conclusion
Applying copper sheeting to wood comes down to a few decisions that determine how long it lasts and how it ages: the right metal-to-wood adhesive instead of wood glue, a properly finished edge instead of a raw sharp one, and a deliberate choice between a natural patina and a sealed, polished finish. Get those three right and the technique itself is straightforward enough for a weekend project, whether it ends up as a tabletop accent, a cabinet panel, or a small craft piece.
Sponsored / affiliate links. As an Amazon Associate I earn from qualifying purchases. I may earn additional commission from eligible campaigns.