How to Build a DIY Wood Lathe (Steps, Safety & Speed Rules)
A DIY wood lathe works only if the headstock spindle runs dead-true and the motor speed matches the blank’s diameter – a wobbly shop-built headstock or the wrong RPM is a real safety hazard once a blank is spinning. Woodturners follow the American Association of Woodturners’ rule of keeping diameter (inches) times RPM between 6,000 and 9,000. This guide covers building the bed, headstock, and tool rest, setting a safe starting speed, and when a $245 benchtop lathe is the safer buy.
Quick Answer
Building a wood lathe means assembling a rigid bed, a headstock with a true-running spindle and pulley-driven motor, a tailstock, and an adjustable tool rest, then setting the starting speed with the diameter × RPM = 6,000–9,000 rule. If you can’t guarantee a rigid, vibration-free headstock, a $200–$300 benchtop lathe is the safer choice.
Should You Build a Wood Lathe or Buy One?
The honest answer: it depends on whether you can build a headstock that runs true. A wood lathe spins a blank at hundreds to thousands of RPM inches from your hands, so the spindle bearing assembly has to be rigid and true-running – a shop-built headstock with play in the bearings or a frame that flexes under load is a genuine safety problem, not just a quality issue. Experienced woodworkers with metalworking skills and a source of true-running bearings can build a solid small lathe for roughly $100–$300 in parts. If you don’t have a way to verify the spindle runs true, or you want variable speed control without fabricating a pulley system, a factory-built benchtop mini lathe removes that risk for a similar price.
Best Benchtop Wood Lathe Pick
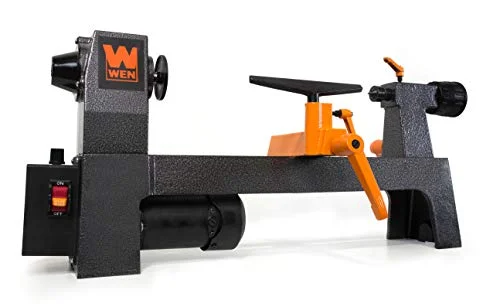 |
WEN 8-Inch by 13-Inch Variable Speed Mini Benchtop Wood Lathe (LA3421) – $244.87 Gives you the rigid, true-running headstock and speed control this guide’s DIY section is hardest to replicate at home – a soft-start motor and 750–3,200 RPM variable speed dial instead of a shop-built pulley setup.
|
As an Amazon Associate we earn from qualifying purchases.
Tools and Materials You’ll Need
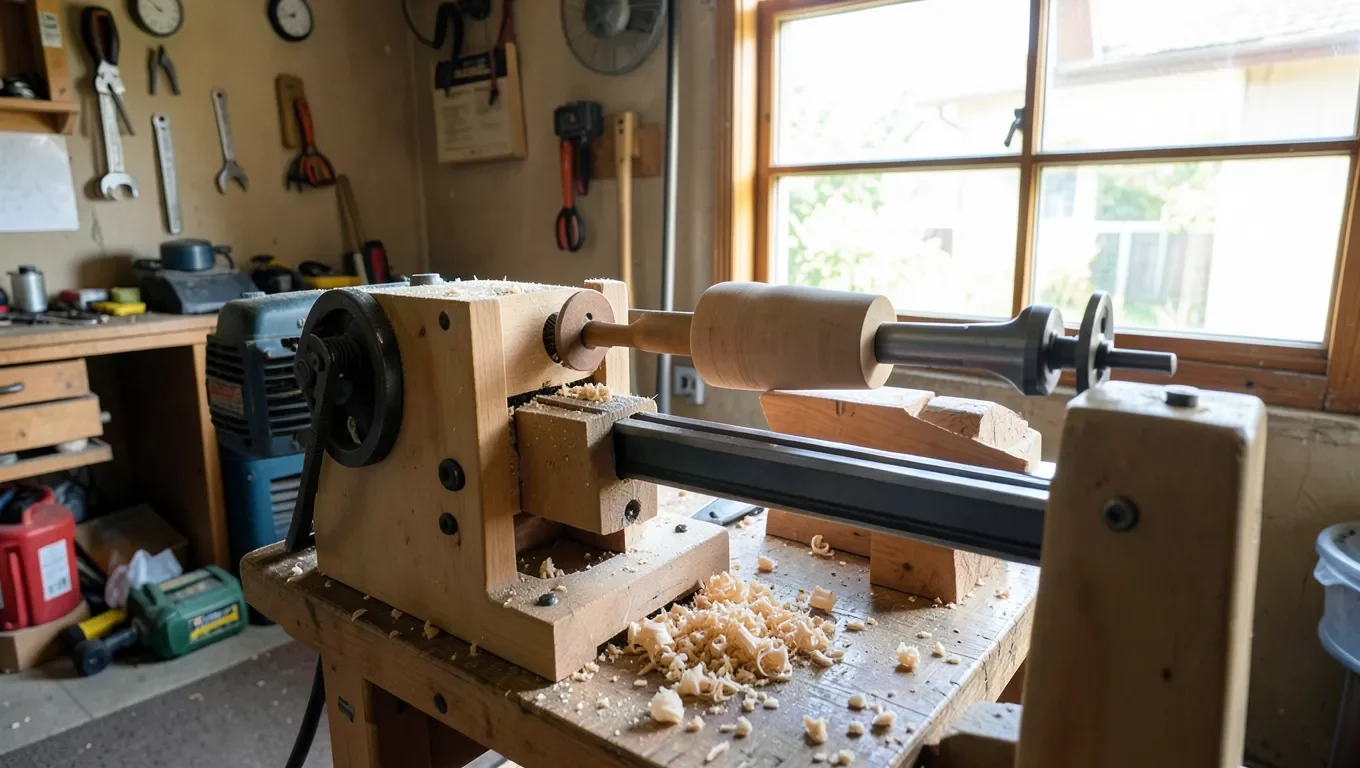
Building the frame and bed calls for standard shop power tools: a table saw or circular saw to size the bed rails, a drill press for bearing housings and bolt holes, and a belt or disc sander for smoothing joints. You’ll also need a metal-cutting hacksaw or angle grinder if you’re machining a steel bed or spindle housing, since wood-only tools can’t shape the parts that actually bear load.
For the bed and stands, use a dense hardwood like maple or oak – softwoods flex too much under the vibration of a running lathe. The headstock and tailstock housings work best in hardwood or, more reliably, welded steel, since wood alone rarely holds a bearing tightly enough to stay true over time. Round out the parts list with sealed pillow-block bearings (not simple bushings – bushings wear and introduce wobble), a length of keyed shafting for the spindle, and a step-pulley set or a variable-speed motor.
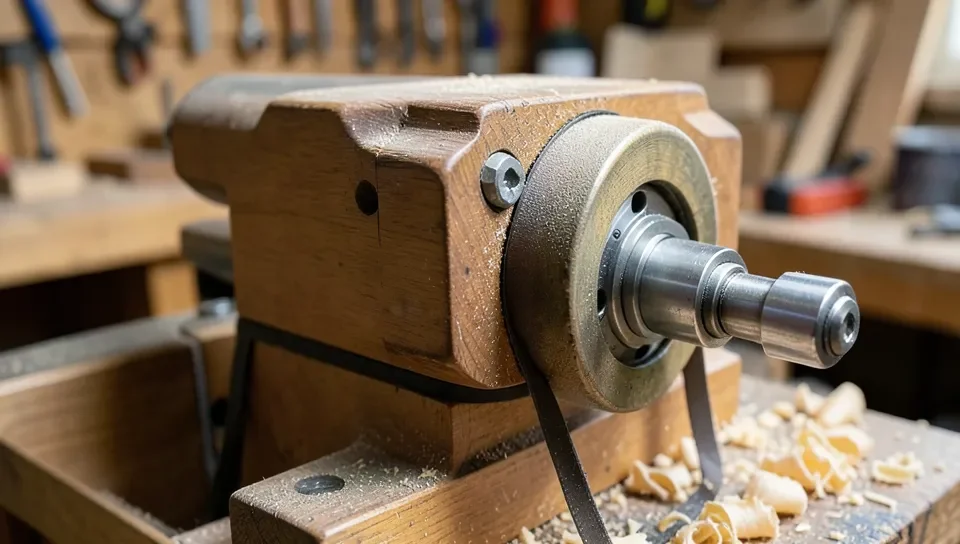
Seeing the bed, headstock, and pulley setup come together in real time makes the sequence easier to follow than photos alone:
Designing the Frame and Bed
The bed is the backbone the headstock, tailstock, and tool rest all mount to, so it has to resist flexing and vibration more than it has to look neat. Most home-shop builds use two parallel steel angle-iron or thick hardwood rails, roughly 3–4 in. wide, spaced to accept your headstock and tailstock mounting brackets, and long enough for the work you plan to turn – about 36 in. is enough for pens and small spindles, 48 in. or more if you want to turn table legs.
Bolt the rails to a solid stand, don’t just screw them to a lightweight bench – a lathe stand needs real mass or a wide, weighted footprint, because a light stand will walk across the floor once a slightly unbalanced blank starts spinning. Check the bed for flat and level with a straightedge before mounting anything else; any twist in the bed telegraphs into every part bolted to it.
Building the Headstock and Spindle Assembly
The headstock is the part that actually needs to be safety-grade, not just functional. It holds the spindle that the blank spins on, and any play in that spindle shows up as a wobble at the cutting edge – which is how a gouge catches and a blank gets thrown. Use sealed pillow-block bearings rated for the RPM and side-load you’ll actually run, mount them to a housing that can’t flex (welded steel angle or a thick, well-glued hardwood block), and check spindle runout with a dial indicator if you have one before you ever turn the motor on. If you don’t have a dial indicator, spin the spindle by hand and watch for any visible wobble at the far end – there shouldn’t be any.
The tailstock needs the same rigidity on a smaller scale, plus a smooth-sliding quill so you can apply steady center pressure against the far end of a spindle blank. A tailstock that isn’t perfectly aligned with the headstock center will bind or wobble the workpiece – loosen the mounting bolts and shim it until a test blank spins with no visible offset before locking it down.
Adding the Tool Rest and Carriage
The tool rest isn’t a minor accessory – the cutting tool bears directly against it under load on every single cut, so it has to be solid and precisely adjustable, never improvised from a scrap of wood or a loosely clamped bracket. Build it from steel bar stock mounted on a post that locks firmly at any height and angle, positioned close enough to the workpiece that the gouge only overhangs the rest by an inch or so – more overhang than that lets the tool flex and catch.
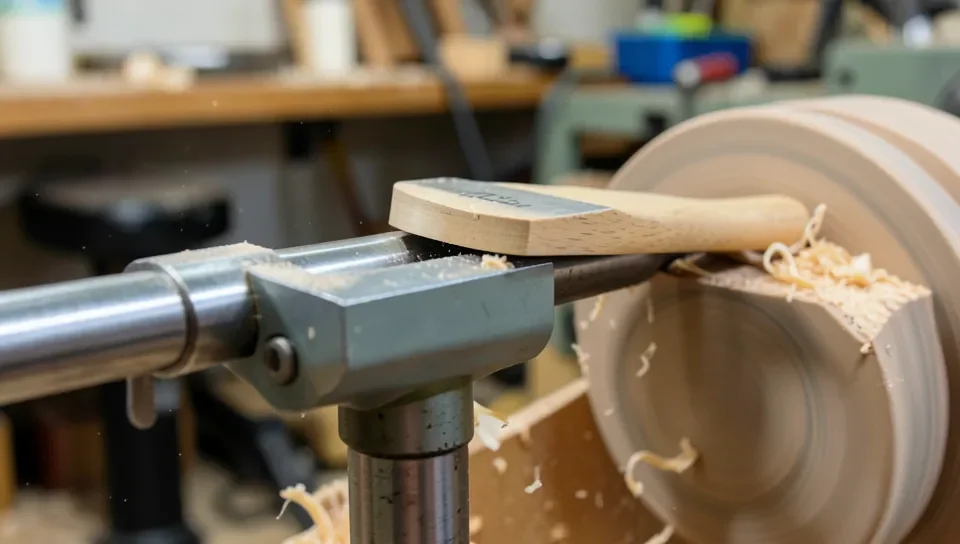
Test the rest before your first real cut: lock it in place, spin the lathe by hand, and rotate the blank through a full turn to make sure nothing catches the rest at any point. A carriage that lets you slide the whole rest assembly along the bed – rather than unbolting and remounting it for every new position – saves real time on longer spindle work, but it isn’t a substitute for locking the rest solidly before cutting.
Motor Selection and Speed Control
A 1/3 to 1/2 HP motor is enough for pens and small spindles; step up to 1–2 HP if you plan to rough out bowl blanks. What matters more than raw horsepower is speed range: you need to run large, unbalanced blanks slowly and small, finished spindles fast, which means either a true variable-speed motor or a step-pulley system with at least 3–4 speed steps. A single fixed-speed motor with no pulley options is a real limitation – it forces you to either run large blanks dangerously fast or finish small work at a crawl.
| Setup | Typical Speed Range | Best For |
|---|---|---|
| Single-speed motor, no pulleys | One fixed RPM | Not recommended – can’t slow down for large blanks |
| Step-pulley motor (3–4 steps) | ~600–3,000 RPM | Budget DIY builds turning mixed blank sizes |
| True variable-speed motor | ~250–3,200+ RPM | Any build – matches speed to blank diameter exactly |
Ground the motor properly and wire it through a dedicated circuit breaker sized for its draw – a shop lathe motor under load pulls real current, and an undersized or shared circuit is a fire risk, not just an inconvenience of tripping breakers.
Setting a Safe Starting Speed
This is the step DIY guides skip most often, and it’s the one that actually prevents accidents. Multiply the blank’s diameter in inches by the lathe’s RPM – that number should stay between 6,000 and 9,000. A 12-inch bowl blank, for example, should start around 9,000 ÷ 12 = 750 RPM, not the 1,500–2,000 RPM a fixed-speed motor might force you into.
📊 Safe speed rule: diameter (inches) × RPM should stay between 6,000 and 9,000 – a 6-inch blank tops out around 1,000–1,500 RPM; a 12-inch blank should start around 750 RPM. Source: American Association of Woodturners, Determining Safe Lathe Speeds
Always start a new blank at the low end of the range regardless of diameter, even if the math says you could run faster – an out-of-round or unbalanced blank at high RPM is what actually throws material. Increase speed gradually only once the blank is spinning true with no visible wobble.
“Always begin at low rpm regardless of the diameter… ramp up the speed as you shape the piece into balanced concentricity.”
Turning Your First Project Safely
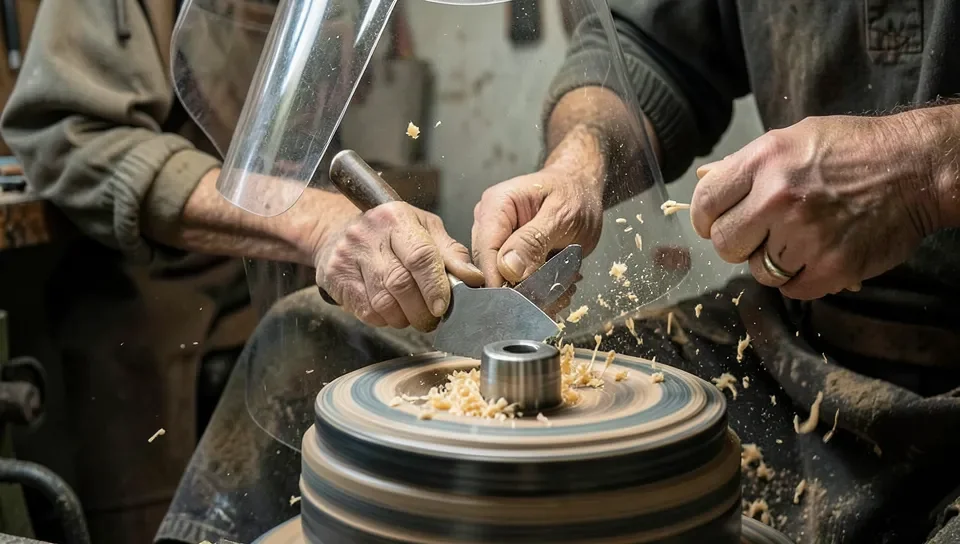
A simple spindle or small bowl is the right first project – it teaches the core motions without pushing your homemade lathe’s limits. Wear a full face shield, not just safety glasses; a face shield is standard woodturning safety equipment because an unbalanced blank or a tool catch can throw a chip or an entire piece of wood with real force, and safety glasses only protect a fraction of your face.
- Check the blank: inspect it for cracks or loose bark, and make sure it’s mounted securely between centers before powering on.
- Set the starting speed: use the diameter × RPM = 6,000–9,000 rule and start at the low end.
- Spin it by hand first: rotate the blank a full turn by hand to confirm it clears the tool rest at every point.
- Rough it round: turn on the lathe at the low starting speed and use a roughing gouge to knock the corners off an out-of-round blank.
- Increase speed gradually: once the blank spins with no visible wobble, raise the speed for shaping and finishing cuts.
- Sand and finish: sand through progressively finer grits with the lathe running at a slow, controlled speed, then apply a wood finish.
Troubleshooting Common Issues
Vibration almost always traces back to one of three things: an unbalanced blank (slow down and let it round out before speeding up), loose mounting bolts on the bed or headstock (recheck every joint, not just the obvious ones), or a lightweight stand that isn’t anchored to the floor. If the drive belt slips or squeals under load, check belt tension and replace it if it’s glazed or cracked – a slipping belt under load can also mean the motor is underpowered for the cut you’re attempting.
If the spindle itself wobbles even with the blank removed, the bearings are worn or were never properly seated – this is a stop-and-fix issue, not something to work around, since it’s the exact failure mode that makes a homemade headstock unsafe.
Expanding Your Woodturning Skills
Once you’re comfortable with basic spindle work, local woodturning clubs and AAW chapters are the fastest way to learn advanced cuts safely – an experienced turner can spot a bad habit in person in a way no article can. Online forums and video tutorials fill the gap between club meetings, but nothing replaces having someone watch your tool control on a real cut before you try something like off-center or hollow turning.
Frequently Asked Questions
How do I start building a wood lathe?
Start with the bed, since every other part mounts to it: two rigid steel or hardwood rails on a heavy, anchored stand. Build the headstock next with sealed pillow-block bearings and check spindle runout by hand before adding the tailstock, tool rest, and motor. Don’t turn the motor on until every part is bolted down and tested by hand.
What tools do I need for a wood lathe?
You need a saw to size the bed rails, a drill press for bearing housings and mounting holes, and a metal-cutting hacksaw or angle grinder if any part is steel. A dial indicator is optional but useful for checking spindle runout. Add clamps for glue-ups and standard safety gear – face shield, hearing protection, and a dust mask.
Can I use recycled materials for a wood lathe?
Yes for the bed, stand, and non-load-bearing parts – reclaimed hardwood or steel angle works fine there. Be more cautious with the headstock bearings and spindle: used bearings with unknown wear history are exactly where hidden wobble comes from, so buy new sealed bearings for that one component even if everything else is salvaged.
How much does it cost to build a wood lathe?
A DIY build typically runs $100–$300 in parts – bearings, shafting, a motor, and hardware – depending on whether you already have a suitable motor on hand. That’s close enough to the price of a factory benchtop lathe (around $245) that the deciding factor should usually be whether you can guarantee a true-running headstock, not just the cost.
What RPM should a homemade wood lathe run at?
Use the AAW rule: diameter in inches × RPM should stay between 6,000 and 9,000, and always start at the low end of that range regardless of how round the blank looks. A 6-inch blank starts around 1,000–1,500 RPM; a 12-inch blank starts around 750 RPM. Increase speed gradually only once the piece spins with no visible wobble.
Is it safe to build your own wood lathe?
It can be, but only if the headstock spindle runs true and you control starting speed – those two things are what actually prevent accidents, not the lathe’s overall build quality. If you can’t verify true spindle runout or don’t want to fabricate a variable-speed pulley system, a factory-built benchtop lathe removes that risk for a similar price to a DIY build.
Conclusion
A DIY wood lathe is a genuinely rewarding build, but it’s a rotating power tool, not a shelf project – the headstock rigidity and starting-speed steps in this guide aren’t optional extras. Build the bed and headstock carefully, check spindle runout before every session, apply the diameter × RPM = 6,000–9,000 rule to every new blank, and wear a face shield every time. If any of that feels like more than you want to manage yourself, a $245 benchtop lathe gets you turning safely today.
Sponsored / affiliate links. As an Amazon Associate I earn from qualifying purchases. I may earn additional commission from eligible campaigns.