How to Make a Wooden Box Without Nails: 5 Joinery Methods Compared
To build a wooden box without nails, use an interlocking joint (box joint, dovetail, or rabbet) instead of a metal fastener. Box joints and dovetails lock mechanically and hold up on their own; rabbet, miter, and butt joints rely mostly on wood glue for strength.
Every one of those five methods works, but they aren’t interchangeable. A dovetail resists being pulled apart far better than a glued butt joint, and a box joint cut with a jig takes a fraction of the time a hand-cut dovetail does. Picking the wrong one for a given box means either wasted hours on a joint that was overkill, or a box that comes apart in a year.
This guide walks through the five real nail-free joints, ranks them by strength and difficulty, and covers cutting, assembly, and finishing so you end up with a box that stays square without a single nail.
5 Joinery Methods for a Nail-Free Box
Here’s how the five methods stack up before you cut anything. If you’re building more than one box, a jig like the one below makes the strongest option (box joints) almost as fast as the weakest one (butt joints).
Best Box Joint Jig for DIY Box Making
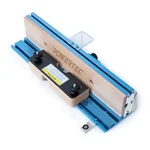 |
POWERTEC 71759 Adjustable Box Joints Jig – $139.99 Cuts the same interlocking box-joint fingers covered below, on a table saw or router table, instead of by hand.
|
| Joint | Strength | Difficulty | Best For |
|---|---|---|---|
| Dovetail | Highest – mechanically locks against being pulled apart | Hardest (easier with a jig) | Drawers, heirloom boxes |
| Box joint (finger joint) | Nearly as strong as a dovetail – large glued surface area | Moderate, easy with a jig | Storage boxes, repeat builds |
| Rabbet + glue | Moderate – glue does most of the work | Easy | Simple boxes, drawer bottoms |
| Miter + spline | Moderate – the spline adds the real strength | Moderate | Boxes where you don’t want end grain showing |
| Butt + glue only | Weakest – no mechanical interlock | Easiest | Small, light, low-stress boxes |
Dovetail joints cut interlocking “pins” and “tails” at each corner. Once glued, the wedge shape physically resists being pulled straight apart, which is why furniture makers still use them on drawer fronts that get yanked open thousands of times. Hand-cutting them well takes practice; a dovetail jig removes most of that learning curve.
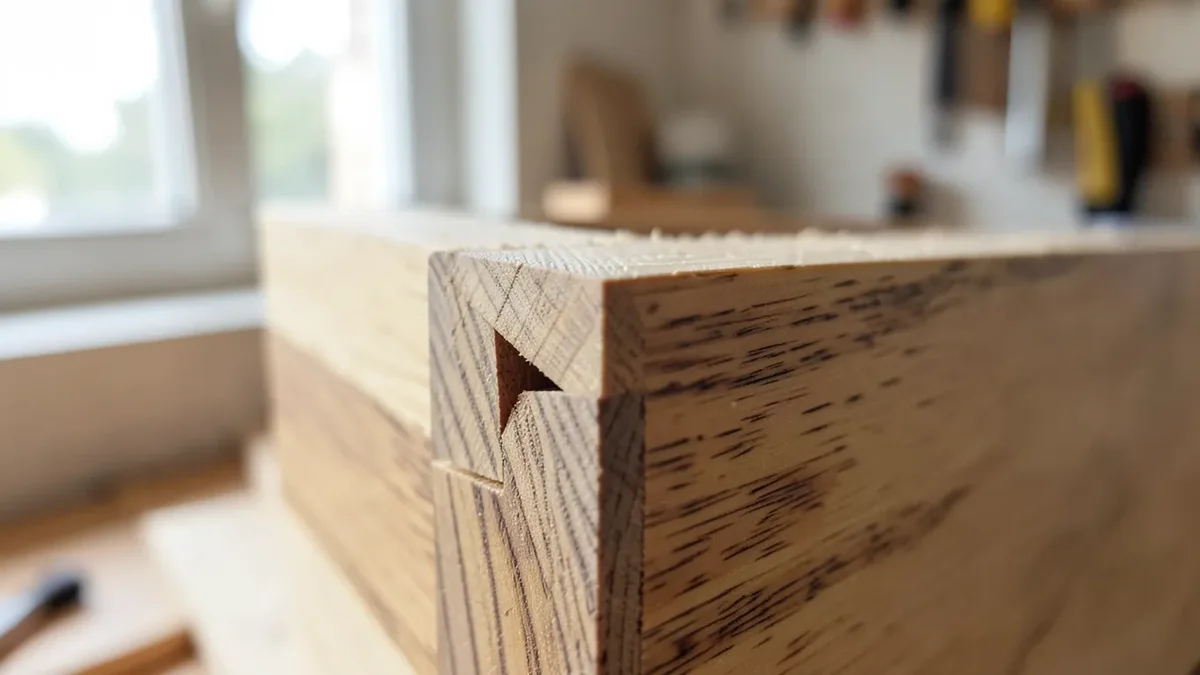
Box joints (also called finger joints) use straight interlocking fingers instead of angled ones. They don’t have a dovetail’s wedge-lock, but the amount of long-grain-to-long-grain glue surface is huge, so a glued box joint gets close to dovetail strength for a fraction of the cutting difficulty – especially with the jig above, which indexes each finger automatically so they come out identical.
Rabbet joints are a notch cut along the edge of one board that the adjoining board’s end fits into. There’s no interlocking shape holding it together mechanically – it’s glue plus a bit of extra surface area from the notch – so it’s a step up from a plain butt joint but well below a dovetail or box joint.
Miter and spline joints hide the end grain by cutting each corner at 45 degrees, so all you see is a clean diagonal line instead of the layered look of a box joint. On its own a miter is a weak, mostly-glue joint because it’s glued end grain to end grain. Cutting a slot across the mitered corner and gluing in a thin spline of wood (or a triangular “keyed” corner) adds real mechanical strength back in.
Butt joints with glue alone are just two square-cut ends glued face to face, no notch or interlock at all. They’re the fastest option and fine for a small jewelry box or a lightweight organizer, but they’re the first joint to fail if the box gets dropped, racked, or loaded up with anything heavy.
Tools and Materials You’ll Need
For a first nail-free box, stick with a wood that’s forgiving to cut and glue. Poplar and pine are cheap and take joinery cuts cleanly; maple or oak look better for a keepsake box but are harder on hand tools. Whatever you pick, avoid boards with loose knots – they can chip out mid-cut and ruin a joint.
| Tool | Used For |
|---|---|
| Wood glue (PVA/yellow glue) | Bonding every joint type listed above |
| Clamps (at least 4) | Holding corners square while glue cures |
| Table saw, hand saw, or router | Cutting boards to size and cutting the joints themselves |
| Marking gauge or combination square | Laying out pins, tails, or fingers accurately |
| Chisel set | Cleaning out waste on hand-cut dovetails or rabbets |
| 120 & 220-grit sandpaper | Smoothing joints flush and prepping for finish |
Cutting the Boards and the Joints
Cut every panel to final size before you touch a joint. Mark all four sides with a combination square so the cut line wraps the board evenly, then cut just outside the line and clean up to it with a shooting board or a pass over the table saw – joints only fit tight if the panels are square to begin with.
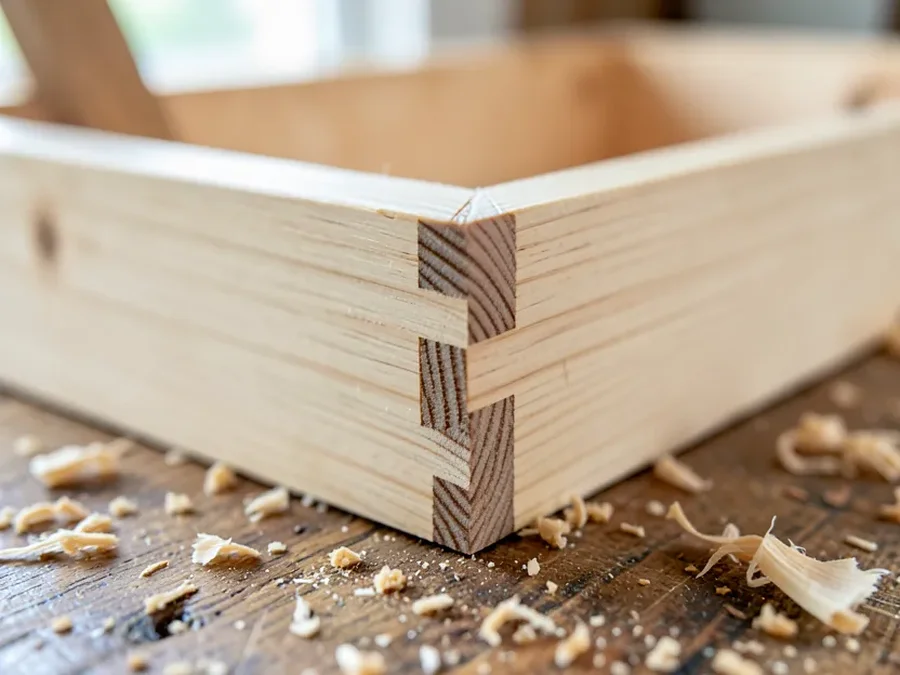
For pins, tails, or fingers, mark the layout on one board first and transfer it directly to the mating board rather than measuring each side separately – that’s what keeps the interlock tight. Cut fractionally on the waste side of each line; you can always pare a joint tighter with a chisel, but you can’t put wood back once it’s gone.
Keep safety glasses on for every cut and a dust mask on when you’re sanding or routing. Feed boards steadily into a table saw or router bit – rushing a cut is where tear-out and kickback both happen.
Assembling the Box Without Nails
Dry-fit all four corners before any glue comes out. A dovetail or box joint should slide together with light hand pressure – if you need a mallet to force it, pare a shaving off the tight spot rather than gluing it in stressed.
Once the dry fit is good, spread glue on every mating surface (both the flat faces and the walls of each pin or finger, not just the outside), then clamp the box square and check the diagonals corner to corner – if they match, it’s square. Wipe squeeze-out with a damp rag before it skins over, and leave the clamps on for the glue’s full clamp time, not just until it feels tacky.
Finishing a Nail-Free Box
Once the glue has fully cured, sand the whole box starting at 120-grit and finishing at 220, working with the grain and paying extra attention to the joints themselves – box joints and dovetails often need a light pass to bring the fingers flush with the adjoining face.
Wipe off dust with a damp cloth and let it dry, then apply a penetrating oil (like Danish oil) for a natural look or a wipe-on polyurethane if the box needs to handle more wear. Either way, two or three thin coats beat one thick one – thick coats pool in the joint lines and dry unevenly.
Frequently Asked Questions
What’s the strongest way to join a wooden box without nails?
A glued dovetail joint is the strongest of the five, because its angled pins and tails physically resist being pulled apart, not just glued together. A box joint (finger joint) comes very close in practice, since the large glued surface area makes up most of the difference, and it’s considerably easier to cut.
Can I make a wooden box with just glue and no interlocking joint?
Yes – a butt joint held together with wood glue alone is the simplest nail-free option and works fine for small, lightweight boxes. It’s the weakest of the five methods, though, so it’s not the right choice for anything that will be dropped, loaded, or opened and closed often.
Do I need a jig to cut box joints or dovetails?
No, both can be cut by hand with a saw and chisels, and many woodworkers prefer the slightly irregular look of hand-cut joints. A jig just makes the fingers or pins come out identical and cuts the time dramatically, which matters more if you’re building several boxes rather than one. See our hand-tool box-building guide for the finger-width formula that keeps hand-cut box joints even.
How long should glue cure before I unclamp a nail-free box?
Most PVA wood glues set enough to handle gently in 30 to 60 minutes but need a full 24 hours to reach final strength. Leave the clamps on for at least an hour, and avoid putting any real stress on the joints (like standing the box on a corner) until the full 24 hours have passed.
Conclusion
For most nail-free boxes, a box joint is the sweet spot: it’s nearly as strong as a dovetail, far faster to cut – especially with a jig – and it still looks intentional rather than improvised. Save dovetails for a box you want to last generations, and save plain glued butt joints for something small and low-stress.
If you’d rather skip the joinery altogether and just build a straightforward box, our general wooden box guide covers exact cuts and glue times for a simpler build.
Sponsored / affiliate links. As an Amazon Associate I earn from qualifying purchases. I may earn additional commission from eligible campaigns.