How to Build a Nativity Stable for Indoor or Outdoor Use
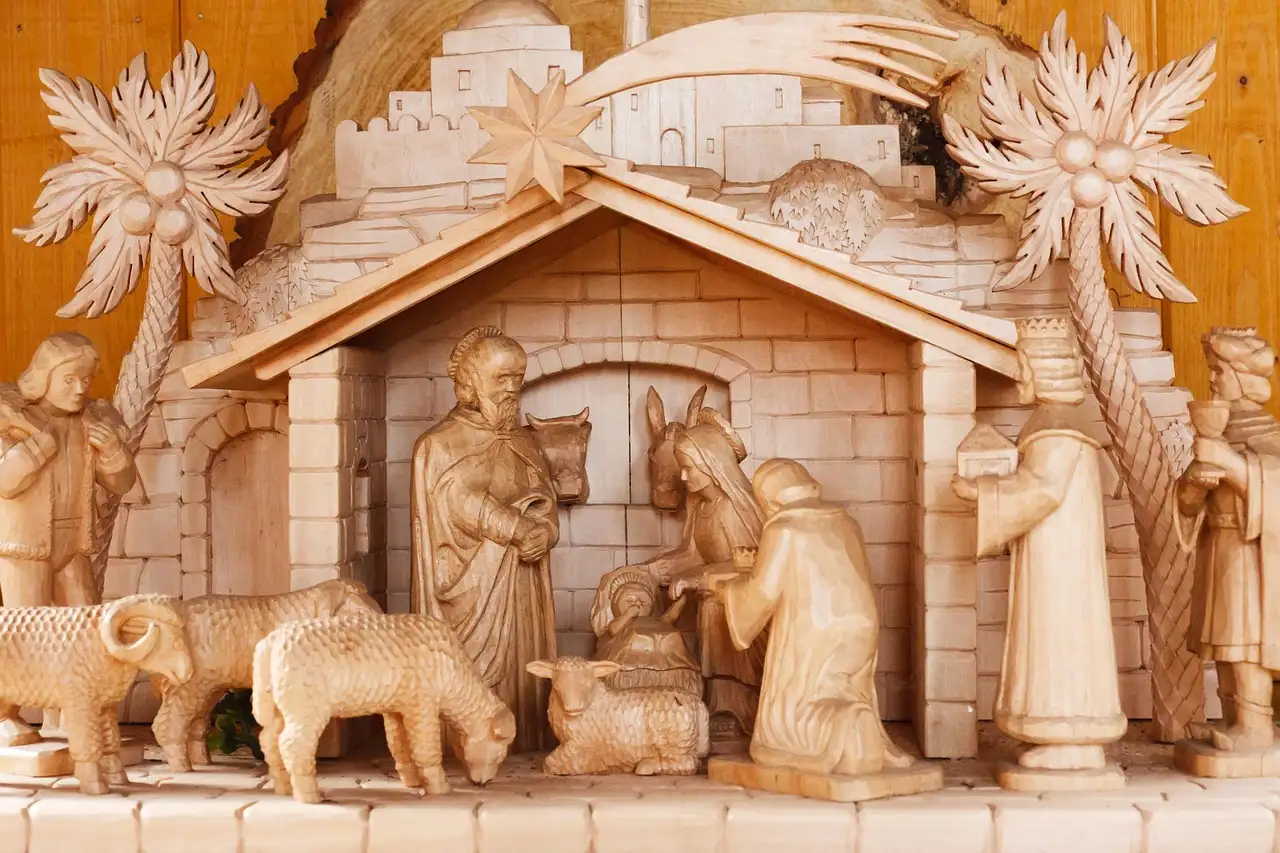
Build the nativity stable to fit your tallest figure plus about 1–2 inches of headroom, set the footprint around the figures’ base width and depth, and choose exterior-grade materials and finish if it will sit outdoors. A tight fit makes the scene feel cramped. Weak stock can warp, split, or fail in wet weather. This guide shows how to size the structure, pick wood and hardware, and build a rustic stable for indoor or outdoor display.
What you’ll need

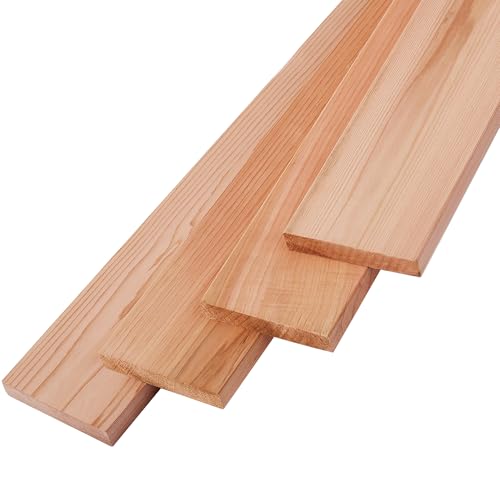

- Primary lumber: one cedar fence picket sized 5-1/2 x 72 inches, or 1×4 boards, or scrap stock
- 3/4 inch by 3/4 inch wood dowel, 16 inches long, if you want a simple ridge support
- 1-1/4 inch brad nails
- Wood glue
- Miter saw for repeatable angle cuts
- Jigsaw or scroll saw for curved profiles or figure cutouts
- Clamps
- Square, tape measure, pencil, and sandpaper
- Stain, paint, or exterior finish, depending on location
- Moss, straw, or grass for rustic dressing
- Cardboard, tape, and utility knife if you are building a budget version
- Popsicle sticks if you are making a classroom or kid-friendly version
How big should the stable be?
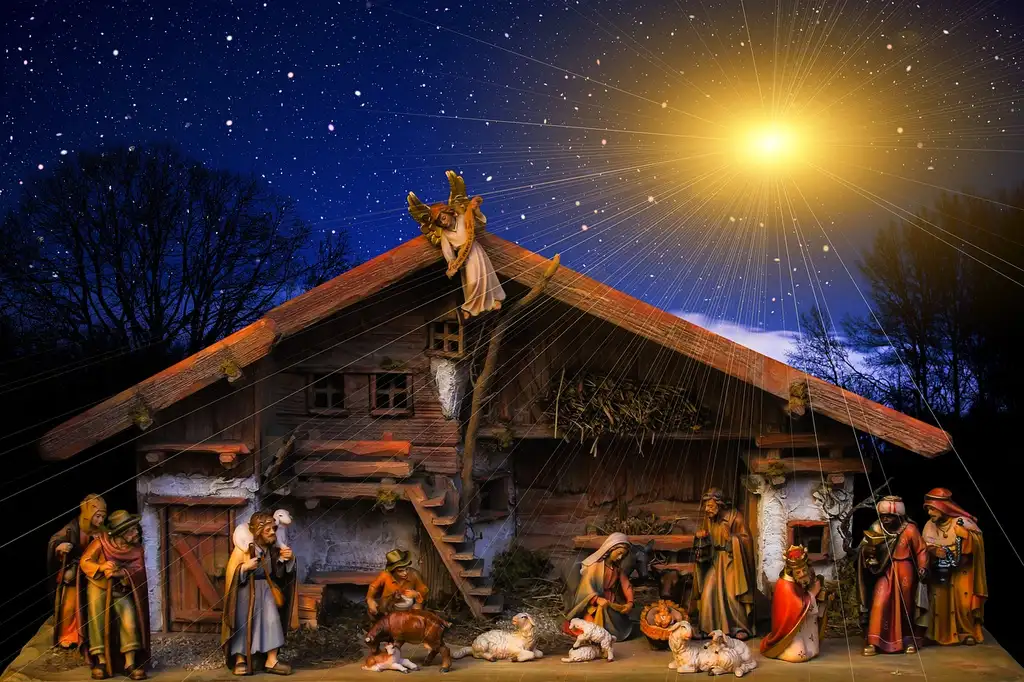
Size the stable from the figures, not from a fixed pattern. Start with the tallest figure, then add 1–2 inches of headroom above the highest point. Set the width so Mary, Joseph, and the manger do not crowd the opening, and leave enough depth for the figures and a little scenery behind them.
Measure your figures first
Measure the tallest figure from base to highest point. If the set includes a roofline scene, count hats, halos, or raised arms. For a tabletop display, figure height usually sets roof height first, then width and depth follow.
Set the footprint
Use the combined base width of the figures as your starting point. Add space for the manger and a bit of floor dressing. If the display sits on a mantel or shelf, keep the footprint shallow enough to leave a safe margin at the front and back edge.
Allow for roof height
A roofed shelter needs more height than an open shed front. Keep the opening tall enough that the roof does not crowd the figures, and keep the roof slope steep enough to shed water outdoors. A steeper pitch also reads better from across a room.
Nativity stable planning table
This table gives a practical starting point. Adjust for your exact figure set, display surface, and whether the stable stays indoors or faces weather.
| Figure height range | Recommended stable width | Recommended depth | Recommended roof height | Best material choice | Estimated cost band | Finish for indoor use | Finish for outdoor use |
|---|---|---|---|---|---|---|---|
| Up to 3 inches | 8 to 12 inches | 4 to 6 inches | 6 to 8 inches | Popsicle sticks or cardboard | Very low | Paint, matte stain, or dry-brushed weathered look | Exterior paint plus outdoor sealer; keep under cover |
| 4 to 6 inches | 12 to 18 inches | 6 to 8 inches | 9 to 12 inches | Cedar fence picket or scrap 1×4 boards | Low to moderate | Stain, paint, or a weathered wood look with light sanding on edges | Exterior stain or paint, then seal edges and end grain |
| 7 to 10 inches | 18 to 24 inches | 8 to 12 inches | 12 to 16 inches | 1×4 boards or cedar stock | Moderate | Stain with a rustic top coat or paint | Exterior-grade coating, sealed joints, and anchored base |
| 11 inches and up | 24 to 36 inches | 12 to 18 inches | 16 inches and up | Cedar or weather-resistant exterior lumber | Moderate to higher | Weathered stain or layered paint finish | Exterior finish, protected placement, and mechanical anchoring |
For a free-plan style build, a single cedar fence picket sized 5-1/2 x 72 inches is enough for a small stable. That plan also uses a 3/4 inch by 3/4 inch wood dowel, 16 inches long, and 1-1/4 inch brad nails, with a reported cost as low as $5.
Build the stable frame
Cut the base first, then build the walls, then fit the roof. Use wood glue at each joint for alignment and 1-1/4 inch brad nails for quick fastening. Basic hand tools are enough for a simple shell, but accurate cuts matter because a skewed frame makes the roof sit unevenly.
Cut the base and walls
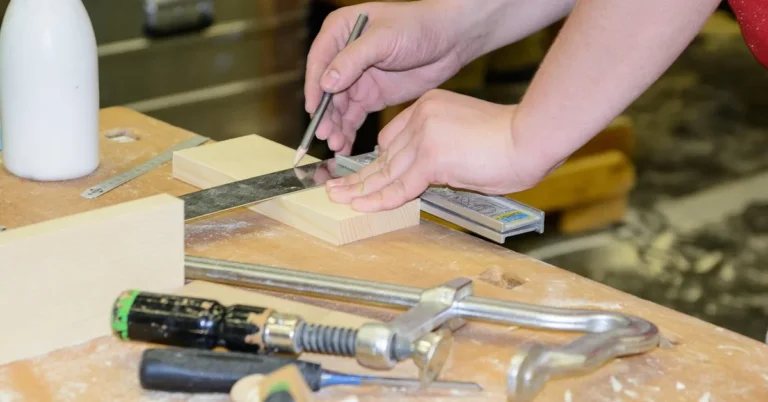
Mark the floor piece, side posts, and roof supports before cutting. One plan uses a floor piece cut to 11-3/4 inches, side back pieces cut to 10-1/8 inches with a 30-degree cut, and roof pieces cut to 7 inches with a 30-degree bevel. A miter saw helps repeat these angles cleanly.
Assemble the frame
- Dry-fit the base and side pieces on a flat surface.
- Apply wood glue at each joint.
- Clamp the parts square.
- Drive 1-1/4 inch brad nails through the joints.
- Check for wobble before the glue sets.
Fit the roof
Set the roof panels so the ridge is centered and the overhang looks even on both sides. If you want a ridge support, add the 3/4 inch by 3/4 inch wood dowel under the peak. Keep the roof light; a heavy roof can twist a small frame.
Picture a 5-inch-tall Holy Family set on a narrow shelf, with the opening raised about 1–2 inches if needed to clear the roof. If the roof opening is only 4 inches high, the scene looks squeezed and the figures disappear under the eaves. Raising the opening by 1–2 inches fixes the scale without changing the whole layout.
How to build an outdoor nativity stable
Outdoor builds need weather-resistant stock, protected joinery, and a way to keep the stable from tipping. Cedar is a strong choice because it tolerates outdoor use better than plain craft lumber, while exterior 1×4 boards can also work if you seal them well and keep the design simple.
Choose weather-resistant stock
Use cedar fence picket, exterior-rated boards, or another material meant for outdoor exposure. Standard cardboard and popsicle sticks are poor choices for weather. If you want the look of aged wood, use exterior stain or paint rather than interior-only products.
Anchor the base
Set the stable on a heavier base board, then screw or stake that base to the display platform, ground, or another hidden support. Outdoor wind can catch a roof like a sail. Keep the footprint wider than the top-heavy parts of the structure.
Use exterior finish products
Seal end grain, cut edges, and joints first. Then apply exterior stain or exterior paint. If the stable stays fully exposed, use a finish rated for outdoor conditions and plan to inspect it before each season. Recoat damaged areas before storage if the surface starts to open or flake.
How do you make it look rustic?
Rustic styling comes from surface texture, restrained color, and a few natural materials. Stain keeps wood grain visible, paint can be scuffed back for a worn finish, and moss or straw can soften hard edges. The goal is a shelter that looks simple and weathered, not polished.
Stain or paint the wood
Use stain if you want the grain to show through. Use paint if you want a lighter, chalkier farmhouse look. For a weathered wood look, apply a base coat, then lightly sand edges and corners after it dries so high spots look worn first.
Add texture and surface wear
Score a few shallow lines into the face boards before finishing, or brush on a thin wash of color and wipe it back. Keep the treatment uneven. Too much sanding makes the stable look fake; a few worn edges look more natural.
Dress the scene with moss or straw
Glue a small amount of moss or straw to the floor and around the walls. Keep material clear of any light source. If you use grass or dried plant material outdoors, keep it under cover or replace it often because moisture breaks it down quickly.
Suppose the stable is built from 1×4 boards and looks too clean for the figures. A light brown stain, a few rubbed edges, and a thin layer of moss at the base can soften the whole scene without adding clutter.
Common mistakes
The most common problems are scale mismatch, roof stress, and wood movement. A stable that is too small will crowd the figures. A roof that is too heavy will pull the frame out of square. Untreated joints can loosen outdoors as the wood expands and contracts.
- Roof too heavy for the frame: Use thinner stock, shorten the span, or add a ridge support.
- Stable too small for the figures: Recheck the tallest figure and add 1–2 inches of headroom before cutting anything.
- Warped wood: Clamp the stock flat before assembly, and discard pieces that will not sit straight.
- Finish failure outdoors: Seal end grain and use exterior-rated stain or paint only.
- Loose figure fit: Widen the floor by 1 inch at a time, then recheck the arrangement.
How to build a nativity stable with scrap wood is mostly a matter of matching what you have to the figure set. Straight offcuts from 1×4 boards work well for small shelves and walls. Cardboard can work too, but it needs folding, taping, and careful decoration rather than heavy handling.
Safe storage matters if you want to reuse the stable each year. Remove straw and moss before packing, brush off dust, and store the pieces flat in a dry container. For outdoor pieces, let the finish dry fully before storage so the parts do not stick together or trap moisture.
Frequently asked questions
What wood should I use for a nativity stable?
Cedar is a strong choice for a rustic stable because it can be stained or painted and suits outdoor use better than plain craft lumber. Scrap 1×4 boards are a good low-cost option for indoor or protected displays. For a classroom or quick holiday build, popsicle sticks are lighter and easier to handle.
What size should a nativity stable be for my figures?
Use the tallest figure plus 1–2 inches of headroom, then size width and depth around the group. A set with figures around 4 to 6 inches tall often fits a stable roughly 12 to 18 inches wide and 6 to 8 inches deep. Adjust the roof so the opening does not crowd the scene.
How do I make a stable look rustic and weathered?
Use stain, paint, or a mix of both, then sand the edges lightly after the finish dries. Add moss, straw, or grass sparingly so the figures remain visible. A muted brown, gray, or off-white surface usually reads as weathered wood without looking overfinished.
Can I build a nativity stable with scrap wood?
Yes. Straight offcuts from 1×4 boards or other leftover lumber can work well for an indoor stable. The key is matching the piece thickness and keeping the joints square. If the wood is twisted or split, cut it down into smaller parts rather than forcing a larger frame.
How do I make a nativity stable for outdoors?
Choose cedar or exterior-rated lumber, seal all cut edges, and use exterior stain or paint. Set the base on a wider platform and anchor it so wind cannot tip the roof. Keep moss and straw under cover or use less of it, since weather will break down loose decoration quickly.
Sponsored / affiliate links. As an Amazon Associate I earn from qualifying purchases. I may earn additional commission from eligible campaigns.