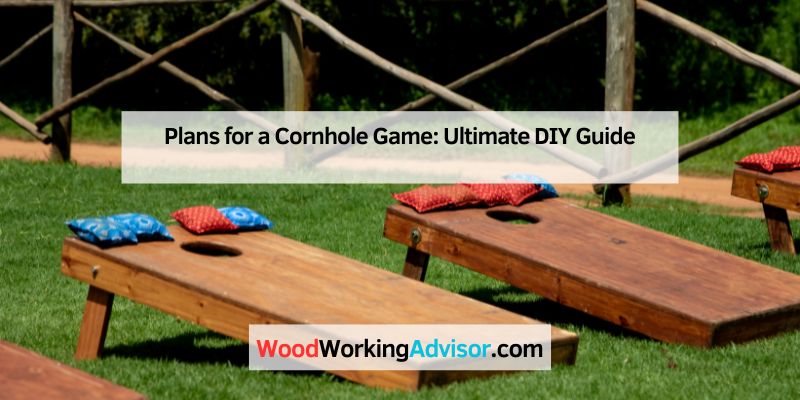
Plans for a Cornhole Game: Ultimate DIY Guide
Cornhole is a fun, easy-to-learn game. It’s perfect for all ages and occasions.
Planning a cornhole game can enhance your gatherings, making them more interactive and enjoyable. Whether it’s a family reunion, a backyard barbecue, or a casual get-together with friends, a well-planned cornhole game can be a hit. Understanding the basics of cornhole is important.
From setting up the boards to knowing the scoring rules, preparation ensures the game runs smoothly. With the right plans, you can create a competitive yet friendly atmosphere. This guide will walk you through the essential steps to plan a perfect cornhole game. Let’s dive into the world of cornhole and make your next event memorable.
Credit: buildblueprint.com
Introduction To Cornhole
Best Ready-Made Bags Pick
 |
GoSports Official Regulation Cornhole Bean Bags (Set of 8) – $19.79 If you’d rather build the boards yourself and skip the sewing step in this guide, this set gives you regulation-size, all-weather bags ready to throw the same day.
|
Cornhole traces back to bag-and-board toss games played in 19th-century Germany and the American Midwest, and it re-emerged as a mainstream backyard and tailgate game in the early 2000s once the American Cornhole Association standardized the board dimensions and scoring that most casual games still follow today. Its appeal is mostly about the barrier to entry: unlike horseshoes or bocce, which need real space and specific terrain, cornhole works on a driveway, a patch of lawn, or a parking lot tailgate with nothing more than two boards and a set of bags.
The rules are simple enough to explain in under a minute, but the game rewards enough real skill — arc, spin, and distance control — that it holds up as a genuine competition alongside being a casual party activity. That combination is why it shows up everywhere from family reunions to organized regional tournaments with cash prizes.
Materials Needed
Each board starts as a single sheet of 1/2″ plywood cut down to the regulation 24″ x 48″ playing surface — a standard 4×8 sheet yields exactly two boards with almost no waste. The frame underneath is built from 2×4 lumber: you’ll need enough for the perimeter plus the legs that prop the back edge up to the regulation 12-inch height, along with 2.5″ deck screws to assemble it and wood glue at the joints for extra rigidity. A circular saw and a drill/driver cover all the cutting and assembly; a jigsaw is the one specialty tool you’ll need later for the hole itself.
For the finish, exterior-rated primer and paint (or a polyurethane topcoat) protect the plywood from moisture if the boards will live outdoors between games — untreated plywood left out in the rain will delaminate at the edges within a season. For the bags, plan on roughly one pound of fill per bag, split between eight bags total (four per player); corn kernels are the traditional fill but tend to mold if bags get wet, while resin pellets or plastic beads cost a bit more and hold up far better outdoors.
Building The Cornhole Boards
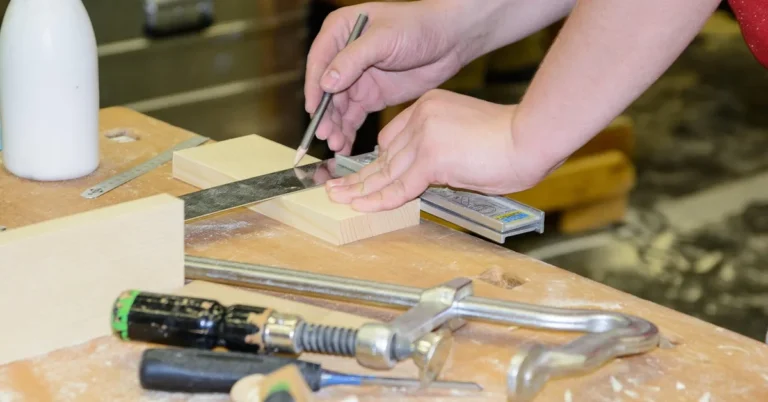
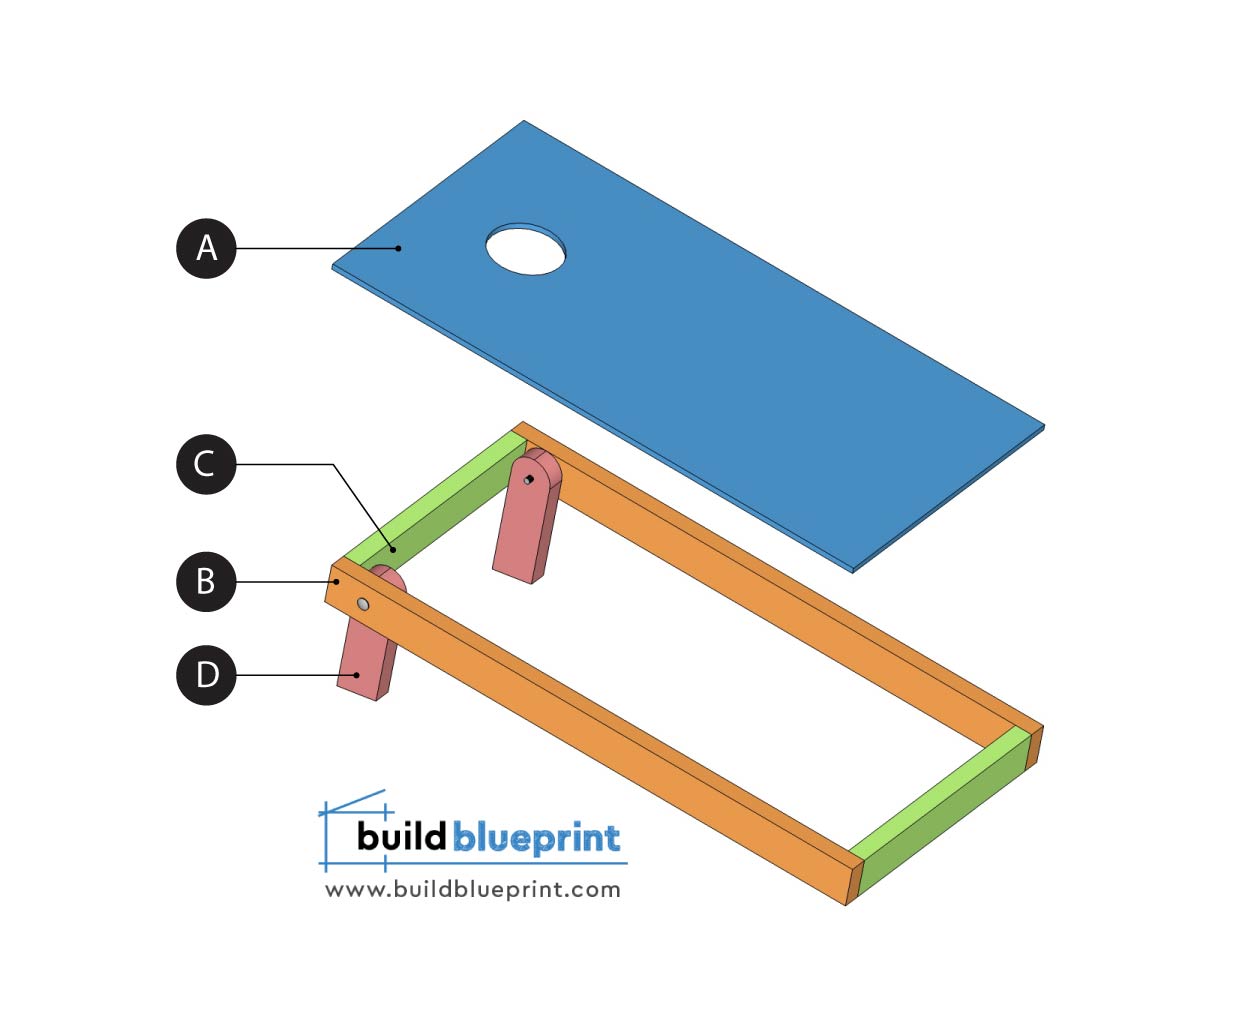
Cut the plywood into two 24″ x 48″ tops first, since that’s the dimension everything else gets built around. For each frame, cut two 2x4s to 48″ (the long sides) and two to 21″ (the short sides, accounting for the 2×4’s actual 1.5″ thickness on each end) — this gives you a frame whose outer dimensions match the 24″ x 48″ top exactly once assembled.
Lay the long and short 2×4 pieces into a rectangle, glue and screw the corners together, and check that the frame is square by measuring both diagonals corner to corner — if they match, it’s square; if not, rack the frame gently until they do before the glue sets. Attach the plywood top to the frame with screws driven every 8-10 inches around the perimeter, which keeps the top from bowing or squeaking underfoot-level impact from thrown bags over time. Finally, attach a 2×4 leg near the top end of each board, hinged or braced so it folds flat for storage, cut so the board’s back edge sits at the regulation 12 inches off the ground while the front edge stays flush with the ground.

Credit: www.dimensions.com
Creating The Cornhole Holes
Find the horizontal center of the board’s width (12 inches in from either side on a 24″-wide board) and measure 9 inches down from the top edge — that intersection is the regulation center point for the hole. Mark it, then use a compass or a length of string pinned at the center to trace a circle with a 3-inch radius, giving you the official 6-inch-diameter hole.
Drill a starter hole inside the circle large enough to insert a jigsaw blade, then follow the traced line carefully rather than rushing the cut — a wandering cut here is one of the most visible mistakes on an otherwise well-built board. Sand the cut edge smooth and slightly rounded so a bag sliding toward the hole doesn’t catch or tear on a rough edge, then double-check the finished hole against a tape measure before moving on to paint.
Painting And Finishing
Two or three colors that contrast well — team colors, a sports theme, or just a bold color pair like navy and yellow — read clearly from the regulation 27-foot throwing distance, which matters more for playability than most builders expect; a busy, low-contrast design makes the hole harder to pick out at a glance mid-game. Whatever palette you choose, use paint rated for exterior or outdoor furniture use if the boards will see any weather, since interior-only paint chalks and fades noticeably within a single summer outdoors.
Apply a primer coat first so the paint adheres evenly and doesn’t soak unevenly into the plywood’s face grain, then build up your color coats thin rather than thick — two or three light coats level out better and dry faster than one heavy one. Finish with a few coats of exterior polyurethane or a dedicated cornhole board sealant once the paint has fully cured; this is what actually protects the graphics from scuffing under repeated bag impacts and keeps the surface slick enough for bags to slide properly.
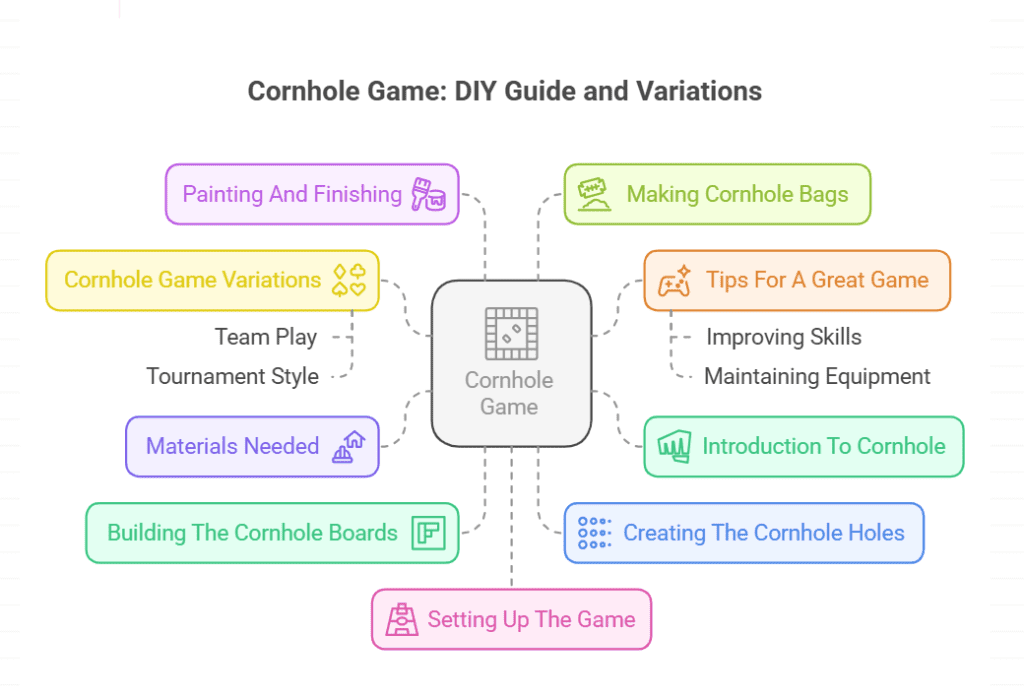
Making Cornhole Bags
Duck cloth is the standard fabric choice for a reason: it’s tightly woven enough to resist the fill working through the seams, tough enough to survive being dragged across a board hundreds of times, and available in enough colors to match whatever paint scheme you picked for the boards. Cut two 6″ x 6″ squares per bag (regulation bags run roughly 6″x6″, give or take a small tolerance), and sew three sides together with a straight, reinforced seam, leaving the fourth side open for filling.
Fill each bag with about one pound of resin pellets or corn kernels — resin holds up far better outdoors, since corn fill can develop mold if bags get left out in damp grass — then fold the open edge under and sew it closed with a double-stitched seam for durability. Regulation sets use eight bags total, four per player in two contrasting colors, so plan your fabric and fill purchases around that number rather than making them one at a time.
Setting Up The Game
Set the two boards on flat, level ground exactly 27 feet apart, measured from the front edge of one board to the front edge of the other, with the holes facing each other down the length of the court. Uneven ground under one board is a common complaint at outdoor games — a board that rocks even slightly changes how bags bounce and can turn a close game into an argument about fairness.
Each player or team gets four bags per round, and players alternate throws from the same side. A bag that lands in the hole scores 3 points, and a bag that stays on the board (without falling off) scores 1 point; only the net point difference between the two sides counts each round, so if one player scores 9 and the other scores 3 in the same round, the first player nets 6. Play continues until one side reaches or exceeds 21 points, and if both sides hit 21 in the same round, most casual rules call that a tie-breaker round to settle it.
Cornhole Game Variations
Explore exciting cornhole game plans with unique variations. Customize rules or create themed boards for more fun. Enjoy endless hours of playful competition.
Team Play
In team play, partners stand at opposite boards rather than both throwing from the same end, which keeps the game moving since one team is always retrieving and re-throwing while the other side’s turn happens. This format is what most backyard tournaments default to, since it naturally rotates who’s throwing and keeps everyone involved even in a large group rather than watching two people play at a time.
Tournament Style
A bracket-style tournament — single or double elimination — turns a casual afternoon into a structured event, and it scales well from four teams up to dozens at a larger gathering. Running games to a lower point total (11 or 15 instead of 21) keeps individual matches shorter, which matters a lot once you’re trying to get through several rounds of a bracket before everyone loses interest.
Tips For A Great Game
Setting up a cornhole game requires thoughtful planning. Ensure boards are sturdy and spaced accurately for fair play. Use quality bags for a better experience and enjoyment.
Improving Skills
A flat, arcing “lob” throw with backspin is the technique most competitive players default to, since backspin helps a bag that lands short slide forward into the hole rather than stopping dead or bouncing off. Practicing a consistent release point and stance — same foot forward, same release height every throw — builds muscle memory faster than varying your technique throw to throw, and most improvement comes from repetition at a fixed distance before experimenting with different bag types or spins.
Maintaining Equipment
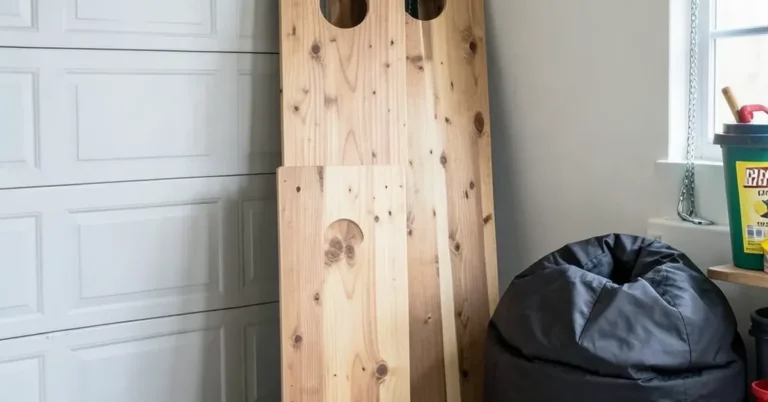
Wipe boards down after outdoor use, especially if they got any moisture or grass clippings on them, and store them somewhere dry between games — a board left in a damp garage corner can start to warp at the edges within a season even with a good paint job. Inspect bags periodically for split seams, since a bag that’s losing fill through a small tear will throw differently than the rest of the set, and replace them before that inconsistency starts affecting close games. Keeping boards flat during storage (leaning upright rather than stacked flat under weight) helps prevent warping over time as well.

Credit: www.skipsgarage.com
Frequently Asked Questions
What Materials Are Needed For A Cornhole Game?
To build a cornhole game, you’ll need plywood, 2×4 lumber, screws, wood glue, and paint. You will also need cornhole bags.
How Do You Build Cornhole Boards?
Cut plywood to 24×48 inches. Attach legs using 2×4 lumber. Ensure the board is sturdy and smooth. Paint and decorate.
What Are The Official Cornhole Board Dimensions?
Official cornhole boards are 24 inches wide and 48 inches long. The hole should be 6 inches in diameter.
How Much Does It Cost To Build Cornhole Boards?
Building cornhole boards can cost between $50 to $100. This depends on the materials and finishes you choose.
Conclusion
Building a regulation cornhole set comes down to a handful of exact numbers worth getting right: 24″x48″ boards, a 6-inch hole centered 9 inches from the top, a 12-inch back-edge height, and boards spaced 27 feet apart. Get those dimensions correct and the rest — paint scheme, bag colors, tournament format — is entirely up to personal taste.
Budget a weekend for the full build if you’re making both boards and sewing your own bags, or cut that down to an afternoon by buying pre-made bags and focusing your effort on the boards themselves. Either way, a well-built set holds up for years of backyard games, tailgates, and the occasional bracket tournament.
Sponsored / affiliate links. As an Amazon Associate I earn from qualifying purchases. I may earn additional commission from eligible campaigns.