How to Build Wood Deck Handrails Safely: Height, Spacing & Code Guide
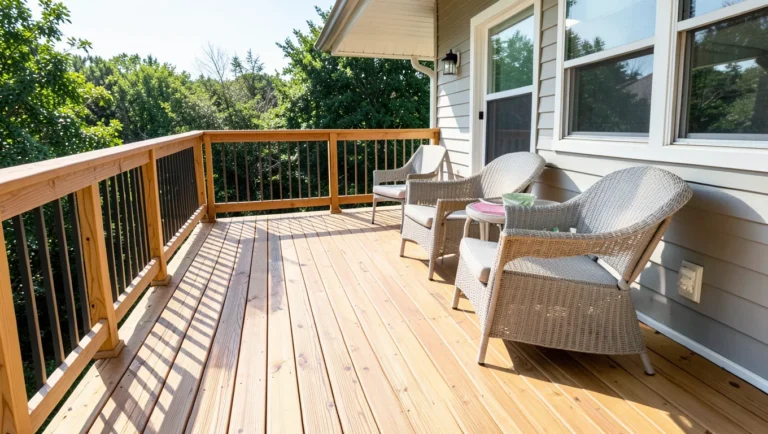
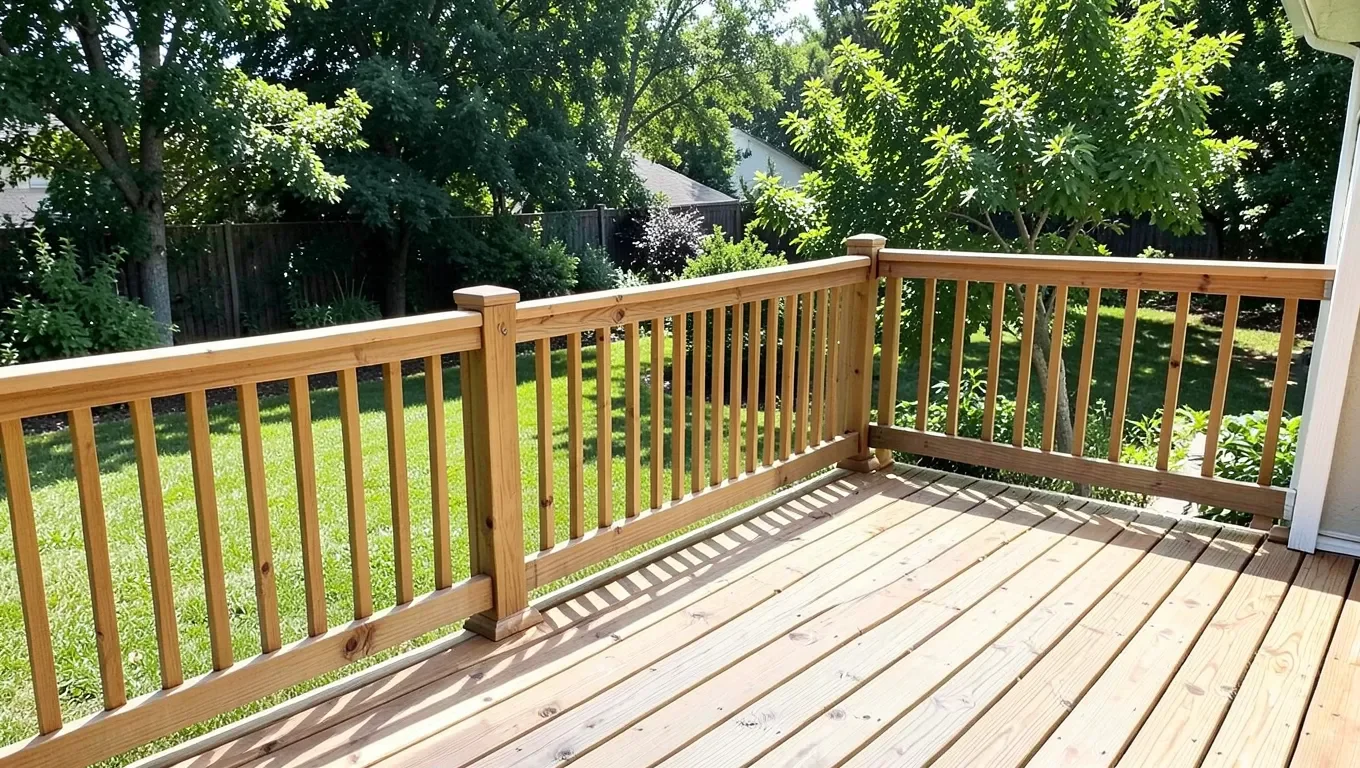
If you’re building a railing along the edge of a wood deck, most people call it a “deck handrail” — but code officials call it a guard, and the distinction actually matters. Under the International Residential Code (IRC), a deck guard must be at least 36 inches high, measured from the deck surface to the top of the rail, whenever the deck is more than 30 inches above the ground or floor below. The 34-to-38-inch figure you’ll see quoted all over the web is actually the height rule for a graspable stair handrail — the rail you grip walking up steps — not the barrier that keeps someone from falling off the deck’s edge. Mixing the two up is one of the most common deck-building mistakes, and it’s enough to fail an inspection. This guide covers building a code-compliant wood deck guard from the ground up: framing the posts, spacing the balusters to the 4-inch rule, and the one attachment detail that causes most guardrail failures. Codes vary by city and county, so treat the numbers below as the baseline IRC standard and confirm the exact requirements with your local permit office before you finalize your design.
Deck Guard Height vs. Stair Handrail Height: What Code Actually Requires
Best Tool For Plumbing Guardrail Posts
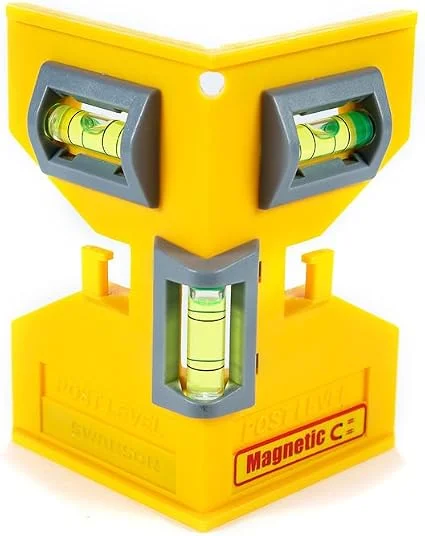 |
Swanson Magnetic Post Level (PL001M) – $8.99 Clips onto a 4×4 guardrail post with strip magnets and an elastic band so you can check plumb on two faces hands-free while you brace and fasten it – the step where an unlevel post throws off your whole rail line.
|
These are two different code requirements that get confused constantly, including in a lot of deck-building content you’ll find online. A guard is the fall-protection barrier along any open side of a raised deck, porch, or balcony. Under IRC Section R312.1, a guard is required whenever the walking surface is more than 30 inches above the grade or floor below it, and it must be at least 36 inches tall. A handrail, by contrast, is the graspable rail you hold onto while using a set of stairs with four or more risers — that’s covered under a separate section, R311.7.8, and it has to be between 34 and 38 inches high, measured from the stair nosing. If your project is a railing running along the flat part of the deck, you’re building a guard, and 36 inches is your target height — not 34 to 38 inches. If you’re also adding stairs off the deck, that stair section needs its own graspable handrail at the shorter height. Two different rails, two different rules, on the same project.
Whatever height you build to, the infill has to pass the 4-inch sphere rule: no opening in the guard — between balusters, under the bottom rail, or at a corner post — can be wide enough for a 4-inch sphere to pass through. It’s a child-safety rule, and inspectors check it with an actual gauge. Stairs get a slightly different allowance: baluster gaps on the stair sections can run up to 4-3/8 inches, and the triangular gap under the bottom rail near the treads is allowed up to 6 inches. These are IRC baseline numbers — some states and municipalities amend them (a few require 42-inch guards, for instance) — so confirm the exact figures with your local building or permit office before you cut a single post. That one phone call is a lot cheaper than a failed inspection or a rebuild.
Planning and Choosing Materials for a Wood Deck Guard
Before you settle on an infill style, browse our deck wood railing ideas guide for a side-by-side look at picket, horizontal, baluster, lattice, and post-cap options.
Before cutting anything, measure the total run of guard you need, note where the posts will land relative to your deck’s joists, and decide on an infill style — vertical balusters are the default and the easiest to get code-compliant on the first try. Sketch post spacing now (most codes cap structural post spacing around 6 feet on center, separate from the 4-inch baluster rule), and call your local permit office to confirm both the required height and whether a permit applies to guard replacement versus new construction; many jurisdictions treat those differently.
- Posts and framing: Pressure-treated pine or fir, rated for ground or above-ground contact depending on where the post base sits. Pressure treatment resists rot and insect damage but isn’t cosmetic — plan to cap or trim exposed post tops. See our full guide to pressure-treated wood handrails for cost, code notes, and the right fastener grade.
- Rails and balusters: Cedar, redwood, or a hardwood like ipe for a smoother, more finished look than pressure-treated lumber. All three weather well outdoors with occasional refinishing.
- Fasteners: Stainless steel or hot-dip galvanized screws only. Standard zinc-plated screws corrode fast in treated lumber’s chemical retention and become the weak point in the whole guard.
- Post-to-deck hardware: A structural post base or through-bolt connector rated for guardrail lateral loads — not just deck screws.
Tools You’ll Need
A circular saw or miter saw for accurate cuts, a drill/driver for fasteners, a tape measure and square, and safety glasses and gloves cover the basics. A dedicated post level — a magnetic model that clips to the post and reads plumb on two faces at once — is worth the ten dollars; it’s faster and more accurate than balancing a torpedo level against a post by hand, especially working solo.
Building the Guard Frame: Posts, Top Rail, and Bottom Rail
Posts carry the entire lateral load of the guard — someone leaning or falling against it — so how they’re attached matters more than almost anything else in this build. The most common inspection failure isn’t height or spacing; it’s a post that’s only toe-screwed to the rim joist or bolted through the fascia board with nothing solid behind it. Under real lateral load, that connection can pull the fascia away from the joist. The stronger, code-favored methods are bolting the post directly through the rim joist into solid blocking installed between the deck joists, or using a manufactured guard-post connector rated for the load — check the hardware’s published rating, not just its size. If you’re building the deck itself at the same time, add the blocking during framing; retrofitting it under a finished deck is a much bigger job.
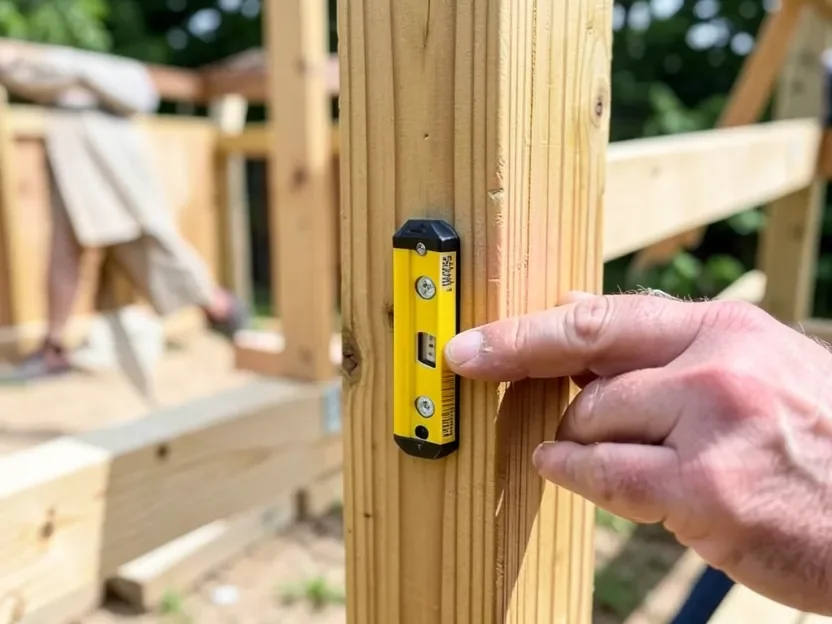
Once posts are set, plumb, and permanently fastened, cut the top and bottom rails to span between them and attach with structural screws, not finish nails, which don’t have the shear strength for a guard. Run a level across the top rail before final fastening — a rail that’s out of level by even a small amount becomes obvious the moment infill goes in. Give the finished frame a hard shake test at each post before moving on; any movement means a fastener or connection needs to be redone now, not after the balusters are installed.
Adding the Infill: Balusters and the 4-Inch Rule
Vertical balusters (sometimes called pickets) are the standard infill and the easiest to space correctly: rip a spacer block equal to your target gap, hold it against the last baluster, set the next one against it, and check every few balusters with a tape measure since small errors compound over a long run. Aim slightly under 4 inches of actual gap, not exactly 4 inches — lumber dimensions vary enough that “exactly 4 inches” on paper can measure over on site. Turned or decorative spindles follow the same spacing math but cost more and take longer to install evenly, since their profile makes the gap harder to eyeball. Solid panels — wood, composite, or metal — skip the spacing calculation entirely and work well where you want more privacy or extra reassurance with young kids around, as long as the panel itself is rated and fastened for outdoor structural use.
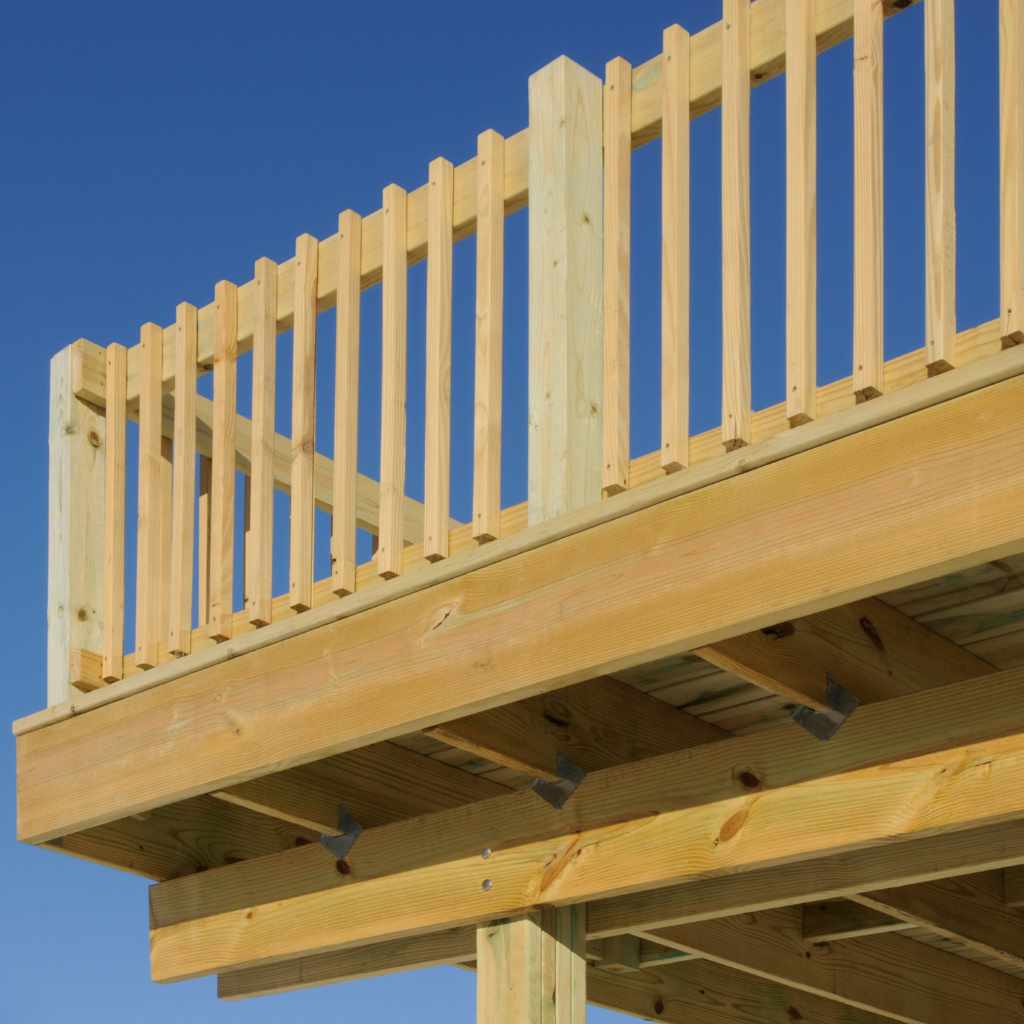
If you’d rather compare railing styles and layout ideas before committing to balusters, our full guide to DIY wood deck railing covers design options and material trade-offs in more depth — this guide stays focused on getting the height, spacing, and post attachment code-compliant.
Finishing, Inspecting, and Maintaining Your Wood Deck Guard
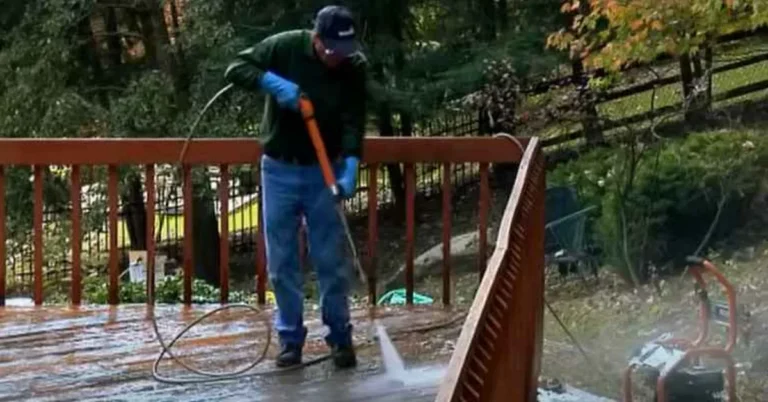
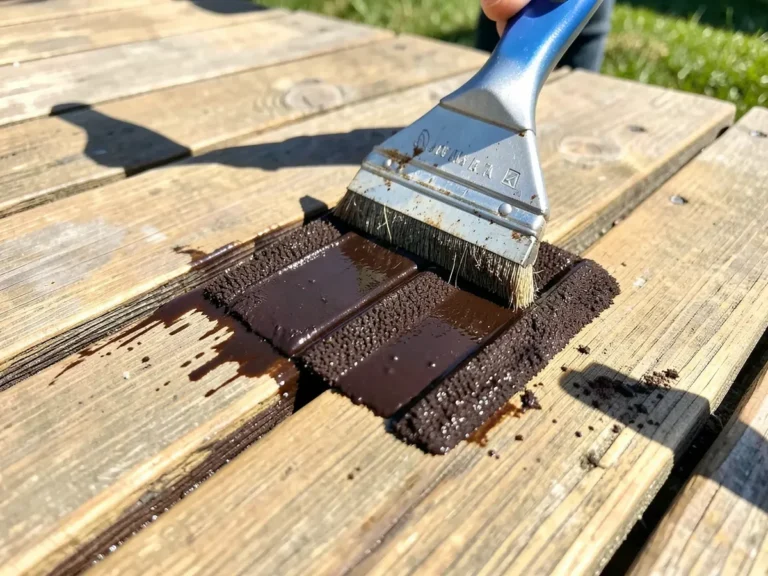
Sand any rough edges and splinters before finishing — a guard people grab onto gets handled a lot more than deck boards underfoot. Clean the wood, let it dry fully, then apply an exterior stain or paint rated for the wood species you used. If you checked the wood’s moisture content before finishing, you’ll get better stain adhesion and fewer callbacks later. A sealant coat on top of the stain adds UV and moisture protection and extends the time between refinishing.
Before calling the project done, run through a real final check:
- Every fastener is tight, with no play in any post-to-frame connection
- Guard height measures 36 inches minimum at several points along the run, not just one spot
- No gap in the infill passes a 4-inch ball or gauge test
- No sharp edges, exposed screw tips, or splinters at hand-contact height
- Any stair section has its own graspable handrail at 34 to 38 inches — a separate rail from the guard
Check the guard twice a year — once before the outdoor season starts and once at the end — for loose fasteners, cracked balusters, or soft, rotting wood at the post bases, which take the most moisture exposure. Re-stain or reseal every 2 to 3 years depending on climate and sun exposure, sooner in coastal or high-UV regions.
Frequently Asked Questions
What height does a wood deck guard need to be?
Under the IRC, a deck guard must be at least 36 inches high, measured from the deck surface to the top of the rail, whenever the deck is more than 30 inches above grade. This is different from stair handrail height (34 to 38 inches) — confirm the exact requirement with your local permit office, since some jurisdictions require taller guards.
Is deck handrail height the same as deck guardrail height?
No. A guardrail (or guard) is the fall-protection barrier along a deck’s open edge and must be at least 36 inches tall under the IRC. A handrail is the graspable rail on a stairway and must be 34 to 38 inches tall — a separate code section with a separate height rule.
How far apart can deck balusters be spaced?
No gap in the guard can allow a 4-inch sphere to pass through, including between balusters, under the bottom rail, and at corner posts. Stair sections allow slightly wider baluster gaps, up to 4-3/8 inches, under most codes.
What’s the strongest way to attach a deck guard post?
Bolt the post through the rim joist into solid blocking installed between the deck joists, or use a manufactured guard-post connector rated for lateral guardrail loads. Attaching a post only through the fascia board or with screws alone is a common cause of failed inspections and loose railings.
What wood should I use for a deck guard?
Pressure-treated pine or fir for posts and framing, since it resists rot and insect damage. Cedar, redwood, or a hardwood like ipe are popular for the visible rails and balusters because they weather well and take a finish more evenly than treated lumber.
Final Thoughts
A wood deck guard only does its job if it’s built to the right height, spaced tight enough to pass the 4-inch rule, and anchored through real blocking rather than a single screwed connection. None of that is difficult once you know which numbers apply to a guard versus a stair handrail — that confusion trips up more DIYers than the actual carpentry does. Codes are amended locally, so before you finalize post spacing or pull a permit, confirm your city or county’s exact requirements with the local building or permit office. It’s a five-minute call that can save you a failed inspection or a rebuild.
Sponsored / affiliate links. As an Amazon Associate I earn from qualifying purchases. I may earn additional commission from eligible campaigns.