Covered Wood Deck Ideas: 7 Styles Plus Real Cost Ranges
Covered wood deck ideas range from a $1,450 pergola kit to a $14,000-plus gable roof — the right choice depends on how much rain, sun, and headroom you need. Pick shade that’s too light and you’re dashing indoors at the first drizzle; pick a full roof you didn’t need and you’ve paid $60+ per square foot for what an awning would have covered. This guide compares 7 real styles, their costs, and which codes apply.
Why a Covered Wood Deck is a Game-Changer
Best Deck Wood Sealer Pick
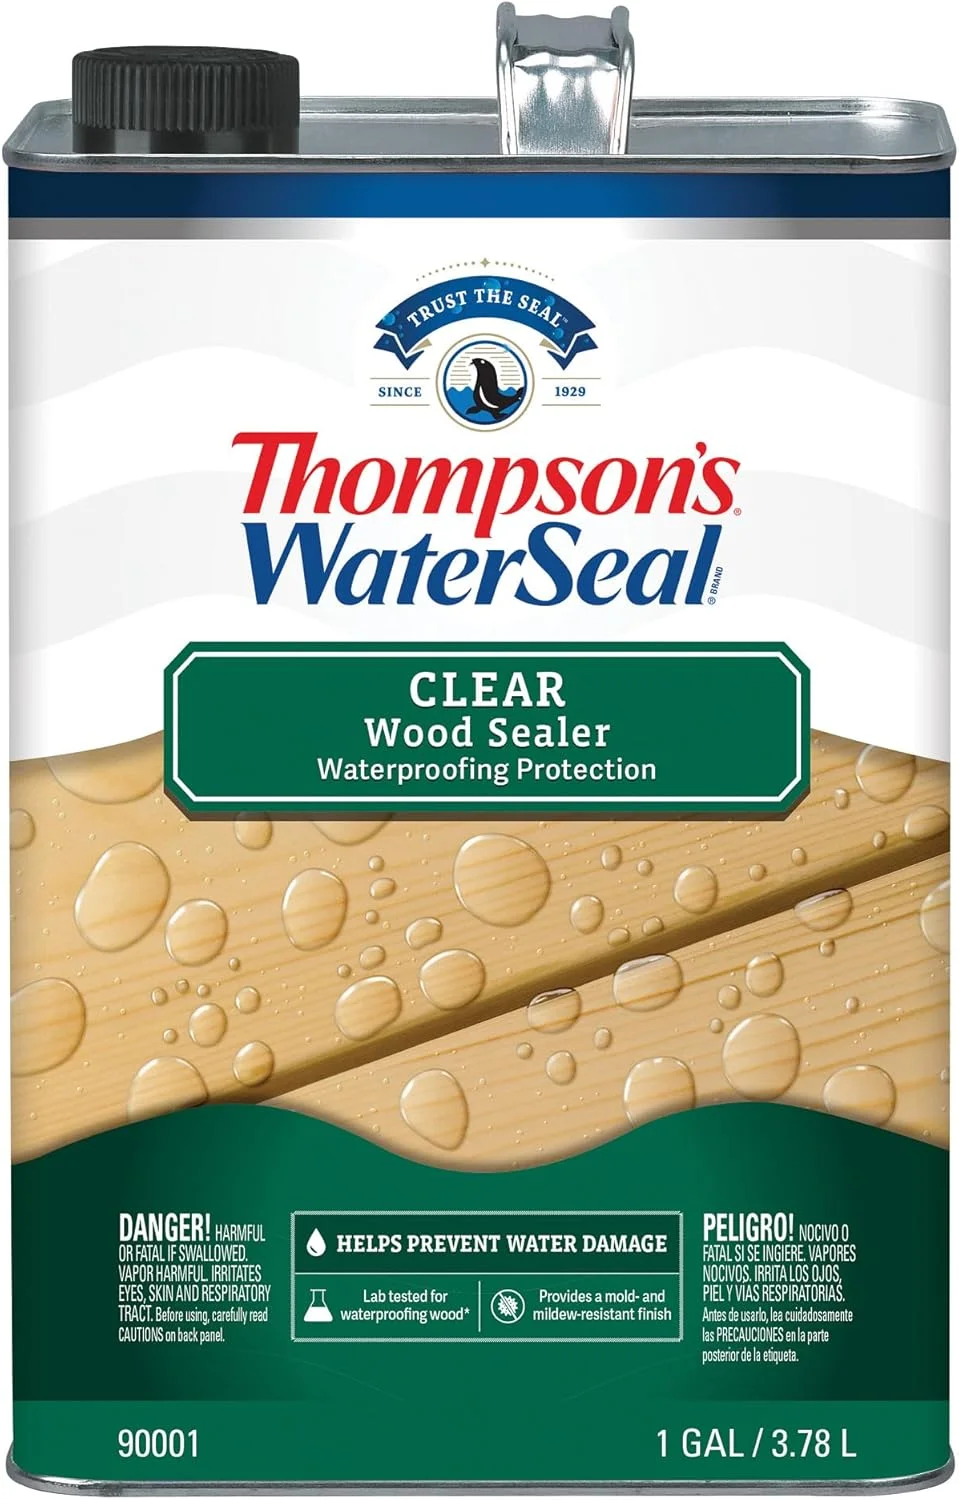 |
Thompson’s WaterSeal Clear Wood Sealer, 1 Gallon – $19.94 Every wood species in the pros-and-cons table further down needs periodic sealing — this clear formula protects the wood without changing its color, which matters most under a solid roof where trapped moisture takes longer to dry out.
|
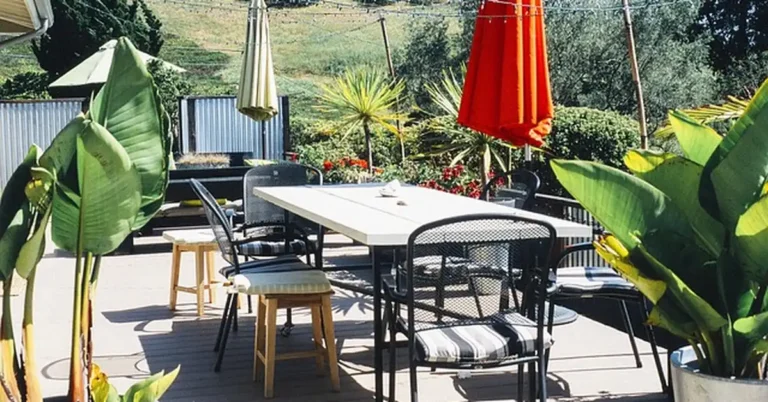
A covered wood deck extends how much of the year you actually use your deck. It blocks harsh sun so furniture and finishes fade slower, and a good roof or awning means a passing shower doesn’t send everyone inside. That turns the space into something closer to an extra room — usable for morning coffee, evening dinners, or an afternoon nap, regardless of what the sky is doing. Once the roof or shade is sorted, see our guide to must-have deck accessories for furniture, lighting, and decor that finish the space.
7 Covered Wood Deck Styles, From Lightest to Most Permanent
Choosing the right covered deck style depends on your home’s architecture, your budget, and how much protection you actually want. Here are seven real options, roughly ordered from the least to most permanent.
1. The Simple Pergola: Light and Airy Protection
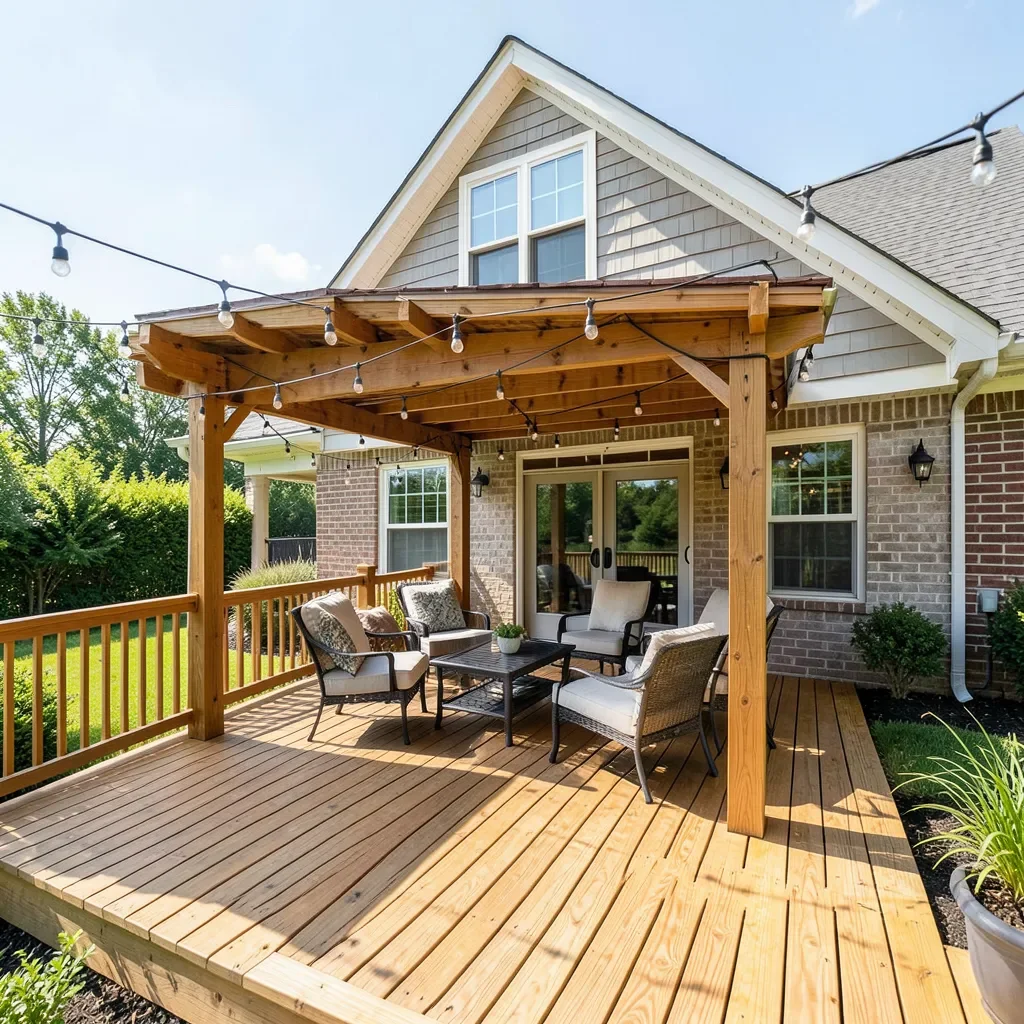
A pergola is the most affordable entry point, at $10–$40 per square foot, or roughly $1,450–$5,750 fully installed according to 2026 pricing from HomeGuide. The open slatted roof filters sunlight into dappled shade rather than blocking it outright, and it’s a strong support for climbing plants like wisteria or ivy, which add shade of their own as they fill in. Most home centers sell DIY kits, which is why this is the style beginners reach for first — see our guide on anchoring a pergola without drilling into an existing deck surface.
- Pros: Cheapest option, easy DIY install, visually light, supports climbing plants.
- Cons: Only partial sun and rain protection — a hard rain still gets through the slats.
2. The Gable Roof Cover: Full Protection, Highest Cost
A gable roof is a genuine mini-roof over the deck, framed the same way as a house roof. It’s the most expensive style at $60–$155 per square foot — a 200-square-foot deck typically runs $14,000–$31,000 installed — but it’s the only style on this list that blocks 100% of rain and sun. The peaked shape sheds water cleanly and has enough clearance for ceiling fans or recessed lighting. For the framing spans involved, our beam span calculator helps size the ledger and support beams before you order lumber.
- Pros: Complete weather protection, room for fans and lighting, adds real home value.
- Cons: Most expensive and most complex to build; usually needs a permit and often a contractor.
3. The Lean-To or Shed Roof: Efficient and Simpler to Frame
Also called a mono-pitch roof, this design slopes in a single direction and attaches directly to the house wall, which makes it simpler to frame than a full gable and typically cheaper by a meaningful margin. The single slope sheds water fast and gives a clean, modern look with good headroom on the high side.
- Pros: Modern look, efficient runoff, simpler framing than a gable roof.
- Cons: Headroom drops off on the low side depending on the pitch you choose.
4. The Screened-In Room: Bug-Free, Three-Season Use
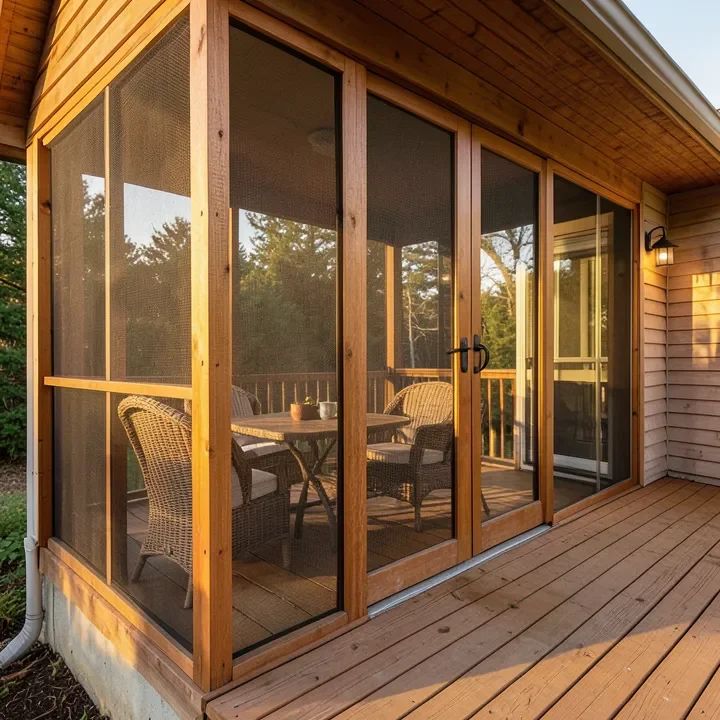
Start with any solid roof structure, then enclose the sides with screens (or a more durable polycarbonate panel) and you get a true bug-free outdoor room, good for dining, lounging, or sleeping on warm nights without swatting anything away.
- Pros: No bugs, extends usable evening hours.
- Cons: Adds cost on top of the roof structure; screens need periodic replacement.
5. Utility Covers: Simple and Functional
A flat or gently sloped utility cover skips the decorative elements and just provides shade and rain cover. It’s fast to build and the most budget-friendly permanent structure on this list, which makes it the right call when shelter is the only goal.
- Pros: Cost-effective, quick to build, purely functional.
- Cons: Least decorative of the permanent options.
6. Retractable Awning or Shade Sail: Adjustable, No Framing Required
An awning or a tensioned shade sail is the fastest way to add cover with no roof framing at all. A retractable fabric awning can be left extended or rolled back entirely, so you control shade by the hour rather than committing to one fixed structure. A shade sail is even simpler — a triangle or square of tensioned fabric anchored to the house and a couple of posts — and it can be repositioned as the sun angle changes through the season. Neither stops rain the way a solid roof does, but both beat a bare deck for shade at a fraction of a gable roof’s cost.
- Pros: No structural framing, adjustable or removable, lowest cost after a pergola.
- Cons: Minimal to no rain protection; fabric needs periodic replacement.
7. Skylight or Glass Roof Panel: Full Rain Cover Without Losing Light
A solid roof blocks sun along with rain — a glass or polycarbonate roof panel with a skylight section is the way around that trade-off. It sheds water completely like a gable roof, but lets daylight through, so the covered area doesn’t feel like a dim tunnel under the house eave. It costs more than a plain shingled or metal roof of the same size because of the glazing material, but it’s worth considering wherever the covered area would otherwise lose most of its natural light.
- Pros: Full rain protection without sacrificing daylight.
- Cons: Higher material cost than a standard shingled or metal roof; needs proper flashing to avoid leaks.
“The single biggest mistake we see is someone building a full gable roof when a retractable awning would have solved the actual problem — usually just wanting shade for two or three hours in the late afternoon. Match the structure to the hours you’ll actually use it, not the most impressive option in the catalog.”
📊 A lattice pergola roof typically costs 2 to 3 times less than a solid gable roof of the same footprint. — Source: HomeGuide, 2026
Key Considerations Before You Build
Before diving into your project, there are a few important factors to think about:
1. Local Building Codes and Permits
This is super important for any construction project. You’ll likely need a permit from your local municipality, especially if your covered deck is a significant structure or attached to your house. These codes ensure your deck is built safely and up to standard. A quick call to your local building department can save you a lot of trouble down the line. You can often find information on deck construction and safety regulations from the International Code Council (ICC).
2. Deck Size and Placement
Measure your existing deck carefully. How much of it do you want to cover? Where will the support posts go to avoid obstructing your main deck area? Consider how the covered portion will flow with your home’s layout and your yard, and think about sunlight throughout the day — where do you want shade, and when?
3. Material Choices
Wood is a classic for a reason. Pressure-treated pine is a common and affordable choice, built to withstand the elements. Cedar and redwood offer natural beauty and better rot resistance but cost more. For the roofing surface itself, you can use wood shingles, metal roofing, polycarbonate panels, or fabric awnings for a temporary solution.
4. Budgeting
Be realistic about costs. As the style comparison above shows, the range runs from under $2,000 for a pergola to well over $20,000 for a full gable roof, so your budget will largely decide which style fits. For a fuller cost breakdown across deck types and sizes, see our guide on the average cost of a wood deck. Get quotes for lumber, roofing, and hardware, and don’t forget permit fees or tool rentals.
5. DIY vs. Professional Help
Assess your comfort level with DIY projects. Simple pergolas, shade sails, or basic lean-to covers can be great DIY challenges. For more complex designs like a full gable roof attached to your house, you might consider hiring a professional contractor, especially where structural integrity is a concern.
Essential Tools for Your Covered Deck Project
Having the right tools makes any woodworking project smoother and safer. Here’s a basic list of what you might need for building a covered wood deck:
- Tape measure and pencil
- Level (a long one is very helpful)
- Circular saw or miter saw for precise cuts
- Drill/driver with various bits
- Hammer, safety glasses, and work gloves
- Ladder or scaffolding
- Post hole digger, if adding new posts
- Speed square or combination square
- Clamps
Always ensure your tools are in good working order and that you understand how to use them safely. For basic tool safety, resources like the Occupational Safety and Health Administration (OSHA) offer valuable guidance.
Simplified Steps to Building a Basic Covered Deck Structure
Let’s break down the process for a common type of cover, like a simple lean-to or gable roof attached to your house. Adapt these steps based on your chosen design.
- Plan and lay out: Confirm your design, measurements, and materials, then mark support post locations with stakes and string lines and check for squareness and level.
- Install support posts: Dig post holes below your area’s frost line, set pressure-treated posts in concrete, and check they’re plumb before the concrete cures.
- Attach the ledger board or beams: Bolt the ledger board level to the house’s rim joist with proper flashing to keep water out of the siding, or set beams if the structure is freestanding.
- Install rafters: Measure and cut rafters to span from the ledger board or beam to the outer edge, then attach with hurricane ties or structural screws.
- Add roof sheathing: Fasten plywood, OSB, or wood planking over the rafters, angled slightly so water runs off.
- Install the roofing material: Follow the manufacturer’s instructions for shingles, metal panels, or polycarbonate sheets, with proper overlap and sealing to prevent leaks.
- Add finishing touches: Add trim, fascia, and soffits, install screen frames if you’re building a screened room, and consider guttering to direct water away from the foundation.
Covered Wood Deck Design Elements to Enhance Your Space
Once the basic structure is up, you can think about how to make your covered deck both beautiful and functional.
Lighting
Good lighting extends your deck’s usability into the evening.
- String lights: A festive, cozy ambiance.
- Recessed pot lights: A cleaner, integrated look.
- Wall sconces: Targeted light that can also improve security.
- Post cap lights: A subtle glow along the edges.
Fans
Ceiling fans under a covered deck are a lifesaver on hot, still days. They circulate air, making the space feel noticeably cooler and more comfortable.
Furnishings
Choose durable outdoor furniture in weather-resistant fabrics. A well-placed outdoor rug can define the space and add comfort underfoot, and outdoor curtains add extra shade and privacy.
Paint or Stain
Protect your wood and enhance its beauty with a quality exterior stain or sealant, in a color that complements your home’s exterior. For a full walkthrough of the process and product options, see our guide to deck stain and sealer. Regular reapplication is what keeps the wood looking good for years.
Heating Elements
For year-round use, consider outdoor heaters or a small outdoor fireplace or fire pit — with proper safety clearances from the roof structure and any wood surfaces.
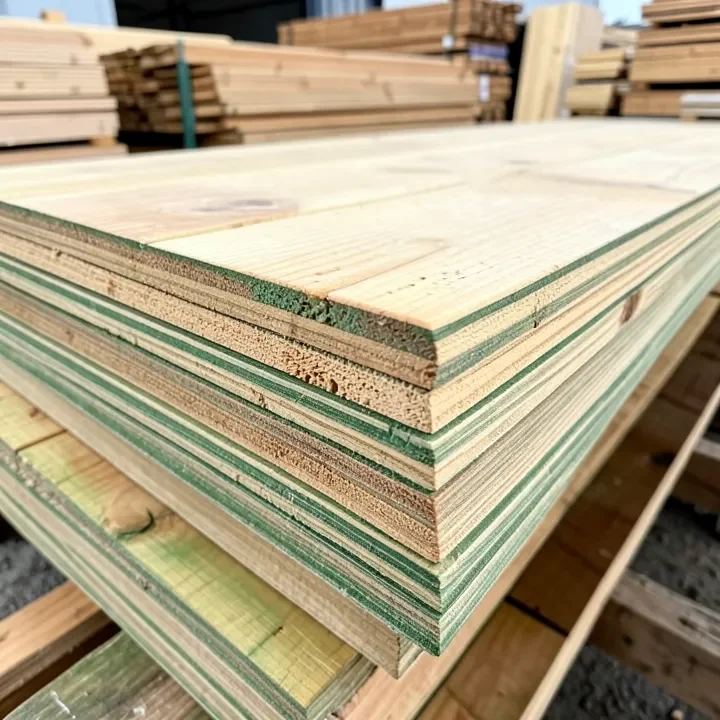
A Table of Material Pros and Cons
Choosing the right materials can make a big difference in cost, durability, and maintenance. Here’s a comparison of common wood types for decks and covers:
| Wood Type | Pros | Cons | Approximate Cost |
|---|---|---|---|
| Pressure-Treated Pine | Affordable, widely available, resistant to rot and insects. | Can warp or crack if not maintained. | $ |
| Cedar | Naturally rot- and insect-resistant, attractive grain, lightweight. | More expensive than pine, softer, prone to dents. | $$ |
| Redwood | Attractive color, naturally rot- and insect-resistant, durable. | Most expensive common wood option. | $$$ |
| Composite Decking | Low maintenance, highly durable, resistant to fading and rot. | Higher upfront cost, can get hot in direct sun. | $$$ |
Frequently Asked Questions (FAQ)
Do I need a permit for a covered deck?
In most areas, yes. Local building codes dictate when permits are required, often based on the size, height, and structural changes involved with a covered deck. It’s always best to check with your local building department.
How much does a covered wood deck cost?
Costs vary widely by style. A basic pergola runs $10–$40 per square foot ($1,450–$5,750 installed), while a fully framed gable roof extension runs $60–$155 per square foot, or roughly $14,000–$31,000 for a 200-square-foot deck, according to HomeGuide’s 2026 cost data.
What’s the easiest covered deck to build for a beginner?
A simple pergola or a basic lean-to roof structure are generally the easiest for beginners. Many kits are available for pergolas, which simplifies the process considerably.
How do I prevent my covered deck from rotting?
Use pressure-treated lumber for structural components, especially anything in contact with the ground. Apply a good quality exterior stain or sealant to all wood surfaces regularly (typically every 1-3 years), and pay extra attention under a solid roof, where trapped moisture takes longer to dry than on an open deck. Ensure proper drainage so water doesn’t pool on the deck.
Can I attach a covered roof to my existing deck?
Yes, you can. This often involves attaching a ledger board to your house and building a roof structure that extends over the deck. It’s crucial to ensure this attachment is done securely and properly flashed to prevent water damage to your home.
What kind of roofing material is best for a covered deck?
The “best” depends on your budget and aesthetic. Wood shingles offer a classic look. Metal roofing is durable, sheds snow well, and reflects heat when installed with a slight slope for drainage. Polycarbonate panels are lightweight, let light through, and suit rain protection. Asphalt shingles are a common, more affordable option.
How do I ensure my covered deck is safe?
Always follow local building codes. Use appropriate hardware (structural screws, joist hangers, hurricane ties). Ensure any posts are set in solid footings below the frost line. If attaching to your house, make sure the ledger board is properly secured and flashed. If you’re unsure about structural aspects, consult a professional or competent builder.
Conclusion
A covered wood deck is a project that pays off in how much more of the year you actually use your outdoor space. Match the style to the hours you’ll realistically spend out there and the budget you actually have — a $1,450 pergola solves a very different problem than a $20,000 gable roof, and both are valid answers depending on what you need. Plan carefully, follow your local codes, and choose materials that will hold up to your climate.
Sponsored / affiliate links. As an Amazon Associate I earn from qualifying purchases. I may earn additional commission from eligible campaigns.