How to Char Wood Furniture: Torch Method, Wood and Sealing
To char wood furniture, you burn the surface with a propane torch until it turns black and cracks, then brush and seal it. The method is shou sugi ban, and it is easy to ruin a piece with it: the flame stresses glue joints, unbalanced boards can warp, and loose soot rubs off on clothes until you clean and seal the surface. This guide covers torch distance, wood choice, joint prep, cooling times, and finishing, and points out where the published sources disagree with each other.
How to Char Wood Furniture: The Short Version
Best Torch for Charring Furniture
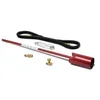 |
Red Dragon VT3-30C Vapor Torch Kit, 500,000 BTU ($116.56) A long-handled propane torch with a 3-inch bell that covers a wide patch of wood per pass, in the same 500,000 BTU class Fine Woodworking used to char a red oak stool.
|
Work outdoors on a non-flammable surface, hold a propane torch about 6 to 8 inches from the wood, and make one light pass over the whole piece before charring deeper. Let it cool, wire brush along the grain, wipe off the soot, and finish with oil or another sealer. The rest of this guide explains each step for furniture specifically. For the general technique and its history, see our full shou sugi ban guide.
What the Sources Say: Where They Agree and Disagree
Charring advice varies a lot online. We compared Fine Woodworking’s charred red oak stool project, RMP Finishes’ tung oil guide, and Bob Vila’s burnt wood finish article. Here is how they line up.
| Detail | Fine Woodworking | RMP Finishes | Bob Vila |
|---|---|---|---|
| Torch distance | 6 to 8 inches (500,000 BTU weed torch) | Not stated | 1 to 2 inch flame; propane torch reaching at least 1,000 F |
| Flame time | Three passes: light, deeper, final | 5 to 10 seconds to blacken; stop when the surface splits like fireplace logs | 5 to 10 seconds per 6-inch section |
| Cooling between passes | A few hours, then overnight, then overnight before finishing | Not stated | 5 to 10 minutes |
| Wood | Red oak (also cherry, walnut) | Cedar traditional; pine, maple, oak, hemlock work | Softwoods only; avoid teak and walnut |
| Finish | Stain, then oil | At least two coats of tung oil | Optional linseed or tung oil |
The biggest disagreement is cooling time, where one source waits hours and another waits minutes. Since you are charring a piece you will live with, the slower approach is the more cautious bet: you avoid stacking a deeper pass on wood that is not ready. The second disagreement, hardwoods, is covered next.
Myth Check: Do You Need Cedar or a Softwood?
A popular claim is that shou sugi ban only works on softwoods like cedar. Bob Vila says just that and rules out walnut and teak. But Fine Woodworking built a charred stool from red oak and names cherry and walnut as good candidates, and RMP Finishes lists oak and maple among woods that work while noting cedar is the traditional choice. The practical answer for furniture is that hardwoods can be charred, but the result depends on the board, so test a scrap first.
Build the Piece So It Survives the Torch
Furniture is not a flat plank, so prep matters more than it does for a fence board. Fine Woodworking’s stool build shows several habits worth copying:
- Sand off glue residue. Fine Woodworking sanded surfaces to remove glue residue before charring. High-grit sanding is not needed.
- Reinforce glued joints. The same build used dominoes because heat can stress glued areas. Mechanical joinery such as dominoes gives you insurance if a glue line is stressed.
- Alternate grain on tabletops. Alternating the grain orientation of the boards in a glued-up top helps prevent warping.
- Consider decorative keys. The same build epoxied bronze butterfly keys into joints, which doubles as a design feature.
If you scorch a piece by accident and did not want the look, see our guide to fixing burnt wood.
Step-by-Step: Charring the Furniture
- Set up outside. Use an open area such as a driveway, on concrete or metal, away from wind. Bob Vila says never to work indoors and to avoid windy days.
- Gear up. Safety glasses and fireproof work gloves, per Bob Vila. Keep a fire extinguisher within reach.
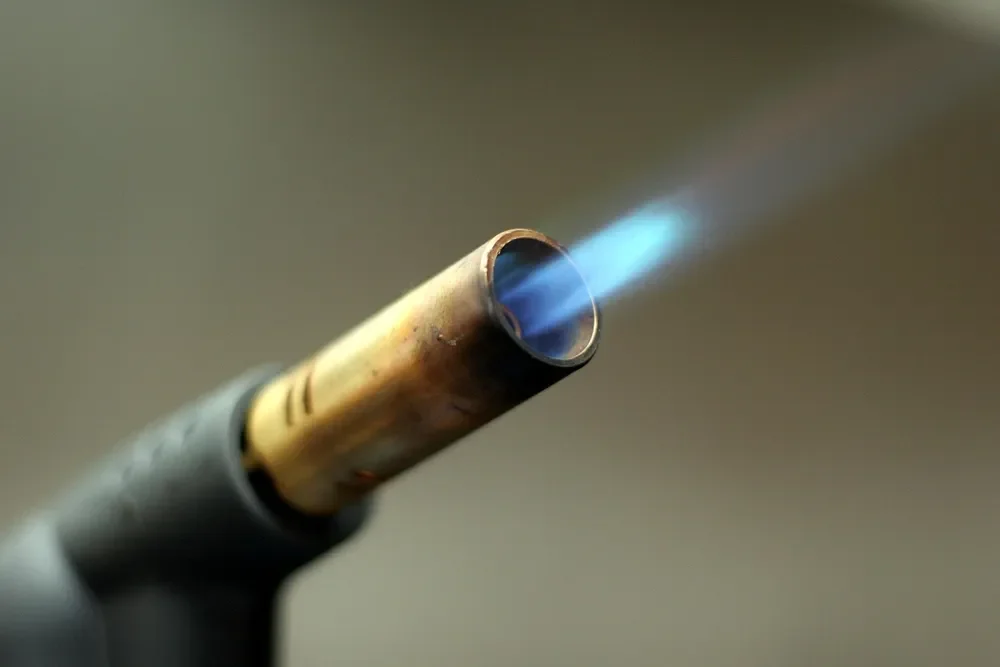
- Make a light first pass. Hold the torch about 6 to 8 inches away and sweep the whole piece to lightly blacken the surface. Fine Woodworking waited a few hours after this pass.
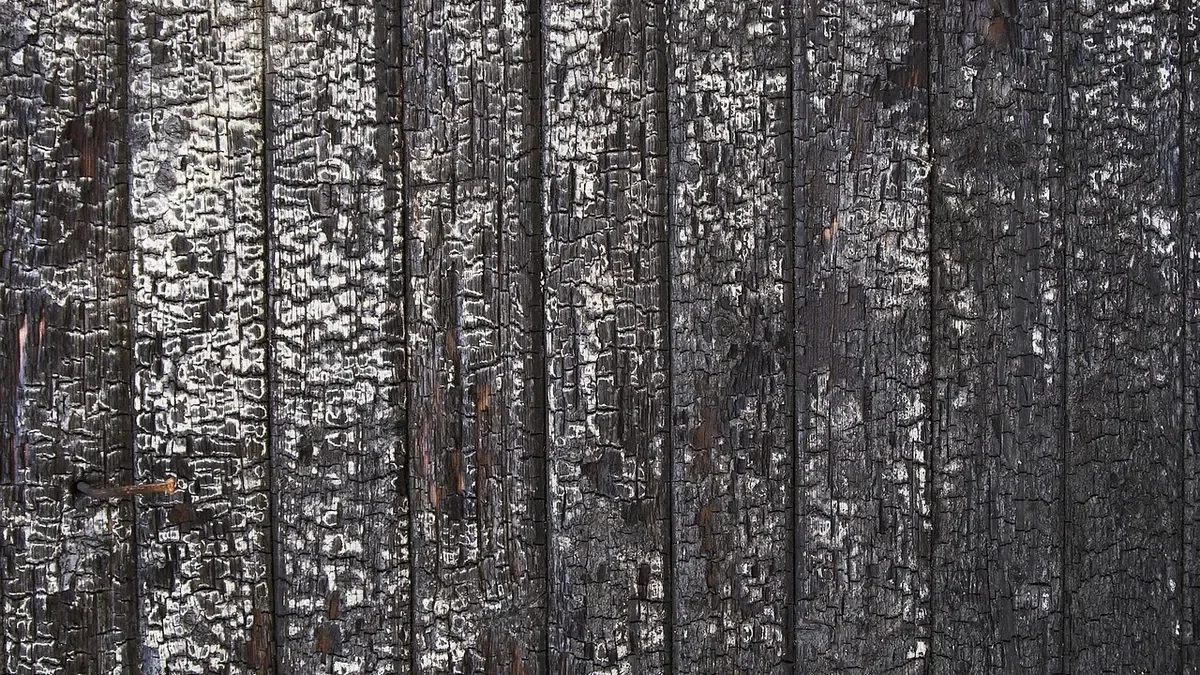
- Char deeper for texture. On the second pass, spend more time on each area until the surface starts to crack. RMP Finishes says end grain needs more heat than face grain, so expect table ends and leg bottoms to take longer.
- Stop when it looks right. RMP Finishes says to stop when the surface splits like fireplace logs. If cracks are forming faster than you want, Bob Vila says to increase the flame size to reduce intensity.
- Let it cool completely before you touch or move the piece.
Brush, Clean, and Seal the Char
Unbrushed char is soft and sooty. Wire brush or coarse sandpaper in the direction of the grain to control the look: RMP Finishes says minimal brushing leaves an alligator-skin texture, while more aggressive brushing reveals the grain, and Bob Vila adds that longer brushing gives a lighter color. Then remove the dust with a water-saturated cloth or an air compressor before you finish.
| Brushing level | Result | Good for (our judgment) |
|---|---|---|
| Light or none | Deep black, alligator-skin texture, more loose soot | Statement pieces, outdoor benches |
| Medium | Black with grain starting to show | Tables and shelves |
| Heavy | Lighter tone, grain fully revealed | Pieces that will be touched often |
For finish, RMP Finishes recommends pure tung oil for indoor projects with at least two coats and a heavier second coat on dry spots, and Bob Vila lists linseed or tung oil as optional protection. Fine Woodworking stained first and then oiled. Our guide to sealing charred wood goes deeper on sealer types.
Oily Rag Safety After Oiling
The oil step creates a second fire hazard that catches people after the torch is put away. Highland Woodworking explains that drying oils such as linseed and tung oil, and products based on them, release heat as they cure, and a wadded-up rag can insulate itself and catch fire. Its guidance is to spread rags flat or hang them to dry, or submerge them completely in a water-filled bucket, and once they are dry the hazard is over.
- Never bunch used rags in a pile or drop them in an indoor trash can.
- Lay them flat outdoors on a non-flammable surface until stiff, or keep them fully under water.
- Store the torch and propane tank away from the oil and rags.
Safety Checklist for Charring Furniture
| Hazard | What to do | Source |
|---|---|---|
| Carbon monoxide and smoke | Work outdoors only | Bob Vila |
| Stray flame | Non-flammable work surface, no wind, safe distance from anything flammable | Bob Vila; Fine Woodworking |
| Fire | Keep a fire extinguisher nearby | Bob Vila; Fine Woodworking |
| Burns and sparks | Safety glasses and fireproof gloves | Bob Vila |
| Rag fires | Spread flat or submerge in water | Highland Woodworking |
Care and Long-Term Durability
Once charred and sealed, care is simple: dust with a soft cloth and wipe with a barely damp one. Bob Vila suggests reapplying oil every 10 to 15 years on oiled surfaces, though indoor furniture that gets handled may look dry sooner, in which case a fresh coat is easy. To see how charred wood holds up outdoors, read how long charred wood lasts in the ground, and for whether charring really protects wood, see does burning wood preserve it.
How to Char Wood Furniture FAQ
Can you char wood furniture indoors?
No. Every source we read says to work outdoors. Bob Vila notes that a torch puts out carbon monoxide, and Fine Woodworking says to work outside, keep a safe distance from anything flammable, and keep a fire extinguisher within reach. Char the pieces in a driveway or yard, then bring them in only after they have cooled, been brushed, and been sealed.
What wood is best for charring furniture?
Sources disagree. Bob Vila recommends softwoods such as cedar, pine, and fir and calls walnut and teak too dense to char readily. Fine Woodworking charred a red oak stool and lists red oak, cherry, and walnut as working well. Because of that split, char a scrap of the exact board first and judge the result yourself.
How long does it take to char a piece of furniture?
It depends on size, but the flame time per spot is short. RMP Finishes says wood typically blackens after 5 to 10 seconds of exposure, and Bob Vila describes holding the flame over each 6-inch section for 5 to 10 seconds. The real time sink is cooling: Fine Woodworking waited a few hours after the first pass and overnight after the second and third.
Do you have to seal charred furniture?
Sealing is optional in the sources but wise for anything indoors. Bob Vila calls oil optional and says linseed or tung oil adds protection, and RMP Finishes recommends at least two coats of tung oil. Brush off loose char and wipe the surface before you oil it, and see our guide to sealing charred wood for sealer options.
How do you dispose of oily rags after oiling charred wood?
Never leave a wadded oily rag in a pile. Highland Woodworking says rags from drying oils such as linseed and tung oil must be spread flat or hung to dry, or fully immersed in a water-filled bucket, and once dry the combustion hazard is gone.
Bottom Line
Char furniture outdoors with a propane torch held 6 to 8 inches away, work in light-then-deeper passes, cool it fully, brush along the grain, and seal it before it comes inside. Sources disagree about hardwoods and cooling time, so test a scrap of your board and choose the cautious end of each range.
Sponsored / affiliate links. As an Amazon Associate I earn from qualifying purchases. I may earn additional commission from eligible campaigns.