How to Fix Burnt Wood: Scorch, Char and Deep Burn Repairs
Burnt wood can be fixed once you match the repair to the depth of the burn: light scorch sands out, charred wood has to be scraped to clean fibers and filled, and fire-damaged framing needs an inspector, not sandpaper. A white ring is not a burn at all. This guide covers a fingernail depth test, each repair step by step, color matching, and how to fix a wood-burning mistake.
What You Need to Fix Burnt Wood
| Best Pick for Patching Burnt Wood | |
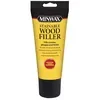 |
Minwax Stainable Wood Filler, 6 oz – $8.88 Fills the gouge left after you scrape charred wood down to clean fibers, and it accepts stain, which is the step most burn repairs get wrong.
|
| As an Amazon Associate we earn from qualifying purchases. | |
Most burn repairs use the same short kit. Gather it before you start so you are not tempted to skip the color-matching step later.
- Sandpaper in 120, 150, 180 and 220 grit, plus a sanding block
- A sharp utility knife blade or a cabinet scraper for lifting char
- A small chisel for deep burns (a sharp 1/4 inch chisel is enough)
- Stainable filler, such as the wood fillers compared on this site, and a flexible putty knife
- Matching stain, a small artist brush, and a topcoat that fits the existing finish
- A respirator or dust mask, safety glasses and a tack cloth
If you are matching an existing stain, do the color test on the underside of the piece or a scrap of the same species. Filler and bare sanded wood both look very different once finish goes on, and the test spot saves you from redoing a whole tabletop.
How Deep Is the Burn? Test Before You Sand
Sanding is the wrong first move for two of the four cases below. Drag a fingernail across the mark, then press an awl or the tip of a knife into it. How the mark feels tells you which repair to use and stops you from sanding through a thin veneer.
| Level | What you see | Quick test | Fix |
|---|---|---|---|
| Finish damage only | White or cloudy ring, or blistered varnish; wood looks normal under it | Nail does not catch; no black | Repair the finish, not the wood |
| Light scorch | Brown or tan stain, surface still hard and smooth | Nail glides over it | Sand out with 120 to 220 grit |
| Char | Black, rough or flaky patch | Black rubs off on a fingertip; awl sinks in slightly | Scrape to clean fibers, then sand and fill if pitted |
| Deep burn | Crater, cracks or soft, crumbly wood | Awl tip sinks in easily | Chisel out and fill or inlay a patch |
Two quick calls before you commit. A white ring from a hot mug or pot is moisture trapped in the finish, so sanding into the wood removes healthy material for nothing; see how to repair furniture finish and water rings instead. And soot from a candle wipes off with a damp cloth, so check that before you assume the wood is scorched.
For a table-top or deck with a burn mark, our separate guide to removing burn marks from wood covers the surface-level marks and deck boards. This page focuses on what to do when the wood itself is scorched, charred or burned through.
Check veneer first. Modern veneers are often only around 1/40 inch (0.6 mm) thick, so a few passes with 120 grit can cut straight through the burn and the veneer with it. On veneer, use a scraper or 180 grit and stop as soon as the black is gone.
Fixing a Light Scorch on Wood
A light scorch has only browned the surface fibers, so removing a thin layer takes the mark with it. Work slowly and stay with the grain, because cross-grain scratches show up under stain.
- Wipe the area with a damp cloth and let it dry.
- Sand with 120 grit along the grain, checking every few strokes. Stop when the brown is gone.
- Move to 150, then 180, then 220 grit, feathering a few inches beyond the mark so the sanded patch does not read as a rectangle.
- Vacuum and wipe with a tack cloth.
- Stain a hidden test spot, then the repair, then apply the same topcoat as the rest of the piece.
If the brown stain is deeper than sandpaper should reach, a two-part wood bleach can lighten discoloration, but it does not remove char. It only changes color, so use it after the black is gone, never as a substitute for scraping.
Removing Charred Wood Down to Clean Fibers
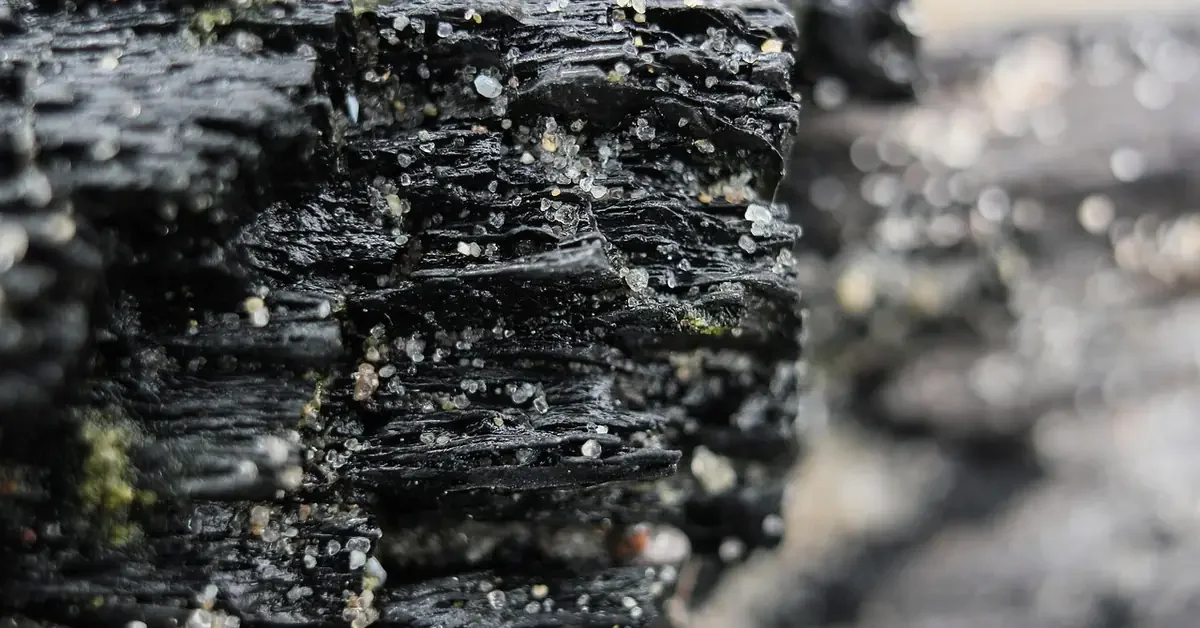
Char is carbon, and it will bleed through stain and finish if any is left. The fix is mechanical: take the charred layer off until the wood underneath looks like ordinary wood.
- Put on a dust mask and safety glasses. Charred wood makes fine, black dust.
- Hold a utility knife blade or cabinet scraper nearly perpendicular to the surface and scrape the black away in short strokes.
- For cigarette-sized burns, scrape only the burn, keeping the edges gently sloped so they blend.
- Check the bottom of the burn: if you see pale, normal-looking wood, stop scraping.
- Sand the area lightly at 180 grit, then 220, and inspect in raking light from the side.
If a shallow, clean pit remains, fill it with stainable filler after the scrape. A very small pit can also be filled with a color-matched wax filler stick, but wax softens with heat, so it is a poor choice on a tabletop that will see hot dishes again.
Patching Deep Burns and Craters
A deep burn has removed enough wood that the surface is no longer solid. Chisel out the damaged wood so the hole has clean, firm walls, then choose between filler and an inlay.
- Filler: fine for craters up to roughly the size of a coin. Press it in with a putty knife and build it in thin layers of about 1/4 inch or less, sanding each cured layer, so it does not shrink and crack.
- Inlay patch: for larger burns, cut out a neat rectangle or diamond, glue in a matching piece of the same species with the grain running the same way, and plane or sand it flush. The tighter the fit, the less the seam shows.
- Burn-in stick: furniture restorers melt shellac sticks into the void with a heated knife. It gives a very hard, level fill but takes practice, so try it on scrap first.
For paint-grade work, a filler that takes paint well is fine; our guide on whether you can paint over wood filler explains the differences between fillers and putty.
Burnt Finish vs. Burnt Wood
On finished furniture, a lot of what looks burned is actually the topcoat. Heat can blister, cloud or soften varnish and lacquer without charring the wood beneath. If the blistered area lifts with a scraper and the wood underneath is clean, you only need to strip that spot and refinish it. Our guide to removing polyurethane from wood covers stripping without damaging the surface below. If the wood is brown or black once the finish is off, go back to the depth table above.
Matching Color and Refinishing the Repair
Filler, sanded scorch and untouched wood all absorb stain differently, so expect the patch to look lighter or flatter than the surrounding grain. Three habits help.
- Test stain on scrap or a hidden spot first, and apply thin coats, letting each dry before judging color.
- Tint the fill with a small brush of thinned stain or an artist pigment, and draw in a couple of grain lines with a fine brush to break up the patch.
- Finish with the same sheen and product as the rest of the surface; a glossy patch on a satin table stands out more than a slightly off color.
On raw wood, seal before staining if the species blotches. Let the finish cure fully before returning hot dishes or candles to the surface.
How to Fix a Wood Burning Mistake
If you slipped with a pen while burning a design, the mark is usually shallow, so it can be sanded out. Lightly sand the spot with 150 to 220 grit, keeping the area small and following the grain. Burning over a mistake does not correct it; it only makes the line darker and deeper.
For a deep or wandering line, scrape or sand the area flush first, then re-burn on the fresh surface or turn the error into part of the design. If you are choosing equipment to avoid slips, see the best wood burning kits for pens with adjustable heat.
Fire-Damaged Wood and Smoke Smell
Fire damage to framing, joists or beams is a different job from a burn mark. The question is how much sound wood remains, not how the surface looks after sanding.
Solid wood chars at a nominal 1.5 inches per hour in standard fire-resistance calculations. Source: American Wood Council, TR 10
That rate is why a thick beam can keep most of its strength under a char layer, while a thin member such as a 2×4 (1.5 inches actual thickness) can lose a large share of its section quickly. Do not sand and paint over burned load-bearing lumber. Have a building inspector or structural engineer decide whether it stays, gets sistered, or gets replaced.
For lingering smoke odor on furniture or trim, sanding removes much of it, and a shellac-based primer sealed beneath the finish blocks what is left. See our comparison of the best shellac-based primers.
How to Prevent Burns on Wood
- Use trivets under hot pots, and coasters or pads under hot mugs; heat can soften finish long before it scorches wood.
- Keep candles in holders that lift the flame away from the surface, and never leave one burning unattended.
- Do not rest cigarettes or soldering irons on furniture edges.
- Keep a maintained finish on tables; see our wood care and protection guide for upkeep.
Frequently Asked Questions
Can Burnt Wood Be Repaired?
Yes, in most cases. Light scorch sands out, charred wood can be scraped to clean fibers and filled, and deep burns can be patched with an inlay. The exception is fire-damaged structural lumber, where the remaining strength has to be judged by an inspector or engineer, not by how it looks after sanding.
Can You Reverse Burnt Wood?
No. Burning permanently changes the wood into char, so the dark color cannot be bleached or reversed. What you can do is remove the charred layer until you reach unburned wood, then fill and refinish so the repair blends in.
How Do You Fix A Burn On Wood?
Test the depth first. If your fingernail does not catch, sand along the grain from 120 to 220 grit. If the burn is black and flaky, scrape it out to clean fibers, fill in thin layers with stainable filler, sand flush, then stain and refinish.
How To Fix A Wood Burning Mistake?
Sand the mark out with 150 to 220 grit paper, working with the grain. Do not burn over it again, since that only darkens it. If the line is deep, scrape it flush first, and either re-burn on the fresh surface or work the mistake into the design.
Does The Burnt Smell Go Away From Wood?
Often not fully. Smoke and char odor sits in the surface fibers, so sanding removes much of it. On furniture or framing that still smells afterward, a shellac-based primer sealed under the finish is the usual way to lock the rest in.
Conclusion
Fixing burnt wood comes down to depth. Test with a fingernail and an awl, sand only light scorch, scrape char to clean fibers, fill or inlay deep burns, and match the color on a test spot before touching the visible area. Leave burned structural lumber to a professional. Done in that order, most burns disappear without replacing the piece.
Sponsored / affiliate links. As an Amazon Associate I earn from qualifying purchases. I may earn additional commission from eligible campaigns.