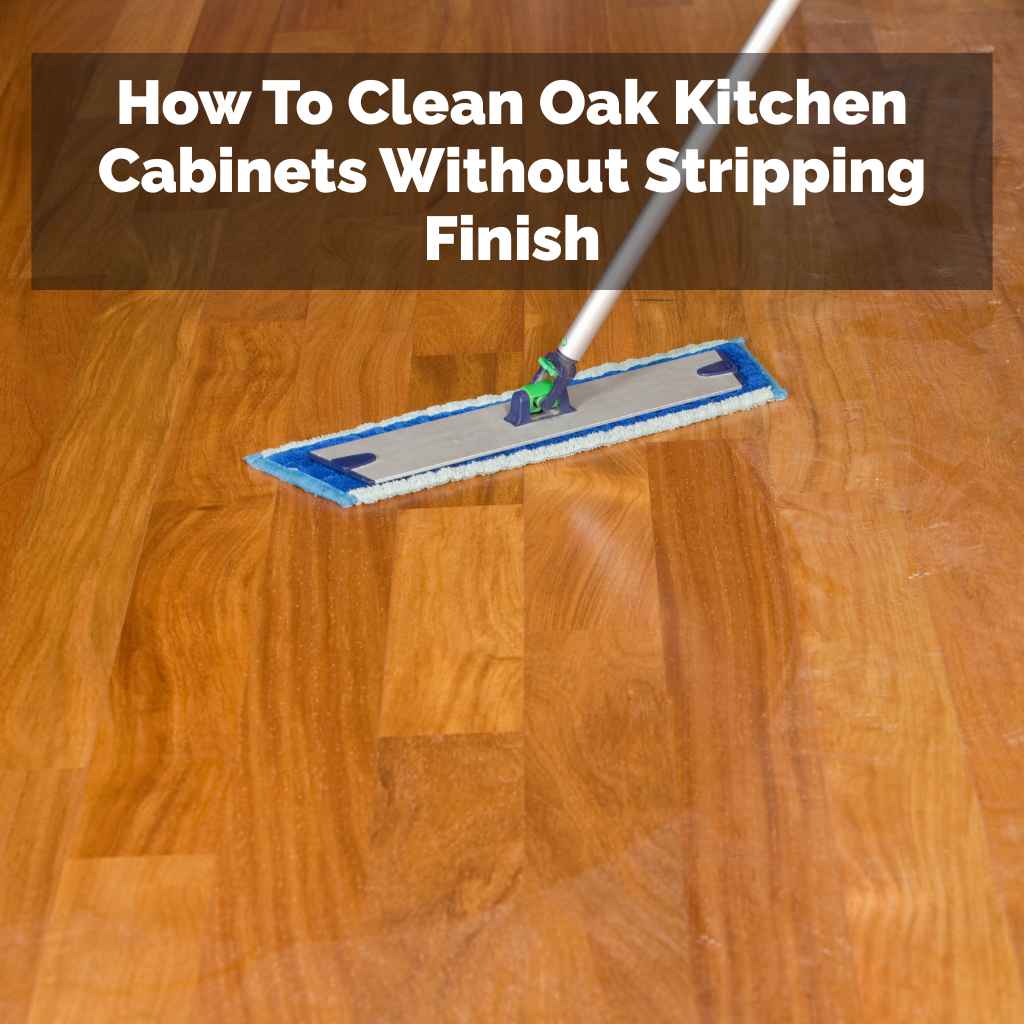
How To Clean Oak Hardwood Floors The Right And Safe Way
You can clean oak hardwood floors by sweeping or vacuuming regularly to remove loose dirt. Then, use a damp (not wet) mop with a pH-neutral cleaner specifically made for wood floors. Always follow the grain of the wood and dry any standing moisture.
Understanding Your Oak Floors
Oak floors are popular for good reason. They are strong and look great. But wood is a natural material.
It can react to moisture. It can also be scratched. Knowing how your oak floor is finished is key.
Most oak floors have a protective coating. This coating is usually polyurethane. It sits on top of the wood.
It helps keep dirt and spills out.
This finish is your first line of defense. It means you don’t have to seal the wood again. But you still need to be careful.
The finish can get worn down. Harsh cleaners can dull it. Too much water can seep into the wood itself.
This can cause warping or discoloration over time. So, cleaning isn’t just about looks. It’s also about protecting your investment.
There are two main types of finishes to consider. There’s a surface finish, like polyurethane. This is most common.
Then there’s a penetrating finish. This soaks into the wood. It’s less common for modern floors.
If you’re not sure, a good rule of thumb is to assume it’s a surface finish. If your floor feels smooth and has a bit of a sheen, it likely has a surface coat.
The Importance of Regular Sweeping and Vacuuming
Before any mopping, you need to get rid of loose stuff. Think dust, dirt, and pet hair. This is the first, and perhaps most important, step.
It prevents scratching during mopping. Small grit can act like sandpaper. Dragging it around with a wet mop is a recipe for tiny scratches.
A soft-bristle broom is a good tool. Sweep with the direction of the wood grain. This helps collect dust efficiently.
Make sure your broom isn’t old and stiff. Those bristles can also scratch. For very fine dust, a microfiber broom can work well.
They trap dust particles better.
Vacuuming is also an option. Many vacuums have a setting for hard floors. Or they have a brush roll you can turn off.
This is vital. A spinning brush roll can scratch your floor. Look for a vacuum with a good “hard floor attachment.” This is usually a brush with soft bristles.
It glides over the floor. It sucks up debris without digging in.
Pay special attention to high-traffic areas. These spots gather more dirt. Think entryways, kitchen areas, and hallways.
Regular sweeping or vacuuming here makes a big difference. It reduces wear and tear. It also makes your deeper cleaning sessions easier.
You’re starting with a clean slate. This simple step saves your floors a lot of stress.
Choosing the Right Cleaner for Oak Floors
This is where many people get stuck. What cleaner is safe? What cleaner works best?
The wrong cleaner can damage your oak floor’s finish. It can leave residue. It can even dull the shine over time.
We need something gentle but effective.
The best bet is always a cleaner made for wood floors. Look for one that says “pH-neutral.” This means it won’t be too acidic or too alkaline. Both extremes can harm the wood finish.
Many brands offer specific wood floor cleaners. Some are sprays. Some are concentrates you mix with water.
What about common household cleaners? Most of them are a no-go. Window cleaner, all-purpose sprays, and anything with ammonia are out.
Vinegar is often suggested. But it’s acidic. While diluted vinegar can be used sparingly, it’s risky.
It can dull the finish over time. Stick to cleaners designed for wood. They are formulated with your floor’s health in mind.
You might also see “mop and shine” products. Be careful with these. Some leave a waxy buildup.
This can make your floors slippery. It can also make future cleaning harder. They can hide scratches temporarily.
But they don’t truly clean. A simple, pH-neutral cleaner is usually the best choice for long-term care.
Water is also a cleaner, of course. But it’s a dangerous one for wood. We’ll talk more about that.
For now, focus on a good quality, wood-specific cleaner. Read the label. Make sure it’s suitable for finished hardwood floors.
If you’re unsure, a quick online search for the product name and “oak floors” can help.
Wood Floor Cleaner Checklist
When buying a cleaner, check for:
- pH-Neutral: Safe for most wood finishes.
- Wood Floor Specific: Avoid general cleaners.
- No Residue: Look for formulas that dry clean.
- No Waxes or Silicones: These can build up.
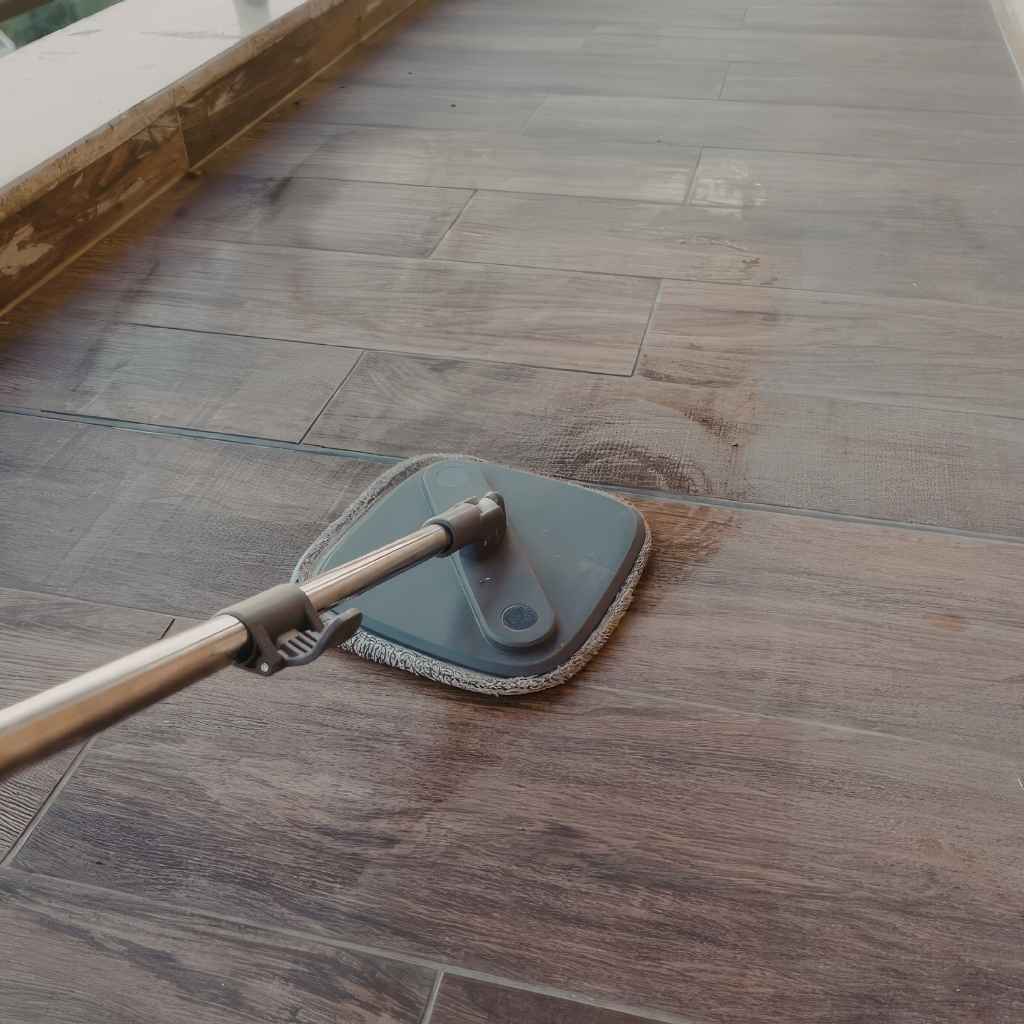
The Art of Damp Mopping
Mopping is where most mistakes happen. The biggest enemy of hardwood floors is too much water. Water can seep into the wood.
It can cause swelling. It can lead to cupping or warping. It can also damage the finish over time.
So, “damp” is the magic word. Not wet. Not soaked.
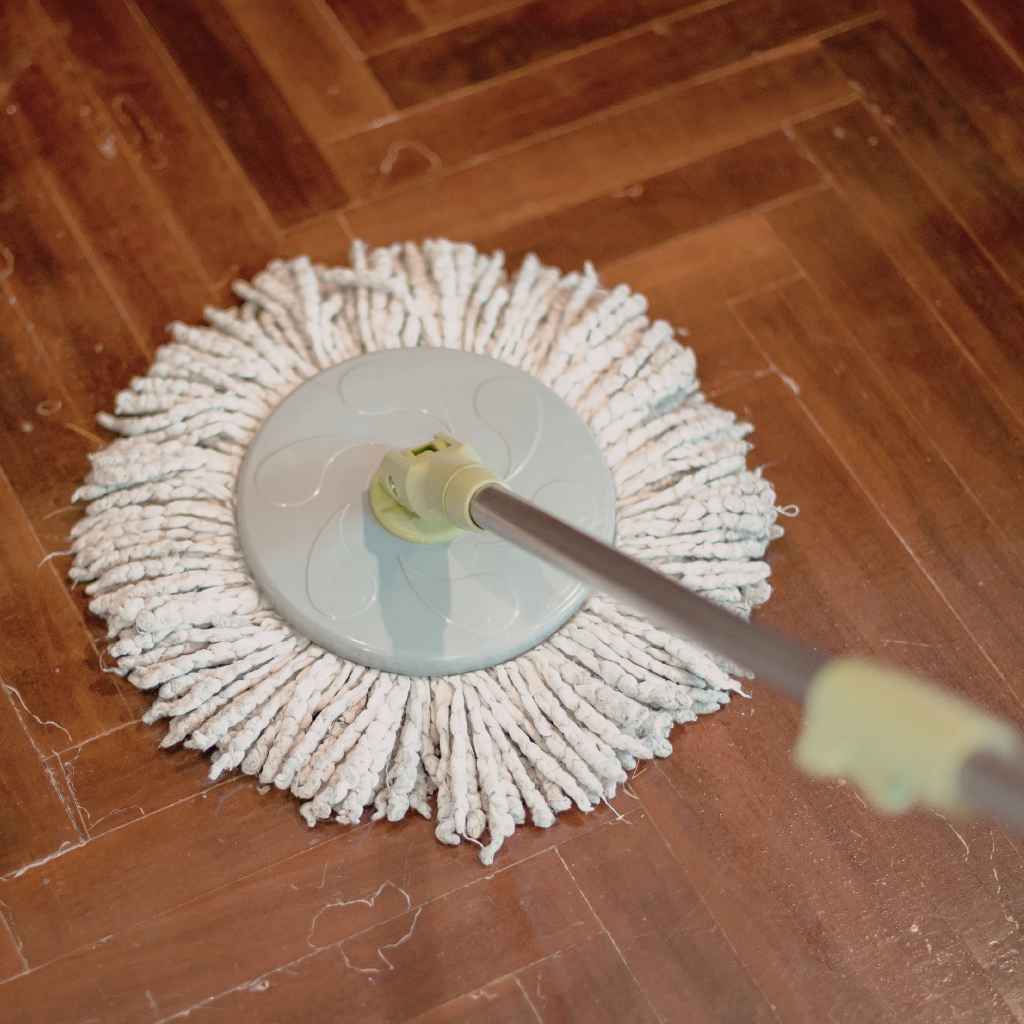
A microfiber flat mop is your best friend here. Why microfiber? It picks up dirt well.
It doesn’t hold a lot of water. And it allows you to control moisture easily. Dip the mop head in your cleaning solution.
Then, wring it out thoroughly. You want it to be barely damp. It should feel almost dry to the touch.
When you mop, go with the grain of the wood. This helps lift dirt. It also helps the floor dry faster.
Don’t let water sit on the floor. If you see puddles, you’re using too much water. Or you’re not drying the area quickly enough.
Work in sections. Mop a small area. Then, if needed, go back with a dry microfiber cloth or a dry mop.
Buff the floor to ensure it’s completely dry. This is especially important in humid climates. Or if you have a lot of natural light that can highlight streaks.
Some people use spin mops. These can work, but you still need to be very careful. Make sure you wring out as much water as possible.
The goal is a very light mist. It should evaporate quickly. If your mop leaves the floor looking shiny with wetness, it’s too wet.
Think of it like this: You’re wiping the floor, not washing it. A good damp mop will lift grime. It will not saturate the wood.
This technique protects the wood. It keeps the finish looking its best. It also prevents water spots and streaks.
Damp Mopping Quick Tips
- Use Microfiber: It’s absorbent and traps dirt.
- Wring It Out: The mop should be almost dry.
- Follow the Grain: Mop in the direction of the wood planks.
- Work in Sections: Don’t let water sit.
- Dry if Needed: A dry mop or cloth helps.
What NOT to Do: Common Cleaning Mistakes
It’s easy to make mistakes when cleaning wood floors. Some are common. Some are surprisingly common.
Knowing these pitfalls can save your floors a lot of grief.
First, never use a steam mop on oak floors. Steam is hot water vapor. It is very wet.
It can force moisture into the wood. It can damage the finish. Many manufacturers explicitly warn against steam mops.
If you have one, save it for tile or sealed concrete.
Second, avoid abrasive cleaners. This includes powders. It also includes scrub brushes with stiff bristles.
These can scratch the finish. They can leave dull marks. Even things like steel wool are a big no-no.
They will ruin the surface.
Third, avoid oil-based soaps or waxes. These can build up on the finish. This buildup is hard to remove.
It can make the floor slippery. It can also dull the shine. Some older floors might have been waxed.
But modern polyurethane finishes don’t need it. They can actually be harmed by it.
Fourth, don’t over-wet your mop. We’ve stressed this, but it bears repeating. Too much water is the enemy.
Always err on the side of too dry. It’s better to do a second pass with a dry mop than to risk water damage.
Fifth, don’t use cleaners not made for hardwood. Things like all-purpose cleaners, bleach, or ammonia are too harsh. They can strip the finish.
They can discolor the wood. Always read the label. If it doesn’t say “hardwood floors,” put it back on the shelf.
Finally, don’t forget to clean up spills quickly. Especially water, pet accidents, or anything sticky. These can stain the wood if left to sit.
A quick wipe-up with a damp cloth can save you a lot of trouble.
Cleaning Mistakes to Avoid
- Steam Mops: NO. Too much moisture.
- Abrasive Cleaners/Pads: NO. They scratch.
- Oil Soaps/Waxes: NO. They build up.
- Excess Water: NO. Can cause damage.
- General Household Cleaners: NO. Too harsh.
- Leaving Spills: NO. Can stain.
Dealing with Stubborn Stains and Scuffs
Sometimes, even with careful cleaning, you’ll encounter a stubborn spot. Maybe it’s a scuff mark from a shoe. Or a sticky residue from something spilled.
These require a little extra attention.
For scuff marks, often a clean pencil eraser can work wonders. Gently rub the scuff. If that doesn’t work, try a tennis ball.
Rub the scuff with the fuzzy side of the ball. It’s surprisingly effective and gentle.
For sticky residue, a microfiber cloth dampened with a bit of your wood floor cleaner is usually enough. If it’s really stuck, you might need to let the cleaner sit for a minute. Then gently wipe it away.
Never use a knife or razor blade to scrape. You’ll likely scratch the finish.
Ink stains can be tough. For fresh ink, blot it up immediately. If it’s dried, you might need a specialized wood cleaner.
Or, in some cases, a very light sanding might be required, but that’s a job for a professional or someone with experience.
Grease spots can also be tricky. Sprinkle cornstarch or baking soda on the spot. Let it sit for a few hours or overnight.
This will help absorb the grease. Then gently sweep it up. Follow up with a damp cloth.
This trick often works well.
For water spots or rings, sometimes they are just surface issues. Try buffing them with a dry, soft cloth. If it’s a white ring, it might mean moisture has gotten into the finish.
A gentle buff with a bit of paste wax (if your floor can take it) might help. But be cautious and test in an inconspicuous spot first.
If you have dark spots, it might mean water has soaked into the wood. These are harder to fix. It might require sanding and refinishing that area.
Always try the gentlest methods first. Professional help is best for deep stains.
Tackling Tough Spots
- Scuff Marks: Try a pencil eraser or tennis ball.
- Sticky Residue: Damp microfiber cloth with wood cleaner.
- Grease Stains: Cornstarch or baking soda to absorb.
- Ink Stains: Blot immediately. Specialty cleaner for dried ink.
- Water Spots: Buff with a dry cloth. Paste wax carefully if needed.
Maintaining the Shine: Buffing and Polishing
Keeping your oak floors looking their best involves more than just cleaning. It’s about maintaining that natural shine. This is where buffing comes in.
Buffing helps to bring out the luster. It also helps to remove light scuffs.
You can use a dry microfiber cloth for this. After cleaning and ensuring the floor is dry, simply buff the surface. Go in the direction of the wood grain.
It’s like polishing a piece of furniture. It doesn’t take much effort. A quick buff can make a noticeable difference.
There are also buffing machines you can rent or buy. These are usually for larger areas. They have pads that spin.
They can restore shine quickly. If you use one, make sure it’s set for hardwood floors. And again, ensure the floor is completely clean and dry beforehand.
Any grit can be ground into the floor by the machine.
For an extra boost of shine, some people use a wood floor polish. However, this is where you need to be very careful. Polishes can sometimes contain waxes or silicones.
These can build up over time. They can create a slippery surface. Or they can make future cleaning difficult.
If you choose to use a polish, pick one specifically designed for polyurethane finishes. And always, always test it in a small, hidden area first. Apply it according to the directions.
Let it dry completely. Check for any stickiness, slipperiness, or dullness. If it looks good, you can then apply it to the rest of the floor.
Often, a good cleaning and a thorough buffing are all you need. Over-polishing can sometimes do more harm than good. It can mask the natural beauty of the oak.
It can also create maintenance issues down the line. Less is often more when it comes to shine.
Shine Maintenance
- Buffing: Use a dry microfiber cloth after cleaning.
- Direction: Always buff with the wood grain.
- Machines: Use cautiously on hardwood settings.
- Polishes: Choose wisely. Test first. Avoid buildup.
- Less is More: Often, a good clean and buff suffice.
Real-World Context: My Own Oak Floor Story
I remember one time, about five years ago. We had just bought our first house. It had these gorgeous, old oak floors throughout the living room.
They had seen better days. There were scratches, some dark spots near the patio door, and a general dullness. I was so excited to make them shine.
I went to the store and bought the strongest-looking wood floor cleaner I could find. It had a picture of a gleaming floor on the bottle. Big mistake.
The first mop-down was a disaster. The cleaner smelled strong, like chemicals. It left streaks everywhere.
It didn’t look cleaner, just… streaky. I tried rinsing. I tried going over it with plain water.
Nothing seemed to help. The floor looked worse than before. I felt a wave of panic.
I had just spent money on a cleaner that ruined my beautiful floors.
That’s when I realized I needed to research. I learned about pH levels. I learned about the danger of too much water.
I discovered the magic of microfiber. I found a simple, pH-neutral cleaner. I bought a good microfiber flat mop.
The next time, I swept first. Then, I used a barely damp mop. I worked in small sections.
I followed the grain.
The difference was incredible. The streaks vanished. The dullness seemed to lift.
The wood looked like itself again, but cleaner and brighter. It wasn’t about using a powerful chemical. It was about using the right technique and the right gentle product.
That experience taught me a huge lesson. For oak floors, kindness and consistency are key. It’s not about brute force cleaning.
It’s about care.
Protecting Your Oak Floors Long-Term
Cleaning is reactive. Protection is proactive. Taking steps to prevent damage will make cleaning easier.
It will also extend the life of your beautiful oak floors.
Use doormats. Place them at all exterior entrances. This traps dirt, sand, and moisture before it ever touches your wood.
Inside, use rugs in high-traffic areas. Hallways, the area in front of the sofa, and the kitchen are prime spots. These rugs protect the finish from wear.
Add felt pads to furniture legs. This is a game-changer. Chairs, tables, sofas – anything that moves.
Put felt pads on the bottom. This prevents scratches when furniture is moved. Check them regularly.
They can wear out or fall off.
Keep pet nails trimmed. Dogs and cats can leave tiny scratches with their nails. Regular nail trims help minimize this.
For cats, scratching posts are essential. For dogs, a quick trim can save your floor.
Wipe up spills immediately. We mentioned this, but it’s worth repeating. Don’t let water or other liquids sit.
They can stain or damage the wood. Have a soft cloth handy for quick cleanups.
Be mindful of sunlight. Direct sunlight can fade wood over time. Use curtains or blinds to block harsh rays.
This is more about appearance than damage. But it helps keep the color consistent.
Avoid wearing high heels or cleats indoors. These can dent or scratch the wood. If you have guests, gently suggest they remove them.
It’s a small request that protects your floors.
Finally, schedule deep cleans appropriately. For most homes, a thorough clean once a month is enough. More frequent damp mopping might be needed in kitchens or entryways.
But avoid over-cleaning. It can wear down the finish.
Proactive Protection Steps
- Doormats: Place at all entrances.
- Area Rugs: Use in high-traffic zones.
- Felt Pads: Attach to furniture legs.
- Trim Pet Nails: Minimize scratches.
- Wipe Spills: Act fast on any liquid.
- Sunlight Control: Use blinds or curtains.
- Footwear: Avoid heels and cleats indoors.
What This Means for You: When is it Normal?
So, what does all this mean for you? It means you can keep your oak floors looking beautiful. You don’t need harsh chemicals.
You don’t need complicated routines. Most of the time, normal wear and tear is just that. A few light scratches are normal.
A little dullness after a busy week is normal.
The key is to differentiate between normal wear and actual damage. If your floors are constantly wet. If the finish is peeling.
If you see swelling or warping. That’s not normal. That’s a sign something is wrong.
It could be too much water. It could be a failing finish.
Minor scuffs from shoes? Normal. Deep gouges from dropping something heavy?
Not normal, and needs repair. Faint lines from furniture legs? Normal if not protected.
Significant dents where the wood itself is damaged? Needs attention.
If you notice your floors look dull, it’s likely time for a good cleaning. Or maybe a gentle buff. It’s not a sign of permanent damage.
It’s just a cue that they need a little TLC. Think of it like grooming a pet. Regular care keeps them looking and feeling their best.
When in doubt, always go for the gentlest approach first. A soft cloth and a pH-neutral cleaner. Followed by a thorough drying.
If that doesn’t work, then consider slightly more intensive methods. But start simple. This will usually solve the problem without causing new ones.
Quick Tips for a Sparkling Finish
Here are some easy-to-remember tips. Keep these in mind for daily and weekly care.
- Sweep daily: Especially in entryways and kitchens.
- Vacuum weekly: With a hard floor setting.
- Damp mop weekly/bi-weekly: Using pH-neutral cleaner.
- Wring mop well: Almost dry is the goal.
- Follow grain: When sweeping, mopping, or buffing.
- Dry immediately: If any standing moisture appears.
- Protect furniture: Felt pads are your friend.
- Clean spills fast: Don’t let them sit.
Frequently Asked Questions about Cleaning Oak Floors
Can I use a wet mop on my oak floors?
No, it is strongly advised against using a wet mop on oak hardwood floors. Excessive water can seep into the wood, causing swelling, warping, and damage to the finish. Always use a barely damp mop.
What is the best cleaner for oak hardwood floors?
The best cleaner for oak hardwood floors is a pH-neutral cleaner specifically designed for wood floors. These cleaners are gentle on the finish and do not leave a harmful residue.
How often should I clean my oak floors?
You should sweep or vacuum your oak floors daily or every other day, especially in high-traffic areas. A damp mop cleaning is typically recommended once a week or once every two weeks, depending on usage and your climate.
Can I use vinegar to clean my oak floors?
While some people use diluted vinegar, it is generally not recommended for regular cleaning of oak hardwood floors. Vinegar is acidic and can dull the finish over time. It’s safer to stick with pH-neutral wood floor cleaners.
What should I do about scratches on my oak floors?
For light scuff marks, a pencil eraser or a tennis ball can often remove them. Deeper scratches may require professional repair, such as sanding and refinishing, to restore the floor’s appearance and finish.
Are steam mops safe for oak hardwood floors?
No, steam mops are not safe for oak hardwood floors. The heat and moisture from steam can penetrate the wood and damage the finish, leading to warping and other issues. Always check your floor manufacturer’s recommendations.
Conclusion
Keeping your oak hardwood floors clean is about consistency and care. It’s not about harsh chemicals or complicated steps. By sweeping regularly, using a damp mop with the right cleaner, and protecting your floors from excess moisture and scratches, you can maintain their beauty for years.
Enjoy your beautiful, clean oak floors!