How to Draw Curves on Wood: Trammel Points, Battens and Nails
Use a trammel point for a true circular arc, a bent batten pinned to nails for a free-form curve, or two nailed strips for a shallow rise — a French curve template only works if the shape you need happens to match its edge. Picking the wrong method is why hand-drawn curves come out lumpy or asymmetric. This guide covers all three methods, plus how to transfer the line to a clean cut.
Pick the Right Method for Your Curve
Best Flexible Curve Template Pick
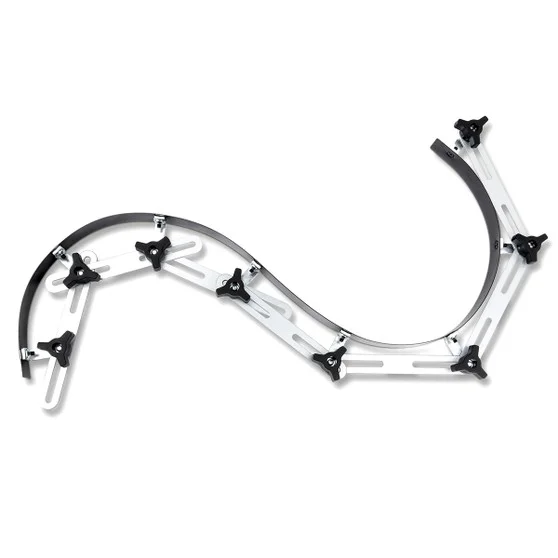 |
POWERTEC 71800 Flexible Curve Template, 37″ and 107″ Set – $117.79 This is a segmented, lockable version of the batten method described below — each hinge locks in place with a knob, so you can bend it into a curve, lock it, and trace it as many times as you need without re-bending a wooden strip from scratch.
|
Not every curve is drawn the same way. Match the shape you actually need to one of these four approaches before you pick up a pencil:
| Curve Type | Best Method |
|---|---|
| True circular arc (known radius) | Trammel points (beam compass) |
| Irregular, flowing curve (like a boat hull or chair back) | Bent batten pinned to plotted points |
| Shallow arc, known width and height | Two strips pinned and pressed to a peak |
| Same curve repeated on multiple boards | Rigid or lockable template |
Trammel Points for a True Circular Arc
A trammel (also called a beam compass) is a compass scaled up for arcs too large for a standard compass to reach. It’s just a beam with a pivot pin on one end and a pencil at a fixed distance from it — the distance between the two sets the radius.
- Mark the center point: Find the pivot point for your arc’s radius and drive a small nail or awl point there.
- Set the beam: Use a straight, thin strip of wood or a metal trammel bar. Drive a point through one end to catch on the pivot nail.
- Mount the pencil: Attach a pencil at the exact distance from the pivot point equal to your desired radius.
- Swing the arc: Rotate the beam around the pivot, keeping the pencil upright, to trace a perfect arc.
No trammel set on hand? A yardstick with a nail through one end and a pencil hole drilled at the radius distance works as a shop-made substitute.
The Batten Method for a Smooth, Free-Form Curve
A batten is a thin, flexible, straight-grained strip of wood used to draw a “fair” curve — one with no flat spots or sudden angle changes. This is the method boatbuilders and pattern makers use to loft a hull curve or an asymmetric chair back, and it handles shapes a French curve template simply can’t match.
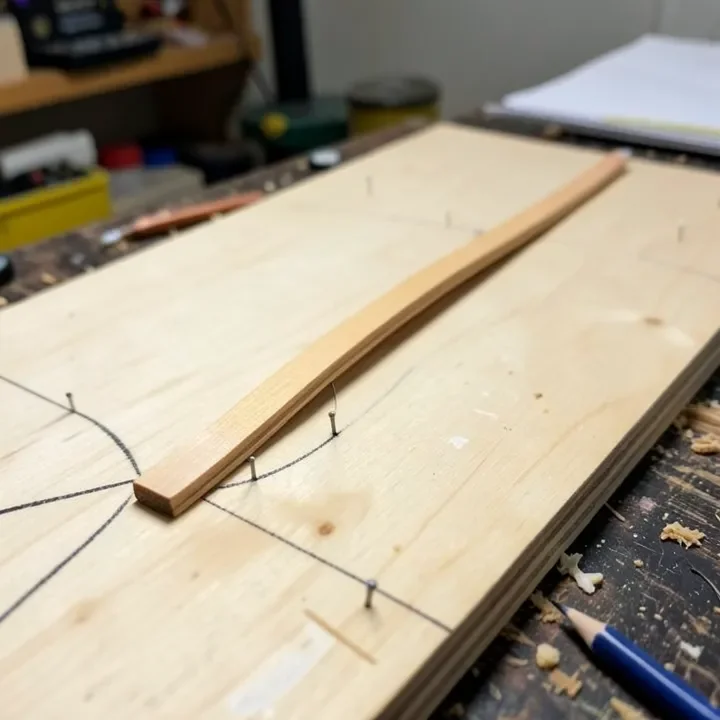
- Plot your points: Mark every point the curve needs to pass through directly on the workpiece.
- Set nails at each point: Drive a small finish nail partway in at each plotted point (or clamp light weights, called “ducks” in boatbuilding, if you don’t want nail holes).
- Bend the batten against the nails: Use a thin strip — about 1/8 inch thick and 3/4 inch wide, free of knots — and flex it so it rests against the outside of every nail at once.
- Check for fairness: Sight down the length of the batten. If it has any flat spots or kinks, add another nail at that point until the curve flows evenly.
- Trace the line: Run a pencil along the edge of the batten while it’s held in place.
📊 A batten with even a single unsupported gap between nails will show a visible flat spot once cut — more reference points along tight sections of the curve produce a fairer line than fewer points spaced evenly. Source: Wikipedia, Flat Spline (drafting)
The Nail-and-Strip Trick for a Shallow Arc
When you know the width (chord length) and height (rise) of a shallow arch — a curved apron or an arched top rail, for example — you don’t need to calculate a radius at all.
- Mark the endpoints: Drive a nail at each end of the arc’s width.
- Mark the peak: Measure up from the center of that line by the height you want and mark the peak point.
- Position two strips: Rest one thin strip against each end nail, angling both toward the peak mark.
- Join at the peak: Overlap the strips at the peak mark and hold or tape them together there.
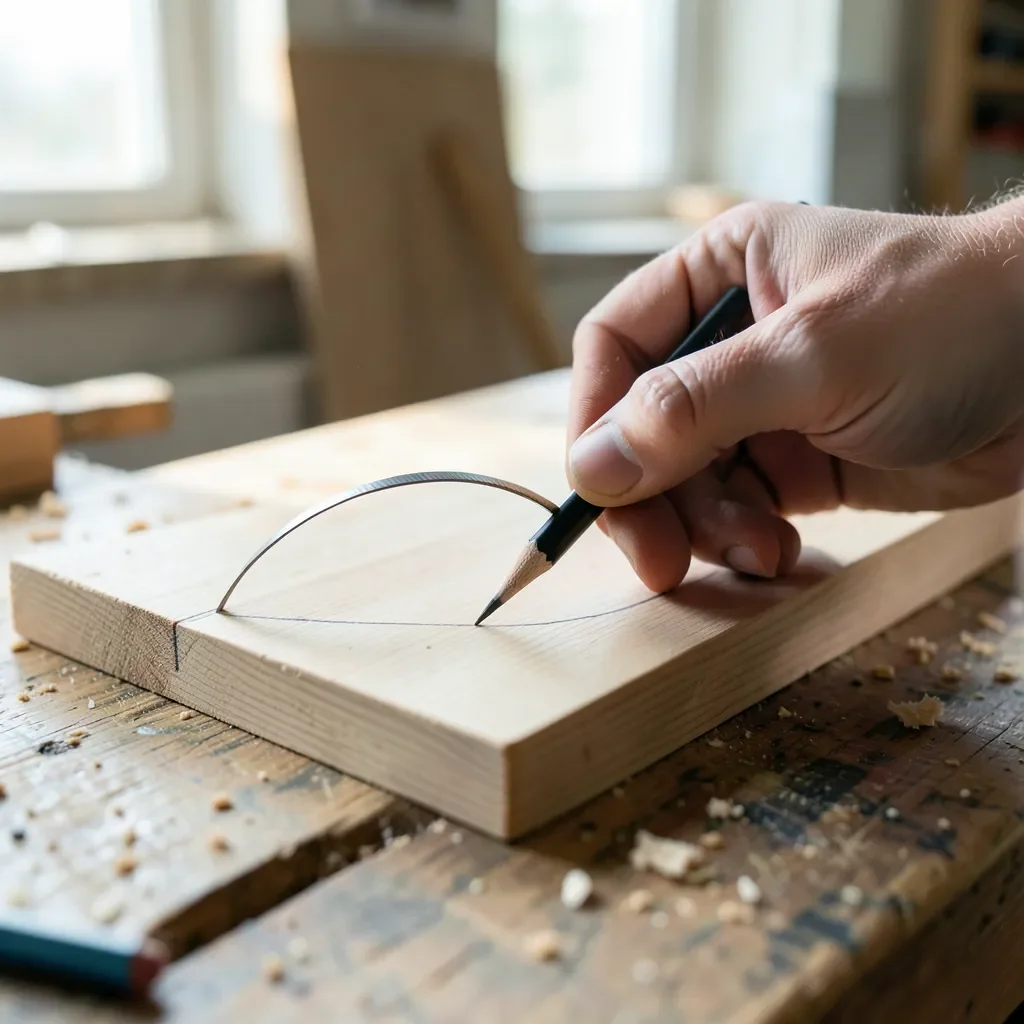
- Trace the resulting curve: The two strips will naturally bow into a smooth shallow arc between the three points — trace along their edge with a pencil.
Cutting Along Your Marked Curve
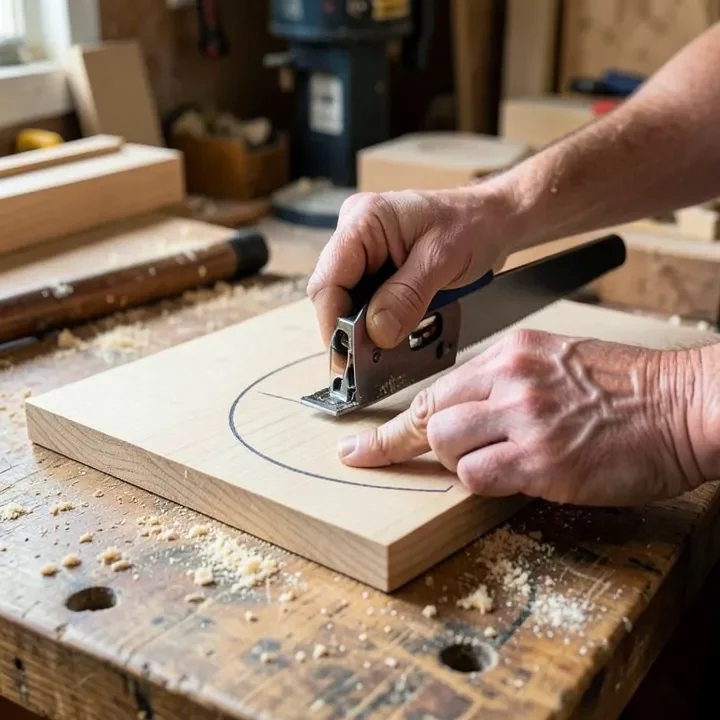
Once the line is drawn, a jigsaw handles most curves in solid wood or plywood, and a scroll saw gives a cleaner cut on tighter radii. Cut just outside the line, then sand back to it — cutting exactly on the pencil line leaves no margin to fix a wandering cut.
Common Mistakes That Ruin a Marked Curve
- Using a French curve on a shape it doesn’t match: Forcing the template to “mostly” fit produces a curve with visible kinks where the template’s arcs change.
- Too few reference points on a batten curve: Fewer than three or four nails on a long curve almost always leaves a flat spot.
- Cutting directly on the line: Leaves no room to correct blade drift, especially on tight radii.
- Using a warped or knotty batten: Grain irregularities telegraph into the traced line as small bumps.
Frequently Asked Questions
How do you draw a perfect curve on wood?
For a true circular arc, use a trammel (a beam with a pivot point and a pencil at a fixed radius) rather than a French curve, which only approximates a shape. For an irregular, flowing curve, bend a thin wooden batten against a series of nails and trace along it — this is the traditional boatbuilder’s method for a curve with no flat spots.
What household items can I use to draw a curve on wood?
A dinner plate or paint can traces a small circular arc in a pinch. For a longer arc, two thin wood strips (paint stir sticks work) pinned at each end and pressed together at the peak will bow into a smooth shallow curve you can trace — no specialty tool required.
What is a batten used for in woodworking?
A batten is a thin, flexible strip of straight-grained wood used to draw a fair (smooth, hump-free) curve through several points. Nails or clamps hold the plotted points, the batten is bent against them, and a pencil traces along its edge — the same method boatbuilders use to loft a hull curve.
Why does my drawn curve come out uneven or lumpy?
An uneven curve almost always means too few reference points or a batten held only at its ends. Add more nails along the path so the strip has support at each direction change, and use a strip free of knots — grain irregularities telegraph into small flat spots and bumps.
Conclusion
Match the tool to the curve: a trammel for a true arc, a bent batten for a free-form line, and two pinned strips for a shallow rise. A French curve template is only worth reaching for when the shape you need happens to match one of its edges. Once the line looks fair with no flat spots, cut just outside it and sand back for a clean result.
Sponsored / affiliate links. As an Amazon Associate I earn from qualifying purchases. I may earn additional commission from eligible campaigns.