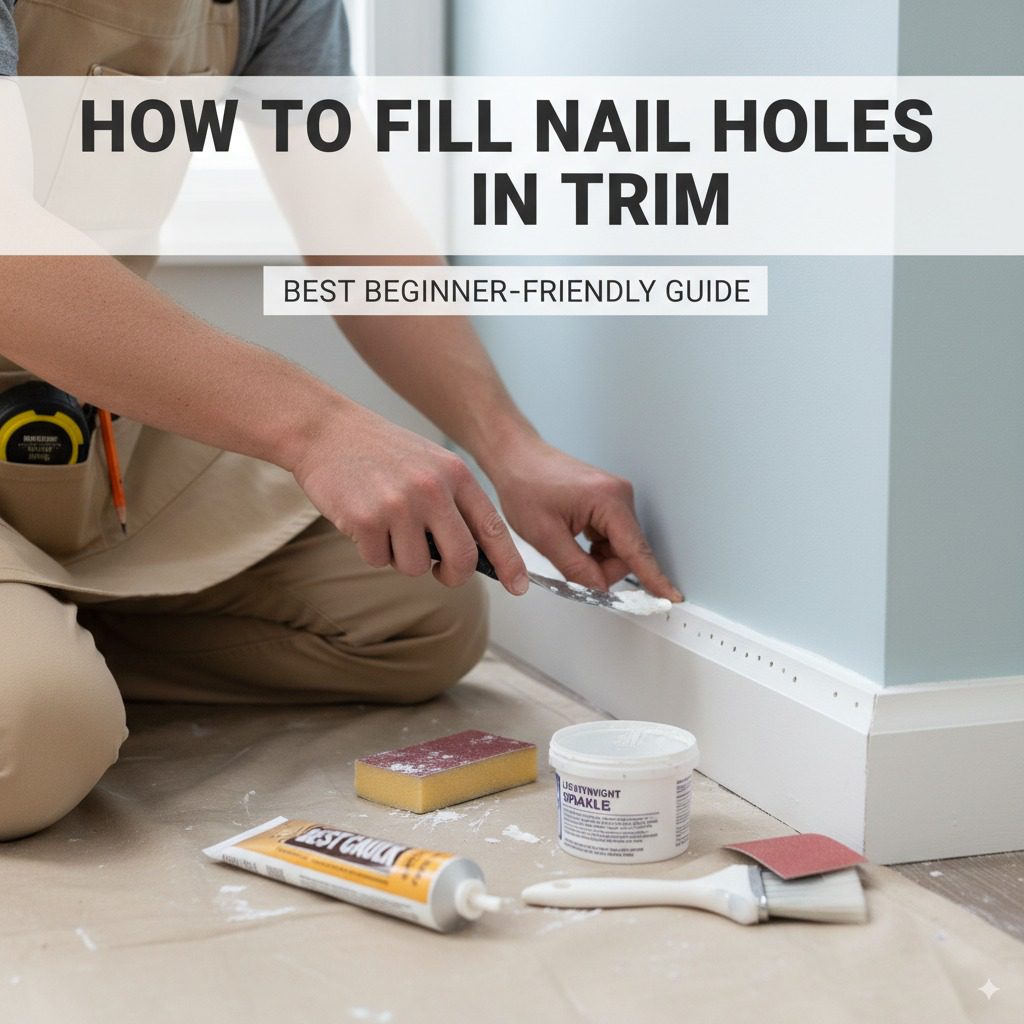
Natural Wood Trim Repair: An Easy Guide to Filling Nail Holes
To fill nail holes in trim without painting, use wood filler or putty that matches your trim’s color, sand lightly, and buff for a seamless finish. This beginner-friendly method hides holes in minutes, keeping your woodwork’s natural beauty intact with minimal tools and no paint needed.
Filling nail holes in trim can feel tricky, especially if you want to keep the natural wood look without painting over it. Many DIYers and homeowners struggle to hide those tiny holes left by nails or brads without ruining the trim’s finish. The good news? You can achieve a flawless, professional look with simple tools and techniques. This guide breaks down every step to make it easy, safe, and affordable. Ready to transform your trim? Let’s dive in!
Why Fill Nail Holes Without Painting?
Nail holes in trim are common after installing baseboards, crown molding, or window casings. Painting can cover them, but what if you love the wood’s natural grain or stain? Filling holes without painting preserves the trim’s beauty, saves time, and avoids messy paint touch-ups. This method is perfect for beginners who want a polished result without advanced skills.
Tools and Materials You’ll Need
Before starting, gather these basic items. Most are affordable and available at hardware stores or online.
- Wood filler or putty: Choose a stainable, color-matched product (e.g., Minwax Wood Putty).
- Putty knife: A small, flexible one for smooth application.
- Sandpaper: 220-grit for fine sanding.
- Clean cloth: For wiping dust and buffing.
- Rubbing alcohol: To clean the trim surface.
- Optional: Wax stick or touch-up marker for blending.
Pro Tip: Check your trim’s wood type (e.g., oak, pine) to pick a filler that matches its color and grain. Visit USDA Forest Service for wood type identification tips.

Step-by-Step Guide to Filling Nail Holes
Follow these simple steps to fill nail holes in trim and keep the natural wood look. This process is safe, beginner-friendly, and delivers professional results.
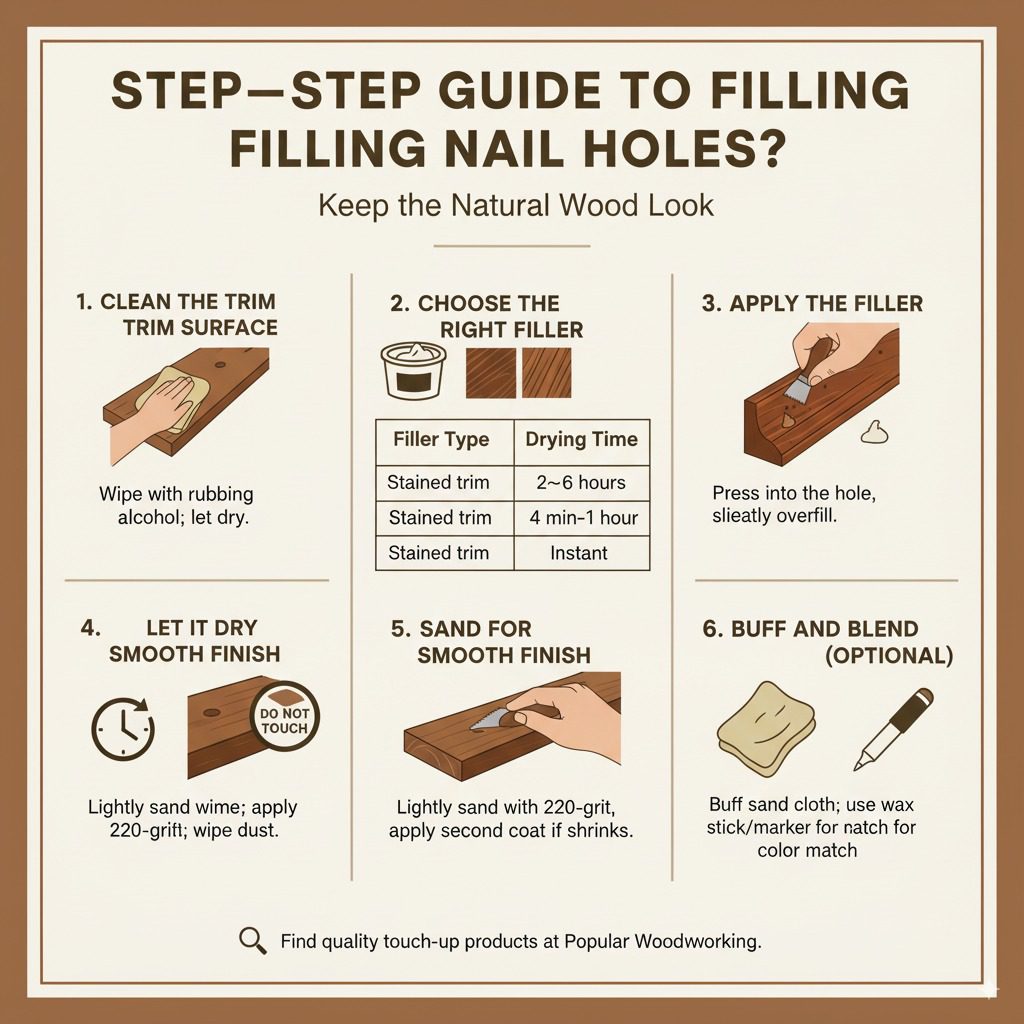
Step 1: Clean the Trim Surface
Start with a clean surface to ensure the filler sticks well. Wipe the trim with a cloth dampened with rubbing alcohol to remove dust, grease, or oils. Let it dry completely. A clean surface helps the filler bond better and prevents patchy results.
Step 2: Choose the Right Filler
Pick a wood filler or putty that matches your trim’s color and finish. For stained trim, use a stainable wood filler like Minwax Stainable Wood Filler. For unfinished wood, a putty like DAP Plastic Wood works well. Check the product label to confirm it’s paint-free compatible.
| Filler Type | Best For | Drying Time |
|---|---|---|
| Stainable Wood Filler | Stained or varnished trim | 2–6 hours |
| Wood Putty | Unfinished or lightly stained wood | 30 minutes–1 hour |
| Wax Stick | Quick touch-ups on finished trim | Instant |
Step 3: Apply the Filler
Using a putty knife, scoop a small amount of filler or putty. Press it into the nail hole, slightly overfilling to account for shrinkage. Smooth the surface with the knife, removing excess. Work in small batches to avoid drying out the product. For tiny holes, you can use your finger to press the filler in tightly.
Step 4: Let It Dry
Allow the filler to dry based on the product’s instructions (usually 30 minutes to 6 hours). Avoid touching it during this time to prevent smudging. If the filler shrinks slightly, apply a second thin layer and let it dry again.
Step 5: Sand for a Smooth Finish
Once dry, lightly sand the filled area with 220-grit sandpaper. Use gentle, circular motions to blend the filler with the trim’s surface. Wipe away dust with a clean cloth. Sanding ensures a seamless look, especially on stained or varnished wood.
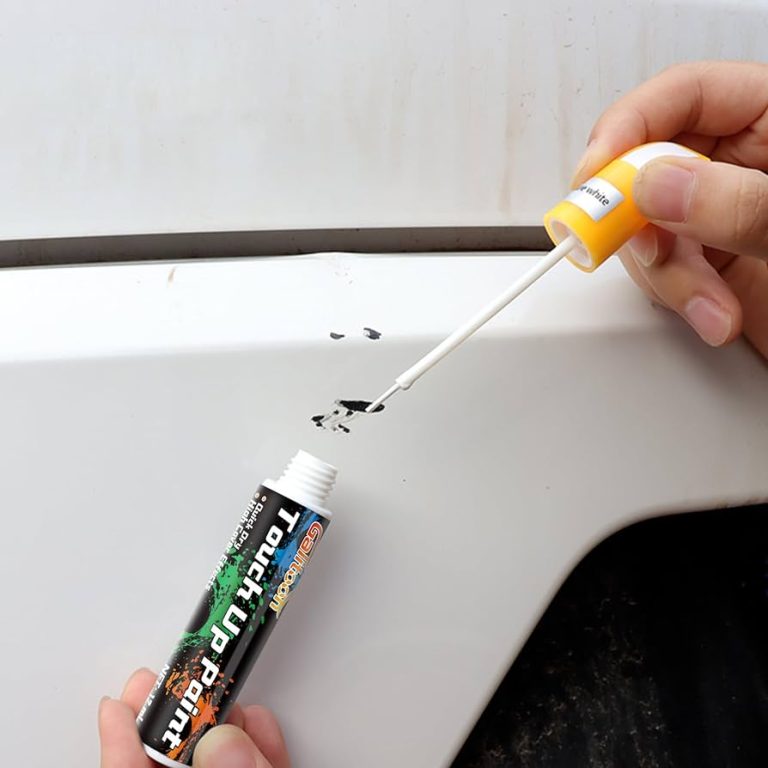
Step 6: Buff and Blend (Optional)
For a polished finish, buff the area with a clean cloth. If the filler color isn’t a perfect match, use a wax stick or touch-up marker in a similar shade. Apply lightly and blend with a cloth. This step enhances the natural look without paint. Find quality touch-up products at Popular Woodworking.
Tips for a Flawless Finish
These extra tips will boost your confidence and ensure a professional result:
- Test the filler: Apply a small amount on scrap wood to check color match.
- Work in good light: Natural or bright lighting helps spot imperfections.
- Use less filler: Overfilling can create lumps; apply thin layers.
- Store products properly: Seal filler tightly to prevent drying out.
- Practice safety: Wear gloves if sensitive to chemicals in fillers.
Common Mistakes to Avoid
Beginners often make these errors, but they’re easy to dodge:
| Mistake | Why It Happens | How to Avoid |
|---|---|---|
| Wrong color filler | Not testing on scrap wood | Test filler on a hidden area first |
| Rough finish | Skipping sanding | Always sand lightly with 220-grit |
| Filler peeling | Dirty surface | Clean trim thoroughly before applying |
Why This Method Works for Beginners
This technique is ideal for DIYers because it’s affordable, uses minimal tools, and doesn’t require advanced skills. You don’t need to be a pro to make your trim look flawless. The process emphasizes safety and simplicity, so anyone can tackle it with confidence. Plus, it preserves the wood’s natural beauty, which is perfect for homeowners who value craftsmanship.
FAQs About Filling Nail Holes in Trim Without Painting
Can I fill nail holes in stained trim without painting?
Yes! Use a stainable wood filler that matches your trim’s color. Apply carefully, sand lightly, and buff for a seamless look.
How do I choose the right wood filler?
Pick a filler that matches your trim’s wood type and finish. Check labels for “stainable” or “paint-free” options.
Will the filler shrink over time?
Some fillers shrink slightly as they dry. Apply a thin second layer if needed after the first layer dries.
Can I use a wax stick instead of filler?
Yes, wax sticks are great for quick touch-ups on finished trim but may not be as durable for deep holes.
How long does the process take?
Filling and sanding take about 10–15 minutes per section, plus drying time (30 minutes to 6 hours, depending on the product).
Do I need special tools?
No, just a putty knife, sandpaper, and a cloth. These are affordable and easy to find at hardware stores.
Can I stain over the filled holes?
Yes, if you use a stainable wood filler. Test the stain on a small area to ensure a good match.
Conclusion
Filling nail holes in trim without painting is a simple, rewarding project for any DIYer or homeowner. With the right tools, a color-matched filler, and a few easy steps, you can achieve a professional, natural look that enhances your woodwork’s beauty. This beginner-friendly method is safe, affordable, and delivers lasting results. Try it on your next project, and enjoy the satisfaction of flawless trim!