How to Paint Plywood Floors: Real Cost & Dry-Time Guide
Plywood floors can be painted for roughly 50 cents a square foot in materials, far less than a $2,000+ hardwood job, but only if the seams are filled and the surface is primed first. Skip either step and the paint telegraphs every joint, then peels within a season. This guide covers the exact prep sequence, which paint actually holds up underfoot, real dry-and-cure times, and how to fake a hardwood grain with a roller.
This post contains affiliate links. If you buy through them, we may earn a small commission at no extra cost to you.
Quick Answer
To paint a plywood floor: sand and clean the surface, fill seams and gaps with wood filler, apply a stain-blocking primer, then roll on two thin coats of porch-and-floor enamel. Add a clear polyurethane topcoat in high-traffic rooms, and wait 3 to 5 days before moving furniture back.
What You’ll Need to Paint a Plywood Floor
Best Plywood Floor Paint Pick
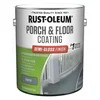
Rust-Oleum Porch & Floor Enamel Paint, Gallon
A floor-rated enamel built to take foot traffic, not a repurposed wall paint.
- Best for: High-traffic rooms that need a durable, floor-rated finish
- Why we picked it: Formulated specifically for floors, so it resists foot-traffic wear and won’t peel as fast under furniture legs as wall paint would
- Main drawback: Oil-based formula has strong fumes during application — ventilate well and expect a longer recoat window than water-based paints
Compare more plywood floor painting supplies
 Option 1 Zinsser Bulls Eye 1-2-3 Primer & Sealer
|
 Option 2 Minwax Fast-Drying Polyurethane
|
 Option 3 Gorilla All Purpose Wood Filler
|
As an Amazon Associate we earn from qualifying purchases.
Gather these before you start — running out of primer mid-room forces a visible lap line once it dries.
- Random-orbit sander with 120-grit discs (or a rented floor sander for rooms over 200 sq ft)
- Wood filler or flexible seam filler for gaps between plywood sheets
- Stain-blocking, multi-surface primer
- Porch-and-floor enamel paint — never standard wall paint
- 3-inch angled brush and a 3/8-inch nap roller with an extension pole
- Clear polyurethane topcoat (optional, recommended for entryways and kitchens)
- Painter’s tape, drop cloths, and a shop vacuum
Preparing the Plywood
Prep decides whether the paint job lasts one season or ten. Rushing this stage is the single biggest reason painted plywood floors chip and peel early. For more on choosing and working with different grades, browse our full plywood library.
Sanding and Cleaning the Surface
Sand the entire floor with 120-grit discs on a random-orbit sander to knock down mill glaze and give the primer something to grip. Vacuum thoroughly, then wipe with a damp cloth — any dust left behind shows up as grit under the first coat.
Filling Seams and Gaps Between Sheets
Plywood floors are made of multiple sheets, and the seams between them will telegraph straight through paint if left unfilled. Run a flexible wood filler or epoxy-based filler into every joint, gap, and screw-head dimple, then sand it flush once it cures. A thin skim coat of floor-leveling compound over the whole surface goes a step further, hiding the plywood grain entirely for a smoother, more uniform base.
Priming the Floor
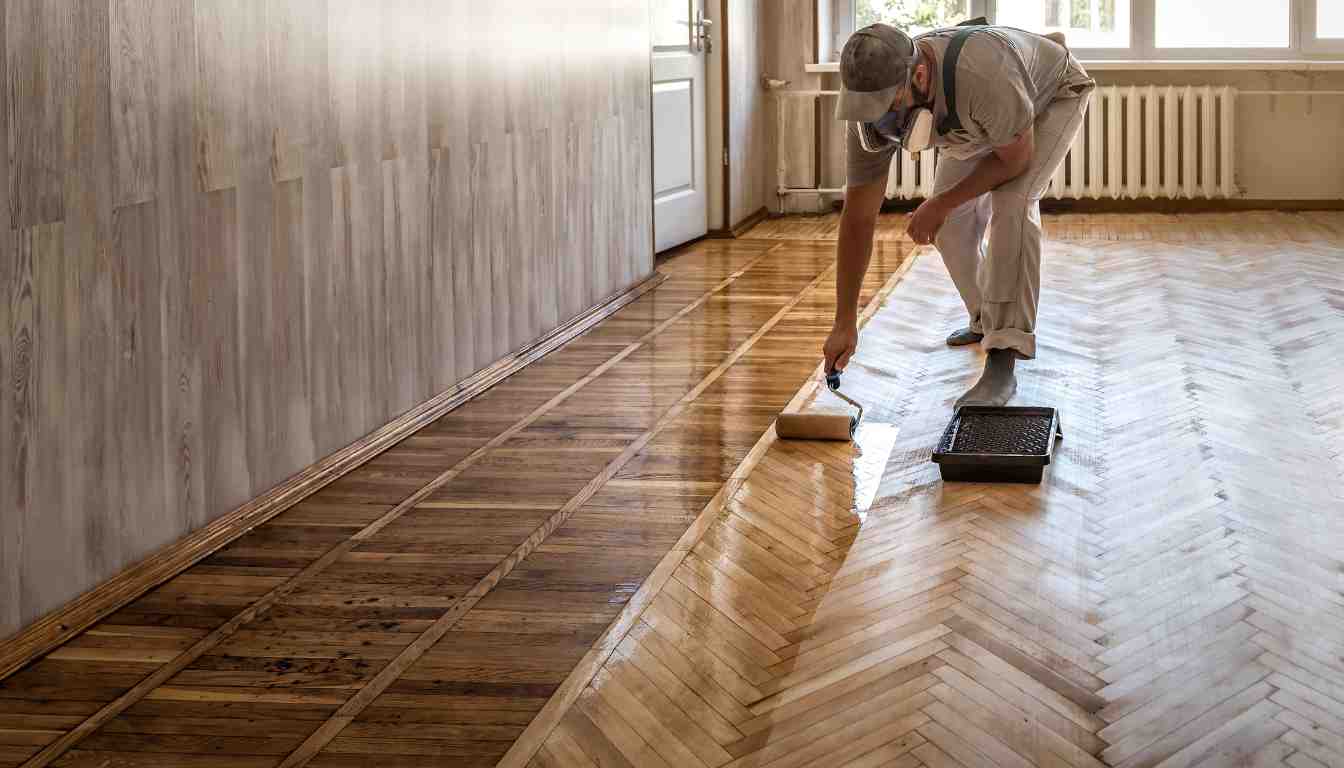
A stain-blocking, multi-surface primer is what keeps paint from soaking unevenly into bare plywood and telegraphing blotchy patches once it dries. Roll on one to two thin coats with an extension pole, cutting in edges first with an angled brush. Most stain-blocking primers are dry to the touch in about 30 minutes and ready for paint within one to two hours — check the can, since fast-dry and oil-based formulas vary.
Painting Techniques
The right technique matters as much as the right paint. Whether you want a solid color or a faux wood-grain look, work in the same direction throughout and always paint yourself out of the room toward the door. For more visual inspiration — checkerboards, stencils, and ombre gradients — see our guide to plywood floor pattern ideas.
Applying the Base Coats
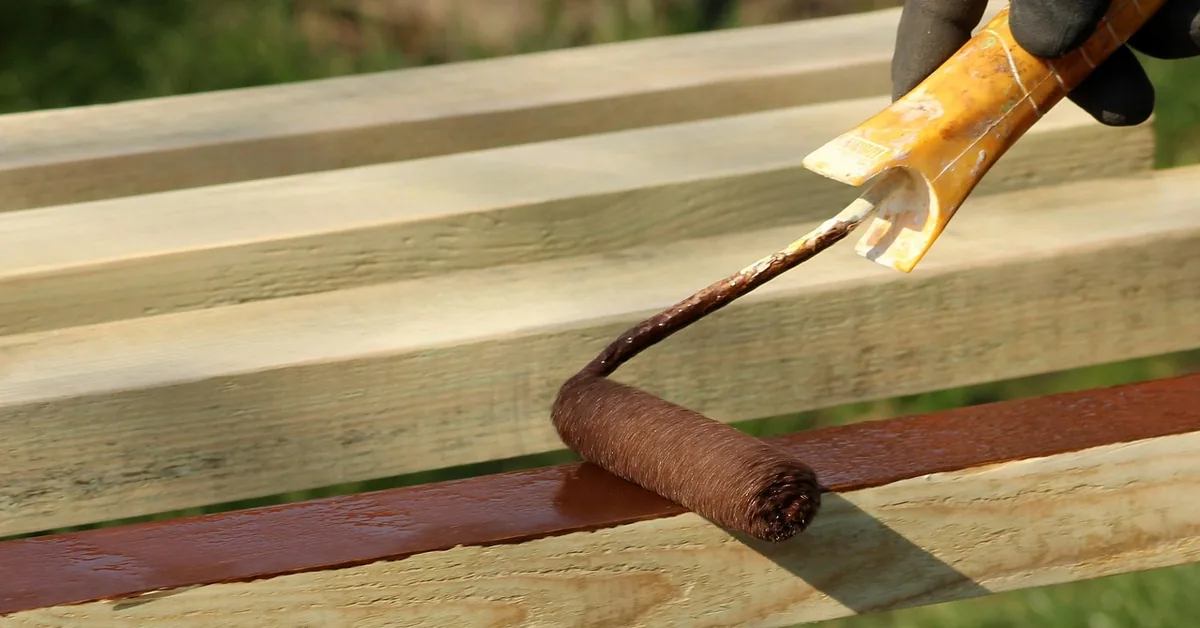
Cut in along the walls with a 3-inch angled brush, then roll the field with a 3/8-inch nap roller in long, even strokes. Apply two thin coats rather than one thick one — thick coats pool at the edges and take far longer to cure fully.
Faking a Hardwood Grain Effect
To mimic real hardwood, apply a base coat in a light wood tone, then drag a rubber wood-graining tool or a dry brush through a slightly darker glaze coat while it’s still wet. Work in short, staggered sections so the plank lines look randomized rather than repeating, and vary the pressure slightly — real wood grain is never perfectly uniform.
Choosing the Right Tools
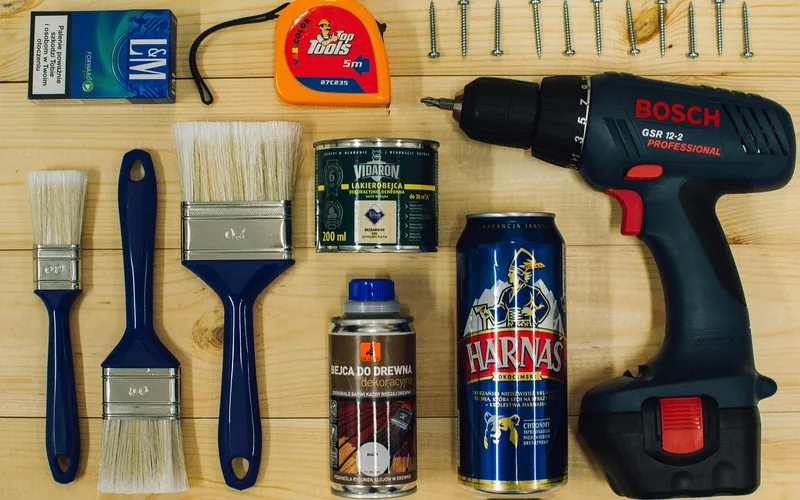
Use a roller frame with an extension pole so you can paint standing up and back out of the room evenly. Painter’s tape along baseboards keeps cut-in lines crisp, and a synthetic-bristle brush handles latex and water-based enamels better than a natural-bristle one.
Cost and Dry-Time at a Glance
Painting plywood is one of the cheapest flooring upgrades available. Bob Vila’s own materials breakdown for a painted plywood floor came to about $250 total, roughly 50 cents per square foot — against an estimated $2,000+ to install comparable hardwood in the same room. Here’s how the timeline typically breaks down:
| Stage | Typical Time | Notes |
|---|---|---|
| Filler cures | 2–24 hours | Check the product label — epoxy fillers cure faster than latex wood filler |
| Primer dry | 30 min–2 hours | Ready for the first paint coat once dry to the touch |
| Between paint coats | 2–4 hours | Longer in humid rooms or with oil-based enamel |
| Walk on it (socks only) | Same day, a few hours after the final coat | Avoid shoes and pets until fully cured |
| Move furniture back | 3–5 days | Full chemical cure can take up to 2–3 weeks — use felt pads even after that |
Sources: material cost and timeline estimates compiled from published DIY project breakdowns (Bob Vila, Semigloss Design, In My Own Style) and standard primer/enamel manufacturer label instructions; actual times vary by product and humidity.
Sealing and Finishing
A topcoat protects the paint from foot traffic and makes the floor easier to clean. For a deeper look at how different sealers compare across wood projects generally, see our wood finishing guide.
Selecting the Right Floor Sealer
| Sealer Type | Best For |
|---|---|
| Water-based polyurethane | Low odor, dries fast, stays clearest over light colors |
| Oil-based polyurethane | Most durable for high-traffic rooms, but ambers over time |
| Epoxy | Hardest, most chemical-resistant — garages and workshops |
Applying the Finish Coat
- Clean the floor: vacuum and tack-cloth the surface to remove all dust before sealing.
- Apply thin coats: a roller or brush applies sealer more evenly than a heavy pour-and-spread.
- Let each coat dry fully: check the can — most water-based sealers need 2–4 hours between coats.
- Add a second coat in high-traffic zones: entryways and hallways wear through a single coat faster.
- Cure before furniture: give the final coat 3–5 days before moving heavy items back.
Common Mistakes to Avoid
- Skipping the primer: bare plywood absorbs paint unevenly, leaving blotchy, uneven color once it dries.
- Leaving seams unfilled: every joint between sheets telegraphs through the paint and collects dirt over time.
- Using wall paint instead of floor enamel: wall paint isn’t formulated for abrasion and will peel under foot traffic within months.
- Applying one thick coat instead of two thin ones: thick coats pool, take longer to cure, and wear through faster at high-traffic paths.
- Moving furniture back too soon: even paint that feels dry to the touch can still dent or stick to furniture legs before it fully cures.
A mistake worth calling out specifically: skipping the primer coat on bare plywood is the single most common shortcut that ruins a paint job. The face veneer absorbs paint unevenly across the grain, and what looks fine wet dries into visible blotchy patches by the next morning — by then the only fix is sanding back and starting the primer step over.
Maintaining Painted Plywood Floors
Regular Cleaning and Maintenance Tips
- Sweep regularly with a soft-bristle broom or microfiber mop to keep grit from scratching the finish.
- Mop gently with a barely damp cloth and mild soap — skip harsh chemicals and excess water, which can lift paint at the seams.
- Blot spills immediately rather than scrubbing, which can rub through the topcoat.
- Add felt pads under furniture legs to prevent dents and scuffs.
- Use entry mats at exterior doors to cut down on grit tracked onto the floor.
Dealing With Wear and Tear
Keep leftover paint on hand for touch-ups — lightly sand a chipped spot, clean it, and feather in a fresh coat so it blends. In high-traffic paths, a fresh topcoat every few years extends the life of the paint underneath far more cheaply than repainting the whole floor.
“The felt pads under furniture legs matter more on a painted floor than on hardwood — paint scratches and dents more easily than a factory hardwood finish, so protecting the high-contact points is what actually extends the life of the job.”
Frequently Asked Questions
Can you paint a plywood floor without primer?
You can, but it isn’t recommended. Bare plywood absorbs paint unevenly across the grain, leaving blotchy patches and weaker adhesion. A stain-blocking primer costs under $10 a quart and prevents both problems.
What kind of paint should you use on a plywood floor?
Use a porch-and-floor enamel rated for foot traffic, not standard wall paint. Oil-based enamels are the most durable; water-based options dry faster and have less odor. Apply at least two coats either way.
How long does painted plywood floor paint take to dry?
Most floor enamels are dry to the touch within a few hours and safe to walk on in socks the same day. Wait 3 to 5 days before moving furniture back, since paint needs longer to fully cure than it does to feel dry.
How do you hide the seams between sheets of plywood?
Fill every seam and screw dimple with a flexible wood filler or epoxy filler, then sand it flush once cured and prime over it. For an ultra-smooth look, skim the whole floor with a thin layer of floor-leveling compound before priming.
How long do painted plywood floors last?
With proper prep, a durable floor enamel, and a protective topcoat, painted plywood floors commonly last 15 to 25 years. Moisture exposure and heavy foot traffic without a topcoat will shorten that significantly.
Do you need to seal a painted plywood floor?
Sealing isn’t strictly required if you used a true porch-and-floor enamel, but a clear polyurethane topcoat adds extra wear protection and makes cleanup easier, especially in kitchens and entryways.
Conclusion
Painting plywood floors is one of the few flooring upgrades that pays for itself in a single weekend — roughly 50 cents a square foot in materials for a finish that, properly primed, filled, and sealed, can last 15 to 25 years. The steps that actually matter are the ones easiest to rush: filling every seam, priming before paint, and waiting out the full cure before furniture goes back.
If you’re weighing plywood against other budget flooring options, our wood flooring guide compares types, installation, and care across the board. And if the plywood in question is on a wall rather than a floor, see our separate guide on painting plywood walls for the differences in prep and paint choice.
Sponsored / affiliate links. As an Amazon Associate I earn from qualifying purchases. I may earn additional commission from eligible campaigns.