How to Remove Dust After Sanding Before Painting
Vacuum first with a brush attachment, then wipe with the grain using a tack cloth or a barely damp cloth — never a bare air blower as your last step. Skip that last part and blown dust resettles into your wet paint as tiny bumps called dust nibs. This guide covers the right order of tools, why mineral spirits sometimes beats a tack cloth, and how long to wait before you prime.
Quick Answer
Vacuum with a HEPA brush attachment first, then wipe with the grain using a tack cloth (wood/furniture) or a lightly damp cloth (walls/drywall). Skip compressed air and blowers as a final step — they launch dust into the air, where it resettles into wet paint. Let the surface dry fully, then inspect it with a flashlight held at a low angle before you prime.
What You’ll Need
Best Tack Cloth Pick
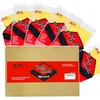
S&F Stead & Fast Tack Cloth, 6-Pack
Wax-free, lint-free cloths sized for wood, trim, and furniture before painting or staining.
- Best for: the final dust pass on wood surfaces before priming or painting
- Why we picked it: a 6-pack lasts most projects and each cloth can be re-folded to expose a clean face
- Main drawback: leaves a faint tacky residue if you press too hard or reuse a cloth past its life
Compare more dust-removal tools
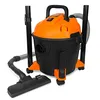 Option 1 WEN VC4710 HEPA Wet/Dry Shop Vacuum
|
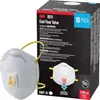 Option 2 3M 8511 N95 Sanding Respirator, 10-Pack
|
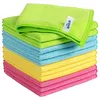 Option 3 MR.SIGA Streak-Free Microfiber Cloths, 12-Pack
|
As an Amazon Associate we earn from qualifying purchases.
- Shop vacuum or vacuum cleaner with a brush attachment (HEPA filter preferred)
- Tack cloth — for wood, furniture, and trim
- Microfiber cloth or clean rag, lightly dampened with water — for walls and drywall
- Mineral spirits or denatured alcohol — optional, for oil-based finishes
- Dust mask or respirator
- Flashlight, for inspecting the surface at a raking angle
Preparing the Workspace
Clear the room before you start on dust. Move furniture and small items out, or group what’s left in the center and cover it — anything left in place just collects more dust while you work. Drop cloths taped down at the edges keep floors clean and stop dust from being tracked back onto the surface you just cleaned.
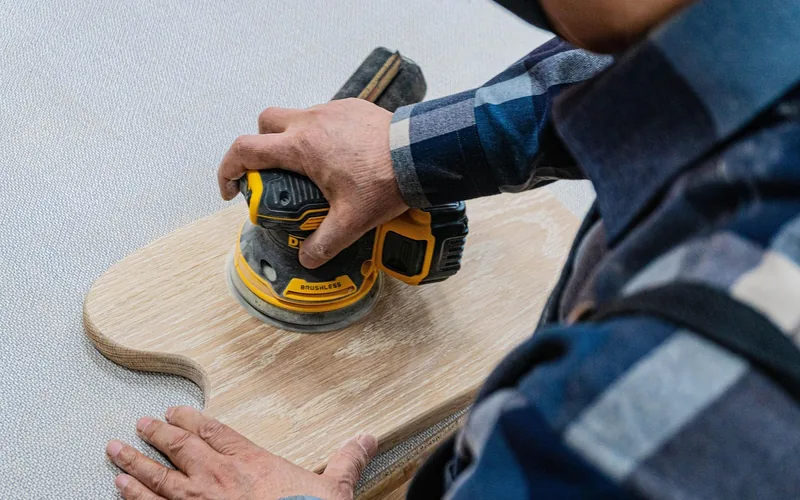
The Right Order: Vacuum, Wipe, Inspect
Dust removal works best as a sequence, not a single step — each tool catches what the last one missed. Skipping straight to a tack cloth on a heavily sanded surface just loads it with grit and wastes it.
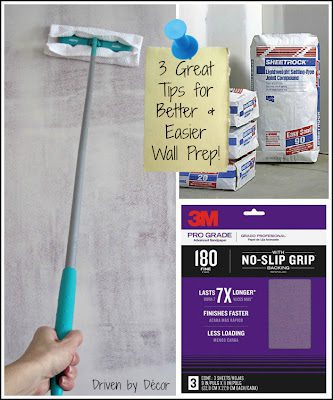
- Vacuum first: Work a brush attachment slowly over the whole surface, then go back over corners, joints, and edges where dust collects. This step alone removes most of the bulk dust.
- Wipe with the grain: On wood or furniture, wipe a tack cloth or a cloth dampened with mineral spirits along the grain, never in circles — circular wiping just drags dust into swirl marks the finish will show. On walls, use a barely damp microfiber cloth or sponge instead.
- Let it dry fully: Water, mineral spirits, and denatured alcohol all need to flash off before primer goes on. Denatured alcohol clears in a few minutes; mineral spirits and a damp cloth need 15–30 minutes depending on humidity.
- Inspect under raking light: Hold a flashlight low and to the side of the surface so the beam grazes across it. Dust that’s invisible under overhead light throws a visible shadow at this angle.
Why You Should Skip the Air Blower
A blower feels like the fast option, but it only relocates dust instead of removing it. The stream forces fine particles into the air, and gravity brings most of them right back down — often onto the wet paint or primer you just applied a few feet away. That’s where dust nibs come from: the small, gritty bumps you feel in a paint job that looked smooth when you rolled it on.
Finishing forums and refinishing guides consistently point to the same cause for dust nibs in a topcoat: dust that got blown into the air, not dust that was still sitting on the surface. A vacuum with a brush attachment or a lightly damp cloth removes it instead of just relocating it — and if you do use compressed air, follow it with a cloth pass, never let it be the last step.
A single dust nib in wet paint means waiting for the coat to dry, sanding the bump back down, and repainting the section — a 30-second shortcut with a blower can cost you an extra hour later. If you do use compressed air to blast dust out of a crevice, treat it as step one, not the last step, and always follow it with a vacuum pass and a cloth wipe.
Mineral Spirits or Denatured Alcohol: When a Tack Cloth Isn’t Enough
Mineral spirits and denatured alcohol are liquid alternatives to a tack cloth — solvents that lift dust and light residue from wood without raising the grain. Pour a small amount on a clean, lint-free cloth and wipe with the grain, never in circles, then let the surface dry completely before priming.
Neither will remove every last speck the way a tack cloth’s tacky surface does, so on porous woods like oak or walnut, follow the solvent wipe with a tack cloth pass. The upside: wiping with mineral spirits also reveals glue spots and old finish residue as darker patches before you paint — areas a tack cloth alone won’t show you, and spots where stain or paint won’t adhere evenly if left untreated. Denatured alcohol dries in a few minutes; mineral spirits typically needs 15–30 minutes depending on temperature and humidity.
Dust Removal Methods Compared
| Method | Best For | Dry / Wait Time |
|---|---|---|
| Vacuum (HEPA + brush) | Bulk dust in corners, joints, and crevices — always do this first | None |
| Tack cloth | Final fine-dust pass on wood, trim, and furniture | None — ready to prime |
| Mineral spirits / denatured alcohol | Wood going under an oil-based stain or paint; spotting old glue residue | 5–30 min |
| Damp microfiber cloth | Walls, drywall, and large flat areas | 15–30 min |
| Compressed air / blower | Blasting dust out of a tight crevice — only as a first step, never the last | None, but always follow with a cloth pass |
📊 Latex primer is dry-to-the-touch in 30–60 minutes but needs about 3 hours to fully cure before topcoating; oil-based primer dries in 1–4 hours and benefits from a full 24-hour wait for the strongest bond. — Source: general primer manufacturer drying-time guidance
Preparing for Painting
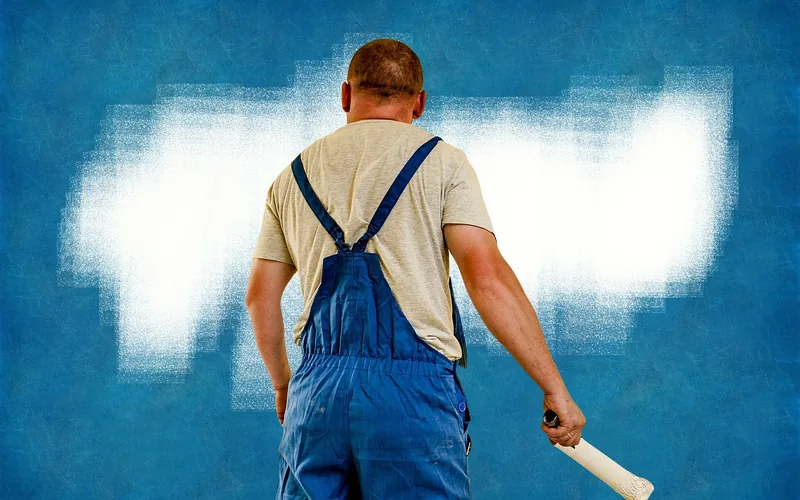
Once the surface is dust-free and dry, run through a final check before you open the paint can. Confirm the surface is completely dry, not just dust-free — painting over solvent or moisture that hasn’t flashed off traps it under the film and causes adhesion problems later. If you haven’t already settled on a product, our guide to choosing the right paint for wood covers acrylic latex versus oil-based options. Otherwise, pick a paint suited to the room — a moisture-resistant formula for bathrooms and kitchens, a standard interior formula elsewhere — and apply it evenly with a quality brush or roller. Let each coat dry fully before adding the next; rushing a second coat over a tacky first coat is one of the most common ways an otherwise careful prep job gets undone.
Maintaining a Dust-Free Work Area
Dust resettles fast, especially in an active shop or a room where sanding just finished. Wipe windowsills and shelves with a damp cloth and sweep the floor before you start painting, not just before you finish sanding. A HEPA vacuum or an air purifier with a high-efficiency filter, run for 20–30 minutes before you paint, cuts down on the fine airborne dust that would otherwise settle into a wet coat while it dries. Keep doors and windows closed during that window so outside dust doesn’t undo the work.
Common Mistakes to Avoid
- Using a blower as the final step — it launches dust into the air where it resettles into wet paint as dust nibs.
- Wiping in circles instead of with the grain — circular wiping drags dust into swirl marks that show through a clear or light-colored finish.
- Painting before the surface is fully dry — solvent or moisture trapped under a coat causes adhesion problems that only show up later.
- Reusing a dirty tack cloth without refolding it — a loaded cloth just redeposits the dust it already picked up.
Frequently Asked Questions
How do you remove sanding dust before painting?
Vacuum the surface first with a brush attachment to lift bulk dust from corners and joints, then wipe with the grain using a tack cloth on wood or a barely damp cloth on walls. Let it dry fully before priming — this two-step order removes far more dust than either tool alone.
What’s the best cloth for removing dust before painting?
A tack cloth is the best single tool for wood, trim, and furniture — its tacky, lint-free surface picks up fine dust a dry cloth just pushes around. For walls and drywall, a lightly dampened microfiber cloth works better since a tack cloth can leave a faint residue on painted surfaces.
Can you use compressed air or a blower to remove sanding dust?
Yes, but only as a first step to blast dust out of tight crevices — never as your last step. Blowing dust into the air lets it resettle onto a wet finish as dust nibs. Follow any compressed-air pass with a vacuum and a cloth wipe before you paint.
What happens if you paint over sanding dust?
A small amount of missed dust can get absorbed into the paint without causing visible problems, but more than a light dusting leads to poor adhesion, an uneven or gritty texture, and paint that peels or blisters over time as trapped dust prevents the coat from bonding to the surface underneath.
How long should you wait after sanding before you prime or paint?
Once the surface is dust-free, you can prime as soon as it’s dry — no separate waiting period is needed for the sanding itself. If you cleaned with mineral spirits or a damp cloth, wait 15–30 minutes for it to fully evaporate first. After priming, most latex primers need about 3 hours to cure before topcoating; oil-based primers do best with a full 24-hour wait.
Conclusion
Removing dust after sanding comes down to a sequence, not a single trick: vacuum first, wipe with the grain using a tack cloth or the right solvent, let the surface dry completely, then inspect it under raking light before you commit to paint. Skip the temptation to reach for a blower as your last step — it causes more of the dust nibs it’s supposed to prevent. Get the order right once and the rest of the paint job goes on smooth the first time, without a rework coat to fix what the dust left behind. For more on cutting dust at the source, see our guide on reducing dust while sanding wood.
Sponsored / affiliate links. As an Amazon Associate I earn from qualifying purchases. I may earn additional commission from eligible campaigns.