How to Finish White Oak: Best Finishes and Steps That Work
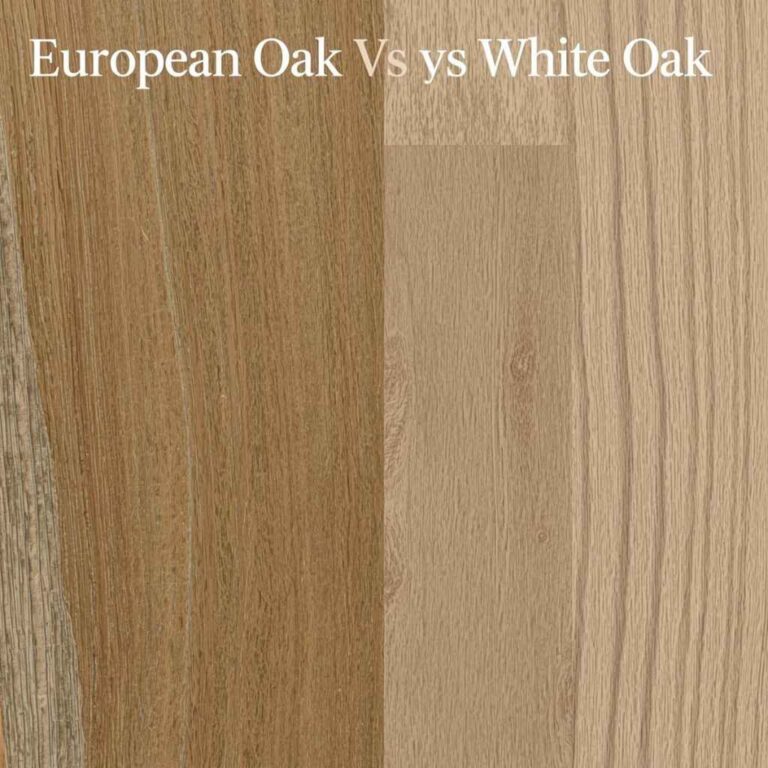
White oak finishes beautifully, but it does not forgive the wrong product. Pick the wrong topcoat and the wood goes orange, or the grain gets muddy, or a stray strand of steel wool leaves a black stain that no sander fully removes. Do the prep right and choose a finish that matches the look you want, and white oak will stay clear, tan and calm for decades.
This guide covers how to finish white oak for furniture, cabinets and tabletops: what to sand to, which finish to use, how to apply it, and the white-oak-specific mistakes most guides skip. If your board is quarter-sawn, the ray fleck is the star, so also read our guide to what quarter-sawn oak is and how to spot it before you pick a finish.
The Short Answer: Best Finish for White Oak
Best Hardwax Oil for White Oak
|
Rubio Monocoat Oil Plus 2C, Pure, 350 mL
|
For the clearest, least yellow result, use water-based polyurethane. Sand to 180 or 220 grit, wipe with a damp rag to raise the grain, sand lightly again, then brush on two or three thin coats. For a natural, raw-wood look and feel, use a hardwax oil such as the Rubio Monocoat pick above or Osmo Polyx-Oil. Avoid oil-based polyurethane on white oak if you want it to stay pale, because it ambers noticeably.
Compare the Main White Oak Finishes
Each finish changes how white oak looks and wears. This table shows the typical trade-offs. Always check your own can for exact recoat and cure times, because they vary by brand, temperature and humidity.
| Finish | Look on white oak | Typical recoat time | Durability | Best for |
|---|---|---|---|---|
| Water-based polyurethane | Clear, slightly cool, stays pale | 2-4 hours | High | Tabletops, cabinets, floors |
| Oil-based polyurethane | Warm amber, deepens over time | 8-24 hours | High | Pieces where a golden tone is wanted |
| Hardwax oil | Natural, matte, grain stays tactile | One coat, wipe off excess | Medium-high, easy spot repair | Furniture, floors, desks |
| Wipe-on poly | Soft satin, slight warmth if oil-based | 4-6 hours | Medium-high | Small projects, no brush marks |
| Shellac | Light amber, can be dewaxed for clearer tone | 30-60 minutes | Medium, weak against water and alcohol | Sealer coat, interior pieces |
For a deeper look at how topcoats shift color, see our explainer on whether polyurethane darkens wood.
What Makes White Oak Different to Finish
Three traits of white oak change how you should work, and they are the reason generic “finish oak” advice goes wrong.
- Tannins react with iron. Steel wool, iron nails, and even metal sanding debris can leave black or gray stains when moisture touches the wood, which includes water-based finishes. Use synthetic pads and vacuum the surface thoroughly.
- Tyloses plug the vessels. This is why white oak is used for whiskey barrels. It also means the surface soaks up finish evenly, so it blotches far less than pine, cherry or maple.
- The grain is open. Coarse pores can leave tiny bubbles or dips in a film finish. Thin coats and a light sanding between them fill the pores without a heavy, plastic look.
Step 1: Prepare the Surface
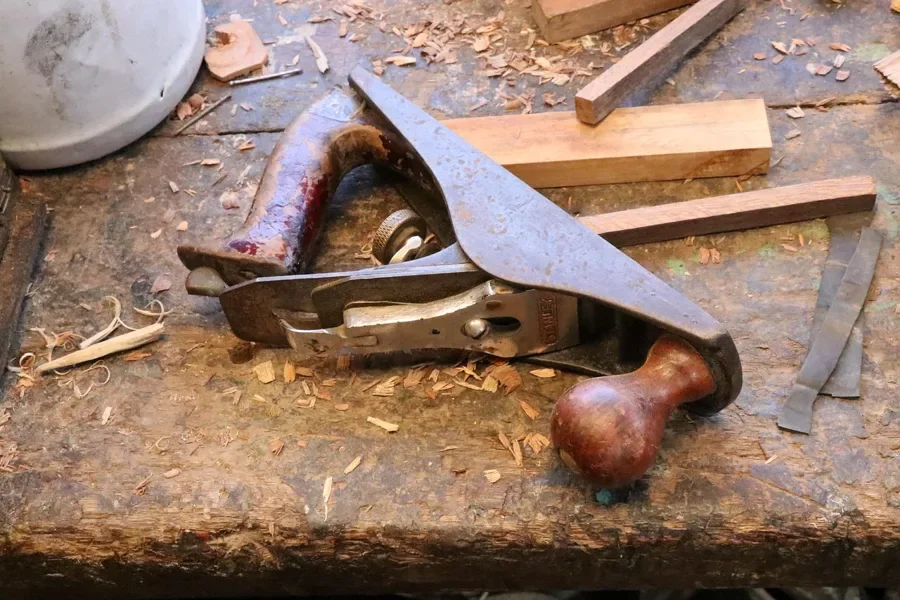
Preparation decides how the finish looks. Mill marks, glue squeeze-out and dust all show up the moment the first coat goes on.
- Scrape or sand off any dried glue. Glue seals the pores, and the finish or stain will not soak in at those spots.
- Sand with the grain through 120, then 150, then 180 grit. Stop at 180 for stained pieces so the pores stay open enough to take the color. Go to 220 for clear finishes only.
- Vacuum, then wipe with a tack cloth or a rag barely dampened with mineral spirits (oil-based or hardwax oil) or water (water-based).
- Raise the grain for water-based finishes: wipe the wood with a damp cloth, let it dry fully, then sand lightly with 220. This stops the first coat from feeling rough.
Step 2: Stain First, or Leave It Natural
Many people love the pale, untouched look of white oak, and a clear finish alone gives it. If you do stain, white oak takes gray, driftwood and light brown tones very well because of its neutral undertones. Always test on an offcut that has been sanded to the same grit as your project.
| Goal | What to apply | What to expect |
|---|---|---|
| Natural pale look | Water-based poly or hardwax oil, no stain | Light tan, grain and ray fleck visible |
| Warm golden tone | Oil-based finish, or a golden oak stain | Honey color that deepens with age |
| Modern gray or driftwood | Gray stain or pigmented hardwax oil, then water-based poly | Cool, muted tone with strong grain contrast |
| Dark espresso | Dark stain, wiped off after a few minutes | Deep brown, but fewer open-grain highlights |
Wait for stain to dry before you topcoat. Oil-based stains usually need overnight, and rushing this step is the most common cause of tacky, cloudy finishes. If your stain looks too yellow, our guide on why wood stain turns yellow and how to fix it walks through the cause.
Step 3: Apply the Finish
Water-Based Polyurethane
- Stir the can, never shake it, to avoid bubbles.
- Brush on a thin coat with a synthetic brush, following the grain.
- Let it dry per the can, then sand lightly with 220 grit and wipe off the dust.
- Apply two to three coats in total. Sand the final coat only if you see dust nibs.
Hardwax Oil
- Mix the product exactly as directed. Two-component oils need the right oil-to-accelerator ratio.
- Apply a thin, even layer, work it into the grain, and then wipe off every bit of excess within the time on the label. Leftover oil dries sticky.
- Let it cure before heavy use, and follow the maker’s guidance for full cure time.
Oil-Based Finishes: A Fire Safety Note
Rags soaked in oil, oil-based stain or oil-based poly can heat up as the oil cures and ignite on their own. Lay them flat outdoors to dry, or submerge them in water inside a sealed metal container before disposal. Never leave a balled-up rag in the trash or on the bench.
Common White Oak Finishing Problems and Fixes
| Problem | Likely cause | Fix |
|---|---|---|
| Black or gray spots | Iron from steel wool, nails or debris reacting with tannins | Treat with oxalic acid wood bleach, rinse, dry, and re-sand; avoid iron next time |
| Rough, fuzzy first coat | Water-based finish raised the grain | Sand lightly with 220 between coats; pre-raise the grain next time |
| Finish looks yellow or orange | Oil-based topcoat or oil-based stain underneath | Switch to water-based finishes for clear results |
| Tiny bubbles in the film | Shaking the can or overworking the finish | Stir gently and brush thin coats, laying off lightly |
| Sticky hardwax oil | Excess oil not wiped off | Apply a little fresh oil to re-wet it, then wipe the excess completely |
How to Keep a White Oak Finish Looking Good
- Clean with a damp microfiber cloth and a mild, pH-neutral cleaner, not wax-based sprays.
- Use felt pads under objects and coasters under hot or wet items.
- Hardwax-oiled surfaces can be spot-repaired by re-oiling the damaged area. Film finishes need a light scuff and a fresh coat.
- Re-coat high-wear tabletops every few years rather than waiting for the finish to fail.
For more options across wood types, browse our full wood finishing guide.
Working with a darker hardwood instead? See how to finish black walnut for the oil versus film decision and how to handle its pale sapwood.
Frequently Asked Questions
Do you need a pre-stain conditioner on white oak?
Usually not. White oak is a tight, even-absorbing wood compared with pine or maple, so it rarely blotches. Test a scrap first: if a dark stain looks patchy, wipe on a thin coat of conditioner or a diluted coat of your finish before staining.
What is the best clear finish for white oak?
For a clear, non-yellowing look on furniture and cabinets, water-based polyurethane is the safest choice. For a natural, close-to-bare-wood feel, a hardwax oil such as Rubio Monocoat or Osmo Polyx-Oil is the better pick.
How do you keep white oak from turning yellow?
Use a water-based finish instead of an oil-based one, which ambers as it ages. Skip oil-based stains and oil-modified sealers underneath, and keep the piece out of constant direct sun, which warms any finish over time.
Why did my white oak turn black where I used steel wool?
White oak is high in tannins. Tannins react with iron, so steel wool fibers or iron nails left in damp wood leave black or gray stains. Use synthetic abrasive pads and brass or stainless fasteners, and vacuum every fiber off before finishing.
Conclusion
To finish white oak well, sand through 180 or 220 grit, keep iron away from the wood, and match the finish to the look you want. Water-based polyurethane gives a clear, durable surface, while hardwax oil keeps the wood looking raw. Test on a scrap, apply thin coats, and let each stage dry fully.
Sponsored / affiliate links. As an Amazon Associate I earn from qualifying purchases. I may earn additional commission from eligible campaigns.