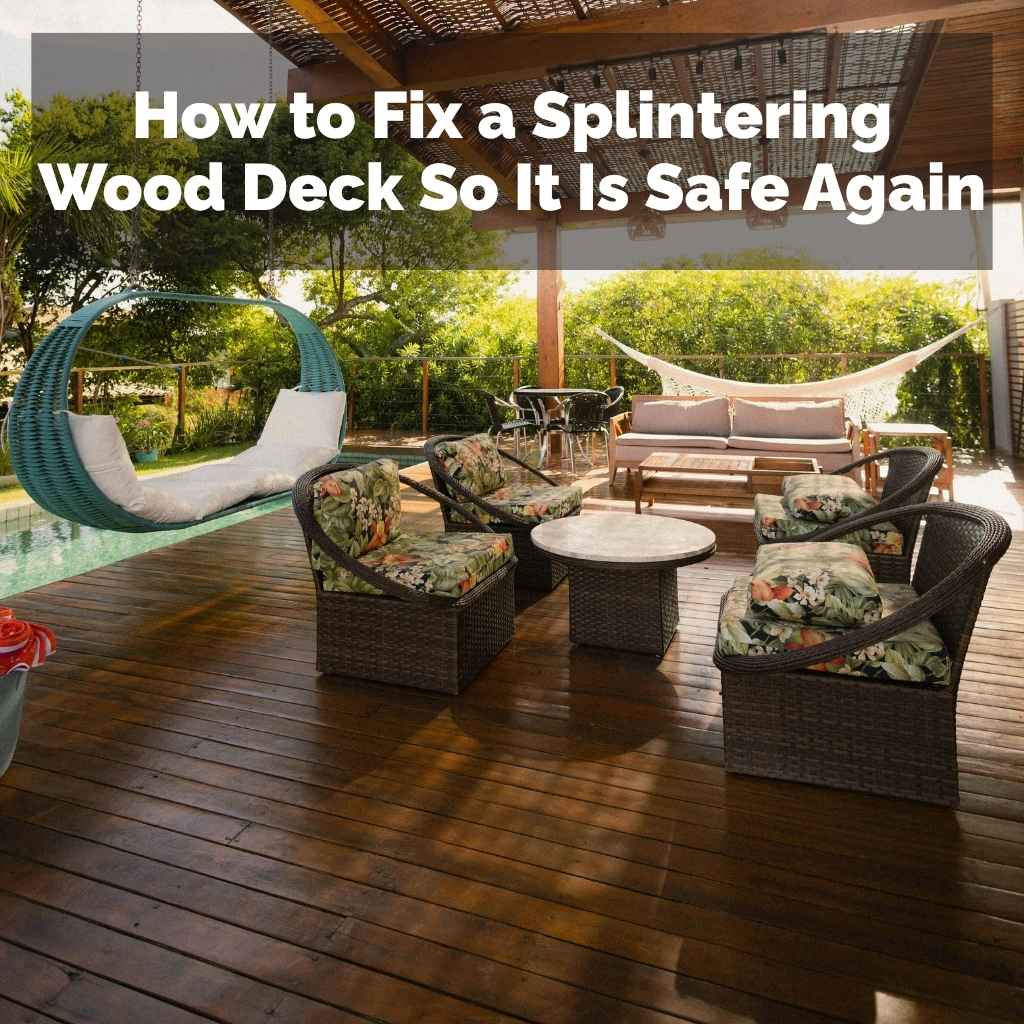
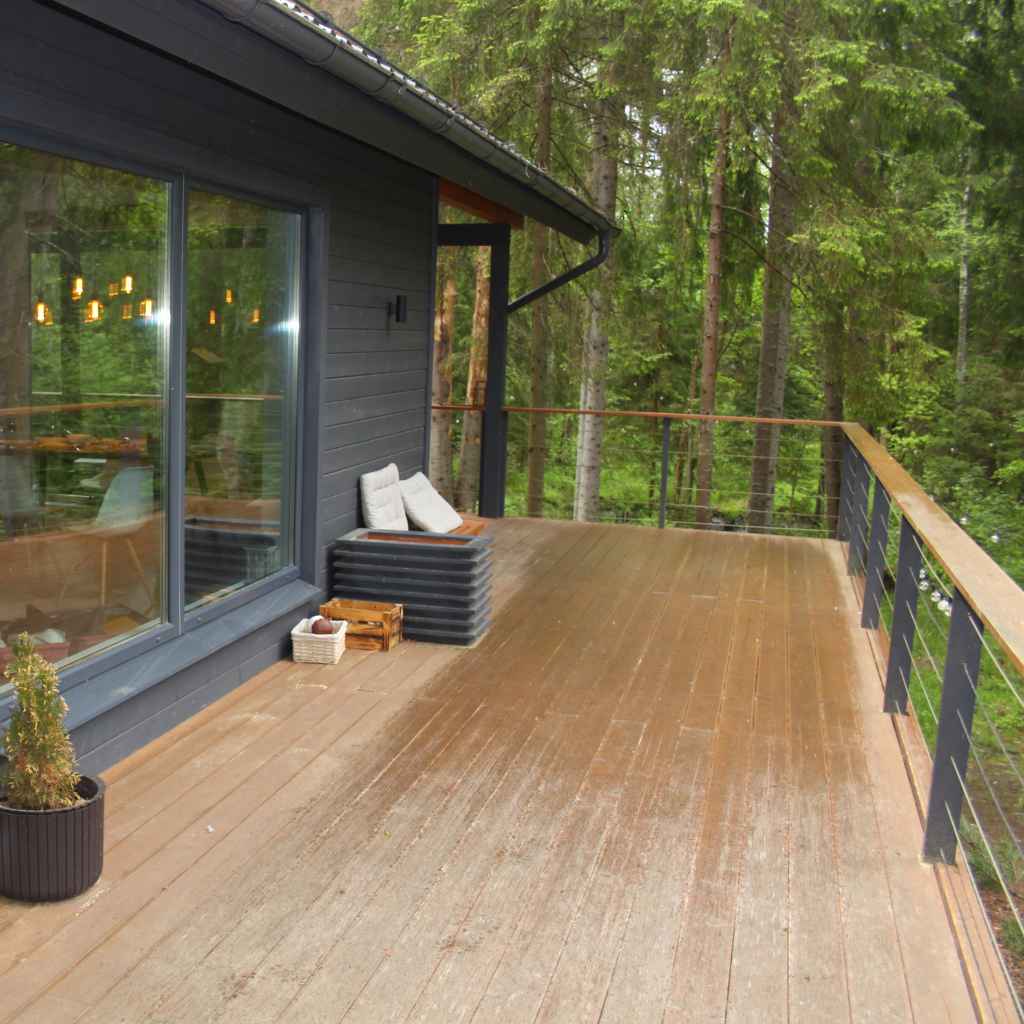
How to Fix a Splintering Wood Deck So It Is Safe Again
Splintering wood on a deck can seem like a big problem. Many homeowners wonder How to Fix a Splintering Wood Deck So It Is Safe Again because these sharp bits can hurt feet and hands. It might feel tricky to get started, but fixing it is simpler than you think.
This guide will walk you through each step easily. We’ll show you how to make your deck safe for everyone to enjoy again, step by step.
Fixing Your Splintering Wood Deck
This section covers the basics of identifying and preparing your deck for repairs. We’ll look at why decks splinter and what you need before you start fixing them. Getting this part right means your repairs will last longer.
It helps you understand the problem fully.
Identifying Deck Damage
First, you need to know where the splinters are. Walk all over your deck. Look for any rough spots or pieces of wood sticking up.
These are the areas that need attention.
Splintering happens when wood starts to break apart. This can be due to weather, age, or not being sealed properly. The sun dries out the wood, and rain can make it swell and shrink.
Over time, these changes can cause the wood fibers to separate.
You might see small, sharp points or larger, peeling pieces. These are all signs of splintering. It’s important to find all of them, even the small ones.
They can still cause injuries.
Gathering Your Repair Supplies
Before you begin, make sure you have everything you need. This makes the job go much smoother. You don’t want to stop halfway through to run to the store.
Safety Gear
Always protect yourself. Wear thick work gloves to keep your hands safe from splinters. Safety glasses are also a must to protect your eyes from dust and wood chips.
Tools for Repair
You will need a few basic tools. A stiff wire brush is good for cleaning away loose bits. A putty knife or scraper can help lift peeling wood.
For deeper splinters, a sander works best. If you have wide gaps, wood filler will be useful.
Repair Materials
You might need wood filler to smooth out damaged areas. If boards are badly damaged, you might need to replace them, so have extra deck boards handy. Exterior wood sealant is also key to prevent future splintering.
Preparing the Deck Surface
A clean deck is essential for good repairs. Start by sweeping away all dirt and debris. Then, use the wire brush to scrub away any loose splinters or flaky paint.
If there is old paint or stain peeling off, use the scraper to remove it. This creates a smooth surface for the new sealant.
Sometimes, mold or mildew can weaken the wood. If you see any, clean the deck with a deck cleaner or a mixture of water and bleach. Rinse it thoroughly afterwards.
Make sure the deck is completely dry before you move on to repairs.
Repairing Splintered Wood Sections
This part focuses on the actual fixing of the splintered areas. We will cover how to sand down rough spots, fill in gaps, and what to do with severely damaged boards. Following these steps will make your deck smooth and safe.
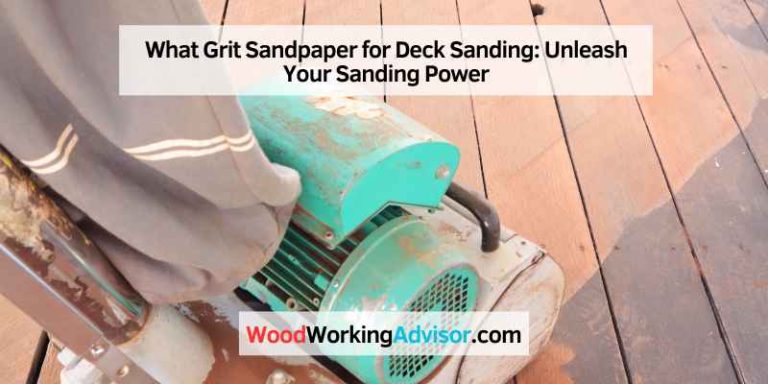
Sanding Down Rough Edges
Sanding is the main way to smooth out splintered wood. For small, raised splinters, you can often use sandpaper by hand. Use a medium-grit sandpaper, like 80-grit, to start.
Rub the sandpaper back and forth over the rough spot until it feels smooth. Be sure to sand in the direction of the wood grain. This prevents scratching the wood.
For larger areas or many splinters, a power sander will save you a lot of time and effort. A random orbital sander is a good choice. Again, start with a coarser grit and move to a finer grit, like 120-grit, for a super smooth finish.
After sanding, wipe away all the dust with a clean cloth. You want a dust-free surface for the next steps.
Using Wood Filler for Gaps
Sometimes, splintering leaves small holes or deep gouges in the wood. Wood filler is perfect for fixing these. Choose an exterior-grade wood filler that can be painted or stained.
Use a putty knife to press the wood filler firmly into the damaged area. Make sure it fills the hole completely. Overfill it slightly, as the filler might shrink a little when it dries.
Let the wood filler dry completely according to the product’s instructions. This usually takes a few hours. Once dry, sand the filled area smooth so it matches the rest of the deck.
Wipe away the dust.
Replacing Damaged Deck Boards
If a deck board is too rotten or badly splintered to repair, it needs to be replaced. This might sound like a big job, but it’s manageable.
First, you need to carefully remove the damaged board. You might need a pry bar and a hammer. Work slowly to avoid damaging nearby boards.
Measure the old board and cut a new one to the same size. Make sure the new board matches the type of wood you have.
Place the new board in the gap. Secure it with deck screws. Make sure the screws are countersunk so they don’t stick up.
A study by the Forest Products Laboratory found that properly treated wood can last 10-30 years longer, showing that fixing and replacing damaged parts is key to deck longevity.
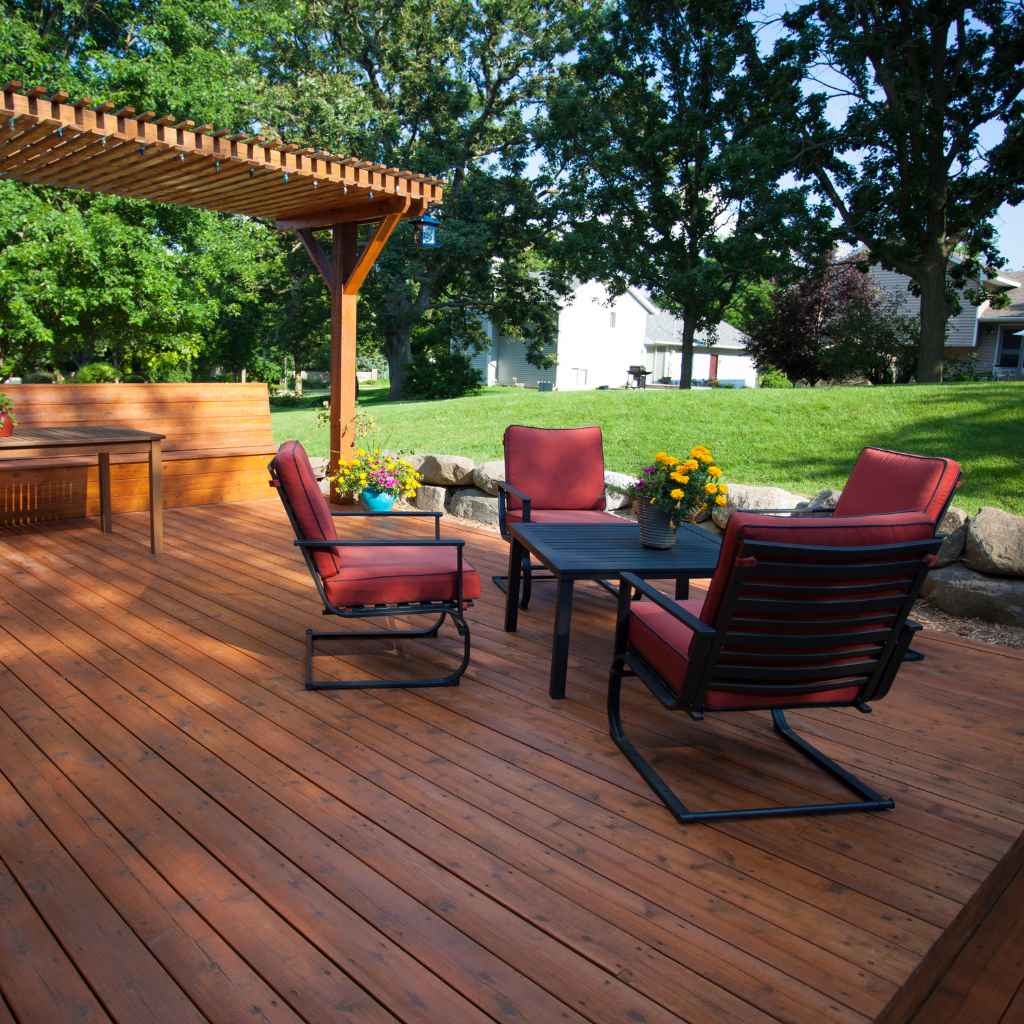
Protecting Your Deck from Future Splinters
This section discusses how to keep your deck from splintering again. Sealing and staining are your best friends here. We’ll also talk about regular cleaning and maintenance.
These steps protect your investment.
Applying a Deck Sealant
A good deck sealant is like a protective coat for your wood. It keeps moisture out and prevents the wood from drying and cracking. Choose a sealant that is made for outdoor decks.
Make sure your deck is clean and dry before applying sealant. You can use a roller, brush, or sprayer. Apply a thin, even coat.
Don’t let it puddle.
Let the first coat dry, then apply a second coat if the product recommends it. This gives your deck the best protection.
Staining Your Deck
Staining not only adds color but also protects your deck. It adds another layer against the sun and moisture. You can choose a semi-transparent stain to let the wood grain show through, or a solid stain for a more uniform color.
Apply stain the same way you apply sealant, in thin, even coats. Always follow the manufacturer’s instructions.
Staining is a great way to update the look of your deck while also making it more durable.
Regular Cleaning and Maintenance
Keeping your deck clean is crucial. Sweep it regularly to remove leaves and dirt. These can trap moisture and lead to rot and splinters.
Wash your deck at least once a year. Use a mild deck cleaner. This removes grime and helps the sealant and stain last longer.
Inspect your deck regularly for any new signs of wear and tear. Catching small problems early can prevent them from becoming big issues.
Annual maintenance can prevent about 70% of common deck issues according to deck building experts. This includes preventing splinters, rot, and structural damage.
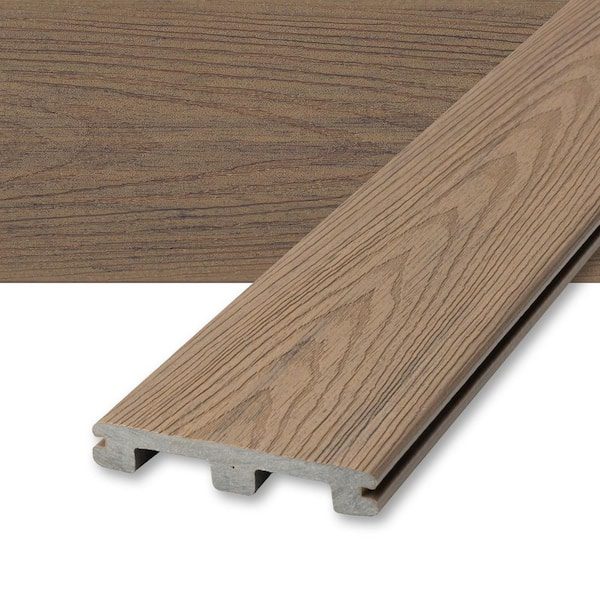
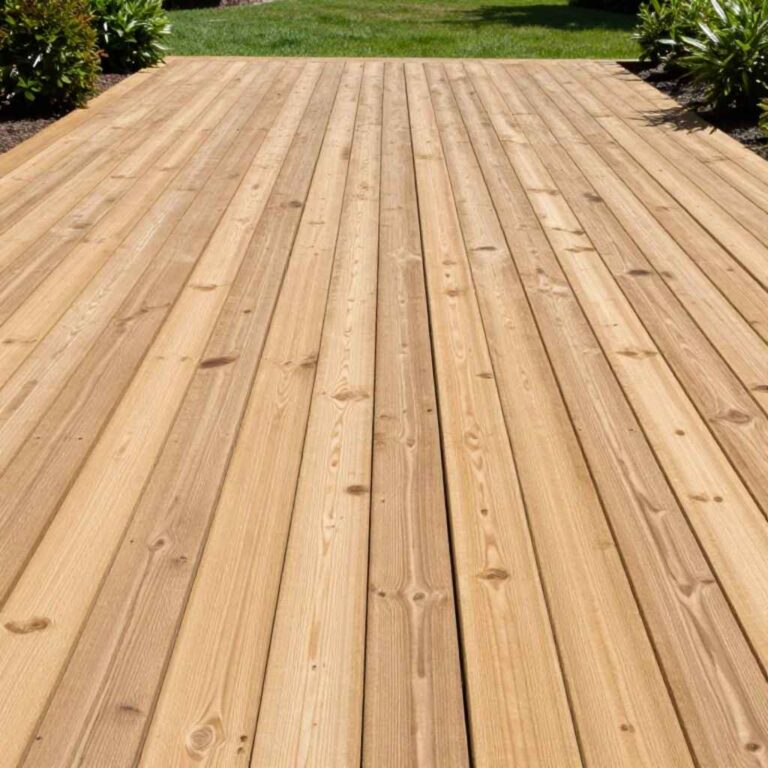
Preventing Splinters with Board Selection
This part looks at how choosing the right wood for your deck can help prevent splinters from forming in the first place. We’ll discuss different wood types and what to look for when buying new boards.
Types of Decking Wood
Different woods have different properties. Some are naturally more resistant to splintering.
Cedar and Redwood
These woods are naturally resistant to rot and insects. They also tend to be softer, which means they splinter less easily than harder woods. They have a beautiful natural color.
Pressure-Treated Lumber
This is a common and affordable option. It is treated with chemicals to resist rot and insects. While durable, it can sometimes splinter more than cedar or redwood if not maintained.
It’s important to choose quality treated lumber.
Hardwoods (like Ipe)
Tropical hardwoods are very dense and durable. They are highly resistant to wear, rot, and insects. Because they are so hard, they are less likely to splinter.
However, they are also more expensive and can be harder to work with.
What to Look for When Buying New Boards
When you are buying boards, inspect them carefully. Look for boards that are straight and free of large knots. Knots can be weak points where splintering might start.
Check the surface of the wood. It should feel relatively smooth. Avoid boards that already look rough or have visible cracks.
Also, consider the moisture content of the wood. Wood that is too wet or too dry can be more prone to problems later on. Your lumber supplier can often give advice on the best wood for your climate.
A study published in the Journal of Wood Science indicated that wood species with a higher density and interlocking grain structure exhibit superior resistance to surface degradation and splintering.
Proper Installation Techniques
Even with good wood, poor installation can lead to problems. Ensure boards are spaced correctly to allow for expansion and contraction. This prevents boards from rubbing against each other, which can cause damage.
When fastening boards, use the right type of screws. Stainless steel or coated deck screws are best. Make sure they are driven in just enough so the head is flush or slightly below the surface.
This prevents them from snagging clothing or feet.
If you are replacing boards, make sure the joists underneath are sound. A damaged joist can cause a deck board to flex too much, leading to cracks and splinters.
Frequently Asked Questions
Question: How often should I seal my deck
Answer: You should plan to seal your deck every 1 to 2 years. The exact timing can depend on the type of sealant you use and the climate you live in. Checking the sealant’s condition annually will help you decide when reapplication is needed.
Question: Can I fix splinters without replacing boards
Answer: Yes, in many cases you can. For minor splinters, sanding them down smooth is usually enough. For small gouges, wood filler can be used.
Only replace boards that are severely damaged or rotting.
Question: What is the best time of year to repair a deck
Answer: The best time to repair a deck is usually in spring or fall. These seasons have moderate temperatures, which are ideal for working with wood and applying sealants or stains. Avoid very hot or very cold weather, and times with a lot of rain.
Question: Do all wood decks eventually splinter
Answer: While most wood decks will show some signs of wear over time, consistent maintenance can greatly delay or minimize splintering. Proper sealing, regular cleaning, and prompt repairs are key to a long-lasting, splinter-free deck.
Question: What safety gear is absolutely necessary
Answer: You absolutely need sturdy work gloves to protect your hands from splinters and sharp edges. Safety glasses are also essential to keep wood dust and chips out of your eyes. Comfortable, closed-toe shoes are also a good idea.
Wrap Up
Fixing a splintering wood deck is about careful inspection and repair. Sanding rough spots, filling holes, and replacing bad boards make it safe. Proper sealing and regular cleaning prevent future splinters.
You can have a beautiful, safe deck again.