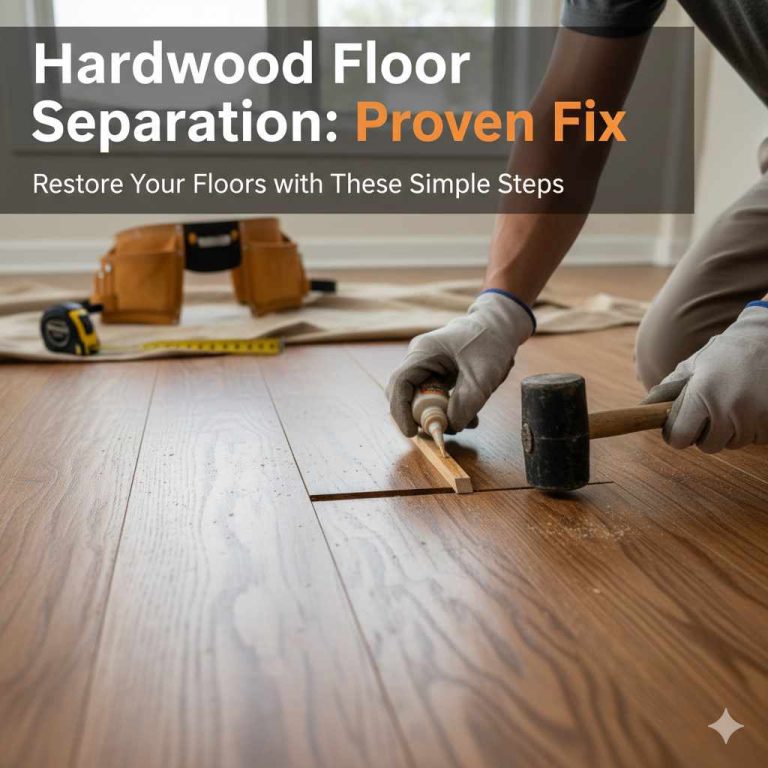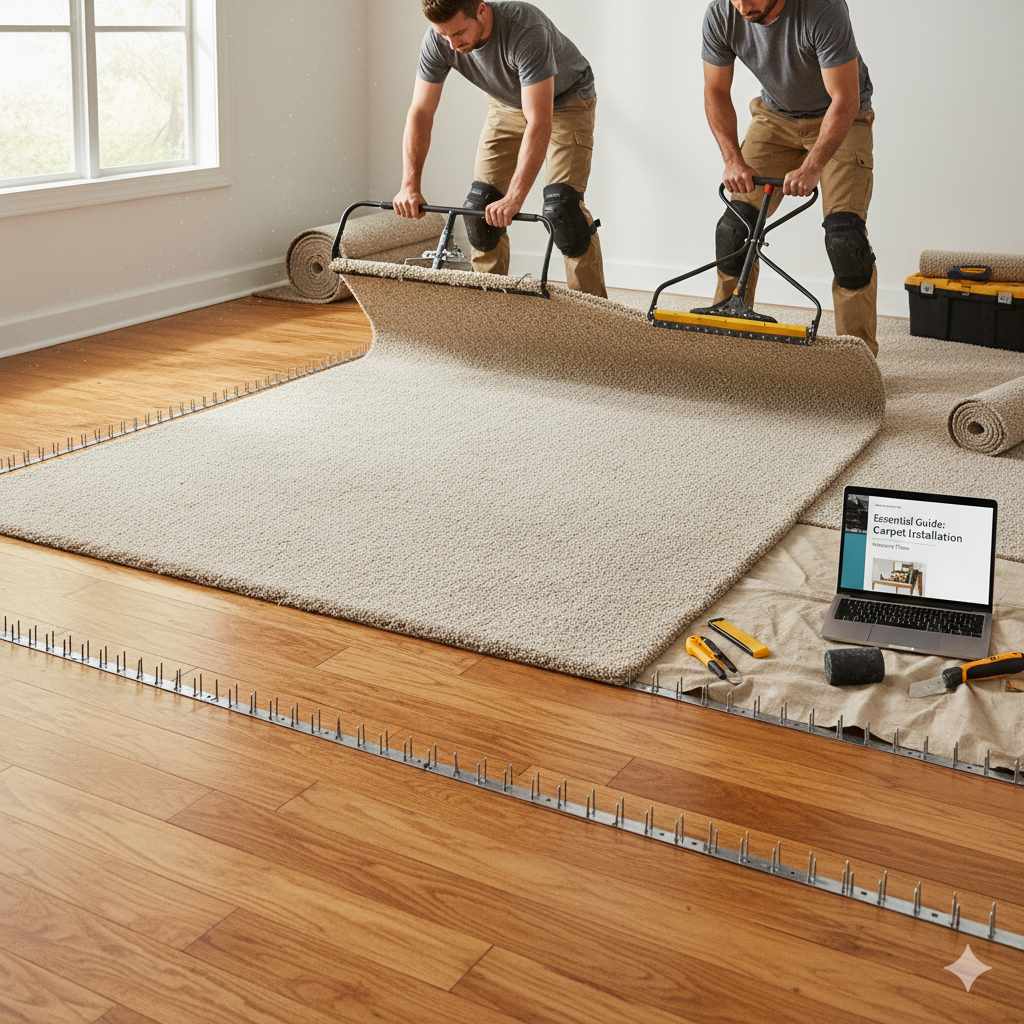
How To Install Carpet On Hardwood Floor: Essential Guide
Installing carpet over hardwood is a DIY-friendly project. This guide walks you through preparation, underlayment selection, and secure carpet installation for a comfortable, warm finish. Learn how to achieve professional-looking results without needing expert skills by following these simple, actionable steps.
Have you ever looked at your beautiful hardwood floors and wished for the cozy warmth and softness of carpet? Maybe footsteps echo a little too much, or you simply crave a softer landing underfoot. Installing carpet directly over hardwood might seem tricky, but it’s a surprisingly achievable DIY project that can transform your room. Don’t let the thought of tools or techniques intimidate you; with the right guidance, you can absolutely do this!
This guide is designed to make the process clear and straightforward. We’ll break down each step, from preparing your hardwood to laying down that new carpet, ensuring you feel confident and ready to tackle the job. You’ll learn what you need, how to do it safely, and how to achieve a beautiful finish that feels professionally done. Let’s get started on your journey to a more comfortable and stylish home!
Why Install Carpet Over Hardwood?
There are several great reasons why homeowners choose to install carpet over existing hardwood floors. It’s not just about aesthetics; it’s often a practical and cost-effective solution.
Benefits of Carpeting Over Hardwood:
- Comfort and Warmth: Carpet provides a soft, warm surface that is much more comfortable to walk and stand on than hard wood, especially in cooler months.
- Noise Reduction: Carpet acts as a natural sound dampener, significantly reducing echoing and the transmission of noise between floors.
- Cost-Effectiveness: Installing carpet over hardwood can be less expensive than removing the hardwood, repairing subflooring (if needed), and then installing new flooring.
- Protection for Hardwood: This method protects your valuable hardwood floors from wear and tear, spills, and potential damage.
- Style Versatility: Carpet comes in an endless array of colors, patterns, and textures, allowing for easy style updates without altering the underlying floor.
- Improved Safety: The softer surface of carpet can provide a safer landing in case of falls, which is particularly relevant for homes with children or elderly individuals.
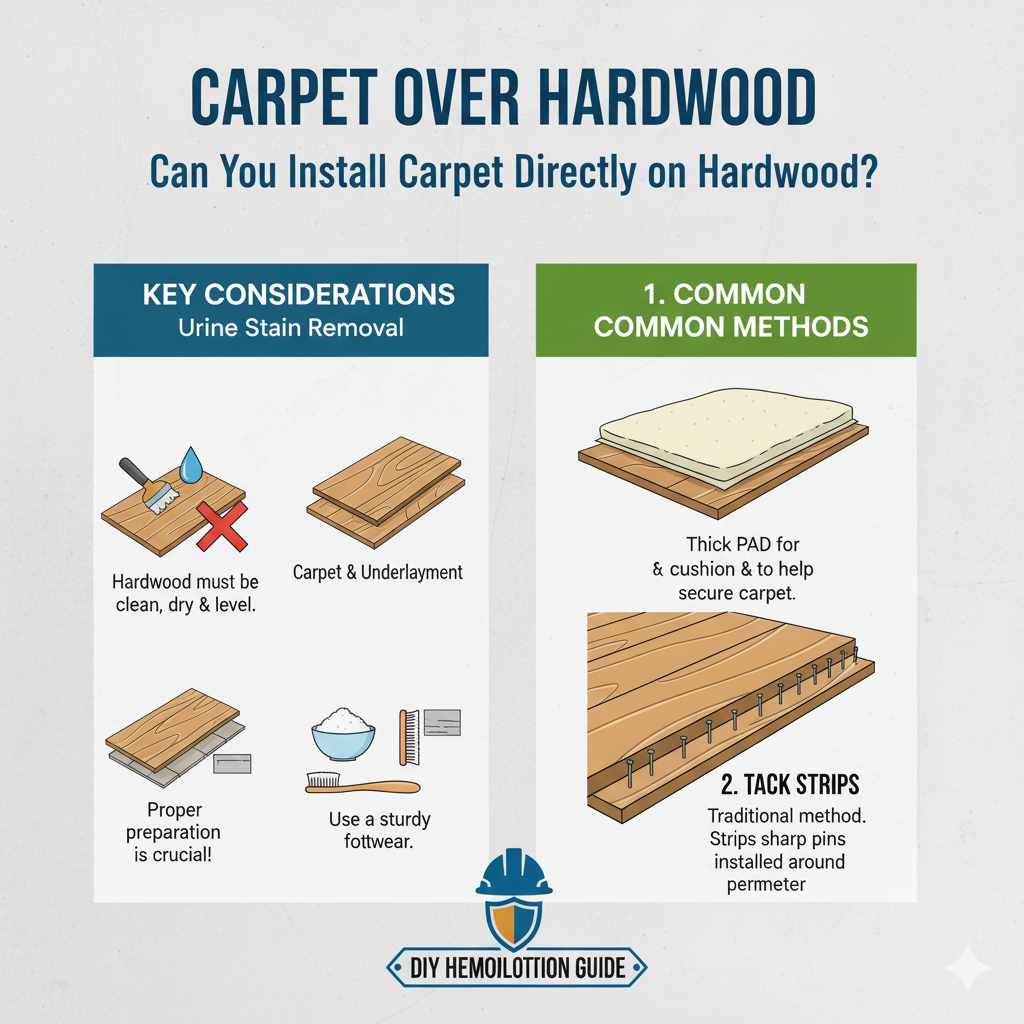
Can You Install Carpet Directly on Hardwood?
Yes, you can install carpet directly on hardwood floors, but with important considerations! The key is proper preparation and the use of the correct underlayment or tack strips. It’s not as simple as just rolling out carpet and hoping for the best. The hardwood surface needs to be in good condition, and you’ll often need to install a transition layer.
The most common methods involve either using a thick carpet pad for cushion and to help secure the carpet, or the more traditional method of using tack strips around the perimeter of the room. Both methods require careful attention to detail.
What You’ll Need: Tools and Materials
Gathering all your supplies before you start will make the process much smoother. Here’s a comprehensive list of what you’ll likely need:
Essential Tools:
- Utility Knife: For trimming carpet and underlayment. Make sure to have plenty of sharp replacement blades.
- Measuring Tape: For accurate measurements of your room and carpet.
- Staple Gun (Heavy-Duty): To attach the underlayment and potentially tack strips to the subfloor.
- Pry Bar: To remove existing baseboards.
- Hammer: For reattaching baseboards.
- Putty Knife: For filling any small holes or imperfections in the hardwood.
- Screwdriver or Drill: For removing and reattaching floor vents or any other fixtures.
- Carpet Knee Kicker: A specialized tool to stretch the carpet into place.
- Carpet Rake: To help fluff and groom the carpet pile after installation.
- Work Gloves: To protect your hands.
- Safety Glasses: To protect your eyes from dust and debris.
- Vacuum Cleaner: To thoroughly clean the floor before you begin and to clean up afterward.
- Chalk Line or Laser Level: For marking straight lines if needed.
- Scraper or Putty Knife: To remove any old adhesive.
Materials:
- Carpet: Choose a carpet type suitable for your needs (e.g., low pile for high traffic, high pile for luxury).
- Underlayment (Padding): This is crucial for comfort, insulation, and helping to secure the carpet. Options include foam, rubber, or fiber padding.
- Carpet Tape (if applicable): For seaming carpets together or for a no-nail installation approach.
- Tack Strips (if applicable): Wooden strips with small nails, used to secure carpet edges along the walls.
- Flooring Nails (small, finishing nails): For securing tack strips if not using adhesive.
- Wood Filler or Epoxy (if needed): To repair any gouges or significant imperfections in the hardwood.
- Wood Sealer (optional): If you’re concerned about moisture or a very smooth finish for the hardwood.
- Baseboard Adhesive or Nails: To reattach baseboards.
Step-by-Step Guide: Installing Carpet on Hardwood
Follow these steps carefully for a successful carpet installation over your hardwood floors. Remember to work methodically and take your time!
Preparation is Key! Before you even unroll your new carpet, thorough preparation of your hardwood floor is essential for a lasting, professional-looking result.
- Clear the Room: Remove all furniture, rugs, and any other items from the room. This gives you a clear workspace and prevents damage to your belongings.
- Remove Baseboards (Carefully!): Use a pry bar to gently remove the baseboards around the perimeter of the room. Start in the middle of a section and work your way out. Try to pry them away from the wall to avoid damaging the wood itself. If they are securely nailed, you may need to score the top edge with a utility knife to break the paint seal. Carefully label and store the baseboards and their screws or nails for reinstallation.
- Inspect and Prepare the Hardwood Floor: This is a critical step. Walk over your hardwood floor and check for any loose boards, squeaks, or significant damage. A pristine hardwood surface isn’t strictly necessary, but significant issues need addressing.
- Loose Boards: If any boards are loose, try to secure them with screws driven down into the subfloor.
- Squeaks: Small squeaks can sometimes be fixed by driving screws diagonally through adjacent boards into the joists below or the subfloor.
- Gouges and Imperfections: Fill any deep gouges or holes with wood filler or a compatible epoxy. Sand it smooth once dry.
- Cleanliness: Sweep and vacuum the floor thoroughly to remove all dust, dirt, and debris. Any grit left behind can damage the hardwood or create an uneven surface for the carpet.
- Smooth Surface: If your hardwood has a very high gloss or is prone to scratching, you might consider a thin layer of plywood or a specific underlayment designed to go over hardwood before the carpet pad to ensure an perfectly smooth, protected surface. However, for most residential applications, a good quality carpet pad is sufficient. Ensure the hardwood is well-sealed if there’s any concern about moisture transfer from the subfloor.
- Install Tack Strips (Traditional Method): Tack strips are thin wooden strips with sharp nails pointing upward. They are installed around the perimeter of the room, about 1/4 inch from the wall. These nails will grip the carpet, holding it taut.
- Lay tack strips around the entire room, leaving a gap between the wall and the strip. The gap should be slightly less than the height of the carpet pile, allowing the carpet to be tucked under the baseboard later.
- If you’re installing on top of hardwood and don’t want to nail into it, you can use strong construction adhesive to secure the tack strips to the hardwood edges.
- For a more secure installation, especially if you are going over a subfloor or can penetrate the hardwood, use small finishing nails to secure the tack strips to the floor.
- Ensure the nails are pointing upwards and angled slightly towards the wall.
- Cut the strips to fit around corners, doorways, and obstructions. You will need to remove the angled nails on the strips where they would interfere with the carpet tuck under the baseboard.
- Lay the Underlayment (Carpet Pad): The underlayment is vital for comfort, insulation, and extending the life of your carpet. It also helps create a smoother surface over the hardwood.
- Roll out the carpet pad across the floor, covering the entire area.
- Trim the pad to fit the room using a utility knife. Leave a couple of inches extra around the perimeter.
- Secure the pad to the floor using a heavy-duty staple gun. Staple about every 6-12 inches around the edges and across the middle of the pad to keep it from shifting.
- Make sure there are no wrinkles or bumps in the pad; these will transfer to the carpet. Trim any excess pad that would interfere with the tack strips or baseboards.
- Install the Carpet: This is where your carpet starts to take shape.
- Drape the Carpet: Carefully unfurl the carpet into the room. Try to position it so that the best side (the pile) is facing up. It’s often helpful to have an extra pair of hands for this.
- Positioning: Lay the carpet flat, ensuring it covers the entire floor area. Leave about 4-6 inches of extra carpet around the perimeter to allow for trimming and tucking.
- Tucking and Trimming: Work your way around the room, tucking the carpet edge into the gap between the wall and the tack strips. Use a carpet tucking tool or a stiff putty knife for this.
- Trimming Excess: Use your utility knife to carefully trim away the excess carpet around the room. Cut the carpet so it lies smoothly without bunching.
- Stretching and Securing: This is where the knee kicker comes in. Place the knee kicker firmly against the carpet, near a wall. Use your knee to depress the kicking mechanism, which will stretch the carpet towards the opposite wall. As you stretch, the tack strips will grip the carpet.
- Working Around Corners: For corners, you’ll need to make careful cuts and tucks. Fold the carpet and make diagonal cuts where necessary, then trim and tuck it neatly. A good tip is to cut a large “X” in the corner area of the excess carpet, then fold and trim each flap under neatly.
- Seaming (if necessary): If your room is wider than a single carpet roll, you’ll need to seam two pieces together. Use hot-melt carpet tape and a seaming iron following the manufacturer’s instructions for a strong, almost invisible seam. For best results, have the carpet laid out and marked by a professional if seams are involved.
- Doorways and Transitions: For doorways, you’ll typically use a transition strip (like a metal or wooden threshold) to bridge the gap between the carpet and the flooring in the next room. Secure the carpet edge under this transition strip.
- Reinstall Baseboards: Once the carpet is securely in place and trimmed, carefully reattach the baseboards. You can use finishing nails or construction adhesive. Align them carefully for a clean look. If you removed them with minimal damage, they should fit back into place easily.
- Final Touches: Use a carpet rake to groom the pile and lift any flattened areas. Vacuum the room thoroughly to remove any carpet fibers or dust created during installation. Replace floor vents.
When Not to Carpet Over Hardwood
While carpeting over hardwood is often a great option, there are situations where it’s not the best choice:
Situations to Avoid:
- Damaged Hardwood: If your hardwood floors are severely warped, rotted, or have extensive water damage, carpeting over them will only hide the problem temporarily. It’s better to address the underlying hardwood issues first or consider other flooring options.
- Uneven Subfloor: If the hardwood itself is laid over a severely uneven or damaged subfloor, this unevenness will transfer to the carpet, creating tripping hazards and an unprofessional look. The subfloor needs to be level before any flooring, including carpet, is installed.
- High Moisture Areas: While carpet adds warmth, it’s not ideal for very damp environments like unfinished basements or poorly ventilated bathrooms, as it can trap moisture and lead to mold or mildew.
- Valuable or Antique Hardwood: If you have a rare or historically significant hardwood floor, it’s usually best to preserve it rather than cover it up.
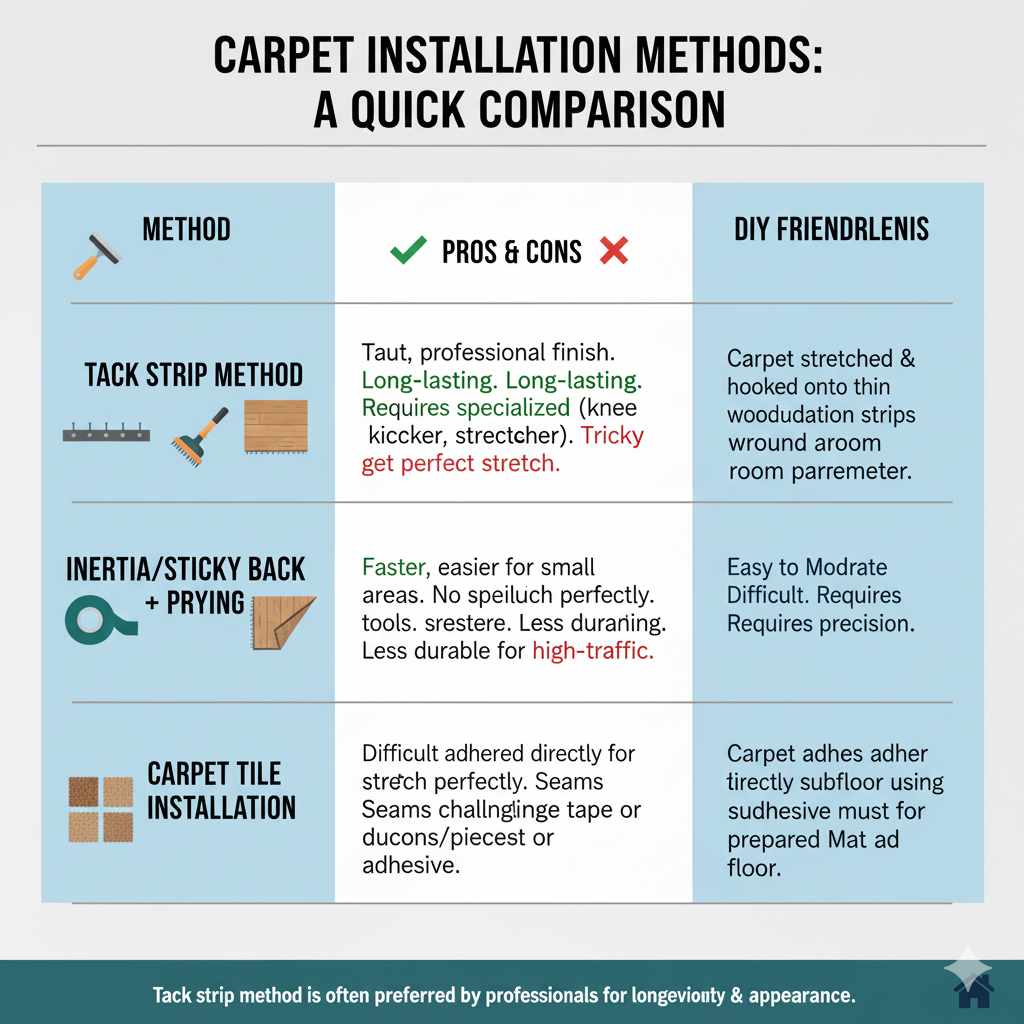
Carpet Installation Methods: A Quick Comparison
There are a few primary ways to integrate carpet and underlying hardwood. Each has its pros and cons, especially from a DIY perspective.
| Method | Description | Pros | Cons | DIY Friendliness |
|---|---|---|---|---|
| Tack Strip Method | Carpet is stretched and hooked onto thin wooden strips with nails (tack strips) installed around the perimeter of the room. | Creates a very taut, professional-looking finish. Long-lasting. Allows for proper stretching. | Requires specialized tools (knee kicker, power stretcher). Can be tricky to get a perfect stretch. Requires careful trimming. | Moderate to Difficult. Requires practice and specific tools. |
| Inertia/Sticky Back Method | Carpet is adhered directly to the subfloor or hardwood using a double-sided carpet tape or adhesive. No tack strips are used. | Simpler installation for small areas. No need for specialized tools like knee kickers. Can preserve hardwood more easily if done carefully. | Can be difficult to stretch perfectly. Seams can be a challenge. Not as durable for high-traffic areas as tack strips. | Easy to Moderate. Simpler than tack strips but requires precision. |
| Carpet Tile Installation | Individual carpet tiles are adhered to the prepared floor. | Easy to replace damaged tiles. No complex stretching or seaming required. Can create patterns. | Can sometimes look less seamless than broadloom carpet. Adhesives need to be appropriate for hardwood. | Easy. Very beginner-friendly. |
For installing carpet over hardwood, the tack strip method is often preferred by professionals for its longevity and appearance, but the inertia (tape/adhesive) method can be a more accessible DIY option if done with care and the right products.
Frequently Asked Questions (FAQ)
Q1: Can I install carpet directly on top of hardwood without any preparation?
No, you should never install carpet directly on hardwood without significant preparation. The hardwood surface needs to be clean, smooth, and free of damage. Proper underlayment or tack strips are also essential for a good installation.
Q2: How do I deal with squeaky hardwood floors before carpeting?
You can try to fix squeaks by locating the floor joists underneath. Drive screws diagonally through the hardwood planks into the joists or subfloor. Sometimes, shims can be used, or specialized squeak-stopping products are available. If fixing is too difficult, a thick, high-quality carpet pad can help mask minor squeaks.
Q3: What kind of carpet pad is best for hardwood floors?
A good quality, dense foam or rubber-backed carpet pad is generally recommended. Look for a pad that is at least 7/16 inch thick. A denser pad provides better support and cushioning, while a rubber backing helps prevent the carpet from shifting. Avoid very soft, thin pads that allow the carpet to deform easily.
Q4: Do I nails the tack strips directly into my hardwood floor?
You can, but consider carefully. If your hardwood is valuable or you want to preserve it as perfectly as possible, using a strong adhesive (like construction adhesive or heavy-duty double-sided carpet tape) to secure the tack strips might be a better option. If you do nail, use small, finishing nails and try to hit the subfloor beneath the hardwood.