How to Make a Plywood Box: Cut List and Assembly Plans
Most plywood box plans give you a finished size and leave the arithmetic to you. This one gives you the cut list. A 24 x 14 x 12 inch lidded box needs six panels, fits on a half sheet of 3/4 inch plywood with room to spare, and goes together with glue and about 28 screws. Below you will find every dimension, the formula for the end panels (the part most people get wrong), how much of a sheet each box size uses, and an assembly order that keeps the box square.
Plywood Box Cut List: 24 x 14 x 12 Inch Box
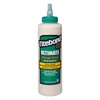
Best Glue for a Plywood Box
|
Titebond III Ultimate Wood Glue, 16 oz
|
The design is the simplest strong one: the base is a full 24 x 14 inch panel, the front and back sit on top of it, and the two end panels fit between the front and back. Every joint is a glued and screwed butt joint, so there is no joinery to cut. The table assumes true 3/4 inch (0.75 in) plywood, and the 12 inch height is the box body; a lid adds another 3/4 inch.
| Part | Qty | Size (in) | How it is figured |
|---|---|---|---|
| Front and back | 2 | 24 x 11.25 | Full length; height is 12 minus the 0.75 base |
| Ends | 2 | 12.5 x 11.25 | 14 minus 2 x 0.75, so they fit between front and back |
| Base | 1 | 24 x 14 | Full outside footprint |
| Lid (optional) | 1 | 24 x 14 | Same as the base, hinged to the back |
The Plywood Thickness Mistake That Throws Off Your Ends
Plywood sold as 3/4 inch is usually a little thin. Sanded 3/4 inch sheets commonly measure 23/32 inch (about 0.72 in), and imported panels can be thinner still. The error is small on one panel but it shows up at the ends: with 23/32 inch stock the ends should be about 12.56 inches, not 12.5. The safe habit is to measure the sheet with calipers, then use one set of formulas for every box you build: end width = outside width minus 2 x thickness, and wall height = outside height minus thickness. Cut the front and back first, then size the ends from the real thickness.
How Much Plywood Does a Box Need? Sheet Yield Math
The six panels add up to 1,493 square inches (540 for the front and back, 281 for the ends, 672 for the base and lid). A half sheet (4 x 4 ft) is 2,304 square inches and a full 4×8 sheet is 4,608, so the box uses about 65 percent of a half sheet and 32 percent of a full one. Area is only a ceiling, so here is the actual layout on a 48 x 48 inch half sheet, ripped across the 48 inch width:
| Strip | Height (in) | Pieces cut from it |
|---|---|---|
| 1 | 14 | Base and lid, 24 inches each (24 + 24 = 48) |
| 2 | 11.25 | Front and back, 24 inches each |
| 3 | 11.25 | Two ends at 12.5 inches, with 23 inches left over |
| Drop | about 11 | Leftover strip, roughly 11 x 48 inches after three 1/8 inch kerfs |
The strips total 36.5 inches, plus about 3/8 inch of saw kerf, which leaves a drop of about 11 x 48 inches. On a full 4×8 sheet the same layout repeats twice (73 inches plus kerfs), so you get two lidded boxes from one sheet with a drop of about 22 x 48 inches. A third box does not fit. If you want to know how the sheet itself is sized and sold, see our guide to 4×8 plywood panels.
Yield by Box Size
| Box (L x W x H, in) | Area of all six panels | Share of a 4×8 sheet | Fits a 4×4 half sheet? |
|---|---|---|---|
| 16 x 10 x 8 | 675 sq in | 15% | Yes, with room left over |
| 24 x 14 x 12 | 1,493 sq in | 32% | Yes (65% of the half sheet) |
| 36 x 18 x 18 | 3,107 sq in | 67% | No, needs a full sheet, drop about 48 x 7 in |
For the small box, area alone would allow six per sheet, but kerf losses and keeping the panels oriented the right way mean the real number is lower, so lay it out on paper before you buy. All three sizes use 3/4 inch plywood and the same two formulas from above.
Tools and Materials
- One half sheet (4 x 4 ft) of 3/4 inch plywood, or a full sheet if you are making two boxes
- About 28 #8 x 2 inch screws (12 for the corners, 16 for the base) plus a few more for the hinges
- Wood glue, such as the Titebond III above
- Circular saw with a straightedge guide, or a table saw
- Drill, a pilot bit and a countersink bit
- Two clamps, a speed square, a tape measure and sandpaper
A sharp plywood blade and a taped cut line keep the face veneer from chipping, and we cover that in detail in how to cut plywood with a circular saw without splintering.
Step-by-Step Assembly
1. Cut the Panels
Rip the half sheet into the three strips from the layout table, then crosscut each strip to length. Cut the base and lid first, then the front and back. Measure the actual thickness before you cut the ends and use the formula above. Label every panel in pencil on its inside face.
2. Drill Pilot Holes Before You Assemble
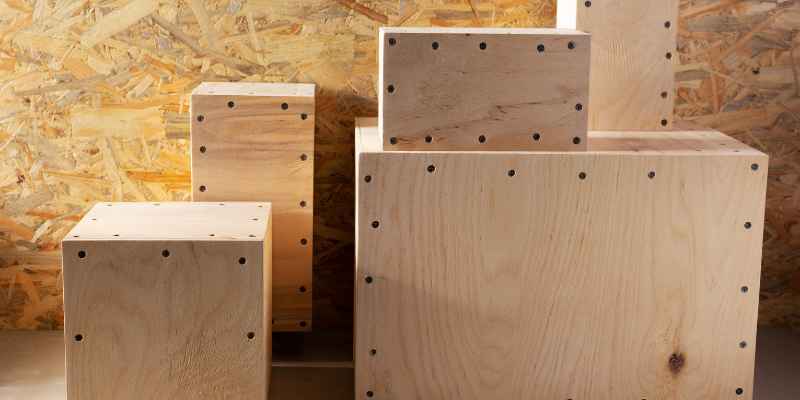
Screws driven into the edge of a plywood panel have less holding power than screws into the face, because they run between veneer layers rather than across them. Two things make up for it: glue on every joint, and pilot holes so the plies do not split. Drill a pilot sized to the core of a #8 screw (about 7/64 inch is the usual starting point) and countersink slightly. Keep screws at least 3/8 inch from the panel edge. Plan three screws per end joint: one near the top, one in the middle and one near the bottom.
3. Build the Four Walls
Lay the front on its back edge, spread glue on the end of one end panel, set it between the front and back and drive three screws through the front into the end edge. Repeat at all four corners. Check the box with a speed square and by measuring both diagonals: when they match, the box is square. A racked box can be pulled true with a clamp across the long diagonal before the glue sets.
4. Attach the Base
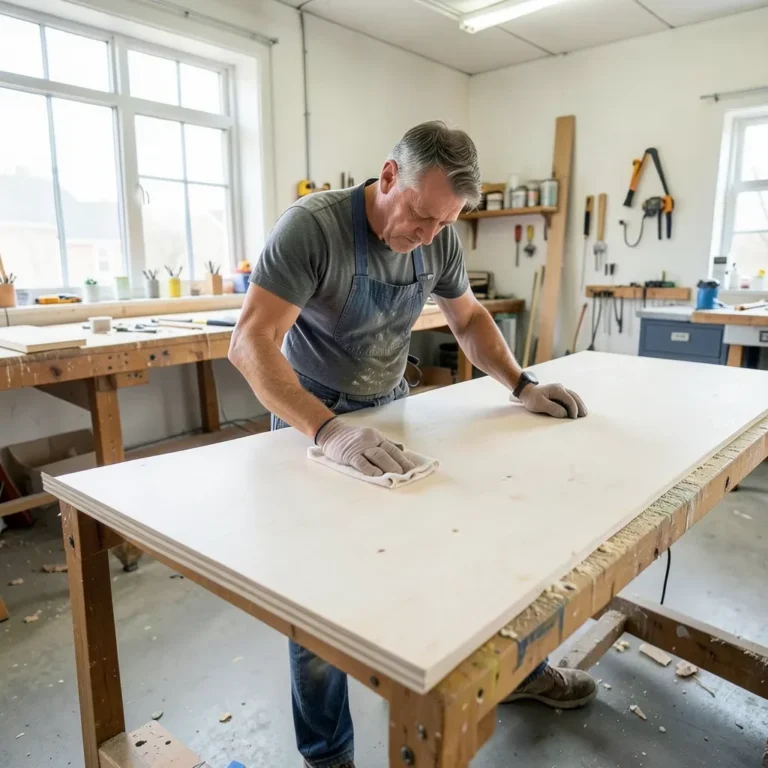
Run a bead of glue along the bottom edges of the four walls, set the walls on the base so all edges are flush, and screw up through the base into the wall edges. Space the screws about 5 inches apart: five along each 24 inch side and three along each end gives 16 screws. Wipe squeeze-out with a damp rag before it dries. If you are short of clamps, our guide to gluing wood without clamps covers the workarounds.
Add a Hinged Lid
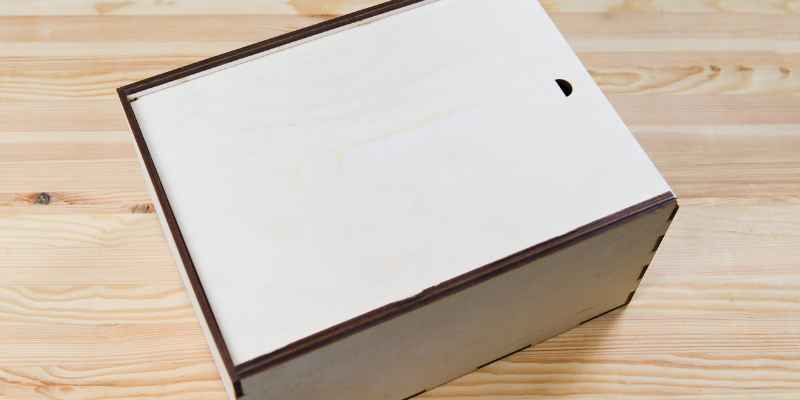
Cut the lid the same size as the base. Mount two butt hinges on the back edge about 4 inches in from each end, or one continuous hinge across the 24 inch back. Fit the hinges to the lid first, then to the box, and test the swing before you move on to finishing. For a toy box, choose a lid support that holds the lid open at any angle rather than letting it drop, and avoid a latch that could lock a child inside. A flat sliding lid is an alternative that skips hinges entirely.
Finishing a Plywood Box
Plywood edges are the weak point for moisture and for looks. Sand the faces through 150 and then 180 grit, fill edge voids with wood filler if you will paint, and seal the edges before the first coat of paint or varnish. Our guide to sealing the edges of plywood shows the options in detail. If the box will be used outdoors, read how long plywood can be exposed to rain, and use an exterior-rated finish plus a waterproof glue.
Resize the Box
Pick the outside length, width and height you need, then use the same three rules: front and back are length x (height minus thickness); ends are (width minus 2 x thickness) x (height minus thickness); base and lid are length x width. If you only have 1/2 inch plywood, use the same rules with 0.5 for the thickness and pocket holes instead of 2 inch screws, which are too long. Our article on using a Kreg jig on 1/2 inch plywood explains how that works. For another project that uses the same sheet-goods skills, try our DIY wooden shoe rack.
Frequently Asked Questions About Building a Plywood Box
What thickness of plywood is best for a box?
3/4 inch plywood (often 23/32 inch actual) is the usual choice for storage boxes, tool boxes and chests because the walls hold screws in their edges and resist racking. 1/2 inch works for small boxes under about 16 inches long, but screws into 1/2 inch edges leave little margin, so use pocket holes or cleats.
How wide should the end panels be?
Outside width minus two wall thicknesses. For a 14 inch wide box in true 3/4 inch plywood that is 12.5 inches; in 23/32 inch plywood it is about 12.56 inches. Measure your actual sheet before you cut.
How many plywood boxes can you cut from one 4×8 sheet?
Two 24 x 14 x 12 inch boxes with lids fit on one 4×8 sheet with a drop of roughly 22 x 48 inches. A 36 x 18 x 18 inch box takes about two thirds of a sheet, so only one fits.
What screws should I use for a plywood box?
#8 x 2 inch screws are a good match for 3/4 inch plywood butt joints: a 2 inch screw passes through 3/4 inch of one panel and bites about 1-1/4 inch into the edge of the other. Drill a pilot hole and glue every joint.
Sponsored / affiliate links. As an Amazon Associate I earn from qualifying purchases. I may earn additional commission from eligible campaigns.