How to Make Wooden Ear Plugs (Ear Gauges): A Safe DIY Guide
“Wooden ear plugs” almost always means double-flared wood ear gauges worn in a stretched earlobe piercing, not a device you push into your ear canal to block noise. Turning your own is a genuinely good small lathe project: choose a dense, non-toxic hardwood, size the blank to your actual gauge (measured in millimeters, not guessed), turn a rounded lip on each end so the plug locks into the stretched hole, then sand through the grits and finish with a food-safe oil that won’t irritate skin. This guide covers the whole process, plus the safety details that get skipped in most “just turn a cylinder” tutorials.
Wood Ear Gauges vs. Real Hearing Protection – Know the Difference First
Food-Safe Finish We’d Reach For
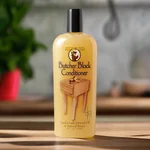 |
Howard Butcher Block Conditioner – $10.99 A food-grade mineral oil, beeswax, and carnauba wax blend – the same finish category safe for anything that touches skin or food, including a wood ear plug.
|
Before you touch a lathe, it’s worth clearing up a mix-up that shows up in a lot of “wooden ear plug” content online. A double-flared wood plug sits in the hole of a stretched earlobe piercing – it doesn’t go into your ear canal, and it isn’t rated to block sound. If what you actually want is hearing protection for a shop, a lawn mower, or a shooting range, use commercial foam or silicone earplugs with a printed NRR (Noise Reduction Rating) on the package. A shaped piece of wood, no matter how well it’s turned, has no tested attenuation number, won’t form a reliable seal against noise, and should never be pushed deep into the ear canal – that risks scratching the canal, packing wax against the eardrum, or getting the piece lodged where only a doctor can remove it.
Everything below is about the jewelry-style project: a plug sized to fit an already-stretched lobe piercing. If your piercing isn’t stretched yet, that’s a separate process (done gradually, over weeks, usually with tapers under a professional piercer’s guidance) and isn’t something a first wood plug should be used to force.
Tools and Materials
| Tools | Materials |
|---|---|
| Mini wood lathe (or standard lathe with small-diameter chuck) | Hardwood blanks, roughly 1 in. square x 2 in. |
| Roughing gouge and small detail/spindle gouge | Sandpaper, 150 through 600 grit |
| Digital calipers (for gauge sizing – not optional) | Food-safe finishing oil (see Step 5) |
| Parting tool | Soft polishing cloth |
| Drill bit or hollowing tool (for the through-hole, optional design) | Isopropyl alcohol, for cleaning the finished piece |
Choosing a Safe Wood
This touches skin for hours at a time, so wood choice matters more here than on a typical turning project. Stick to dense, closed-grain hardwoods that finish smooth without leaving open pores where bacteria can sit:
- Hard maple – light color, very dense, turns and sands cleanly, low allergy risk.
- Black walnut – dense and stable, dark natural color without stain or dye.
- Olive wood – naturally oily and dense, a common choice for body-jewelry-grade plugs.
- Bamboo (laminated blanks) – very hard and lightweight, though the glue lines in laminated blanks need a fully cured, non-toxic finish over them.
Skip softwoods (pine, cedar) – they’re too soft to hold a crisp flare and can compress or splinter with wear. Also skip any wood you know you’re sensitised to; several tropical species in the rosewood and cocobolo family are common skin-contact allergens even after finishing, so if you have sensitive skin, do a small patch test on your inner arm with a sanded offcut before wearing a finished plug all day.
Step 1: Mount and Rough the Blank
Mount your blank between centers or in a small chuck and true it up into a cylinder slightly larger than your target gauge – you’ll size down precisely in Step 3, so leave a little extra material. Take light cuts; a plug blank is small enough that an aggressive gouge pass can snap it or send it flying out of the chuck.
Step 2: Shape the Double Flare
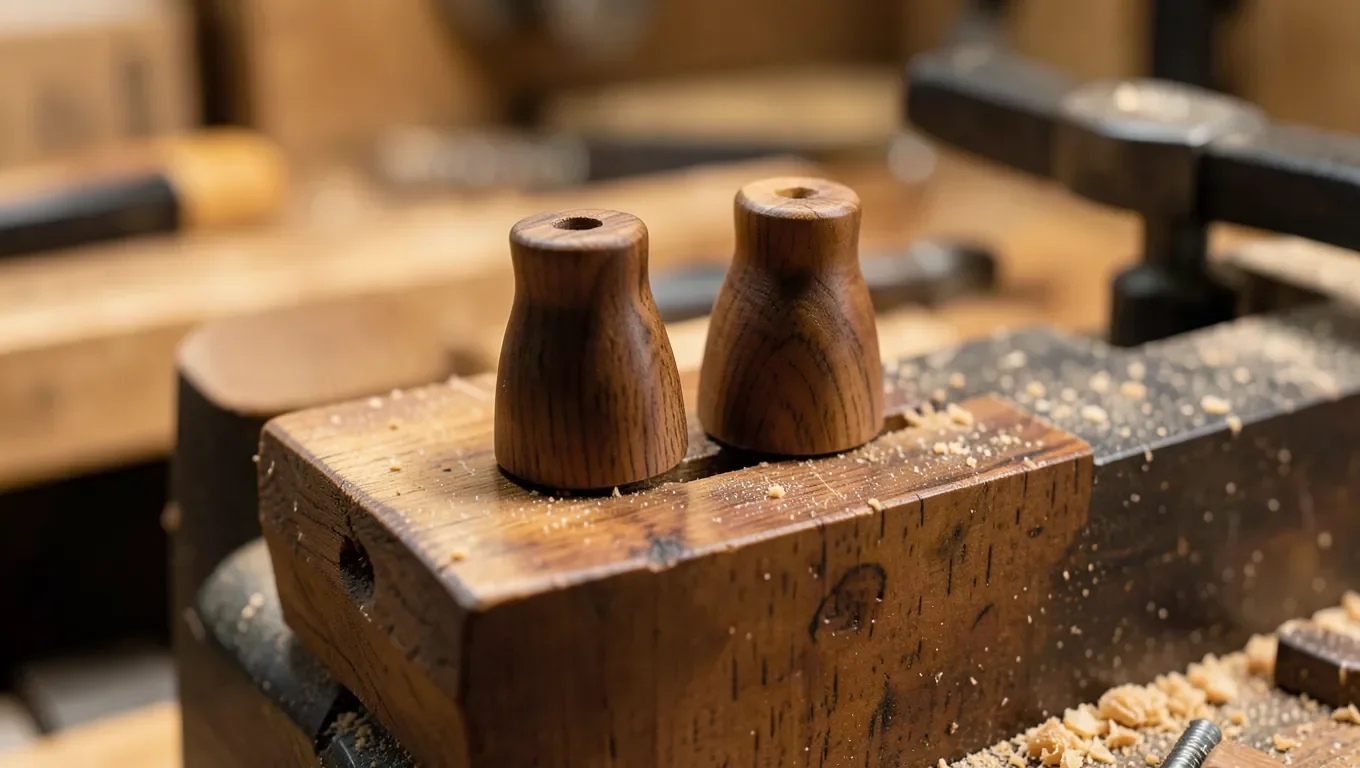
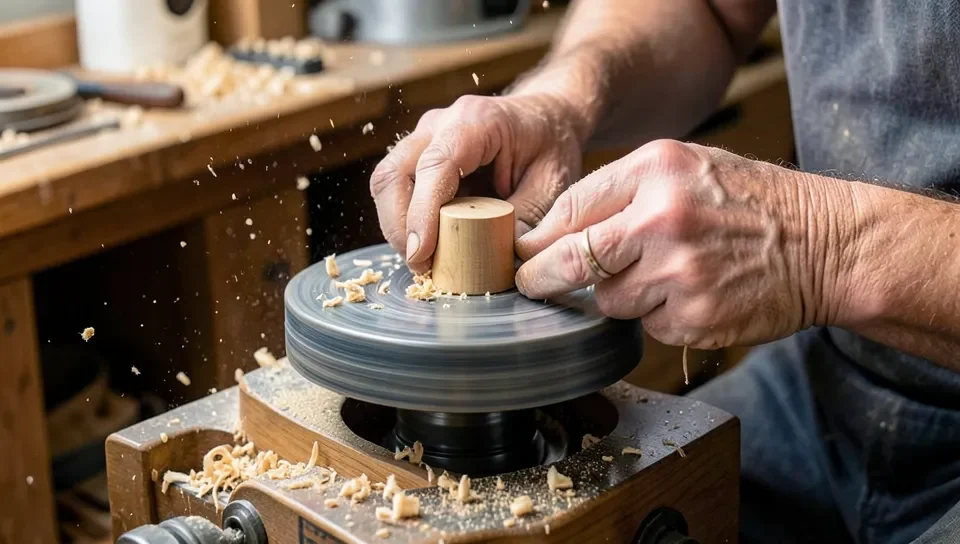
A double-flared plug has a narrower “neck” in the middle with a wider lip on each end – the flare is what keeps it seated in the piercing instead of sliding straight through. Turn a shallow, evenly rounded taper on both ends of the cylinder using a detail gouge, checking symmetry by eye and by rotating the piece against a straightedge. If you want a through-hole design (common for airflow or for threading a design through), drill it now, centered, before you part the piece off – it’s much harder to center a hole accurately once the piece is loose.
Step 3: Size to Your Actual Gauge – Don’t Eyeball This
Gauge sizing is measured in millimeters (or the American Wire Gauge scale), and a plug that’s off by even half a millimeter will either pinch or fall out. Measure your existing stretched piercing with the calipers, or if you don’t already know your size, ask the piercer who did your stretch. Common reference sizes:
| Gauge | Approx. mm |
|---|---|
| 2g | 6.5 mm |
| 0g | 8 mm |
| 00g | 10 mm |
| 7/16″ | 11 mm |
| 1/2″ | 12.5 mm |
| 9/16″ | 14 mm |
| 5/8″ | 16 mm |
Turn the neck diameter down to that exact measurement, checking with the calipers every pass rather than after the fact – wood removed can’t be put back on. Leave the neck a hair (about 0.2-0.3 mm) under your target if this is a fresh piece for a lobe that’s still settling, since new tissue can be slightly tighter than an older, fully healed stretch.
Step 4: Part Off and Sand Through the Grits
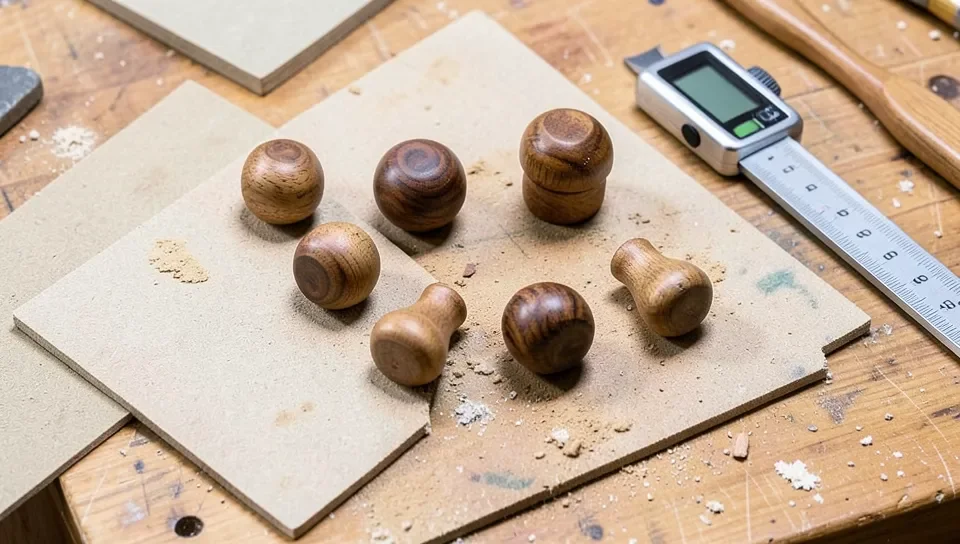
Part the plug off the blank, then sand it by hand or with the lathe running at a slow speed, working from 150 up through 600 grit. Don’t stop at 220 the way you might on a furniture piece – anything that sits against skin for hours needs the smoothest surface you can manage, or it will feel rough and can irritate the piercing over time. Round over the very edges of the flare lips slightly so there’s no sharp rim.
Step 5: Finish With Something Skin-Safe
This is the step where a lot of otherwise well-made plugs go wrong. Skip lacquer, polyurethane, and CA glue (superglue) finishes – a film finish can crack or flake with the constant flexing and moisture of being worn in skin, and the fumes from curing CA glue are an eye and respiratory irritant you don’t want against an open piercing. Use a food-grade, skin-safe oil/wax blend instead – the same category of finish used on wooden spoons, salad bowls, and cutting boards – and let it cure fully (check the product’s stated cure time) before wearing the plug.
Apply a light coat with a soft cloth, let it sit per the label instructions, then buff off the excess. Wipe the finished plug down with isopropyl alcohol right before the first wear to remove any residue.
Wearing and Caring for Wood Plugs Safely
- Keep them dry. Wood swells when it absorbs moisture – showering, swimming, or heavy sweating with a wood plug in can make it swell just enough to feel tight or become hard to remove. Take them out before water exposure, or use a non-porous plug (glass, steel) for those situations instead.
- Clean regularly, not with soap and water alone. Wipe with isopropyl alcohol and let fully air-dry before reinserting – untreated moisture trapped against skin in a porous material is exactly the environment bacteria like.
- Watch for irritation. Redness, swelling, discharge, or persistent itching around the piercing means take the plug out and let the area breathe; see a piercer or doctor if it doesn’t clear up in a day or two.
- Re-oil periodically. A dry, unfinished patch is rougher against skin and easier for bacteria to cling to – reapply the food-safe finish every couple of months or whenever the wood starts to look dull.
- Never force a size. If a plug feels tight going in, it’s the wrong size for right now – sizing up a stretch should happen gradually over weeks, not by pushing a slightly-too-big plug into place.
Common Mistakes
- Sanding to 220 and calling it done. That’s fine for furniture; skin contact needs 400-600 grit minimum.
- Guessing the gauge instead of measuring. A plug that’s 1mm off either pinches or falls out – there’s no “close enough” here.
- Using a furniture-grade finish. Polyurethane and lacquer aren’t meant for constant skin contact and can flake.
- Symmetrical flares by eye only. Check both ends against each other and against a straightedge – an uneven flare seats crooked and is more likely to work its way out.
Frequently Asked Questions
Are wooden ear plugs safe for blocking noise?
No. A turned wood plug has no tested Noise Reduction Rating and isn’t designed to seal in the ear canal. For real hearing protection, use commercial foam or silicone earplugs that list an NRR on the package. Wood ear plugs are a body-jewelry item worn in a stretched earlobe piercing, not a hearing-protection device, and shouldn’t be pushed into the ear canal.
What wood is best for ear gauge plugs?
Dense, closed-grain hardwoods that sand to a smooth finish work best – hard maple, black walnut, and olive wood are common, reliable choices. Avoid soft woods that compress or splinter, and patch-test any exotic species first if you have sensitive skin, since some tropical woods are known skin irritants.
How do I know what gauge size to make?
Measure your current stretched piercing with digital calipers, or ask the piercer who performed the stretch for your exact size in millimeters. Common sizes run from 2g (about 6.5mm) up through 00g (10mm) and beyond in whole-millimeter or fractional-inch increments – turn to that measurement exactly rather than estimating.
What finish is safe to use on wood that touches skin?
Use a food-grade mineral oil and beeswax conditioner – the same category sold for cutting boards and wooden utensils. Avoid polyurethane, lacquer, and CA glue finishes, which aren’t intended for constant skin contact and can crack, flake, or off-gas irritants while curing.
Conclusion
Turning wood ear gauge plugs is a satisfying small-scale lathe project once you treat the sizing and finishing steps with the same care you’d give any object meant to sit against skin all day: measure the gauge precisely, sand well past furniture-grade smoothness, and finish with something food-safe instead of a furniture topcoat. Just as important is what these aren’t – they’re not a substitute for real, NRR-rated hearing protection, and they don’t belong anywhere near the ear canal.
Sponsored / affiliate links. As an Amazon Associate I earn from qualifying purchases. I may earn additional commission from eligible campaigns.