Wood Filler on Large Holes: Which Fix Works by Hole Size
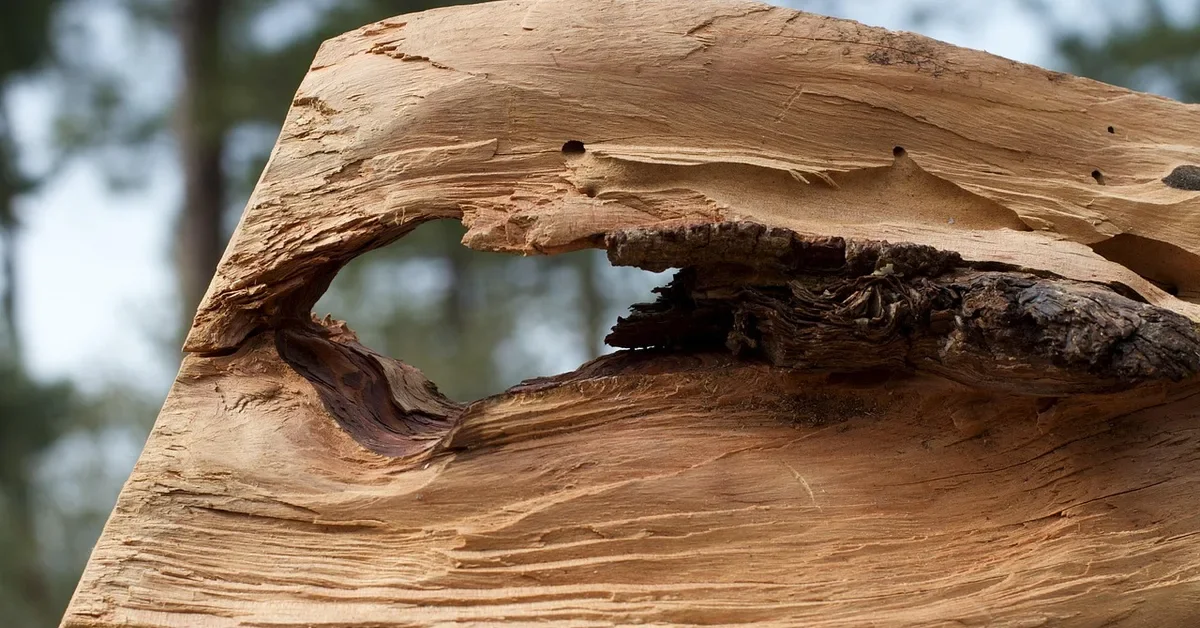
The best way to use wood filler on a large hole is to stop treating it as one job. Holes under about a quarter inch take ordinary filler, holes up to an inch or two need a hard two-part epoxy packed in layers, and anything through the wood needs a backer first. Above roughly two inches, gluing in a wood plug beats filler entirely.
That last point is the angle most guides skip. They tell you to shovel filler into the hole and sand it flat, then wonder why the patch sinks or falls out a year later. The hole size decides the method, and this guide walks through each size, the prep that makes the patch stick, and how to finish it so it disappears.
Match the Repair to the Hole Size
Best Epoxy Filler for Big Holes
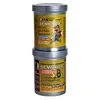 |
PC Products PC-Woody Wood Repair Epoxy Paste, 12 oz – $18.89 A two-part epoxy paste that mixes in equal volumes and hardens without the shrinkage that ruins a big air-dried patch.
|
Filler is not structural in the way wood is. It fills a void and holds a surface, and how well it does that depends on how much material you ask it to carry. The table below is a rule-of-thumb guide based on how these products behave, not a lab spec, so treat the size breaks as approximate.
| Hole size | Best repair | Why |
|---|---|---|
| Under 1/4 inch (nail, screw) | Ready-mixed water-based filler, one or two passes | Little volume, so shrinkage is invisible after sanding |
| 1/4 to 1/2 inch | Water-based filler in layers, or epoxy | Layers stop the sunken center that one thick fill causes |
| 1/2 to 2 inches | Two-part epoxy filler, packed in layers | Cures by chemical reaction, so it barely shrinks |
| Any size, through the wood | Backer first (tape, wood scrap), then epoxy | Without a floor, the filler slumps out the back |
| Over about 2 inches | Glued-in wood plug or patch, epoxy for the edges | A wood plug moves with the surrounding wood; a big block of filler does not |
Why big fills fail: shrinkage and movement
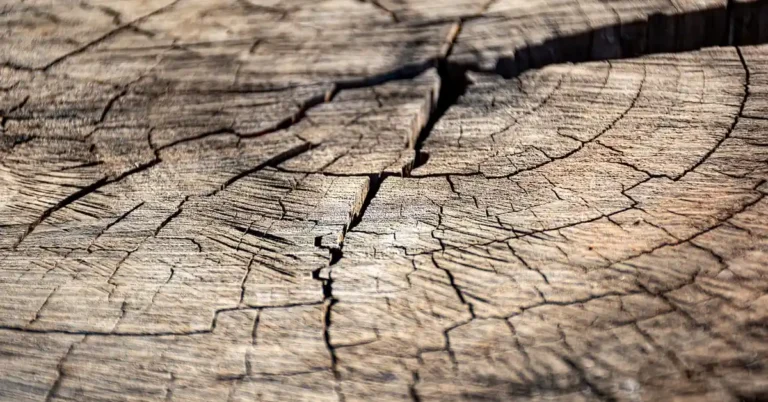
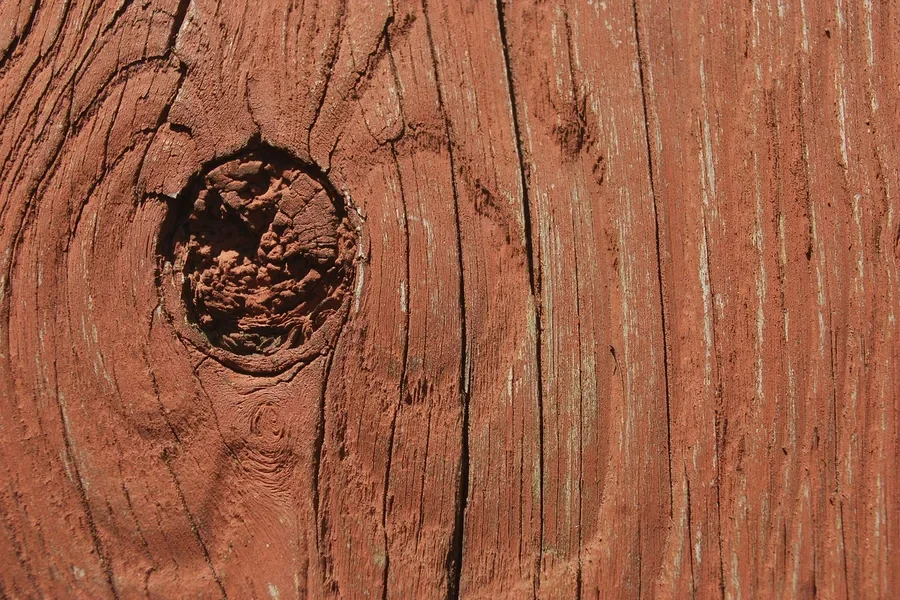
Water-based and solvent-based fillers harden by losing liquid. The more depth you pack in at once, the more they shrink, which shows up as a dished patch or a hairline crack around the edge. Wood also swells and shrinks with humidity while cured filler barely moves, so a large rigid patch eventually lifts at the edges. Epoxy avoids the first problem. The plug method avoids the second, because a plug cut from matching wood moves with the board.
Wood filler vs. wood putty
Wood filler goes in before finishing and hardens so you can sand and paint it. Wood putty goes in after finishing, stays soft, and cannot be sanded flush. For a large hole you want the hard-curing kind. If you plan to paint over the result, our guide to painting over wood filler covers primer and sheen matching.
What You Need
- Filler: two-part epoxy for holes over half an inch, ready-mixed filler for small ones
- Putty knives: a flexible 1.5 inch blade for packing and a stiff one for mixing
- Mixing surface: a scrap of cardboard or a disposable plastic lid
- Backer material: a scrap of wood, aluminum tape, or fiberglass mesh tape for through-holes
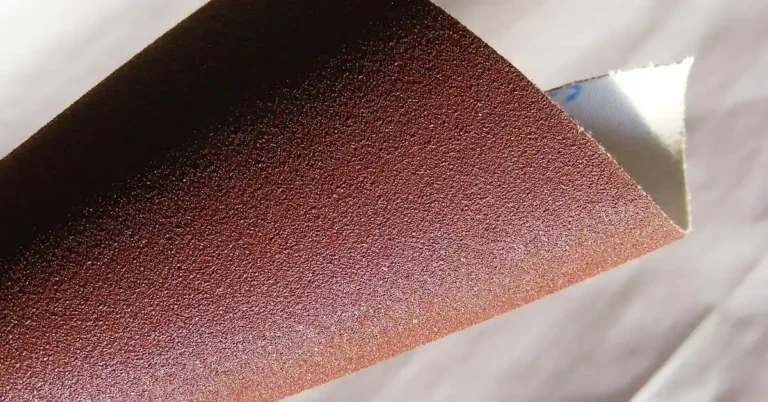
- Sandpaper: 80 grit to level, 120 to blend, 220 before finishing
- Sanding block: keeps the patch flat instead of dishing it
- Vacuum or stiff brush: for clearing dust from the hole
- Safety gear: safety glasses, nitrile gloves and a dust mask for sanding
How to Fill a Large Hole Step by Step
Step 1: Clean out the hole
Dig out splinters, loose fibers, old filler and dirt with a chisel or screwdriver. If the wood is soft or punky, keep digging until you hit firm wood, because filler only bonds as well as the surface under it. If rot is the cause, read our guide to wood rot repair with epoxy first, since a rot repair needs the moisture problem fixed as well. Vacuum out the dust, then rough up the hole walls with 80 grit so the filler has something to grip.
Step 2: Add a backer for deep or through-holes
A hole with no bottom will not hold filler. For a through-hole, cut a scrap of wood slightly larger than the opening, glue it behind the hole, and clamp or tape it until the glue sets. In a spot you cannot reach from behind, fiberglass mesh tape or aluminum tape stretched across the back gives the filler a floor. For deep blind holes, driving a couple of screws part way into the sides leaves heads that the filler can lock around.
If the hole is over two inches, consider a patch instead of filler. Cut a plug from wood of the same species with the grain running the same way, glue it in, and use epoxy only to close the gap around its edge. The grain and movement match, and the repair is far less likely to telegraph through a finish. For plywood specifically, see our guide to patching a hole in plywood.
Step 3: Mix the epoxy in small batches
Two-part epoxy paste mixes in equal volumes of part A and part B. The PC-Woody listing says to mix them on a flat surface with a stiff putty knife until the color is uniform, with no streaks. Mix only what you can place in a few minutes. Epoxy in a thick mass generates its own heat and hardens faster than a thin smear, so a big lump left on the mixing board can go off before you finish packing the hole. Working temperature matters too, and this product lists an application range of 35 to 115 F. If you want the ratio and mixing details for other epoxies, see how to mix two-part epoxy for wood repairs.
Step 4: Pack it in layers and overfill slightly
Press the first layer firmly into the corners with the putty knife, working out air pockets against the hole walls. Build up in layers rather than one big scoop, and stop when the surface stands a little proud of the wood. Sanding removes the excess easily, while a filler that sits below the surface has to be topped off later and can leave a visible seam.
Step 5: Let it cure completely
Do not sand on the assumption that hard to the touch means cured. Follow the cure time on your product label, and give a deep repair extra time. Sanding filler that is still soft clogs the paper and tears the patch. Cooler shop temperatures slow the cure of epoxy noticeably.
Step 6: Sand flush
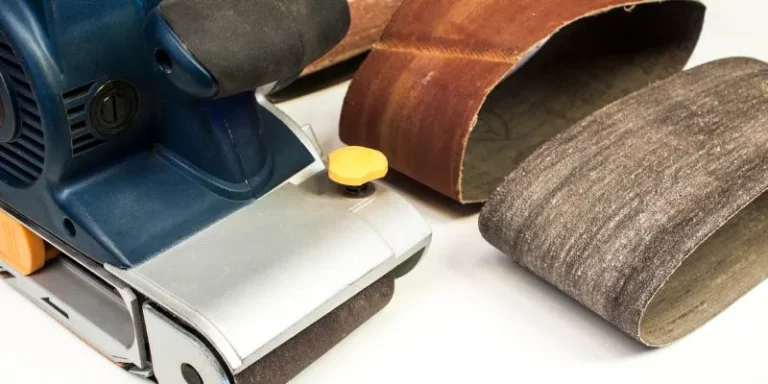
Start with 80 grit on a sanding block to knock the excess down to the wood surface, keeping the block flat so you do not dish the patch. Move to 120 grit to blend the edges, and finish with 220 before any primer or finish. Run your fingertips across the patch with your eyes closed. If you can feel the edge, keep sanding.
Step 7: Prime, then paint
Cured epoxy filler does not absorb stain the way wood does, so plan on paint rather than a clear or stained finish, or accept a visible patch. Prime the repair so the sheen matches the surrounding surface, then paint. Outdoors, seal the whole repair under exterior paint, including the edges where filler meets wood, so water cannot get in behind it. For more on smaller repairs, see our guide to filling holes in wood.
Common Mistakes With Large Holes
- One thick scoop of air-drying filler: it shrinks and cracks. Use layers or epoxy.
- No backer on a through-hole: the filler sags out the back before it cures.
- Skipping the cleanout: filler glued to loose fibers peels away with them.
- Using putty on a bare-wood repair: it never hardens, so it cannot be sanded flush.
- Sanding before full cure: soft filler smears and clogs the paper.
- Filling a very big hole with filler alone: a plug of real wood is stronger and moves with the board.
If your problem is more of a long crack or floor seam than a hole, our guide to using wood filler for large gaps covers that case, and our general wood filler guide covers the basics for smaller jobs.
Frequently Asked Questions
Can I use regular wood putty for a large hole?
No. Wood putty stays soft and is meant for tiny blemishes in a finished surface. A large hole needs a hard-curing filler such as two-part epoxy, or a wood plug glued in place.
How deep can I apply wood filler at once?
For air-drying fillers, build the repair in thin layers, roughly a quarter inch at a time, and let each one dry before the next. Two-part epoxy cures by chemical reaction, so it can go on thicker, but follow the maker’s stated limit.
Why did my wood filler crack or sink after it dried?
Air-drying fillers lose water as they cure, so a thick single fill shrinks and pulls away from the hole walls. Fill in layers, slightly overfill, or switch to epoxy.
Can you drive a screw into wood filler?
Cured epoxy filler will usually hold a screw far better than an air-dried filler, but it is not as strong as solid wood. Fill first, let it cure fully, then drill a pilot hole before driving the screw.
How long does wood filler take to dry in a large hole?
It depends on the type and depth. A thin layer of water-based filler can be sandable in an hour or two, while deep fills take much longer. Two-part epoxy is timed by its cure schedule, so follow the label.
What is the best wood filler for large exterior holes?
A two-part epoxy filler, sealed under exterior paint, is the usual choice for large outdoor holes because it does not depend on air drying and is designed to resist moisture.
Sponsored / affiliate links. As an Amazon Associate I earn from qualifying purchases. I may earn additional commission from eligible campaigns.