How to Make Wooden Screws: Tools, Wood Choice & Technique
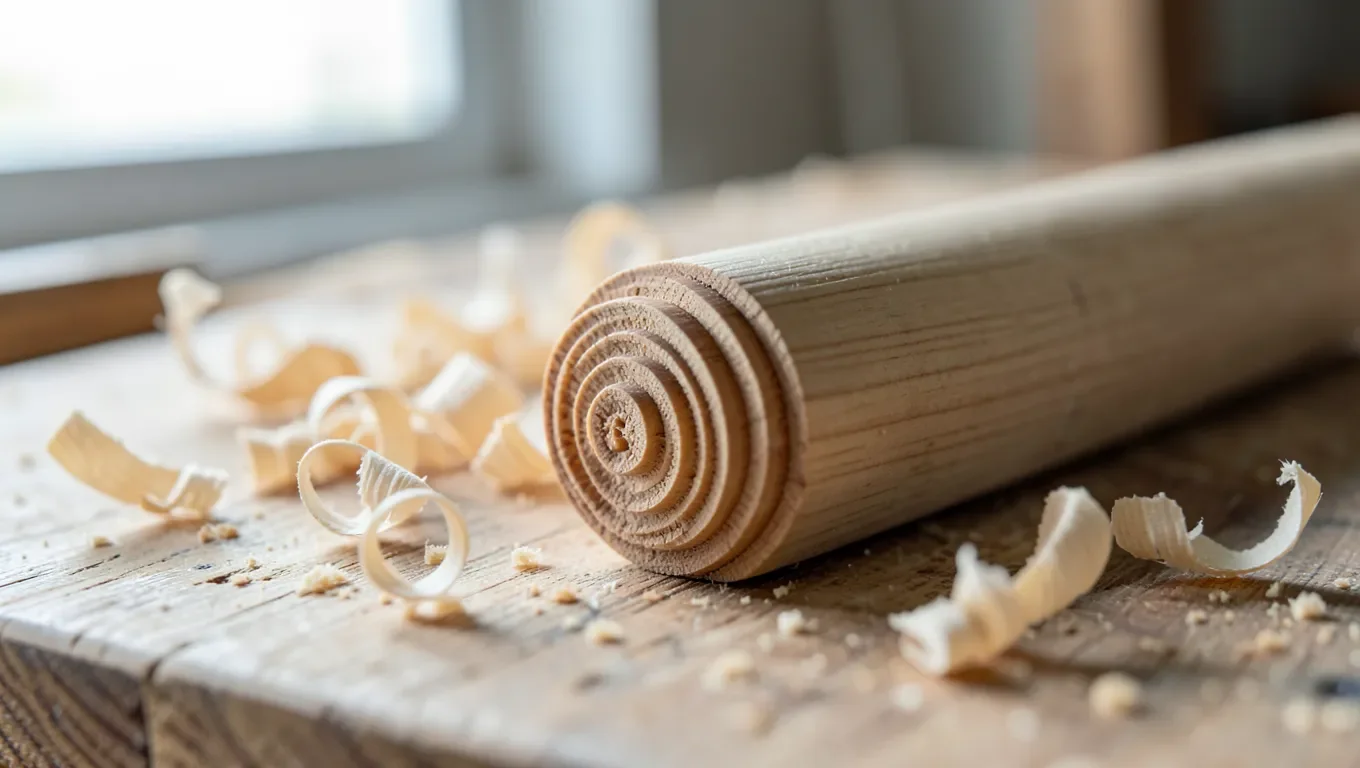
To make a wooden screw, cut a spiral thread into a hardwood dowel with a wood-threading tap-and-die set (or a router jig), then cut a matching internal thread into a second piece of wood to act as the nut. The tool does the actual thread-cutting; your job is picking the right wood and keeping the cut steady.
Wood threading is a real, long-standing technique, not a novelty. Instrument makers, wagon builders, and old wine and cider presses all used wood-on-wood threaded joints long before metal fasteners were cheap and common, and companies like Beall Tool Company have sold dedicated wood tap-and-die sets to hobbyists for decades. The appeal now is the same as it was then: an all-wood mechanical fastener that won’t rust, matches the project visually, and can be sized and shaped with ordinary shop tools.
It’s also a technique with real limits. Wood threads are coarser and considerably weaker than a machined metal screw, so this guide covers where they’re genuinely useful and where you should reach for a metal fastener instead, along with the wood species, tools, and step-by-step cutting technique that actually work.
Tools for Cutting Wood Threads
Two approaches are common. The first is a dedicated wood-threading tap-and-die kit: a hand-held threadbox that cuts external (male) threads on a dowel, plus a tap that cuts matching internal (female) threads into a second piece for the nut. Beall Tool Company popularized this format decades ago, and several brands now sell similar kits in sizes from 1/2 inch up to 1-1/2 inch. The second approach is a router-based jig that spins the dowel (often chucked into a drill or lathe) past a router bit set at an angle, cutting a continuous spiral. The router method uses tools many shops already own, but it takes more setup and practice to get a clean, consistent thread than a purpose-built tap-and-die set does.
Best Wood-Threading Tap & Die Kit
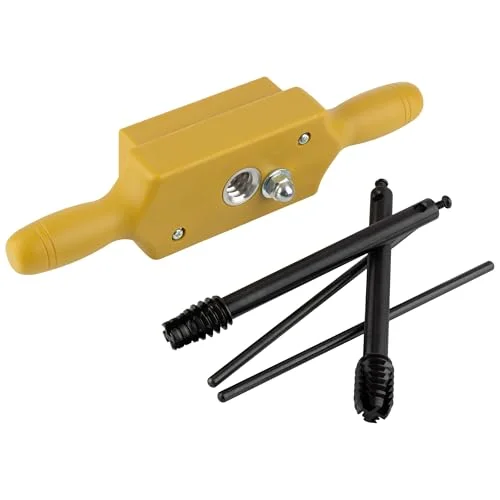 |
Kings County Tools 1/2 Inch Wood Tap and Die Set – $59.78 This is the exact style of kit this guide’s technique uses to cut both the external screw thread and the matching internal nut thread.
|
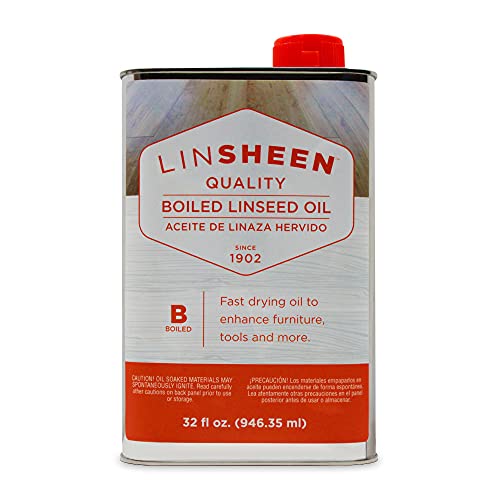
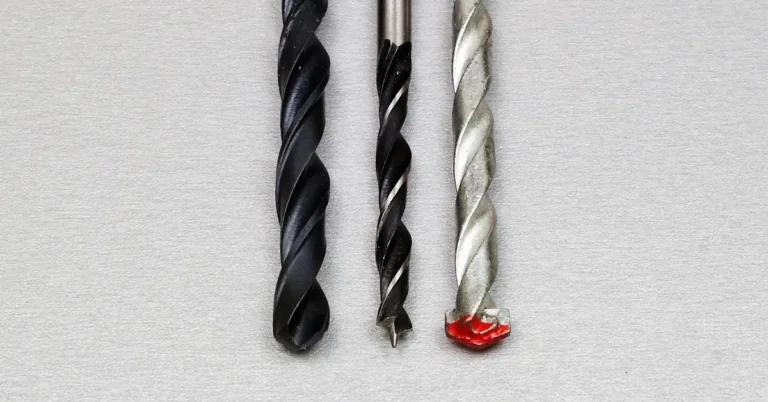
Beyond the threading tool itself, you’ll need a drill and bits sized to your dowel and tap diameters, a vise to hold the work steady, fine sandpaper for cleanup, and boiled linseed oil or a similar lubricant. Softening the wood fibers with oil before cutting is the single biggest factor in getting a clean thread instead of a torn, fuzzy one – several experienced users of these kits specifically note that a dry cut looks noticeably rougher than an oiled one.
Choosing Wood That Actually Holds a Thread
Wood species matters more here than in almost any other woodworking technique, because a thread is a thin, fragile cross-section of wood that has to survive being twisted into and out of a mating part repeatedly. Dense, straight-grained hardwoods hold up; open-grained or soft woods don’t.
Maple is the standard recommendation for a reason: it’s hard, fine-grained, and cuts a crisp thread that resists chipping. Oak works well too and is often chosen for larger, load-bearing threads like vise screws, though its more open pore structure means it benefits even more from oil lubrication during cutting. Birch and beech are reasonable alternatives with similar density and grain structure.
Avoid pine, poplar, and other soft, open-grained woods for the thread itself – the crests of the thread are thin enough that soft wood tears and crumbles under the die’s cutting pressure instead of shearing cleanly, leaving a rounded, weak thread that strips out after a few uses. If you want a specific look from a softer or more decorative wood, cut the threaded section from a hardwood dowel and use the softer wood for the surrounding, non-threaded body of the piece.
Cutting External Threads With a Tap-and-Die Set
Start with a dowel cut slightly oversized in diameter for the die you’re using – most kits list the exact starting diameter in their instructions, since a dowel that’s even slightly undersized won’t engage the cutter fully and one that’s oversized can crack the die. Chuck the dowel in a drill or secure it in a vise, then coat the section to be threaded with boiled linseed oil and let it soak in for a few minutes.
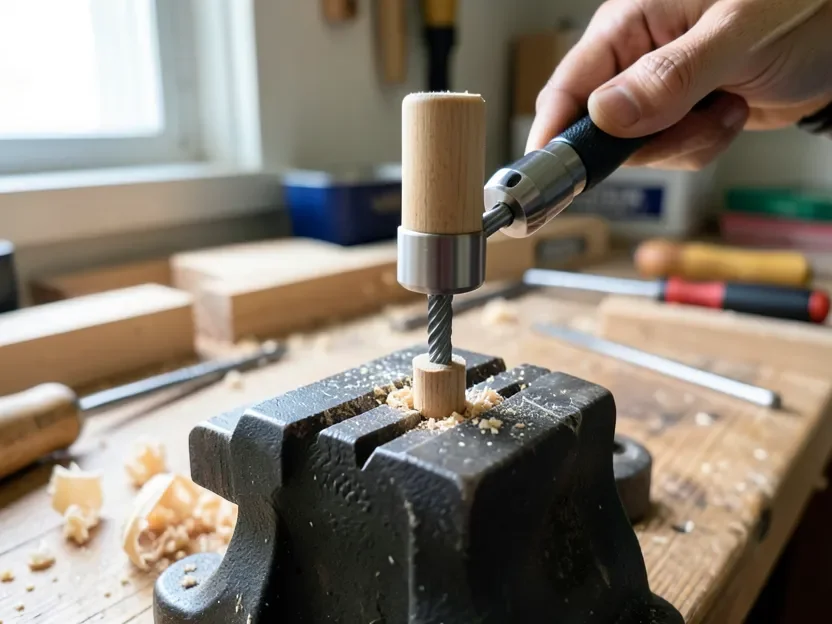
Fit the threadbox over the end of the dowel, apply steady downward pressure, and turn. Keep the pressure even and the die square to the dowel’s axis – tilting it partway through is the most common cause of a thread that looks fine on one side and torn on the other. Back the die off every full turn or two to clear shavings, and re-oil if the cut starts feeling like it’s dragging rather than shearing. A clean pass should leave a crisp, continuous spiral with minimal fuzz.
Cutting the Matching Internal Threads (the Nut)
The nut side uses the same tap size as the die that cut your external thread – most kits are sold as a matched pair specifically so the two halves fit. Drill a pilot hole in a second piece of hardwood, sized to the tap manufacturer’s spec (undersized, since the tap itself cuts the final internal diameter). Oil the hole the same way you oiled the dowel.
Start the tap square to the hole and turn slowly and steadily rather than forcing it. Back it out every turn or so to clear chips – a tap packed with compacted shavings is what causes it to bind or snap a thread mid-cut. Test-fit the two threaded pieces together frequently as you go; you’re aiming for the dowel to thread in with firm, even hand pressure, not a loose wobble or a fight.
The Router-Jig Alternative
If you’d rather not buy a dedicated tap-and-die kit, a router-based wood-threading jig cuts the same style of spiral thread using a router most shops already have. The dowel is mounted so it rotates (typically driven by a lathe, a drill, or a hand crank on the jig itself) while a router bit, held at a fixed angle and depth, is fed along the dowel’s length to carve the spiral groove. Matching the rotation speed to the feed rate is the part that takes practice – feed too fast relative to the rotation and the thread pitch comes out uneven; feed too slow and you risk burning the wood or breaking off delicate thread crests.
The router method is more flexible on thread size and pitch than a fixed tap-and-die kit, since you’re not limited to whatever diameters the kit manufacturer sells. It’s also slower to set up correctly and less forgiving for a first attempt, which is why most people making their first few wooden screws start with a purpose-built tap-and-die set instead and move to a router jig once they know what a good thread should look and feel like.
What Wooden Threads Are Actually Good For
Wood threads are inherently coarser and weaker than a machined metal screw thread of the same size – the material itself is softer, the thread crests are thicker and less precise, and repeated tightening gradually compresses and wears the wood fibers in a way that doesn’t happen to steel. That makes wood threading a poor substitute for structural or high-load fastening: don’t rely on a wooden thread to hold framing together, carry sustained clamping tension under heavy load, or replace a metal bolt in anything safety-critical.
Where wood threads genuinely earn a place is decorative and light-mechanical joinery: wooden hinges and pivots, the wine-press-style screws historically used to apply gentle, adjustable pressure, treadle mechanisms on old spinning wheels and sewing machines, and shop-made clamps and vises where the thread just needs to hold and release repeatedly under moderate hand pressure. It’s also a natural fit anywhere you want an all-wood joint for looks or for a specific traditional-craft feel, the same reason woodworkers reach for an all-wood mortise and tenon joint over a pocket screw when the joinery itself is meant to be part of the design.
Finishing Wooden Screws and Threads
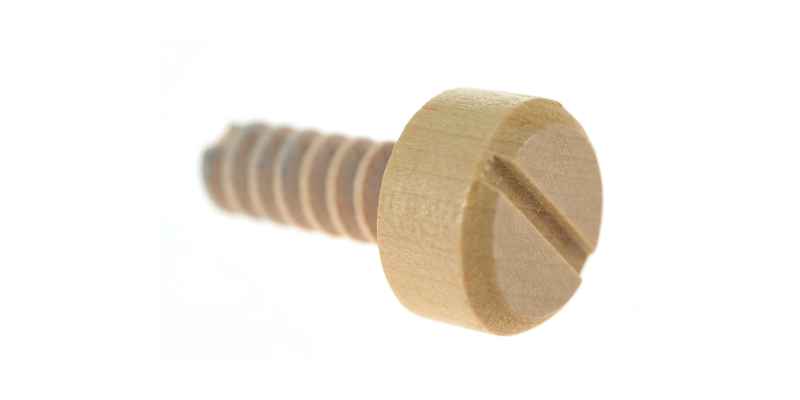
Sand lightly along the grain after cutting to knock down any fuzz left by the die or tap, using fine-grit paper and taking care not to round over the thread crests themselves. A finish then protects the wood and can also make the threads run slightly smoother. Boiled linseed oil or a penetrating oil finish is the simplest option and soaks into the same fibers you likely already oiled during cutting. Varnish or a hard film finish adds more surface protection and a glossier look but can build up thickness on the thread and make the fit tighter than intended, so apply it thin if you use it. For anything used outdoors, choose a wood that holds up to moisture on its own – oak and especially white oak or black locust – since no surface finish fully substitutes for a naturally rot-resistant species once it’s exposed to repeated wetting and drying.
Troubleshooting Common Problems
Torn, fuzzy threads instead of a clean cut almost always trace back to one of two causes: a soft or open-grained wood that can’t hold a crisp edge, or cutting dry instead of oiled. Switch to a denser hardwood and oil the wood before cutting.
A thread that binds or won’t turn smoothly is usually chip packing – shavings compacted into the thread instead of clearing out. Back the tool off more frequently to clear debris, and re-oil if the cut feels like it’s dragging.
A broken or cracked thread crest typically means the die or tap was tilted off-axis during the cut, or the dowel diameter was slightly wrong for the tool. Recheck that the dowel is sized to the kit’s spec and keep the tool square to the workpiece as you turn it.
Frequently Asked Questions
How Do You Cut Wood Threads By Hand?
Cut wood threads by hand with a wood-threading tap-and-die set: oil a hardwood dowel sized to the die’s spec, then press and turn the threadbox over the end to cut the external thread, backing it off periodically to clear shavings. A matching tap cuts the internal thread into a second piece of wood for the nut. A router-based jig is a slower, more flexible alternative for shops without a dedicated tap-and-die kit.
What Wood Is Best For Making Wooden Screws?
Dense, straight-grained hardwoods like maple, oak, birch, and beech are best for making wooden screws, because their tight grain structure holds a crisp thread instead of tearing under the cutting tool. Soft or open-grained woods like pine and poplar strip and crumble too easily to hold a usable thread.
Are Wooden Threads As Strong As Metal Screws?
No, wooden threads are noticeably coarser and weaker than machined metal screw threads, and they wear down faster under repeated tightening. They’re well-suited to joinery, decorative hardware, and light-mechanical uses like clamps and hinges, but not to structural or high-load fastening.
Can Wooden Screws Be Used Outdoors?
Yes, but pick a naturally rot-resistant hardwood like white oak or black locust and treat it with a weather-resistant finish, since no finish fully replaces a durable species once the wood is exposed to repeated wetting and drying outdoors.
Conclusion
Making a wooden screw comes down to picking a dense hardwood, oiling it before you cut, and keeping a tap-and-die kit or router jig square to the work as it turns. Used where it belongs – joinery, decorative hardware, clamps, and light-mechanical parts rather than structural fastening – a hand-cut wood thread is a genuinely durable, traditional technique, not just a curiosity.
Sponsored / affiliate links. As an Amazon Associate I earn from qualifying purchases. I may earn additional commission from eligible campaigns.