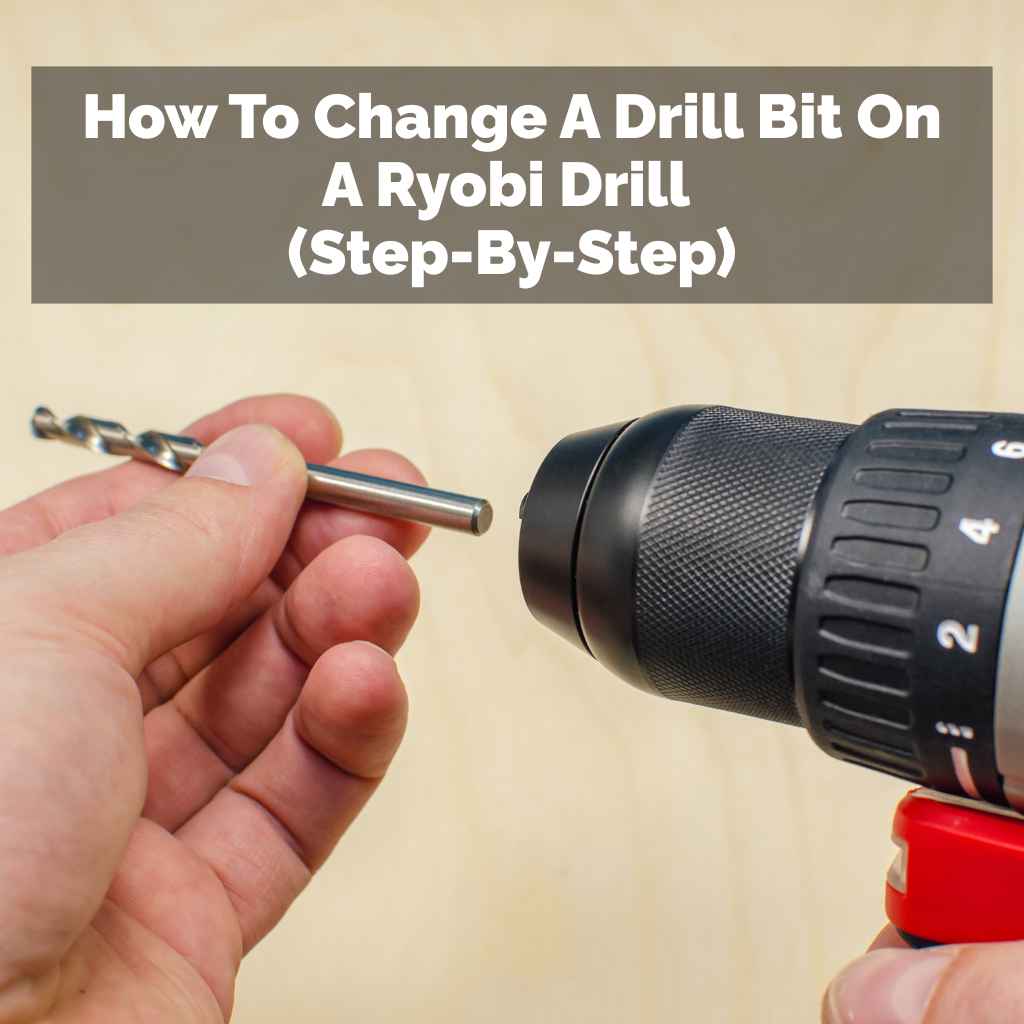
How To Change A Drill Bit On A Ryobi Drill (Step-By-Step)
Changing a drill bit on a Ryobi drill involves gripping the chuck, twisting it to open, removing the old bit, inserting the new one, and tightening the chuck. Ensure the drill is off and the battery removed before starting. This process is straightforward for most Ryobi models, including cordless and corded types.
Understanding Your Ryobi Drill Chuck
Your drill’s chuck is the part that holds the drill bit. It’s like the drill’s hand. Most Ryobi drills use what’s called a keyless chuck.
This means you don’t need a separate key to tighten or loosen it. You just use your hands. The chuck has jaws inside.
These jaws clamp down on the bit. To change a bit, you need to open these jaws. Then you can slide the old bit out.
You’ll then put a new bit in. Finally, you’ll close the jaws to hold it tight.
Knowing your chuck type helps. Some older or heavy-duty drills might use a keyed chuck. This needs a small metal tool.
It has a gear-like end that fits into holes on the chuck body. You turn this key to lock or unlock the jaws. But most Ryobi drills you’ll find today are keyless.
This makes the process much faster. It also means fewer small parts to lose. The keyless chuck is a big part of why changing bits is so easy.
The chuck is usually made of metal or a tough plastic. It’s the part you’ll twist with your hand. You might see lines or grip patterns on it.
These help you get a good hold. Some chucks have two parts that you can twist independently. Others have a single sleeve.
Understanding which part moves is key. It’s usually the back part of the chuck that stays still while the front sleeve rotates. Or it could be the other way around depending on the model.
Sometimes, the chuck can get a little stiff. This happens with dust and debris. It can also happen if it’s used a lot.
Don’t force it too hard. A little wiggle might help. If it’s really stuck, a drop of oil might be needed.
But usually, a good grip and the right direction of twist is all you need. We’ll cover what to do if it feels stuck later on.
Safety First: Before You Begin
This is the most important part. Safety before power. Always make sure your drill is off.
For battery-powered Ryobi drills, this means removing the battery pack. This is super critical. It stops the drill from accidentally starting up.
This could cause a serious injury. Even a small spark can happen if the trigger is bumped. So, battery out.
Period. For corded drills, unplug them from the wall outlet. No exceptions here either.
Safety first, always.
Once the power source is disconnected, you can safely handle the chuck. You don’t want the drill to suddenly spin while you’re trying to pull out a bit. That would be bad.
Imagine the bit flying out. Or your hand getting caught. That’s why taking away the power is rule number one.
It protects you and your drill. It’s a small step that prevents big problems. Think of it as giving your drill a little nap before you work on it.
Also, wear safety glasses. Even when just changing a bit, tiny metal shavings can fly. You don’t want those in your eyes.
It’s a good habit to get into. Keep your work area clean too. This helps you see what you’re doing.
It also stops you from losing small parts like the chuck key if you happen to be using one. A clear space means a clear mind. And fewer chances of an accident.
Consider wearing gloves. This can help you get a better grip on the chuck. It also protects your hands from any sharp edges.
Some Drill Bit Sharpener: Ultimate Guide to Restore Sharpness Fast” href=”https://woodworkingadvisor.com/diy-drill-bit-sharpener/” target=”_blank” rel=”noopener” data-wpil-monitor-id=”20605″>drill bits can be quite sharp. If you’re working on a project for a long time, your hands might get tired. Gloves can add a little comfort.
They also add a layer of protection. So, battery removed, safety glasses on, and maybe gloves. You’re ready to go.
Step-by-Step: Changing the Drill Bit
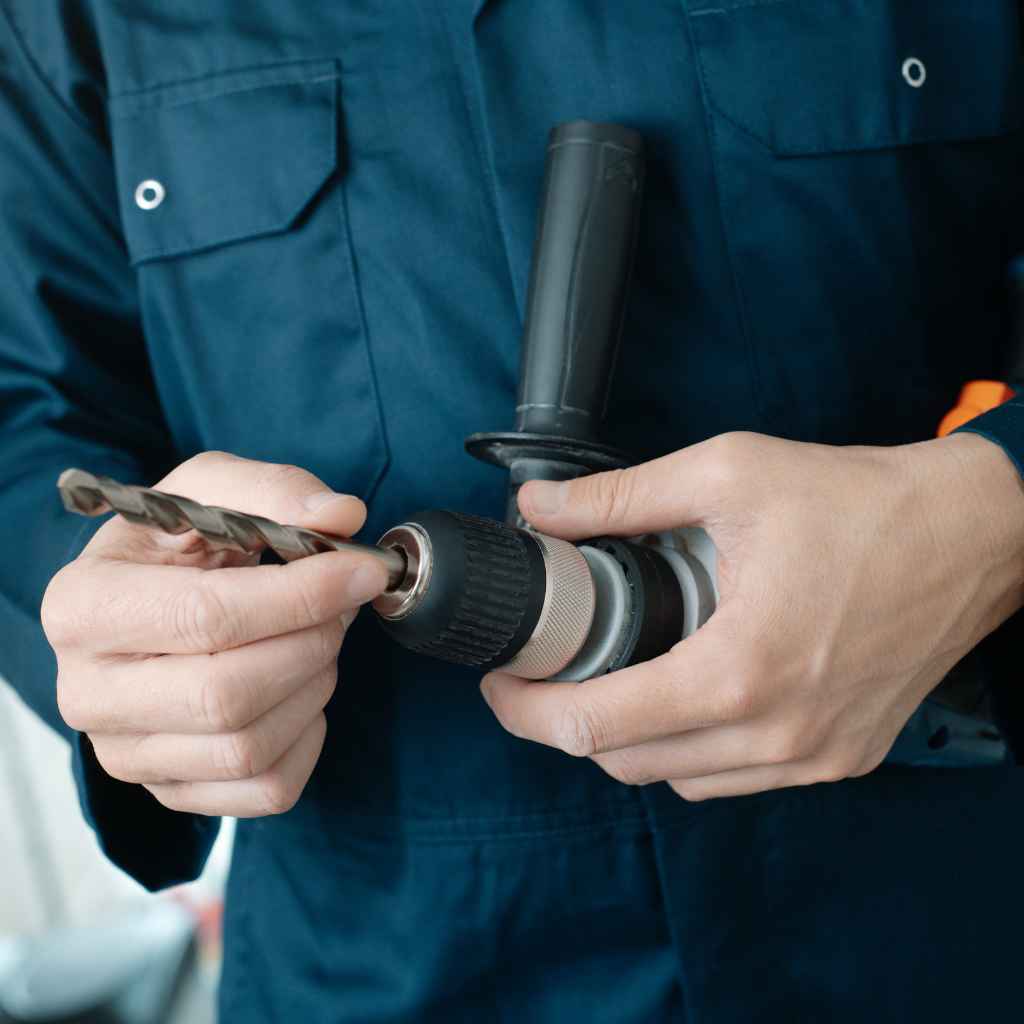
Now for the fun part! Let’s swap that bit. First, identify the chuck.
It’s the part at the front of the drill that holds the bit. On most Ryobi drills, you’ll see a sleeve that you can twist. This sleeve is what opens and closes the jaws.
You’ll be turning this sleeve. Decide which way to turn. To loosen the bit, you twist the chuck sleeve counter-clockwise.
Think “lefty loosey.”
Get a firm grip on the chuck. You might need to hold the main body of the drill steady with your other hand. Or, if your drill has a second handle, use that for extra stability.
Twist the chuck sleeve counter-clockwise. You’ll feel it loosen. Keep twisting until the jaws open wide enough.
You should see a gap appear. The bit will become loose inside the chuck.
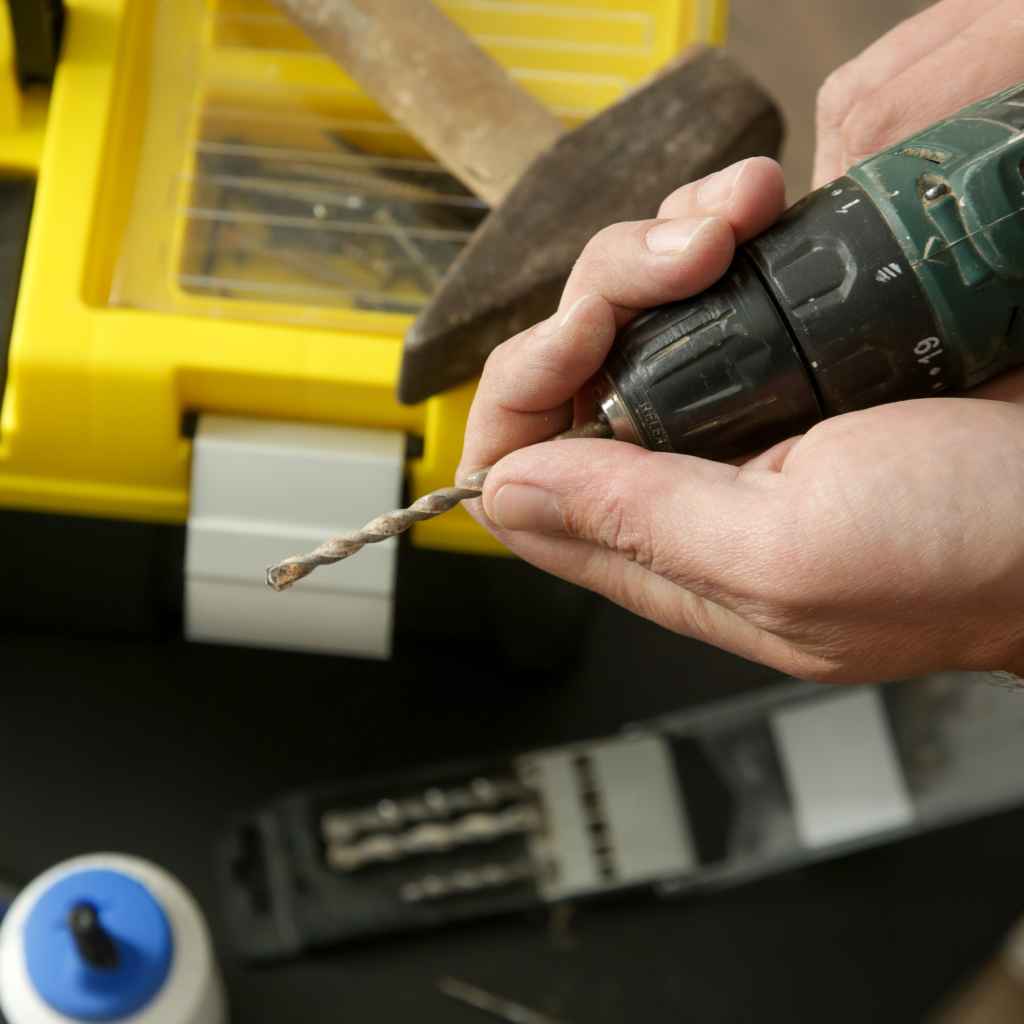
Once the jaws are open, carefully pull the old drill bit straight out. It should slide out easily. If it’s stuck, don’t yank hard.
We’ll talk about stuck bits later. Set the old bit aside. Now, take your new drill bit.
Look at the shank. This is the part that goes into the chuck. It’s usually smooth or has a flat spot.
Line up the shank with the opening of the chuck jaws.
Push the new bit into the chuck. Push it in as far as it will go. Make sure it’s centered.
Now, you need to tighten the chuck. To do this, twist the chuck sleeve clockwise. Think “righty tighty.” You’ll feel the jaws close in.
They’ll grip the bit. Keep turning until it feels snug. You want it tight, but don’t overdo it.
A good firm grip is enough. The bit should not wiggle at all.
Give the bit a gentle tug to make sure it’s secure. Now, re- might be an issue with the chuck itself.
But for most changes, this is all it takes. Easy, right?
Chuck Types on Ryobi Drills
Keyless Chucks: These are the most common. You use your hands to twist a sleeve. This opens and closes the jaws.
They are quick and easy to use.
Keyed Chucks: Less common on modern Ryobi drills. They require a separate metal key to tighten or loosen. The key fits into small holes on the chuck.
Adjustable Chucks: Some drills have chucks that allow for fine adjustment. This helps with precise depth control. But the basic bit changing process is the same.
Dealing with a Stuck Drill Bit
It happens. You twist, and twist, but the drill bit just won’t budge. Don’t panic.
A stuck bit is usually fixable. First, double-check that you are turning the chuck the right way. Remember, counter-clockwise to loosen.
Sometimes, in the heat of a project, we grab the wrong way.
If you are sure you’re turning the right way, try a firmer grip. Use a rubber glove for extra traction. You can also try using a rag wrapped around the chuck.
This gives your hand more to hold onto. Sometimes, a bit of extra grip is all that’s needed. Ensure you are holding the drill body firmly so the whole drill doesn’t just spin in your hands.
If it’s still stuck, a gentle tap might help. You can tap the side of the chuck with the handle of a screwdriver. Do this lightly.
The vibration can sometimes break the seal. Then try twisting again. Be careful not to hit too hard.
You don’t want to damage the chuck. A few light taps are usually enough. This is like giving the stuck part a little shake.
Sometimes, debris can get stuck in the chuck jaws. This can prevent them from opening properly. You can try to clean the chuck.
Use a small brush or some compressed air. Blow out any dust or metal shavings. Then try to loosen the bit again.
A clean chuck works better. It’s like cleaning your glasses so you can see clearly.
If the bit is really stubborn, you might need a little lubricant. A drop of WD-40 or a similar penetrating oil can help. Apply it around the chuck jaws where they meet the bit.
Let it sit for a few minutes. Then try twisting again. The oil can help loosen any rust or grime that’s binding the parts.
Remember to wipe away any excess oil before you re-insert a new bit.
In rare cases, the chuck itself might be damaged. If none of these methods work, and the bit is still firmly stuck, it might be time to consider replacing the chuck. However, for most common situations, a combination of firm grip, correct direction, and maybe a little cleaning or lubrication will get the job done.
Always make sure the drill is unplugged or the battery is removed before trying any of these methods.
Quick Fixes for Stuck Bits
Check Direction: Always turn counter-clockwise to loosen.
Firm Grip: Use a rubber glove or rag for better traction.
Gentle Taps: Lightly tap the chuck side with a tool handle.
Clean Jaws: Blow out dust and debris with air or a brush.
Lubricate: Use a small amount of penetrating oil if needed.
Choosing the Right Drill Bit
Changing a bit is one thing, but using the right bit for the job is also key. Your Ryobi drill can do many things, but only with the correct bit. For wood, you’ll use wood bits.
These often have a sharp point at the tip. For metal, you need metal bits. They are usually made of harder steel.
For walls or concrete, you’ll use masonry bits. These have a carbide tip.
The size of the bit matters too. Always match the bit size to the hole you need. A pilot hole for a screw is much smaller than a hole for a pipe.
Ryobi drills come in different sizes. The chuck size will limit the maximum bit shank diameter it can hold. Most standard Ryobi drills can handle bits up to about 3/8 inch or 1/2 inch.
Check your drill’s specifications.
Bits also come in different lengths. A longer bit lets you drill deeper. A shorter bit might be better for tight spaces.
Consider the material you are drilling into. Is it soft pine or hard oak? Is it thin sheet metal or thick steel?
The right bit makes drilling easier and cleaner. It also puts less strain on your drill motor.
For drilling in metal, use a lubricant. This cools the bit and the metal. It helps the bit last longer.
It also makes drilling smoother. For wood, you usually don’t need oil. But for hard woods, a little wax can help.
Always use bits that are in good condition. Dull or damaged bits can damage your work. They can also make your drill work harder.
When you insert a new bit, make sure it’s seated properly in the chuck. A bit that’s not all the way in can cause wobble. It might also slip.
Once you’ve tightened the chuck, give the bit a final check. Is it straight? Does it look like it’s held securely?
Taking a moment to check ensures a better drilling experience.
Drill Bit Types Explained
Wood Bits
Description: Designed for drilling into wood. Often have a sharp point for easy starting.
Metal Bits
Description: Made from strong steel for drilling into metal. Require lubrication.
Masonry Bits
Description: Feature a hardened carbide tip for drilling into brick, concrete, or stone. Often used with a hammer drill function.
Spade Bits (Paddle Bits)
Description: Flat bits with sharp edges for drilling larger holes in wood.
When is it Normal and When to Worry?
Most of the time, changing a drill bit on your Ryobi is smooth sailing. You’ll hear a satisfying click or a snug tightening sound. The bit will feel secure and spin true.
This is normal. It means your drill is working as it should. You’re ready to drill your hole.
This happens for probably 98% of bit changes.
However, sometimes things aren’t quite right. If the chuck spins freely in one direction but doesn’t seem to tighten the bit, that’s a sign of a problem. This could mean the internal gears or ratcheting mechanism in the chuck is damaged.
It means the chuck can’t grip the bit. When this happens, the bit might slip while you’re drilling. This is not good.
It can ruin your work or even be dangerous.
Another sign to watch for is excessive wobble. A very slight wobble might be from an imperfect bit or the way it’s seated. But if the bit shakes wildly when you spin the drill, something is wrong.
This could be a loose chuck or a damaged chuck. It could also mean the drill’s spindle is bent, though this is rare.
If you try to loosen a bit and the chuck sleeve just spins and spins without opening, that’s also a red flag. This indicates the chuck mechanism isn’t engaging. It’s effectively broken.
You won’t be able to change bits safely or effectively. Trying to force it might cause more damage. It’s better to stop and assess the situation.
Listen for strange noises. Grinding or clicking sounds when you try to tighten or loosen the chuck can mean there’s debris or damage inside. If your drill starts making new, loud noises when you use it after changing a bit, pay attention.
It could be related to how the bit is held, or something else entirely.
If your Ryobi drill is quite old, the chuck might just be worn out. Like any part, chucks can wear down over time. If you’ve tried all the troubleshooting steps for a stuck bit and nothing works, and you’re experiencing any of these signs, it’s probably time to get professional help or consider a replacement.
For most users, though, these issues are uncommon. Regular maintenance and careful use will keep your drill working well.
Maintaining Your Ryobi Drill Chuck
Keeping your Ryobi drill’s chuck in good shape is easy. It doesn’t take much time. The biggest enemy of a drill chuck is dust and debris.
After each use, especially if you’ve been drilling in dusty material like drywall or concrete, give the chuck a quick clean. Use a soft brush to sweep away any particles. You can also use a can of compressed air to blow out stubborn dust.
This is a simple habit that makes a big difference.
If you notice the chuck feels a bit stiff, a drop of light oil can help. Use a lubricant specifically made for tools. Apply it sparingly.
Just a tiny drop around the moving parts of the chuck. Then, twist the chuck back and forth a few times. This helps the oil spread.
Wipe away any excess oil. Too much oil can attract more dust.
Avoid dropping your drill. A hard fall can damage the chuck. Even if it looks okay on the outside, the internal mechanism might be affected.
If your drill falls, inspect the chuck carefully afterward. Check for any wobbling or stiffness before using it again. Treating your tools with care extends their life significantly.
When you’re not using your drill, store it properly. Keep it in its case if you have one. This protects it from dust and impact.
If you leave it out, make sure it’s in a clean, dry place. A little care goes a long way in preventing problems like stuck bits or worn-out chucks. Simple maintenance makes sure your Ryobi drill is always ready for your next project.
Chuck Maintenance Checklist
After Use: Brush off dust and debris. Use compressed air if needed.
Stiffness: Apply a tiny drop of light tool oil if the chuck feels stiff.
Storage: Keep your drill in its case or a clean, dry place.
Handling: Avoid dropping the drill to prevent chuck damage.
Common Ryobi Drill Models and Bit Changes
Ryobi makes many different drill models. From compact 12V drills for light tasks to powerful 18V One+ systems for bigger jobs. The good news is that the basic process for changing a drill bit is very similar across most of them.
Whether you have a P1803 18-Volt ONE+ Cordless Two-Tool Combo Kit or a smaller Ryobi F2344 18-Volt Cordless Drill/Driver, the keyless chuck is your main interface.
For example, on the popular Ryobi P208B 18V ONE+ Drill/Driver, you’ll find a standard keyless chuck. You grip the front sleeve and twist it counter-clockwise to open. Then you insert the bit and twist clockwise to tighten.
It’s designed for ease of use. The grip texture on the chuck helps you hold it even if your hands are a little sweaty.
Even the more compact drills, like those in the 18V ONE+ HP line, use the same fundamental chuck system. The design might look sleeker or more ergonomic, but the function remains the same. The goal is always to secure the bit firmly so it doesn’t slip during operation.
For older corded Ryobi drills, the chuck might feel a bit more robust. Some might have a slightly different feel to the sleeve or require a bit more torque to tighten. However, the principle of counter-clockwise to loosen and clockwise to tighten still applies.
Always ensure the drill is unplugged before you start.
If you have a Ryobi hammer drill, the bit changing process is identical to a regular drill/driver. The hammer function is a separate setting. You can change the bit while the drill is in the regular drill mode.
Once the new bit is securely in place, you can then select the hammer drill mode if your task requires it. The chuck itself is not affected by the hammer function.
The key takeaway is that Ryobi’s design philosophy emphasizes user-friendliness. For bit changes, this means a straightforward, hand-operated process on almost all their models. Familiarize yourself with your specific model, but the general steps we’ve covered will serve you well.
My Own Ryobi Drill Bit Mishap
I remember one time, I was building a deck railing. It was a sunny Saturday afternoon, and I was in the zone. I had my trusty Ryobi 18V drill and a new set of pilot bits.
I needed to switch from a 1/8-inch bit to a 3/16-inch bit for the next row of screws.
I reached for the chuck, ready to swap. I twisted counter-clockwise, just like I always do. But this time, nothing happened.
The chuck sleeve just spun. It felt… loose. Like the gears inside had just given up.
I tried again, putting a bit more force into it. Still spinning. Panic started to set in.
I had a whole pile of wood waiting to be attached, and my drill was useless.
I started to feel that familiar frustration bubble up. I looked at the drill, then at the wood. I didn’t have another drill handy.
I considered just trying to jam the new bit in and hoping for the best. That’s never a good idea. I could see the bit slipping, splitting the wood, or worse, the bit flying out.
I took a deep breath. “Okay,” I told myself, “think.”
I remembered reading somewhere that sometimes debris can jam the chuck mechanism. I got a can of compressed air from my toolbox. I held the drill so the chuck was pointing down and gave it a good blast.
Then, I tried twisting the chuck sleeve again. This time, it felt different. There was resistance.
I twisted harder, and then I heard a little “pop.” The jaws had opened!
I quickly pulled out the old bit and inserted the new one. I tightened the chuck clockwise, and it felt solid. I gave the bit a wiggle.
No movement. I put the battery back in and squeezed the trigger. The new bit spun perfectly.
That little bit of compressed air saved my project and my sanity. It was a good reminder that even simple tools need a little TLC. And sometimes, the simplest fix is the best.
When to Consider a New Chuck or Drill
If you’ve gone through the steps to change a drill bit, tried to fix a stuck bit, and nothing seems to work, it might be time for a new chuck. Chucks are replaceable parts on most Ryobi drills. You can often buy a replacement chuck assembly online or from a tool repair shop.
The process usually involves unscrewing a single screw inside the chuck (sometimes a left-hand thread, meaning you turn it clockwise to loosen) and then unscrewing the chuck itself from the drill spindle.
However, replacing a chuck can be a bit fiddly. You need the right tools and a bit of mechanical aptitude. If your Ryobi drill is an older model, or if the drill itself has seen better days – maybe the motor sounds weak, or the battery life is very short – it might be more cost-effective to buy a new drill.
Ryobi frequently has sales on their One+ tools, so you might be able to upgrade without breaking the bank.
Consider the age of your drill and the cost of a
If your drill is still relatively new, and the only issue is a faulty chuck, then replacing just the chuck is a good option. It’s more environmentally friendly than tossing the whole tool. Check Ryobi’s official website or a reputable online retailer for replacement parts.
Always make sure the part number matches your specific drill model to ensure compatibility.
Ultimately, the decision comes down to cost and convenience. For a minor issue like a slightly stiff chuck, cleaning and lubrication are usually enough. For a completely failed chuck, weigh the cost of the part and your time against the price of a new drill.
Often, for Ryobi’s budget-friendly line, a new tool might be the simplest path forward unless you enjoy tinkering.
Quick Tips for Smooth Bit Changes
Here are some handy tips to make changing drill bits on your Ryobi drill a breeze:
- Always Remove Power: Battery out or unplugged. Non-negotiable safety step.
- Grip Firmly: Use a glove or rag for extra traction on the chuck sleeve.
- Know Your Twist: Counter-clockwise to loosen, clockwise to tighten. “Lefty loosey, righty tighty.”
- Center the Bit: Make sure the new bit shank is centered in the jaws before tightening.
- Tighten Enough: Snug is good. Over-tightening can damage the chuck or make it hard to loosen next time.
- Test the Fit: Give the bit a gentle tug after tightening. Squeeze the trigger briefly to ensure it’s secure and spins true.
- Clean Regularly: Dust is the enemy. Brush or blow out chucks after dusty jobs.
- Lubricate Sparingly: A tiny drop of oil can free up a stiff chuck.
- Use the Right Bit: Match the bit to the material and the job.
- Inspect Bits: Don’t use dull or damaged bits. They’re hard on your drill and your work.
Frequently Asked Questions About Ryobi Drill Bits
How do I know if my Ryobi drill bit is seated correctly?
After you tighten the chuck, give the drill bit a gentle pull. It should not move at all. Also, when you briefly squeeze the trigger, the bit should spin smoothly without wobbling.
If it wobbles, it’s not seated correctly, or the chuck might need to be tightened more.
Can I use a drill bit that is too large for my Ryobi drill’s chuck?
No, you should not. The chuck has a maximum capacity, usually marked on the drill or in the manual. Trying to force a bit that is too large can damage the chuck jaws.
It also won’t be held securely, making it unsafe to use.
My Ryobi drill chuck is making a grinding noise when I try to loosen a bit. What should I do?
A grinding noise usually means there is debris trapped inside the chuck mechanism, or the internal gears are damaged. First, try cleaning the chuck thoroughly with compressed air and a brush. If the noise persists, the chuck may need to be replaced.
How often should I lubricate the chuck on my Ryobi drill?
You don’t need to lubricate it often. Only add a tiny drop of light oil if the chuck feels stiff or difficult to turn. Over-lubricating can attract more dust.
Regular cleaning is more important than frequent lubrication.
What is the difference between a drill bit for wood and a drill bit for metal?
Drill bits for wood typically have a sharper point to help them start easily. Bits for metal are usually made of harder steel alloys to withstand the heat and friction. They may also have a special coating.
Using the wrong type of bit can dull it quickly or damage your material.
My Ryobi drill bit keeps slipping out even after I tighten the chuck. What could be the problem?
This usually means the chuck jaws are not gripping the bit properly. It could be because the bit shank is dirty, the chuck jaws are worn out, or the chuck mechanism itself is damaged and not applying enough pressure. Ensure the bit is clean and centered, then try tightening firmly.
If it continues, the chuck may need replacement.
Putting It All Together
Changing a drill bit on your Ryobi drill is a fundamental skill. It’s a simple task that keeps your projects moving forward. By understanding your drill’s keyless chuck, always prioritizing safety, and following the straightforward steps, you can swap bits with confidence.
Remember that a little bit of care and maintenance goes a long way. Keeping your chuck clean and free of debris will ensure it works smoothly for years to come.
Don’t let a stuck bit or a confusing process slow you down. With this guide, you have the knowledge to handle common issues. You can ensure your Ryobi drill is always ready for action.
Happy drilling!