How to Patch a Hardwood Floor: Matching the Fix to the Damage
Which patching method to use depends entirely on how deep the damage goes: a surface scratch just needs a touch-up marker or light polish, a gouge or dent needs wood filler, and a hole that goes all the way through a board needs a cut-in wood patch. Matching the wrong method to the damage is the most common reason a DIY patch ends up looking worse than the original flaw—filler on a structural crack won’t hold, and replacing a whole board for a surface scratch is unnecessary work.
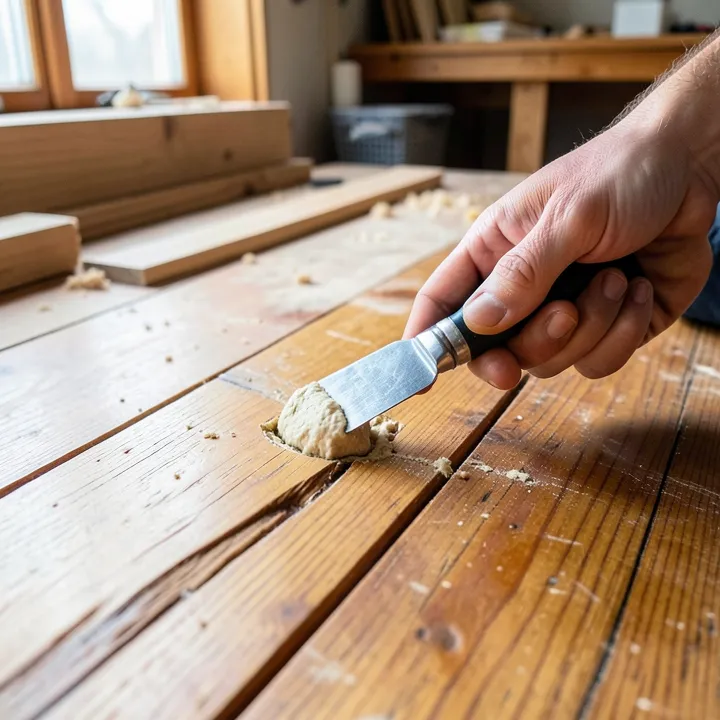
Match the Fix to the Damage
For Gouges, Dents, And Cracks
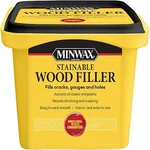 |
Minwax Stainable Wood Filler, 16 oz – $11.98 Unlike a lot of wood putty, this is formulated to actually take stain afterward, which is the whole trick to making a patch disappear into the surrounding floor.
|
- Scratches and surface marks: shallow damage to the finish only, not the wood itself. Usually fixable with a touch-up marker, wax stick, or light sanding and re-finishing—no filler needed.
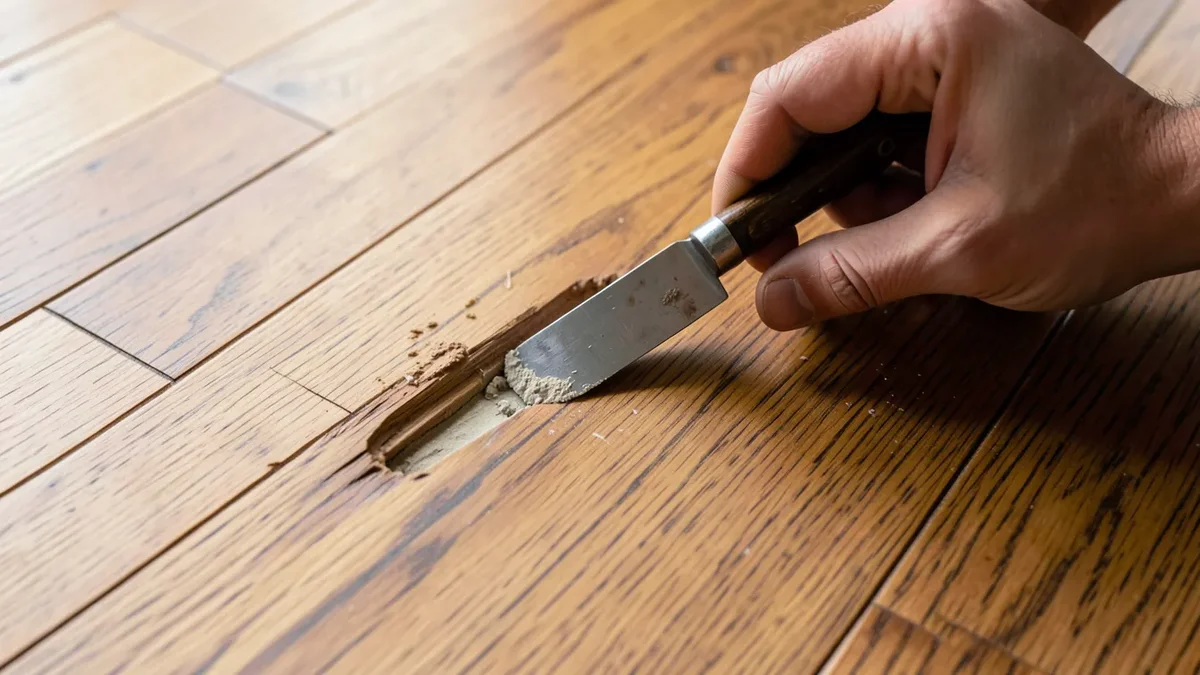
- Gouges and dents: deeper damage into the wood from a dropped object or a dragged piece of furniture. This is what wood filler is for.
- Cracks and small holes: also a filler job in most cases, as long as the board itself is still structurally sound around the damage.
- Water damage, cupping, or a hole through the board: filler won’t fix this. The affected section usually needs to be cut out and replaced with a matching board.
Tools and Materials
- Wood filler that matches your finishing plan (stainable filler if you’ll stain it, pre-colored if not)
- Putty knife for applying and smoothing filler
- Fine-grit sandpaper (150-220 grit) for leveling the dried patch
- Stain and finish matching the surrounding floor
- Clean rags and a vacuum or soft brush
- For board replacement: a saw, chisel, hammer, matching replacement board, and wood glue
Filling a Gouge, Dent, or Crack
- Clean the damaged area of dust and debris, and remove any loose splinters or wood fibers so the filler bonds to solid material.
- Press filler into the gouge with a putty knife, filling it slightly proud of the surface—most fillers shrink a little as they cure, and it’s easier to sand down excess than to add a second layer to a low spot.
- Let it dry fully per the product’s instructions; this varies from about an hour to several hours depending on the depth of the fill and the room’s humidity.
- Sand flush with fine-grit sandpaper, checking with your fingertips as much as your eyes—a patch that looks flat under overhead light can still have a lip you’ll feel underfoot.
- Test stain color on scrap first. Wood filler and the surrounding solid wood often absorb stain differently, so a shade that looks right in the can can still turn out lighter or darker than the floor once applied.
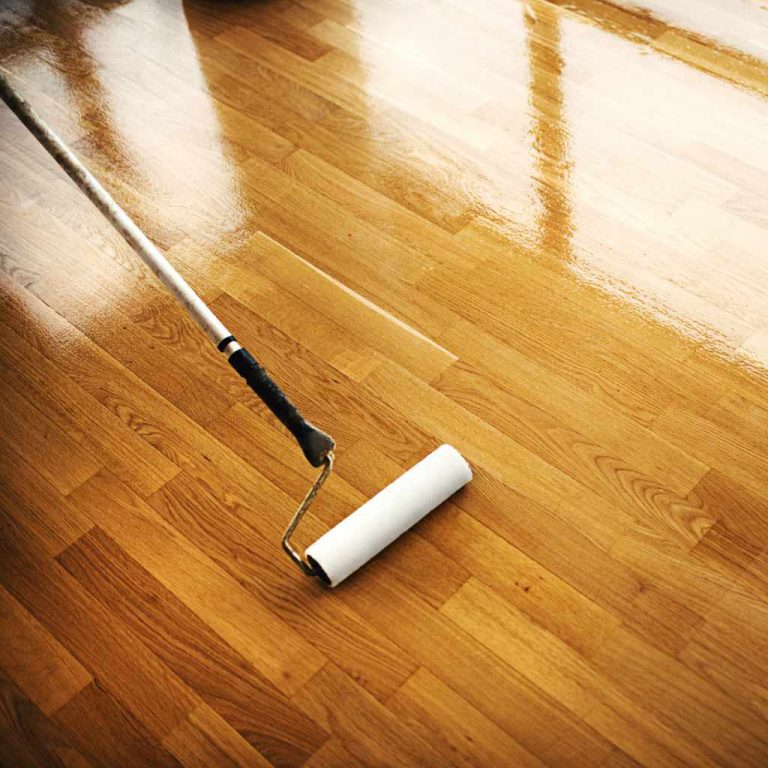
- Apply matching finish in thin coats, letting each coat dry and lightly sanding between coats, until the sheen matches the surrounding floor.
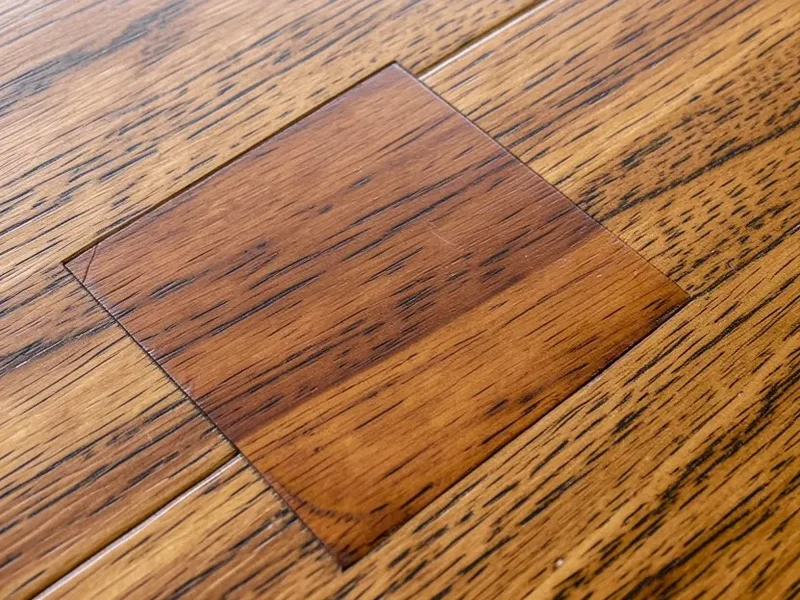
Replacing a Board (When Filler Isn’t Enough)
For damage that goes through the board—a hole, a split that runs the length of a plank, or water damage that’s warped the wood—filler is a temporary cover-up at best. Cut out the damaged section cleanly with a saw or chisel, staying inside the boundaries of the damage rather than cutting into sound wood. Fit a matching replacement piece (reclaimed boards from a closet or under an appliance are often the closest color match available), glue it in place, and clamp or weight it down for at least 24 hours before walking on it or finishing it.
Preventing the Next Repair
- Felt pads under furniture legs, replaced when they wear thin, stop the slow scratching that comes from moving chairs and tables.
- Rugs in high-traffic areas reduce wear, but skip rubber-backed mats, which can trap moisture against the finish.
- Clean spills immediately rather than letting them sit, since standing liquid is what turns into cupping, warping, and discoloration.
- Keep indoor humidity in the 35-55% range with a humidifier or dehumidifier as the seasons change—wood expands and contracts with moisture, and a lot of “damage” is really just humidity swings.
Frequently Asked Questions
How Do I Patch a Small Hole in a Hardwood Floor?
Clean the hole, press stainable wood filler in with a putty knife slightly proud of the surface, let it dry fully, then sand flush. Test your stain on a scrap piece before applying it, since filler and solid wood often take stain differently.
What Materials Do I Need to Patch a Hardwood Floor?
For most gouges and cracks: wood filler, a putty knife, fine-grit sandpaper, and matching stain and finish. For damage that goes through a board, you’ll also need a saw or chisel, wood glue, and a matching replacement board.
Can I Patch a Hardwood Floor Without Sanding the Entire Floor?
Yes. Spot-sanding just the repaired area, then carefully matching the stain and finish, is the standard approach for a single scratch, gouge, or small patch, and it’s how most professional spot repairs are done.
How Long Does Wood Filler Take to Dry?
Most wood fillers are dry to sand within 1-4 hours for a shallow fill, though a deep gouge can take longer to cure all the way through. Always check the specific product’s label, since dry times vary by brand and by how deep the fill is.
Bottom Line
Match the repair to the damage: a surface scratch needs a touch-up, not filler; a gouge or dent needs stainable wood filler applied slightly proud and sanded flush; and a hole through the board needs a replacement piece, not more putty. Testing your stain on scrap wood before touching the actual floor is the single step that determines whether the patch disappears or stands out.
Sponsored / affiliate links. As an Amazon Associate I earn from qualifying purchases. I may earn additional commission from eligible campaigns.