How To Plant A Walnut Seed (Beginner-Friendly Guide)
Growing a walnut tree from a seed is achievable with patience and the right steps. This guide covers everything a beginner needs to know, from selecting seeds to ensuring successful germination and early growth. You’ll gain the knowledge to start your own walnut tree.
Understanding Walnut Seeds and Their Needs
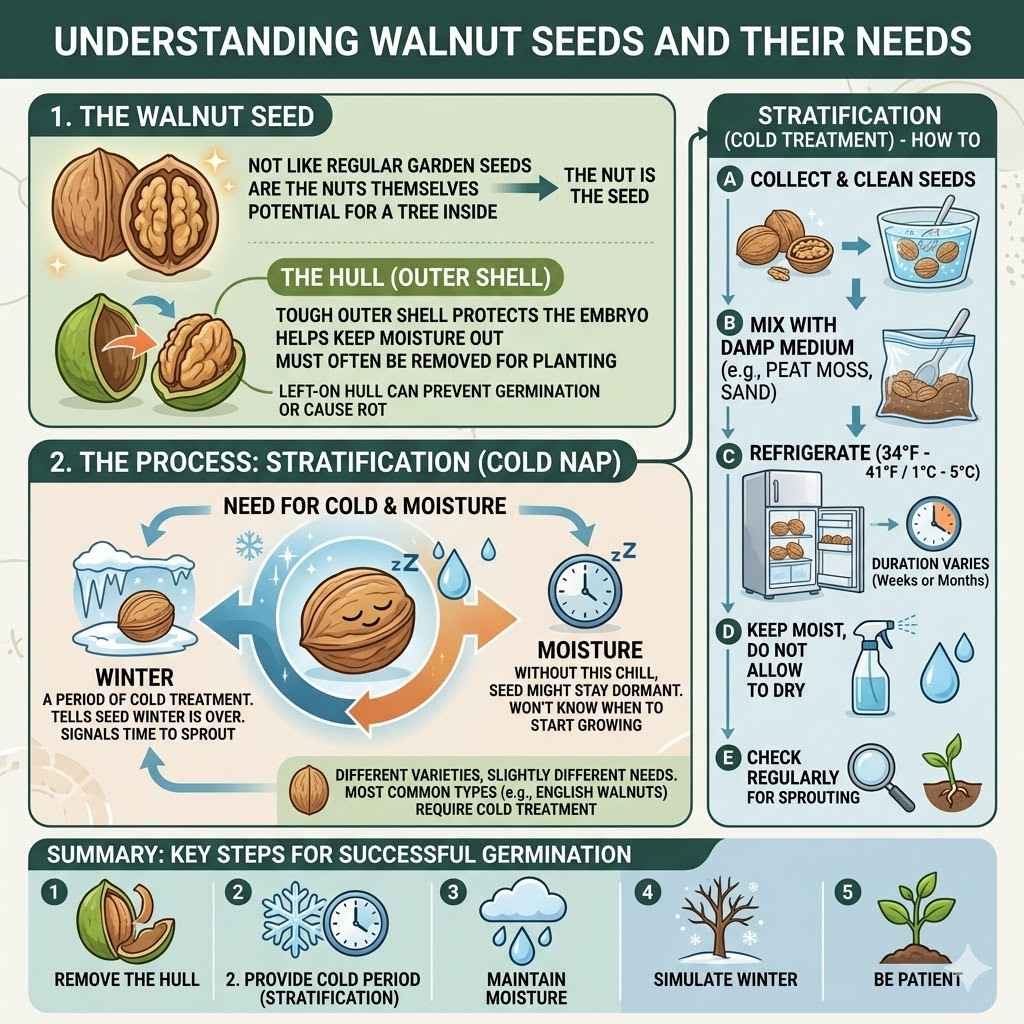
Walnut seeds are not like regular garden seeds. They are actually the nuts themselves. Inside that hard shell is the potential for a tree.
But they need specific conditions to wake up and start growing. This process is called stratification. It’s like a natural cold nap.
The seed needs a period of cold and moisture.
This cold period tells the seed that winter is over. It signals that it’s finally time to sprout. Without this chill, the seed might stay dormant.
It won’t know when to start growing. Different walnut varieties have slightly different needs. But most common types, like English walnuts, require this cold treatment.
It’s a crucial first step for success.
The outer shell of the walnut is very tough. This protects the precious embryo inside. It also helps keep moisture out until the right time.
When you’re ready to plant, you’ll often need to remove this hull. The hull can prevent germination if left on. It might also rot and damage the seed.
So, getting the seed ready is key.
When Is the Best Time to Plant Walnut Seeds?
The best time to plant walnut seeds is actually in the fall. Think autumn, when the leaves are turning. This is when nature does its work.
You are essentially mimicking nature. By planting in fall, you give the seed its natural cold treatment. The cold soil over winter helps it prepare to sprout.
When spring arrives, and the soil warms up, the seed will be ready. It will have undergone stratification. The moisture from the soil helps it.
The cold temperatures are essential. Planting in early spring can also work. But you’d likely need to stratify the seeds indoors first.
Fall planting is generally easier for beginners. It lets nature do the stratifying for you.
Trying to plant them in the heat of summer is not ideal. The soil can be too dry. The young sprout might not survive.
Winter planting is also tricky. The ground might be too frozen. So, stick to fall or very early spring for planting outside.
If you miss fall, indoor stratification is your next best bet. We will talk more about that later.
Selecting the Right Walnut Seeds
Not all walnuts are created equal for planting. You want seeds from healthy trees. Look for nuts that are disease-free.
Avoid nuts that have holes or look damaged. These might have pests inside. The best nuts to use are usually fresh ones.
They haven’t been stored for too long. Older nuts may have lost their viability.
You can get seeds from a local nursery. They often sell stratified seeds. Or you can collect your own.
If you collect them, make sure they are ripe. Ripe walnuts will drop from the tree. They will have a green, fleshy outer hull.
This hull needs to be removed. It can be a bit messy to clean.
Once you remove the hull, you’ll see the hard shell. This is the actual nut. For planting, it’s best to use seeds from varieties that grow well in your area.
Your local extension office can offer advice. They know what trees thrive in your climate. Choosing the right variety means a healthier tree later on.
Some walnuts are better for eating. Others are better for timber. For most home gardeners, English walnuts are a good choice.
Seed Preparation Steps
- Gather Fresh Nuts: Use nuts from the current season if possible.
- Remove the Hull: Scrub off the green outer layer. Wash thoroughly.
- Check for Viability: Soak the cleaned nuts in water. Floaters are often bad. Sinkers are usually good.
- Dry Briefly: Let them air dry for a day or two. Do not dry them completely.
How to Stratify Walnut Seeds (If Planting in Spring)
If you decide to plant in spring, or if you missed fall, you need to stratify your seeds. This means giving them that cold period. It’s like a chilly spa treatment for the nut.
You can do this indoors.
Get some damp material. Peat moss, vermiculite, or sand works well. Put this material in a plastic bag or a container.
It should be moist, not soaking wet. Squeeze out extra water. Then, place your cleaned walnut seeds into the bag.
Make sure they are not touching too much. Seal the bag. You want a little air inside.
Now, put the bag in your refrigerator. The temperature should be between 35 and 41 degrees Fahrenheit. This is a typical fridge temperature.
Leave them there for about 90 to 120 days. That’s roughly three to four months. Check the material every few weeks.
It should stay slightly damp. Add a little water if it feels dry.
This process mimics winter. It tricks the seed into thinking it has survived a cold period. You’ll know it’s working when you see tiny signs of life.
Sometimes, a little root might start to peek out. This is a good sign! But be careful not to damage it.
Once stratification is done, it’s time to plant. You should plant them soon after. Do not let them dry out after this.
Stratification Quick Facts
Why Stratify? To break dormancy and signal spring.
What You Need: Moist medium (peat, sand), bag/container, fridge.
How Long? 90-120 days (3-4 months).
Temperature: 35-41°F (2-5°C).
Check Regularly: Keep the medium damp.
Planting Your Walnut Seed Directly in the Ground
For fall planting, this is the most direct method. Find a good spot for your future tree. Walnuts grow into big trees.
They need plenty of space. Think about where the tree will be in 10, 20, or even 50 years. Avoid planting too close to buildings or power lines.
They also don’t like soggy soil. Pick a spot with good drainage.
Dig a hole. It should be about 12 to 18 inches deep. And about 12 inches wide.
This gives the seed room to grow. Place the cleaned walnut seed into the hole. You want the pointed end down if possible.
This helps the root grow straight down. If you’re unsure, just place it on its side. Nature is pretty smart about this.
Cover the seed with soil. Don’t pack it down too hard. You want the sprout to easily push through.
About 2 to 3 inches of soil is good. Water the spot gently. This settles the soil around the seed.
If you planted in fall, you don’t need to do much more. The rain and snow will keep it moist. You can also put a layer of mulch around the area.
This helps keep the soil from washing away.
It’s important to mark the spot. You don’t want to forget where you planted it. Or accidentally dig it up.
A small stake or a unique rock works well. The seed will likely not sprout until spring. Sometimes it takes two years.
Be patient. This is a long-term project. Don’t be discouraged if you don’t see anything right away.
Planting Stratified Seeds in Pots
If you stratified your seeds indoors, or if you want to start them in pots, this is the way. Use a pot that is at least 8 inches deep. Walnuts grow a long taproot.
So, depth is important. Fill the pot with a good potting mix. It should drain well.
Take your stratified seed. If a root has started, be very careful with it. Plant the seed about 2 inches deep.
Again, pointed end down is best. But it’s not a deal-breaker. Water the soil gently.
Place the pot in a protected spot. A sunny windowsill is good if you are starting indoors. Or a sheltered spot outside if the danger of frost has passed.
Keep the soil consistently moist. Not wet, but not dry. Once you see a sprout, that’s exciting!
Continue to water it. As the seedling grows, you might need to transplant it. This depends on how fast it grows.
You can move it to a larger pot. Or, you can wait until it’s big enough to go into the ground.
When transplanting to the ground, be gentle. Try not to disturb the roots too much. The taproot is especially sensitive.
Take your time. Dig up a good amount of soil around the root ball. Move it to its new, permanent home.
Water it well after transplanting. This helps it settle in.
Container Planting Tips
Pot Size: Minimum 8 inches deep for taproot.
Soil: Well-draining potting mix.
Planting Depth: About 2 inches.
Watering: Keep consistently moist.
Transplanting: Handle roots with care.
Protecting Your Young Walnut Seedling
Once your seed sprouts, it’s a vulnerable little thing. It needs protection. Squirrels and other critters love young walnut sprouts.
They might dig them up or eat them. Fencing or netting can help. You can buy or make small cages for your sprouts.
These keep out pests.
Also, think about the weather. Young seedlings are sensitive to frost. If you planted in early spring, watch the forecast.
Cover them with a frost cloth if needed. Strong winds can also damage them. Make sure they are in a somewhat sheltered spot.
Or provide temporary support.
Weeds can be a problem too. They compete for water and nutrients. Keep the area around your seedling free of weeds.
You can gently pull them by hand. Mulching helps suppress weeds. It also keeps the soil moist.
Just be careful not to pile mulch right against the stem. This can cause rot. Leave a little space.
As the seedling grows taller, it becomes more robust. But protection is still important for the first year or two. It’s like raising a baby.
You give it what it needs to thrive. This early care makes a big difference. It sets the stage for a strong, healthy tree.
Choosing the Right Location for Your Walnut Tree
This is super important. Walnuts get big. Really big.
The English walnut tree can reach 50-80 feet tall. And 50-80 feet wide. So, you need a lot of space.
A good location has several key features.
Sunlight: Walnuts love sun. They need at least 6-8 hours of direct sunlight per day. Full sun helps them grow best.
It also makes them produce more nuts. So, pick a sunny spot. No shady corners for these trees.
Soil Drainage: This is critical. Walnut trees hate “wet feet.” Their roots can rot in waterlogged soil. The ground should drain well.
If you have heavy clay soil, you might need to amend it. Or choose a raised bed. Or plant on a slight slope.
Space: I can’t stress this enough. Give it room. Think about mature size.
Where will the branches spread? Will it interfere with your house, garage, or fence? It will.
So, plan ahead. A good rule of thumb is to plant it at least 30-50 feet away from any structures.
Protection: Young trees need protection from wind. While mature trees can handle it, a young one can be damaged. Consider planting it where it has some natural windbreak.
Or be prepared to offer temporary support.
Nutrient Needs: Walnuts like fertile soil. If your soil isn’t great, you’ll need to add compost. Or use a good fertilizer.
Regular feeding will help your tree grow strong. Especially in the early years. Soil testing can tell you what your soil needs.
Common Challenges and How to Deal with Them
Growing any tree can have its challenges. Walnuts are no different. One big issue is pests.
Aphids can sometimes bother young trees. Squirrels are always a threat to nuts and young growth. Birds might eat the developing nuts.
You can use nets or barriers to protect your harvest.
Diseases can also be a problem. Walnut blight is a common one. It causes dark spots on leaves and nuts.
Good air circulation helps prevent this. Avoid overhead watering. Water at the base of the tree.
Pruning can also help. It opens up the canopy. This allows air to flow through.
The biggest challenge for many is patience. Growing a tree takes time. You won’t get nuts for several years.
Some varieties might take 7-10 years to produce. Others even longer. So, you have to commit to the long haul.
Enjoy the process of watching it grow.
Another challenge can be the allelopathic nature of walnuts. This means they release chemicals from their roots. These chemicals can harm other plants.
Especially tomatoes, potatoes, and blueberries. So, don’t plant these sensitive plants too close to your walnut tree. Give them their own space.
This is a common mistake many gardeners make.
Quick Problem-Solving Table
| Problem | Solution |
|---|---|
| Pests (Squirrels, Birds) | Nets, cages, repellents. |
| Diseases (Blight) | Good air flow, proper watering, pruning. |
| Slow Growth | Fertilize, ensure sunlight and water. |
| Other Plants Dying | Plant sensitive species far away. |
Real-World Walnut Tree Scenarios
Imagine you have a backyard with a sunny corner. You found some fresh walnuts from a neighbor’s tree. You clean them up and plant them in the fall.
You mark the spot with a painted rock. Winter passes. Spring arrives.
You wait. Weeks go by. Nothing.
You start to worry. Did it not work?
Then, one morning, you see a tiny green shoot. It’s a miracle! This is your walnut seedling.
You protect it from squirrels with a small wire cage. You water it during dry spells. It grows slowly.
By the end of the first year, it’s about a foot tall. You’re so proud.
Another scenario: You bought a house. There’s an old walnut tree in the yard. It’s beautiful.
But nothing grows well underneath it. Your tomatoes wilt. Your flowers die.
You learn about the juglone. The chemical walnut trees release. You realize you need to plant your new garden beds further away.
You decide to plant a new walnut tree on the other side of the yard. Away from the old one.
Or, you live in an apartment. You really want to grow a tree. You get some walnut seeds.
You clean and stratify them in your fridge. You plant them in pots on your balcony. You watch them grow.
You might not get a huge tree this way. But you can still experience the joy of nurturing a young plant. It’s about the connection to nature, even in small spaces.
What Does This Mean for You?
If you’re thinking about planting a walnut seed, it means you’re ready for a long-term project. It’s not something that happens overnight. It’s about contributing to nature.
It’s about future harvests. Or even just the beauty of a mature tree.
When is it normal to see growth? For fall-planted seeds, expect to see sprouts in spring. It might take until the second spring for some.
For spring-planted, stratified seeds, you should see sprouts within a few weeks to a month after planting. If you don’t see anything after two springs, the seed might not have been viable.
When should you worry? If your seedling looks unhealthy. If it’s wilting or has strange spots.
Or if pests are really taking over. Don’t panic. Research the specific problem.
Sometimes a little intervention is needed. But often, nature takes its course. Trust the process.
Simple checks to do: Feel the soil moisture. Look for any signs of insects. Observe the leaves.
Are they green and healthy? Are they developing properly? These simple checks help you stay on top of things.
They catch potential problems early. It’s about being an attentive gardener.
Quick Tips for Success
Here are some easy tips to help you grow your walnut seed.
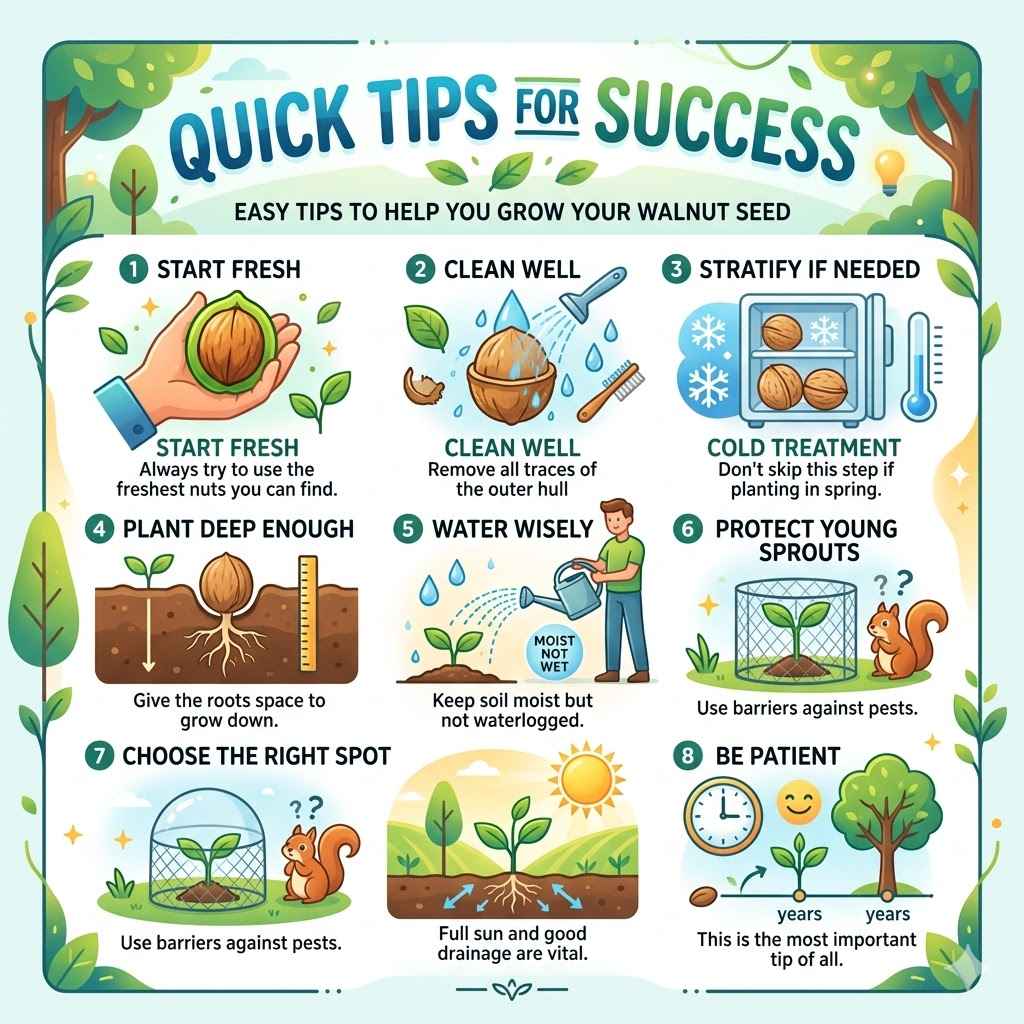
- Start Fresh: Always try to use the freshest nuts you can find.
- Clean Well: Remove all traces of the outer hull.
- Stratify if Needed: Don’t skip this step if planting in spring.
- Plant Deep Enough: Give the roots space to grow down.
- Water Wisely: Keep soil moist but not waterlogged.
- Protect Young Sprouts: Use barriers against pests.
- Choose the Right Spot: Full sun and good drainage are vital.
- Be Patient: This is the most important tip of all.
Frequently Asked Questions About Planting Walnut Seeds
Can I plant any walnut I find at the grocery store?
It’s best to avoid grocery store walnuts. They are often treated to prevent sprouting. They might also be old and dried out.
For planting, fresh nuts from healthy trees or stratified seeds from a nursery are much better choices.
How long does it take for a walnut tree to grow nuts?
This varies greatly by variety and conditions. English walnuts typically start producing nuts between 7 and 10 years after planting. Some may take longer.
Patience is key!
What is juglone and why is it a problem?
Juglone is a chemical naturally produced by walnut trees. It’s found in the roots, bark, and husks. It can be toxic to many other plants, causing wilting and death.
It’s important to keep sensitive plants like tomatoes and blueberries away from walnut trees.
Can I plant a walnut seed indoors permanently?
Walnut trees need a lot of space and sunlight to grow into mature trees. While you can start a seed indoors in a pot, it’s meant to be planted outside eventually. It needs room to develop its root system and grow large.
My walnut seed sprouted, but it looks weak. What should I do?
Ensure it’s getting enough sunlight and water. Check for pests or diseases. Sometimes, a young seedling can be fragile.
Provide protection from harsh weather and pests. Adding a bit of compost to the soil can also help provide nutrients.
Do I need to shell the walnut before planting?
Yes, you typically need to remove the hard shell. After removing the green hull, crack the hard shell gently to get to the seed inside. Be careful not to damage the seed itself.
The seed is what you will plant.
Conclusion
Planting a walnut seed is a wonderful way to connect with nature. It’s a project that requires patience and care. But the reward is a majestic tree.
One that could provide shade and nuts for generations. Follow these simple steps. You’ll be well on your way.