Preserve Wood Slices for Crafts (No Cracking, No Mold)
Preserving wood slices for crafts means drying them to roughly 6–8% moisture content, then sealing with 2–3 thin coats of polyurethane, epoxy, or food-safe mineral oil — but sealing too early, while the slice is still wet, traps moisture that causes mold and radial cracks. Skip that step and even a beautiful oak or maple slice can split within weeks. This guide covers moisture testing, sealer choice, the step-by-step sealing process, and how to stop cracking during drying.
Quick Answer
Let wood slices air-dry until a moisture meter reads 6–8%, sand through 80 to 220 grit, then apply 2–3 thin coats of a water-based polyurethane (like Minwax Polycrylic) with light sanding between coats. Use food-safe mineral oil instead of polyurethane or epoxy if the piece will touch food.
What You Need to Preserve Wood Slices
Best Wood Slice Sealer Pick
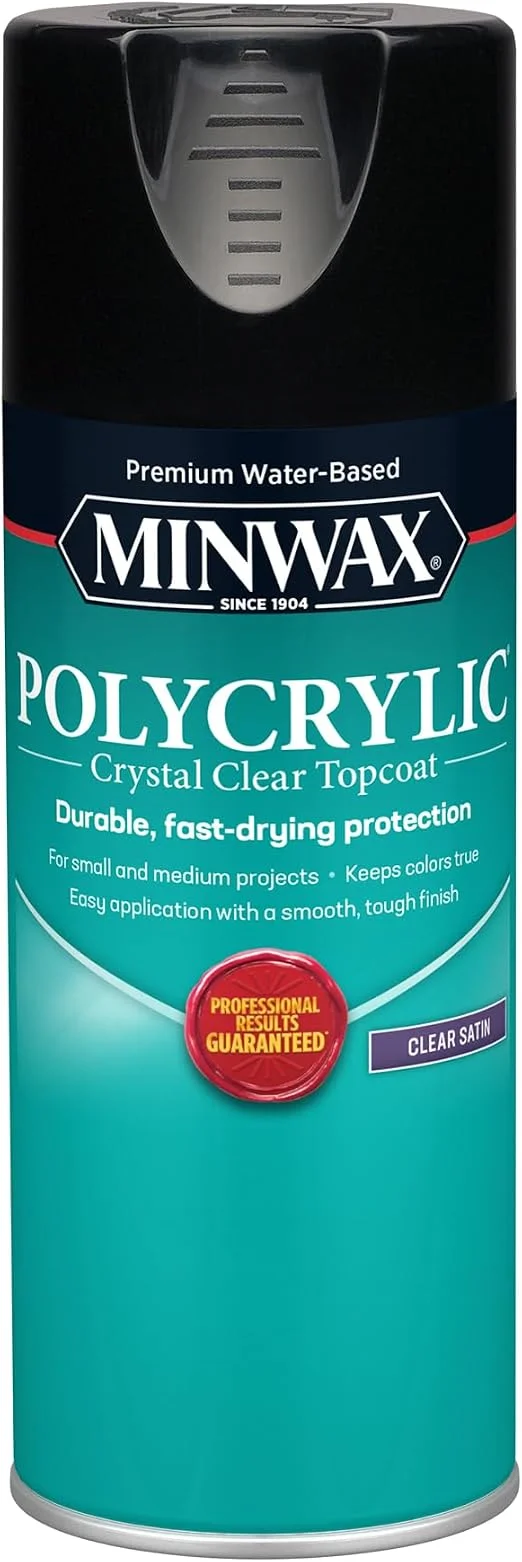 |
Minwax Polycrylic Protective Finish Spray, Clear Satin – $14.97 This is the water-based polyurethane spray referenced in the sealer comparison and step-by-step sections below — dries fast, stays clear over light woods, and needs only soap and water for cleanup.
|
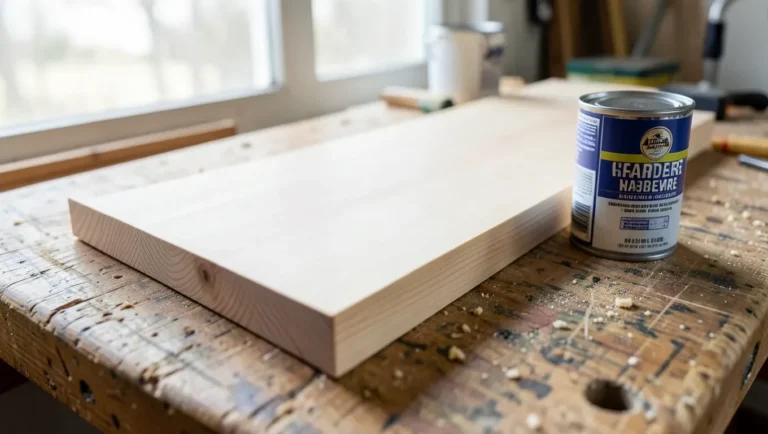
Before sealing, gather a moisture meter (or a kitchen scale for the drying-weight method below), 80–220 grit sandpaper, a tack cloth, and your chosen sealer. Hardwoods like oak, maple, and walnut hold up better than pine or poplar because their tighter grain resists warping as moisture leaves the wood.
Dry Wood Slices to the Right Moisture Content First
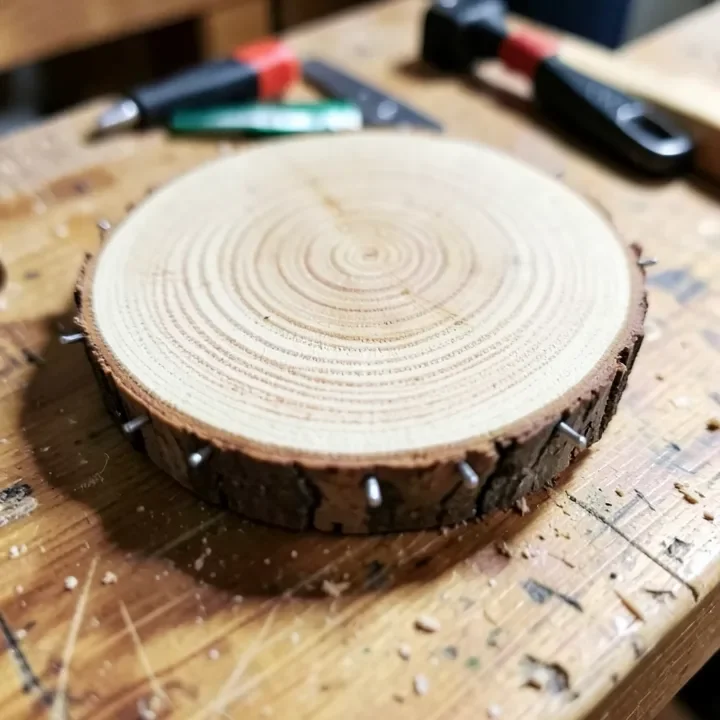
Sealing a wood slice before it has finished drying is the single most common reason slices crack or grow mold under the finish — the trapped moisture has nowhere to go and pushes outward along the grain.
📊 Furniture-grade kiln-dried wood is dried to 6–8% moisture content for interior use — Source: Wagner Meters, Acceptable Moisture Levels in Wood. A pin-type moisture meter pushed into the end grain gives the most reliable reading on a fresh-cut slice.
No moisture meter? Use the traditional air-drying rule of thumb: budget about one year of drying time per inch of slice thickness at room temperature, checking weight loss every few weeks with a kitchen scale — once the weight stops dropping between weighings, the slice has reached equilibrium with the room and is ready to seal. A 1.5-inch slice cut in early spring often is not ready until the following winter.
Sand Before You Seal
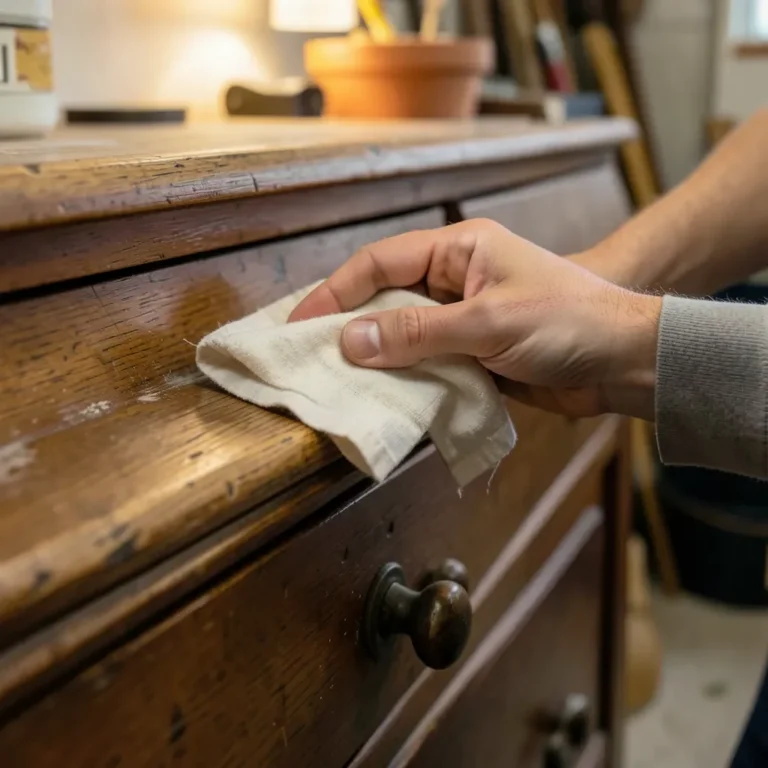
Start with 80-grit to remove saw marks and flatten any cupping, then move through 120 and finish at 220-grit. Sanding opens the wood pores so the sealer actually bonds instead of sitting on the surface as a film that can peel later. Wipe with a tack cloth or slightly damp rag before applying any finish.
Best Sealers for Wood Slice Crafts
The right sealer depends on whether the slice is purely decorative or will be handled, walked on, or used near food:
| Sealer | Coats Needed | Food Safe? | Best For |
|---|---|---|---|
| Water-based polyurethane | 2–3 | No (until fully cured) | Signs, coasters, wall decor |
| Epoxy resin | 1–2 (self-leveling) | Only food-safe-rated brands | Bark edges, filling cracks, glossy tabletops |
| Pure tung oil | 3–5 thin coats | Yes, once fully cured | Cutting boards, cheese boards |
| Beeswax + mineral oil blend | 1, reapplied monthly | Yes | Food-contact pieces, low-durability needs |
How to Seal Wood Slices Step by Step
- Confirm dryness: Check the moisture meter reads 6–8%, or confirm weight has stopped dropping between weekly weighings.
- Sand through the grits: Work from 80 to 220-grit, wiping away dust between each pass.
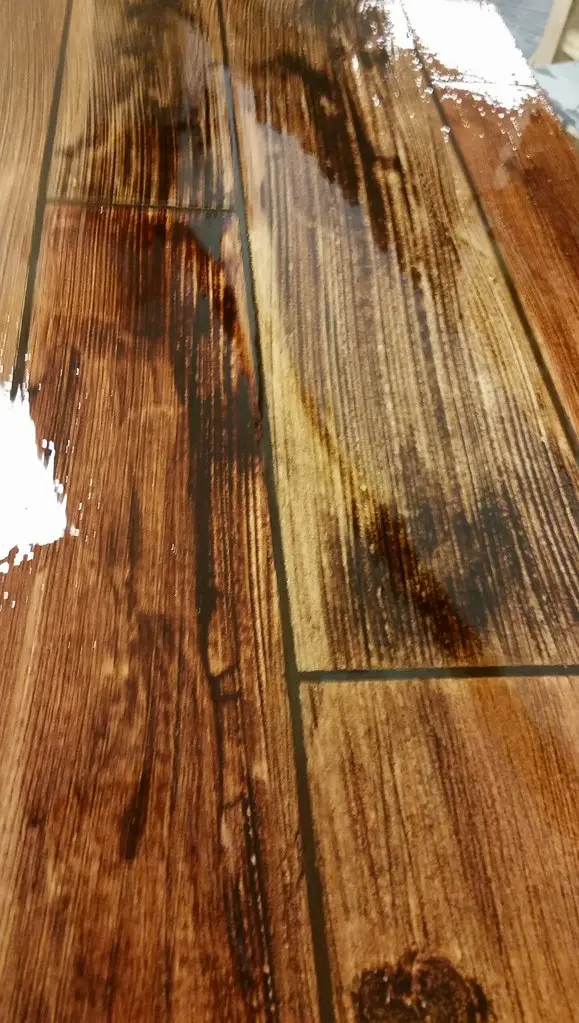
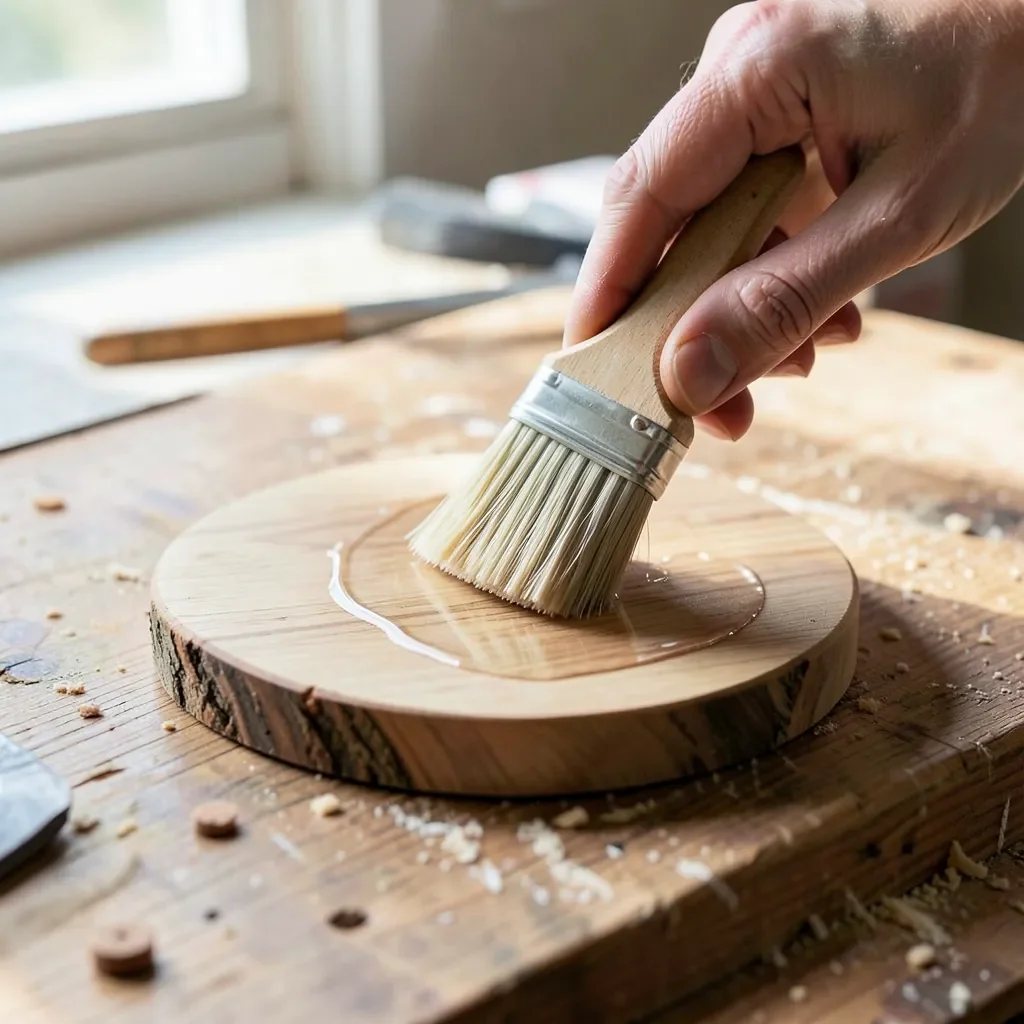
- Apply the first coat thin: Brush or spray a thin, even layer — thick coats trap solvent underneath and stay tacky.
- Let it dry, then scuff-sand: Wait about 30–60 minutes for spray polyurethane (2 hours for brush-on), then lightly sand with 220-grit.
- Repeat for 2–3 total coats: More coats add durability but also add cost; three is the point of diminishing returns for most craft pieces.
- Cure fully before handling hard: Allow 24 hours before normal use, longer in humid rooms.
“Three coats are recommended, with 220-grit sanding and dust removal between each one — going straight from a thick single coat to handling the piece is the most common way finishes end up cloudy or tacky.”
Prevent Cracking and Splitting While Drying
Cracks form when the outer face of a slice dries and shrinks faster than the still-wet core. Slow the surface drying instead of speeding it up:
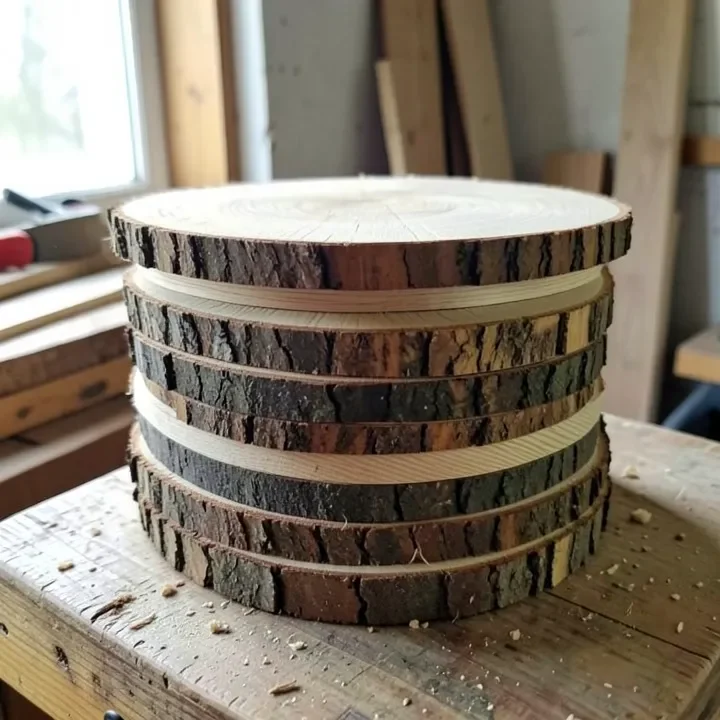
- Seal the end grain (the rings, not the flat faces) with a coat of wax or diluted glue as soon as the slice is cut — end grain loses moisture roughly 10–15 times faster than the flat faces.
- Dry slices flat and stacked with spacers (“stickers”) between them, away from direct sun or a heat vent.
- Expect some radial checking on slices over 12 inches wide — it is normal wood movement, not a sign of a ruined piece, and epoxy fill can disguise it later.
Related Wood Slice Projects
Making centerpieces for an event instead of a general craft? Our guide to sealing wood slices for centerpieces compares five sealers specifically for tablescapes and weddings. For general wood care basics that apply beyond slices, see our wood care and protection guide.
Frequently Asked Questions
How long should wood slices dry before sealing?
Budget about one year of air-drying per inch of thickness at room temperature, or confirm with a moisture meter reading of 6–8%. A thin, half-inch craft slice can be ready in a few months; a 2-inch slab from a fresh-cut log can take two years.
What is the best sealant for wood slices?
Water-based polyurethane is the best all-around choice for decorative slices — it dries fast, stays clear, and needs no special ventilation. Reach for epoxy only when you also need to fill cracks or lock down loose bark, since it is more expensive and less forgiving to apply.
Can I use wood slices for food-safe crafts like cutting boards?
Yes, but skip standard polyurethane and epoxy — use pure tung oil or a food-safe mineral oil and beeswax blend instead, and reapply monthly with regular use. Our guide to sealing a wooden cheese board covers food-safe finishing in more depth.
How do I keep wood slices with the bark on from cracking?
Bark needs a separate stabilizing step before you seal the face of the slice, since bark dries and shrinks differently than the wood underneath it. See our full guide to preserving wood slices with bark for the bark-specific process.
Conclusion
Dry the slice to 6–8% moisture, sand through 220-grit, and apply 2–3 thin coats of the right sealer for how the piece will be used — that sequence, done in order, is what actually stops cracking and mold, not the specific brand of finish you choose.
Sponsored / affiliate links. As an Amazon Associate I earn from qualifying purchases. I may earn additional commission from eligible campaigns.