DIY Wood Conditioner: 3 Pre-Stain Recipes That Stop Blotching
Store-bought pre-stain wood conditioner is really just a thinned sealer, and you can mix a version that works from two products already sitting in most garages. The part that actually matters is picking the right recipe for the stain you’re using and getting the timing right, so the wood doesn’t seal over before you ever pick up the stain rag.
A lot of “DIY wood conditioner” recipes floating around online are actually furniture polish: beeswax and mineral oil, olive oil, or orange-oil blends meant to feed wood that’s already finished. That’s a different job entirely, and it won’t stop a bare pine board from blotching. A true pre-stain conditioner has one purpose — partially seal raw wood before you stain it so the color goes on even instead of patchy, especially on pine, birch, maple, alder, and cherry. Below are the two homemade versions that actually do that job, the real ratios for each, and the mistakes that cause blotching even after you’ve conditioned the wood.
What Pre-Stain Conditioner Actually Does (It’s Not a Wood Polish)
Pine, birch, maple, cherry, and alder blotch because a single board mixes tight, dense latewood right next to soft, resin-rich pockets and open end grain. The dense areas barely take stain; the resin pockets and end grain soak it up fast and dark. A pre-stain conditioner partially plugs those thirsty spots first, so when stain goes on, every part of the board pulls in a closer, more even amount of it. That’s the whole mechanism — it doesn’t add color, shine, or moisture, and it is not the same product as a furniture conditioner or wax-based wood “polish” meant for finished pieces. Using a beeswax-and-oil polish on bare wood before staining won’t even out absorption; it just blocks stain from certain areas unevenly, which can make blotching worse, not better.
Skip the Mixing Bowl Option
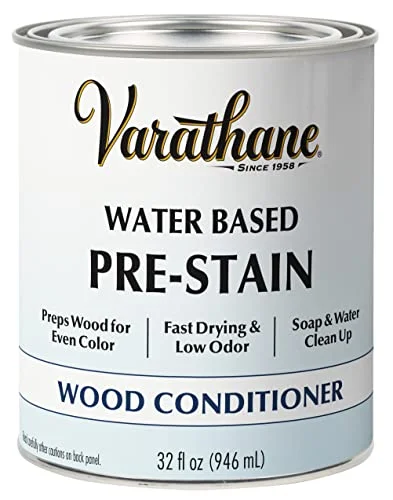 |
Varathane Pre-Stain Wood Conditioner – $18.29 If you’d rather not mix and time a DIY batch, this is the ready-made version of exactly what the recipes below are trying to replicate.
|
DIY Recipe 1: Boiled Linseed Oil and Mineral Spirits
This is the closest homemade match to an oil-based commercial conditioner, and it works under any oil-based stain.
- Ratio: 1 part boiled linseed oil to 2 parts mineral spirits, mixed in a jar with a tight lid until it’s one uniform, slightly oily liquid with no separation. Some woodworkers thin it further, to 1:3, for very blotch-prone pine, or richer, closer to 1:1, on denser woods — start at 1:2 and adjust on a scrap piece of the same board.
- Mix in small batches. Boiled linseed oil slowly polymerizes (thickens and gels) once it’s exposed to air, so a jar of premixed conditioner is only good for a few months, not indefinitely.
- Rag safety: Any rag soaked in boiled linseed oil is a real spontaneous-combustion risk as it dries. Lay used rags flat outdoors or submerge them in a metal container of water — never ball one up in a trash can.
DIY Recipe 2: Thinned Shellac (Better Under Water-Based Stain or Poly)
If you’re staining with a water-based product, or you’re topcoating with polyurethane afterward, skip the oil version — an oil-based conditioner can interfere with both. Use a thin wash coat of dewaxed shellac instead.
- Ratio: Cut dewaxed shellac flakes down to roughly a 1/2-lb cut — about 1 part shellac to 7 or 8 parts denatured alcohol by volume. Starting from a pre-mixed dewaxed shellac like SealCoat (a 2-lb cut out of the can), thin it roughly 1:1 with denatured alcohol to land in the same range.
- Why dewaxed matters: Standard orange shellac contains natural wax that can stop polyurethane and water-based finishes from bonding properly to the wood afterward. Dewaxed shellac, or SealCoat specifically, doesn’t have that problem.
- Dry time: Shellac flashes off fast — usually stainable in 20 to 30 minutes, compared to hours for a full oil-based coat to cure.
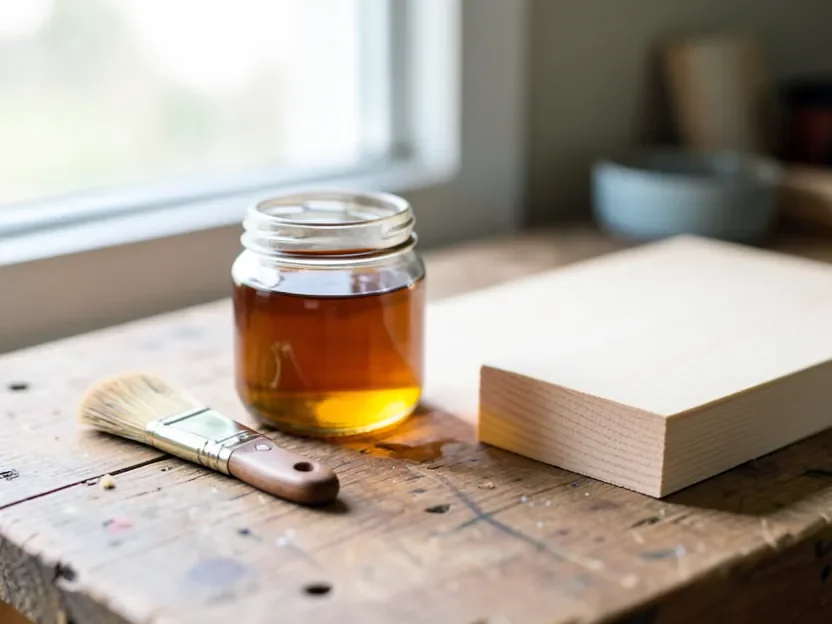
Cost is the other reason to mix your own. A quart of commercial pre-stain conditioner runs somewhere around $15 to $20. A pint of boiled linseed oil and a quart of mineral spirits together cost roughly $10 to $15 combined at a hardware store, and that mix makes closer to a quart and a half of usable conditioner — enough for several projects, not just one. The shellac version is even cheaper per use if you already keep denatured alcohol around for cleanup.
How to Apply Either Recipe
- Sand the bare wood through the grits you’re finishing with (stop at 180-220 for most stained projects), then wipe away the dust with a tack cloth.
- Test on an offcut from the same board first. The strength that’s right for tight-grained maple can be too weak for open, resin-heavy pine.
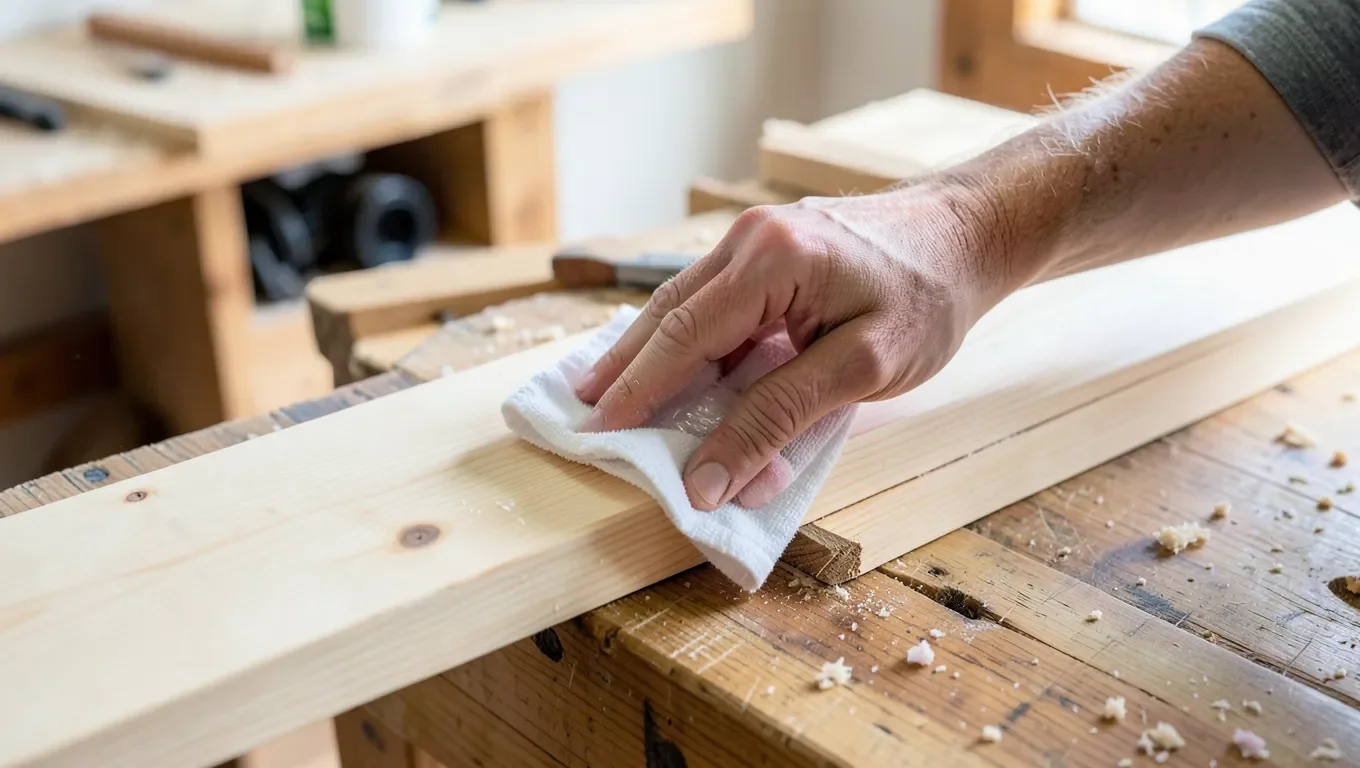
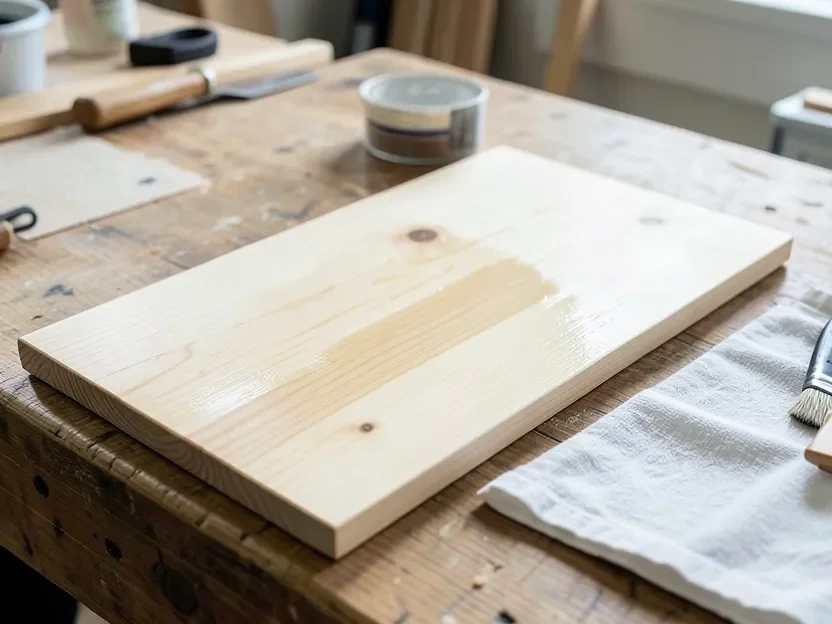
- Brush or wipe the conditioner on generously, working with the grain and covering the whole surface evenly — no dry patches.
- Let it absorb 5 to 15 minutes for the oil version (up to 30 minutes on very porous pine), or about 15 minutes for the shellac wash coat.
- Wipe off every bit of the excess with a clean, dry cloth. A standing puddle or a missed spot shows up as a lighter patch once the stain goes on.
- Apply stain within about 2 hours of conditioning. Wait longer and the conditioner finishes curing, seals the wood too well, and the stain won’t take at all.
Which Woods Actually Need It
Pine, birch, maple, alder, and cherry are the classic blotchers. Their mix of tight and porous grain is exactly the situation a conditioner is built to fix, so treat them as needing it by default, not as an exception. Open, evenly porous woods like oak, ash, walnut, and mahogany rarely blotch and usually don’t need conditioning — a coat on those can even mute the grain contrast you’re trying to show off. Gel stain is the one case where conditioner gets skipped regardless of wood species: gel stain sits on the surface instead of soaking in, so there’s no uneven absorption left for a conditioner to correct. For a closer breakdown of which of your specific projects need it, see our guide on when pre-stain wood conditioner is actually necessary, and how it interacts with staining pine specifically.
Mistakes That Cause Blotching Even After Conditioning
- Waiting too long to stain. Past roughly the 2-hour mark, an oil-based conditioner finishes curing and seals the wood almost completely — stain applied at that point sits on top instead of tinting the grain, and you lose most of the color.
- Not wiping off the excess. Any conditioner left standing on the surface, rather than absorbed and wiped, blocks stain from that spot entirely and leaves a lighter blotch of its own.
- Mismatching oil and water bases. An oil-based homemade conditioner under a water-based stain can repel it patchily instead of preventing blotches. Match the conditioner’s base to the stain’s base, or use the shellac wash coat, which works under either.
- Skipping the test patch. Conditioner strength that looks right on one board can be too weak or too strong on the next, even within the same species — always confirm on an offcut before committing to the actual piece.
Frequently Asked Questions
What’s the difference between a wood conditioner and a wood polish?
A pre-stain wood conditioner is a thin sealer applied to bare wood before staining to even out absorption. A wood polish or furniture conditioner, often beeswax and mineral oil, is a completely different product used on already-finished wood to add shine and moisture — it won’t help bare wood take stain evenly.
What is the ratio of linseed oil to mineral spirits for a DIY wood conditioner?
Start with 1 part boiled linseed oil to 2 parts mineral spirits, mixed until uniform. Test on a scrap piece first, and go as light as 1:3 for very blotch-prone pine.
How long do I leave DIY wood conditioner on before staining?
Let an oil-based mix absorb 5 to 15 minutes, up to 30 on porous pine, or a shellac wash coat sit about 15 minutes, wipe off all the excess, then stain within about 2 hours before the conditioner fully cures.
Does pine need wood conditioner before staining?
Yes. Pine’s mix of tight and resin-rich grain is the classic cause of blotchy stain, which makes it one of the woods that benefits most from conditioning first.
Conclusion
A working pre-stain wood conditioner comes down to two ingredients you likely already have a version of on hand, mixed in the right ratio, and used within a fairly tight time window. Pick the oil-based recipe for an oil-based stain, the shellac wash coat for a water-based stain or a poly topcoat, test it on an offcut, and stain within about two hours of wiping off the excess. Skip it on open-grained woods like oak, and never skip it on pine.
Sponsored / affiliate links. As an Amazon Associate I earn from qualifying purchases. I may earn additional commission from eligible campaigns.