How to Remove Old Varnish from Wood: Test First, Then Strip
To remove old varnish from wood, use a gel stripper on carved, vertical or unknown-age pieces, and save scraping and sanding for flat, lead-free surfaces. But first dab denatured alcohol and lacquer thinner on a hidden spot: if either softens the finish, it is shellac or lacquer, not varnish, and plain solvent strips it. This guide covers that test, three removal methods with real timings, and the lead and fume rules for pre-1978 pieces.
How to Tell If It Is Really Varnish Before You Strip
Best Gel Stripper for Old Varnish
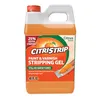 |
Citristrip Stripping Gel, Citrus Stripper Paint Remover, 40 oz, $16.85 A gel that clings to carved rails and vertical doors, which is why it suits the dwell-and-scrape method below for varnish that solvent alone will not touch.
|
As an Amazon Associate we earn from qualifying purchases. Price checked 2026-10-05 and may change.
Old pieces are often called “varnished” when the finish is actually shellac or lacquer, and the method that works on one fails on another. Fine Woodworking’s solvent-test sequence takes about two minutes: wipe off any wax with mineral spirits, then test a hidden spot with denatured alcohol, then with lacquer thinner. Our finish identification guide covers the full walkthrough.
| Hidden-spot result | Finish it points to | How to strip it |
|---|---|---|
| Denatured alcohol softens or dissolves it | Shellac | Solvent only: saturate rags with denatured alcohol, wait 10 to 20 minutes, wipe off |
| Alcohol does nothing, lacquer thinner makes it sticky | Lacquer (on pre-1990s pieces, almost always lacquer) | Solvent only: same rag method with lacquer thinner |
| Neither solvent affects it | Varnish or polyurethane (a reactive finish) | Gel stripper, then scraping; heat gun or sanding only if the piece is lead-free |
That table is the part most varnish guides skip, and it can save hours. Popular Woodworking describes a solvent-only stripping method that works on shellac and lacquer but not on varnish or polyurethane, and it avoids the wax that commercial strippers leave behind. Varnish is the finish that forces you into the slower methods below, because a reactive finish will not dissolve into fresh solvent the way shellac does.
Safety Rules for Old Finishes: Lead, Fumes and Methylene Chloride
Any piece finished before 1978 may have lead paint somewhere in its history, such as an old painted undercoat or a painted edge. The EPA’s lead-safe guidance for DIYers recommends a low-temperature heat gun (under 1,100 degrees Fahrenheit), wet-dry sandpaper with a spray mister to keep dust down, and notes that chemical strippers break down paint without creating flying chips and dust.
The EPA also says consumer lead test kits have limits: it tells homeowners to hire a certified inspector or risk assessor, or send samples to an accredited lab, and says its three recognized kits are meant for certified renovators working on pre-1978 housing. So for an unknown antique, treat a gel stripper as the default and skip dry sanding and heat.
- Ventilation: work outdoors or with windows open and a fan pushing air out; follow the product label, which for citrus gels calls for eye protection, gloves and a respirator in poorly ventilated spaces.
- No methylene chloride: it is no longer sold for consumer paint removal. If an old can in the garage lists it, do not use it. Our page on methylene chloride paint remover explains what replaced it.
- Solvent rags: denatured alcohol and lacquer thinner are flammable, so keep them away from heat guns, pilot lights and sparks.
📊 EPA banned methylene chloride in all consumer paint removers, and the rule took effect after November 22, 2019, after fume exposure caused deaths during paint and coating removal. Source: U.S. EPA, 2019
Chemical Stripping Method: The Safest Default for Varnish
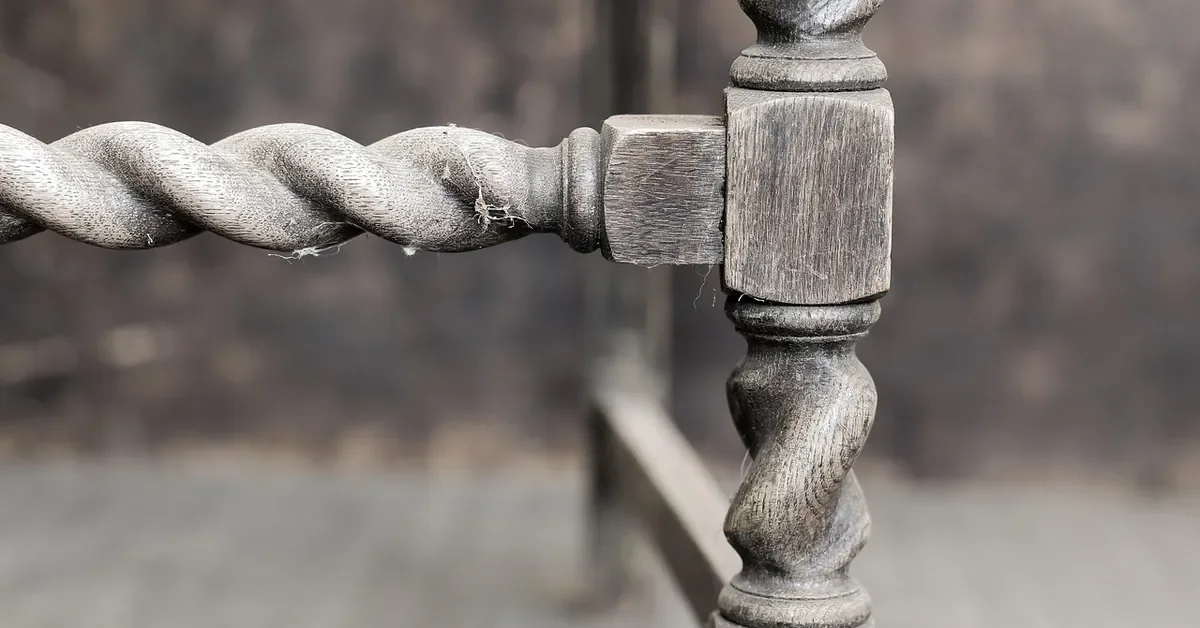
A gel stripper is the method that works on carved legs, turned spindles and vertical doors, because it stays put instead of running. Product labels for citrus gels call for a thick, even coat and a wait of 30 minutes to 24 hours, depending on how many coats of varnish are on the piece.
- Mask and protect: tape off hardware and lay plastic or a drop cloth under the piece.
- Brush on a thick coat: aim for roughly 1/8 inch and brush in one direction, because thin or over-brushed gel dries out and stops working.
- Cover and wait: lay plastic sheeting over the gel to slow evaporation, then scrape a small test patch after 30 minutes. If the varnish does not lift, keep waiting, up to 24 hours on built-up coats.
- Scrape with the grain: use a plastic scraper or putty knife on flat areas and a stiff brush or contour scraper in carved detail.
- Repeat where varnish remains: do a second application on stubborn spots rather than gouging the wood with a metal scraper.
- Clean off residue: wipe with a damp cloth, then a mineral spirits wipe, which also removes the wax that strippers leave behind and that can interfere with a new finish.
Our walkthrough on using Citristrip gel has the product-specific details, and the broader varnish removal guide covers the standard step-by-step. If you are dealing with polyurethane rather than varnish, see how to remove polyurethane from wood.
Solvent-Only Method for Shellac and Lacquer
If your hidden-spot test softened the finish, skip the gel entirely. Lay paper towels or cotton rags over the surface, pour on denatured alcohol (shellac) or lacquer thinner (lacquer) until they are saturated, and leave them 10 to 20 minutes. Wipe the dissolved finish off with wet rags, then make a final pass with fresh solvent-soaked rags. This works best on flat tabletops and leaves no wax residue, but only on those two finishes. Never use it on varnish expecting the same result.
Heat Gun Stripping Method (Lead-Free Pieces Only)
A heat gun softens varnish so it bubbles and lifts under a scraper. It is fast on flat surfaces, but it is the riskiest method for old furniture because the heat can scorch the wood and, on a pre-1978 piece, can vaporize lead from old paint.
- Keep the gun under the EPA’s 1,100 degrees Fahrenheit limit; variable-temperature models make that easy.
- Hold the nozzle a few inches from the surface and keep it moving; stopping in one spot scorches the wood before the varnish softens.
- Scrape as soon as the finish bubbles, with a flat scraper pushed gently along the grain.
- Never use heat on a surface still wet with stripper, mineral spirits or any solvent.
On carved detail a heat gun works poorly, because you cannot get a scraper into the recesses before the finish cools and hardens again. That is where gel stripper earns its slower pace.
Sanding Technique: When It Works and When It Ruins the Piece
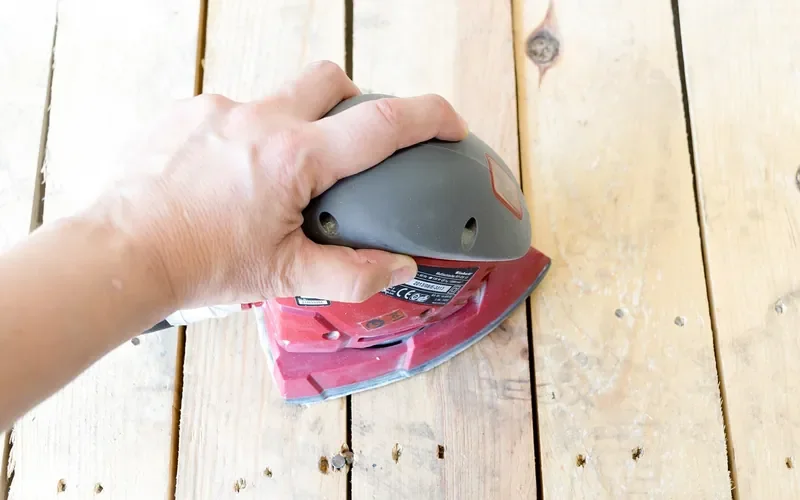
Sanding removes varnish and wood together, so it suits flat, solid-wood surfaces like a tabletop but flattens beading, carving and edges. It also clogs paper fast on thick varnish, which is why most people strip the bulk first and sand second. Work a progression from 150 up to 220 grit to leave a smooth surface for the new finish, and use the EPA wet-sanding advice above if there is any chance of lead.
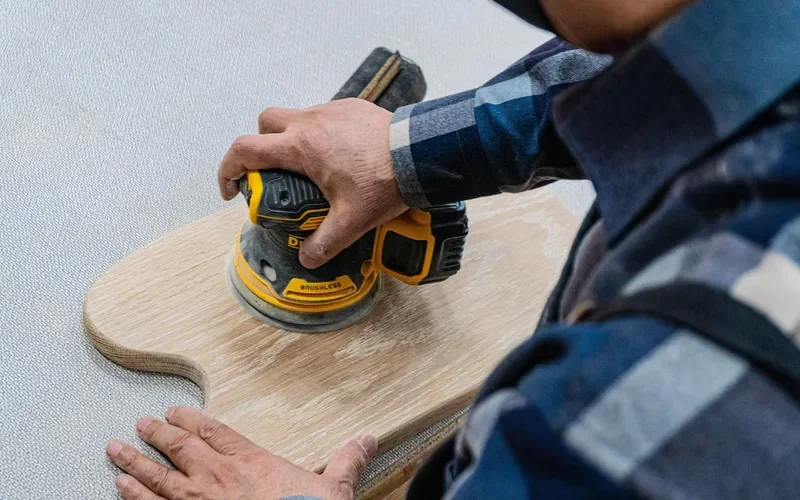
For power sanding, use dust extraction or a shop vacuum. For hand sanding, wrap the paper around a flat block so you do not round over crisp edges, and sand with the grain only, because cross-grain scratches show up under a clear finish.
Which Method Fits Your Piece?
| Situation | Best method | Typical time | What to watch |
|---|---|---|---|
| Carved chair, turned legs, spindles | Gel stripper | 30 minutes to 24 hours dwell | Use a stiff brush in the recesses, not a metal scraper |
| Flat tabletop, shellac or lacquer | Solvent-only rags | 10 to 20 minutes per pass | Flammable solvents, so ventilate and keep ignition sources away |
| Flat tabletop, thick varnish, lead-free | Gel stripper, then light sanding | Dwell, then 150 to 220 grit | Do not skip the mineral spirits wipe |
| Outside door with built-up coats | Gel stripper in sections, repeated | Up to 24 hours per section | Cover with plastic so the gel does not dry out |
| Unknown-age antique, finish before 1978 | Gel stripper only | As above | No dry sanding and no heat gun until lead is ruled out |
After Stripping: Clean, Dry and Sand Before Refinishing
Varnish does not chemically bond with a new coat, according to Fine Woodworking, so patches of old finish left in the grain will show through. Hold a work light at a low angle across the wood to spot shiny remnants, then re-apply stripper to those spots. Once the wood is clean and fully dry, sand lightly with 150 then 220 grit and vacuum the dust before staining or sealing.
If the bare wood is darker than you expected or you want to change its color, see our guide to lightening dark stained wood before you refinish.
FAQ: Removing Old Varnish from Wood
What is the easiest way to remove old varnish from wood?
A gel stripper is the easiest method for most furniture. Brush on a thick coat, cover it with plastic, wait 30 minutes to 24 hours, then scrape it off with a plastic scraper. First test a hidden spot with denatured alcohol and lacquer thinner, because shellac and lacquer dissolve with plain solvent and need no gel.
Can I remove varnish without chemicals?
Yes, with sanding or a heat gun. Both work best on flat surfaces and both need a lead check on pre-1978 pieces, because heat and dry sanding can release lead from old paint. Chemical gel is gentler on carved detail, where sanding removes wood along with the finish.
Is it safe to remove varnish indoors?
It is safe only with strong ventilation and the right gear. Open windows, run a fan that pushes air outside, and follow the label on gloves, eye protection and respirators. Never use a heat gun near flammable solvents, and do not use any stripper containing methylene chloride, which is banned for consumer use.
How do I know if the finish is varnish or shellac?
Rub denatured alcohol on a hidden spot for 10 to 20 seconds. If the finish turns tacky or dissolves, it is shellac. If not, try lacquer thinner, which softens lacquer. If neither does anything, the finish is a reactive type such as varnish or polyurethane.
Can mineral spirits remove old varnish?
Not reliably. Mineral spirits is used to wipe off wax and stripper residue after stripping, not to dissolve cured varnish. Use a gel stripper, or sanding on flat lead-free surfaces, to take off the varnish itself.
Start with the two-minute solvent test, check the age of the piece for lead, and choose the gentlest method that works: solvent for shellac and lacquer, gel for varnish, and heat or sanding only when the wood is flat and lead-free.
Sponsored / affiliate links. As an Amazon Associate I earn from qualifying purchases. I may earn additional commission from eligible campaigns.