How to Remove Sap From Wood Before Staining (3 Methods That Work)
To remove sap from wood before staining, use a putty knife to gently scrape it off. Follow this by cleaning the area with mineral spirits or rubbing alcohol.
Leftover sap blocks stain from soaking in evenly, which is what causes blotchy, patchy color after you’ve already done the sanding. Here’s the full process, plus what to reach for when scraping and mineral spirits alone don’t finish the job.
Introduction To Sap And Wood Staining
Best for Stubborn Sap Residue
 |
Goo Gone Adhesive Remover (2-Pack) – $16.99 When a putty knife and mineral spirits leave a sticky film behind, this is what finishes the job.
|
Sap can be a major problem in woodworking. It creates a sticky surface that affects staining. Removing sap is crucial for a clean finish. Stains do not adhere well to sap-covered wood.
Many woodworkers face this challenge. Sap can bleed through the stain, ruining the look. Proper removal helps achieve an even color. It also improves the overall appearance of the wood.
Cleaning sap ensures the wood absorbs the stain properly. This step is essential for a professional finish. A clean surface shows off the natural beauty of the wood.
Identifying Sap In Wood
Identifying sap in wood is important for a good finish. Sap can appear as shiny spots on the surface. It might also feel sticky to the touch. Wood that has not been dried properly often has more sap.
Common signs of sap presence include:
- Shiny patches on the wood surface
- Sticky residue after touching
- Dark streaks in the wood grain
Some types of wood are more prone to sap issues. These include:
| Wood Type | Sap Level |
|---|---|
| Pine | High |
| Spruce | Medium |
| Maple | Low |
Preparation Steps Before Sap Removal
Start by gathering necessary safety materials. Use gloves, goggles, and a mask to protect yourself.
Check the area for sap contamination. Look for sticky spots on the wood surface. Assess how much sap needs removal. This helps in choosing the right method.
Gather tools like a putty knife, scraper, or sandpaper. These tools help in scraping off sap effectively. For tougher sap, consider using a heat gun. Heat softens sap, making it easier to remove.
Ensure the workspace is well-ventilated. Open windows or use fans to help air circulate. This keeps the area safe and comfortable.
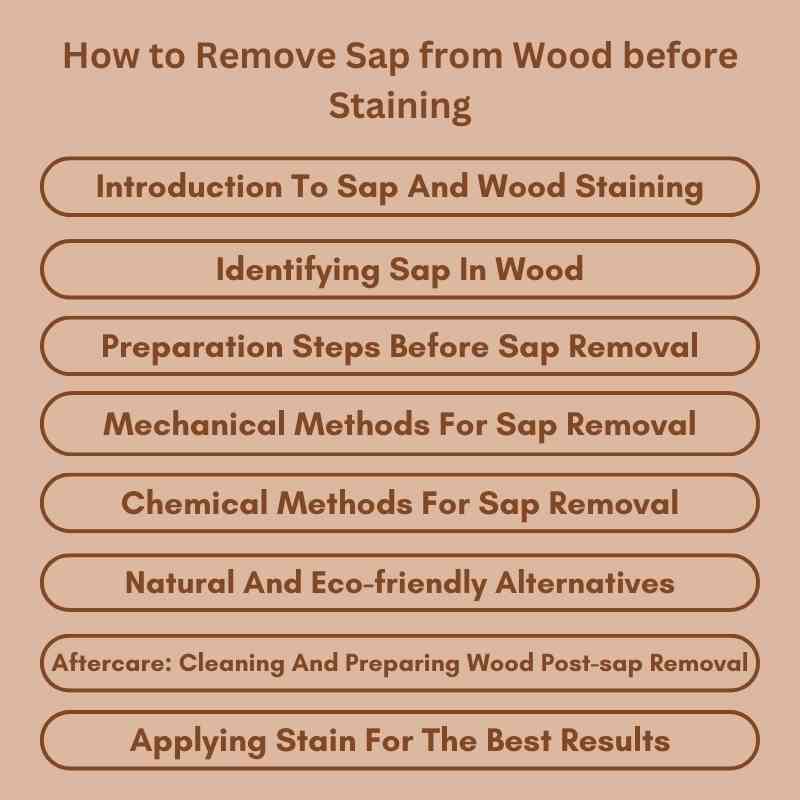
Mechanical Methods For Sap Removal
Using a scraper or putty knife is an effective method for sap removal. Hold the tool at a slight angle. Carefully scrape the sap from the wood surface. Be gentle to avoid damaging the wood grain. Work slowly to ensure all sap is removed.
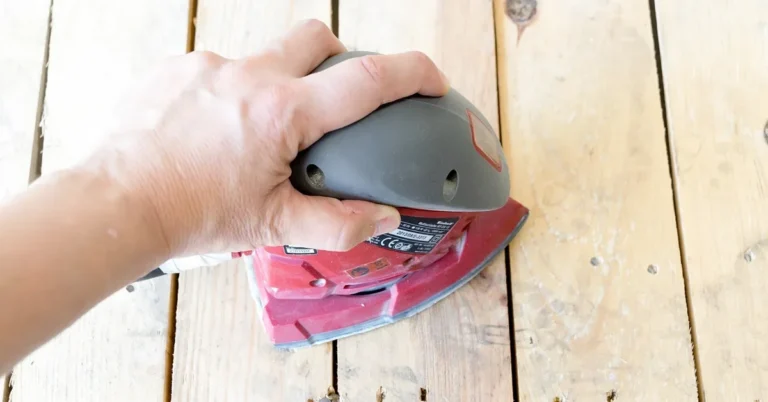
Sanding the sap away is another useful technique. Start with coarse sandpaper to remove thick sap. Once most of it is gone, switch to finer sandpaper. This helps smooth the wood surface. Always sand in the direction of the grain. This prevents scratches and keeps the wood looking nice.
Chemical Methods For Sap Removal
Choosing the right solvent is key to removing sap from wood. Mineral spirits and denatured alcohol work well for this task. Test the solvent on a small area first. This ensures it won’t damage the wood.
For effective removal, use a soft cloth or sponge. Apply the solvent gently to the sap. Let it sit for a few minutes to loosen the sap. Wipe it away with a clean cloth. Repeat if necessary until the sap is gone.
Natural And Eco-friendly Alternatives
Using rubbing alcohol is an effective way to remove sap from wood. Apply a small amount to a clean cloth. Gently rub the sap until it dissolves. Wipe away any residue with a dry cloth.
Vinegar is another natural option to consider. Mix equal parts of vinegar and water in a spray bottle. Spray the solution on the sap, letting it soak for a few minutes. Use a cloth to wipe the sap off. This method is safe for most wood types.
These eco-friendly alternatives help keep your wood surface clean without harsh chemicals. Choose what suits you best for easy sap removal.
Aftercare: Cleaning And Preparing Wood Post-sap Removal
After removing sap, it’s important to neutralize chemical agents. Use a mixture of water and vinegar to clean the area. This helps in breaking down any remaining sap residue. Apply the solution with a soft cloth.
Next, ensure a smooth surface for staining. Sand the wood lightly using fine-grit sandpaper. This will create an even texture. Make sure to wipe off any dust with a damp cloth. A clean surface helps the stain stick better.
Applying Stain For The Best Results
Choosing the right stain is important for a great finish. Look for stains that work well on wood. Oil-based stains provide deep color and durability. Water-based stains are easy to clean and dry fast.
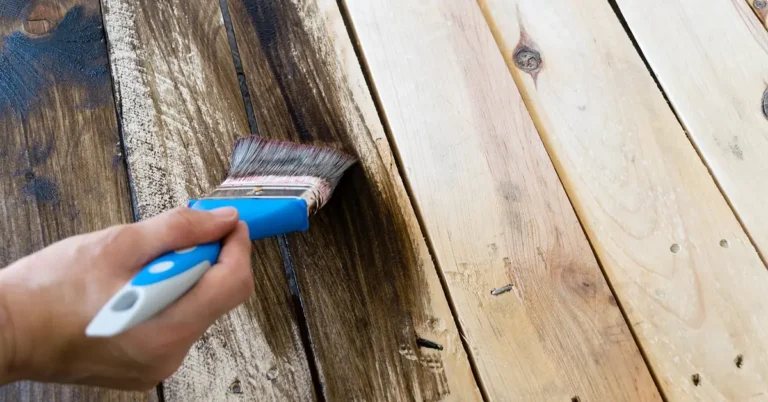
For even application, use a good brush or cloth. Apply the stain in the direction of the wood grain. Avoid overloading your brush to prevent drips. Allow the stain to soak in for a few minutes before wiping off the excess.
Always test the stain on a small area first. This helps to see how the wood reacts. Adjust the color if needed by mixing different stains. Following these tips will give you beautiful, even results.
Troubleshooting Common Issue
Dealing with stubborn sap residues can be tough. Start by using a plastic scraper to gently remove the sap. Use a cloth soaked in mineral spirits to wipe the area clean. Repeat this process until the sap is gone.
For uneven staining caused by sap, sand the affected area lightly. Choose a fine-grit sandpaper for best results. After sanding, apply a wood conditioner before staining. This helps the wood absorb the stain evenly.
Always test the stain on a scrap piece first. This ensures the color matches your expectations. Taking these steps can lead to a smooth and beautiful finish.
Frequently Asked Questions
How Do I Identify Sap On Wood?
Sap typically appears as sticky, shiny spots on wood. It can vary in color from clear to amber. To identify sap, check for a tacky texture or any discoloration. Proper identification is crucial before attempting removal methods to avoid damaging the wood.
What Are Effective Methods To Remove Sap?
Effective methods include using rubbing alcohol, mineral spirits, or a commercial sap remover. Apply the chosen solvent using a soft cloth. Gently rub the area until the sap dissolves. Always test a small, inconspicuous area first to ensure it doesn’t damage the wood finish.
Can I Use Heat To Remove Sap?
Yes, applying low heat can help soften sap for easier removal. Use a heat gun or hairdryer on a low setting. Be cautious to avoid overheating the wood, which can cause damage. Follow up with a gentle rub using a cloth soaked in solvent.
Is It Safe To Use Vinegar For Sap Removal?
Vinegar can be effective for sap removal, but it’s not always the best choice. Its acidity might damage some wood finishes. If you decide to use vinegar, dilute it with water. Always test a small area to ensure it won’t harm the wood surface.
Conclusion
Removing sap from wood is essential for a smooth staining process. Follow the steps outlined to ensure a clean surface. Use the right tools and techniques for the best results. Proper preparation leads to a beautiful finish. With care, your wood will look stunning and last longer.
Happy staining!
Sponsored / affiliate links. As an Amazon Associate I earn from qualifying purchases. I may earn additional commission from eligible campaigns.